Apricot Mostarda & Spiralized Hotdogs

Apricot Mostarda & Spiralized Hotdogs | Image: Laura Messersmith

Apricot Mostarda & Spiralized Hotdogs | Image: Laura Messersmith

While we’re talking about grilling, I have a confession to make: even with all the backlash against processed food I still love a hot dog once in a while. There. I said it. For me they’re still a salty, ketchup & mustard-slathered taste of summer in the backyard, and while I wouldn’t eat one every day – everything in moderation – there are times when a hotdog really hits the spot.

Especially, I might add, when you’ve dressed them up and transformed them into something borderline grown-up with a unique preparation and a delicious sauce like this Apricot Mostarda. The June issue of Food & Wine magazine is my source, and it probably reveals something when the simplest, most down-home recipe in a magazine full of lush, gorgeous, elegant options is the one I immediately gravitated to.

It might have something to do with the accessibility of the ingredients – I literally had every, single item for the sauce in my pantry already, which meant all I had to do was pick up a package of hotdogs and hunt down some Martin’s potato rolls. I will also admit that the idea of “spiralizing” a hotdog when everyone else is preparing cascades of luminously green zucchini pasta appeals to my sense of humor (video demo here.) So, thanks for that Food & Wine!

Apricot Mostarda & Spiralized Hotdogs | Image: Laura Messersmith

Apricot Mostarda & Spiralized Hotdogs | Image: Laura Messersmith

Apricot Mostarda (yield: 1 1/2 cups)

Ingredients:
1/2 cup apple cider vinegar
1/2 cup water
1 cup (6 ounces) diced dried apricots
2 tablespoons sugar
2 tablespoons (1 medium) finely minced shallot
1 1/2 teaspoons (1 clove) finely minced garlic
2 tablespoons whole-grain mustard
1 tablespoon Dijon mustard
Kosher salt

Instructions:
In a small saucepan, combine the vinegar, water, apricots, sugar, shallot and garlic and bring to a boil.

Simmer over moderate heat, stirring occasionally, until the apricots are soft and coated in a light syrup, about 7 to 10 minutes. The liquid will reduce and the consistency should be flowing, but thick - think somewhere between honey and salsa.

Stir in both mustards and season with salt to taste. Let cool completely. Stir in tablespoons of water before serving if the mostarda is too thick.

Slightly rewritten from Food & Wine magazine’s Dried Apricot Mostarda by Justin Chapple.

Apricot Mostarda & Spiralized Hotdogs | Image: Laura Messersmith

Apricot Mostarda & Spiralized Hotdogs | Image: Laura Messersmith

Small Kitchen Friendly?
Oh, yes! I used a small sauce pan, medium cutting board, chef’s knife, liquid measuring cup, measuring spoons and a rubber spatula. A clean jam jar makes a great storage vessel. For the hotdogs I also needed a long bamboo skewer, 8” cast iron pan, and since I wanted to toast the potato rolls, a butter knife and a baking sheet.

The Verdict:
In all seriousness, the Apricot Mostarda is delicious - lightly sweet, zippy with vinegar, and just a little spicy - trust me when I say that I am already plotting other foods to pair it with as alternate to chutney. The apricot pieces and whole grain mustard add beautiful texture, and in this case it’s perfect with the savory hotdog and fluffy potato rolls. I also am converted to spiralizing my hotdogs (or sausages, as the spirit moves you) they cook more quickly and all those little notches capture toppings perfectly.

Apricot Mostarda & Spiralized Hotdogs | Image: Laura Messersmith

Apricot Mostarda & Spiralized Hotdogs | Image: Laura Messersmith

Tequila Citrus Chicken

Tequila Citrus Chicken | Image: Laura Messersmith

Tequila Citrus Chicken | Image: Laura Messersmith

Each week I follow along with Ina Garten (aka the Barefoot Contessa) and attempt to recreate one of her dishes in my tiny New York City kitchen. The catch? This is my version of cooking school and I’m making these recipes for the first time. I’ll share both my successes and um, challenges, along the way and we’ll see if I can keep up with the Contessa!

Episode: “Welcome to Town”

The Set-up: Ina is helping her new employee Lidey throw a housewarming party.

The Menu: Tequila Citrus Chicken, Roasted Summer Vegetables, Corn and Avocado Salad

0:37 – Ina heard the word “party” and immediately sprang into action, boiling pots of corn on the cob. Has anyone ever had their boss cater a party for them?  

1:24 – The corn is for Corn and Avocado Salad, which sounds like a perfect summery side.

2:01 – Ina recommends using fresh corn on the cob instead of frozen and while I’m all for shortcuts, I agree 100% that even the best packaged corn just doesn’t taste the same.

3:25 – Over to Lidey doing some shopping based on Ina’s Pro Tip #1: get props for the buffet table that are multi-functional (ie. a glass pitcher used as a vase, or kitchen towels for napkins.)

4:32 – Because Ina is a mastermind of new employee on-the-job training the theme of the food is “Local.” That way Lidey will familiarize herself with the local purveyors, including Amber Waves Farm. Brilliant.

5:46 – The Corn and Avocado Salad has been assembled and dressed with a spicy lime-based vinaigrette, and I’m getting a mild Tex Mex-ish vibe from the menu.

9:59 – We get a quick overview of the Roasted Summer Vegetables (bell peppers, zucchini, onions, and fennel) before it’s time to plate them up.

10:20 – Pro-Tip #2: Create a more dramatic platter by grouping each kind of vegetable together in big blocks of color.

11:33 – Ina says it’s better to have more than just the three main dishes on a table, so Lidey is deployed to Cavaniola’s cheese shop in Sag Harbor for supplementary items.

12:18 – While Lidey picks up the cheese she also gets a brief lesson in how to put together a well-balanced cheese board. Pro Tip #3: Select a mix of textures, colors and flavors keeping the options to about 3 or 4 cheeses.

13:29 – Pro Tip #4: Fill in the cheese board with complimentary crackers, dried fruit, and garnish with herbs for color. I personally also like a little dish of honey or preserves, and a small pile of toasted almonds or other nuts. Yum!

14:44 – Onward to the main course and Ina is making Tequila Citrus Chicken on the grill. Naturally the chicken is locally raised at Iacono Farms.

15:02 – Ina confirms my suspicions that this is a Tex Mex oriented meal and with the amount of tequila in the marinade I’m surprised this isn’t entitled “Senor Frog’s Chicken” hello spring break!

19:16 – Chicken is such a tricky thing to cook on the grill – too long and it’s a charred lump, too short and face the risk of an unsavory pink center. Ina says skin side down for 5 minutes, turn and then 10 more minutes. Let’s hope she’s right!

20:57 – Over to Lidey’s to set up for the party and I was seriously bracing myself for some sort of ocean front palace; I’m relieved to discover that her “cottage” actually is a teensy little house.

21:40 – We proceed into our crash-course on Catering 101. First Lesson: Tequila Citrus Chicken looks prettier on a platter when it’s placed on hydrangea leaves and layered with thin slices of lemon.

22:35 – Second Lesson: give the table some height variation by putting some of the platters on over turned bowls. Instant “footed” servers!

27:23 – Third Lesson: don’t try to make everything. Suggest abundance by buying the dessert – cookies, bars, biscotti – and layering different shapes and textures on one plate. Fill in with some strawberries and hydrangea leaves.

28:16 – Lidey seems a little overwhelmed by the whirlwind of Ina’s advice, but manages to remember her three final tasks: light candles, chill wine, unwrap cheese. Apparently she’s supposed to pass this all off as her handy work? Cite your sources, Lidey!

29:42 – The party is underway and after a suitable time of hoovering up the buffet and scheming summer plans Lidey’s friends decide that a toast is in order. Success!

Final Thoughts:
We’ve seen a lot of these entertaining tips before, but I still get overly ambitious so a refresher course is probably necessary.

Is anyone else seriously jealous of Lidey landing a job with the Barefoot Contessa? Be still my heart!

Let’s also admit that Ina totally bogarted this housewarming party by turning it into a professional project. Sorry Lidey, no takeout pizza and bowls of chips for you!

Tequila Citrus Chicken | Image: Laura Messersmith
Tequila Citrus Chicken | Image: Laura Messersmith

Lessons Learned:
Ina’s Tequila Citrus Chicken is a classic and with the number of variations I found online you could make a new version of citrus marinated chicken everyday for months. Here’s what I learned from the original:

Boneless, Skin-On Chicken – This cut doesn’t exist in any grocery store I’ve ever visited. Skinless, boneless chicken breast is ubiquitous. Whole chicken breasts are a little trickier, but still usually available. This presents two options: see if the butcher counter will de-bone the whole pieces, or attempt to do it yourself. I don’t mind being pretty “hands-on” in the kitchen; a little practice and a sharp knife make the second option do-able if you’re not too squeamish. That said it’s a little groady, so to help Future Me, I’ll often do a few extra, put them in ziplock freezer bags, and label with the date and quantity. (ie. 5/30 -  4 boneless, skin on chicken breasts)

Marinating – One of my constant pitfalls in cooking is defrosting. I’ll have chicken in the freezer (see above), but since I forgot to move it to the fridge it’s still a solid block when I’m ready to cook. I can’t tell you how many “replacement” packages of chicken I’ve bought when failure to plan strikes. This recipe doesn’t exactly solve that problem, but it can at least make defrosting work in your favor. I store my frozen meats in plastic ziplock bags, which makes it easy to mix up the ingredients for the marinade in a measuring cup, add them to the bag, and by the time the chicken is fully defrosted it’s been marinated too. Ta-dah! Turn the bag over periodically to make sure the chicken has even contact with the marinade.

Grilling – Since I’m cooking in an apartment I used my cast iron grill pan instead of a Weber. Just like getting the coals hot on a regular grill, I pre-heated the pan over medium-high heat and brushed it generously with vegetable oil before putting the chicken on. Skin side down first, on the diagonal if you want those cool looking grill marks, then turn to the meat side. When it's done it should be fairly easy to turn and won't stick very much when it’s time to come off.

Cooking Time – Ina’s time was about right, but since I had limited space I put the larger pieces on first, then finished them in the oven on 350 degrees while the second batch cooked. Use a meat thermometer to save your sanity. 

Tequila Citrus Chicken | Image: Laura Messersmith

Tequila Citrus Chicken | Image: Laura Messersmith

Small Kitchen Friendly?
Yes, but make sure that kitchen is well ventilated! I used a double-burner cast iron grill pan (specifically this one from Lodge), a chef’s knife, medium cutting board, liquid measuring cup, measuring spoons, and sturdy long-handled tongs. A ziplock bag inside a flat bottomed food storage container, or a non-reactive dish will protect your refrigerator from contamination and make it easy to flip and ensure even marinating.

 The Verdict:
I made Tequila Citrus Chicken for Mike and I as a weeknight dinner and there’s a lot to recommend it. First, the hands-on cooking time adds up to about 30 minutes if you have to grill in batches, even less if you have plenty of grill space. Second, the flavor is bright and spicy – perfect for summer. Third – it can be served hot, cold, whole, diced in a salad, or sliced in strips for a taco, which makes this the sort of dish where extras are definitely welcome. Despite the heavy dose of cayenne and jalapenos it’s not overly spicy and the base of tequila and lime juice make it bright, which balances nicely against the smoky bitterness the grill adds. A solid base for many many summer dinners.

Tequila Citrus Chicken | Image: Laura Messersmith

Tequila Citrus Chicken | Image: Laura Messersmith

Basil, Corn & Quinoa Salad

Basil, Corn & Quinoa Salad | Image: Laura Messersmith

Basil, Corn & Quinoa Salad | Image: Laura Messersmith

Summer eating presents some challenges – primarily, the conundrum is I’m still hungry all the time, but the foods that are appealing when the weather is hot don’t really fill me up. I’d like to live on popsicles, watermelon, and iced coffee but nutritionally it’s not a sound plan. What I really need is something fresh and light with enough substance to make it worth eating, and of course delicious enough to make it work preparing. To my way of thinking; time in the kitchen when the weather is beautiful better be well spent!

I’ve eaten just about every permutation of this salad, as the credits below demonstrate, and I love all of them but this one has just the right amount of everything. Rich, nutty quinoa and grape tomatoes are tossed with a lime vinaigrette and pulled back from the brink of too acidic by mild, sweet corn and the mellow basil. A symphony of summery flavors.

It’s easy to make ahead, can be tossed with a few leafy greens, or further dinner-ized with some grilled chicken (perhaps Tequila Citrus? - more on that Wednesday), which makes it worthy of your Sunday afternoon efforts and makes Monday night dinner a snap.

Basil, Corn & Quinoa Salad | Image: Laura Messersmith

Basil, Corn & Quinoa Salad | Image: Laura Messersmith

Basil, Corn & Quinoa Salad (serves: 4-6)

Ingredients:
1 cup dried quinoa
4 ears fresh sweet corn, shucked
1 pint grape tomatoes
1/3 cup (3-4 limes) fresh lime juice
1/4 cup olive oil
1/4 cup thinly sliced red onion
1/3 cup fresh basil leaves, julienned
Kosher salt
Ground black pepper

Instructions:
In a large pot of boiling salted water, cook the ears of corn for 3 minutes to remove the starchy texture. Drain and immerse the corn in ice water to stop the cooking and to set the color. When the corn is cool, use a chef’s knife to cut the kernels off the cob. Place the kernels in a large bowl and set aside to continue cooling.

Meanwhile, in a medium sauce pan bring 2 cups of water to a boil. Add the quinoa and 1 teaspoon of salt, lower the heat and simmer, covered, for 15 minutes, until the grains are tender and open – they’ll look like they have little curly tails. While the quinoa cooks, juice the limes and combine with the olive oil, 1 teaspoon of kosher salt and 1/2 teaspoon of ground black pepper. When the quinoa is done, drain in a fine sieve, place in a bowl and immediately add the lime dressing. Toss to coat well and place the bowl in the refrigerator to cool.

Slice the grape tomatoes in half length-wise, julienne the basil leaves, and slice the red onion in very thin quarter moons. Add the vegetables and the reserved corn kernels to the dressed quinoa and fold together. Season to taste with salt, pepper, and more lime juice, if needed. Serve at room temperature or refrigerate and serve cold.

Inspired by and adapted from Bon Appétit Charred Corn Salad with Basil and Tomatoes and Ina Garten’s Quinoa Tabbouleh with Feta and Corn and Avocado Salad.

Basil, Corn & Quinoa Salad | Image: Laura Messersmith

Basil, Corn & Quinoa Salad | Image: Laura Messersmith

Small Kitchen Friendly?
Yes and no. This does take a few more items than I usually like to use, but the results are delicious, so… forgive me? I used a large pot (for the corn), a medium pot (for the quinoa) - note if you're organized the one large pot could suffice with a wash in between - two medium mixing bowls, a medium sieve, liquid measuring cup, measuring spoons, medium cutting board, chef’s knife, and large mixing spoon. Tongs are also super helpful for removing the corn from the boiling water.

The Verdict:
If it’s possible to fall in love with a salad, then I’ve fallen in love with this one. Something about the balance of flavors has me craving the bite of citrus, cool tomatoes, and rich quinoa. I served it along side Tequila Citrus Chicken, but it could easily be the main event. Be forewarned: it’s easy to stuff yourself with it’s deliciousness and not even realize it until you need to be rolled away from the table.

Basil, Corn & Quinoa Salad | Image: Laura Messersmith

Basil, Corn & Quinoa Salad | Image: Laura Messersmith

Hali'imaile General Store Roasted Red Pepper Soup

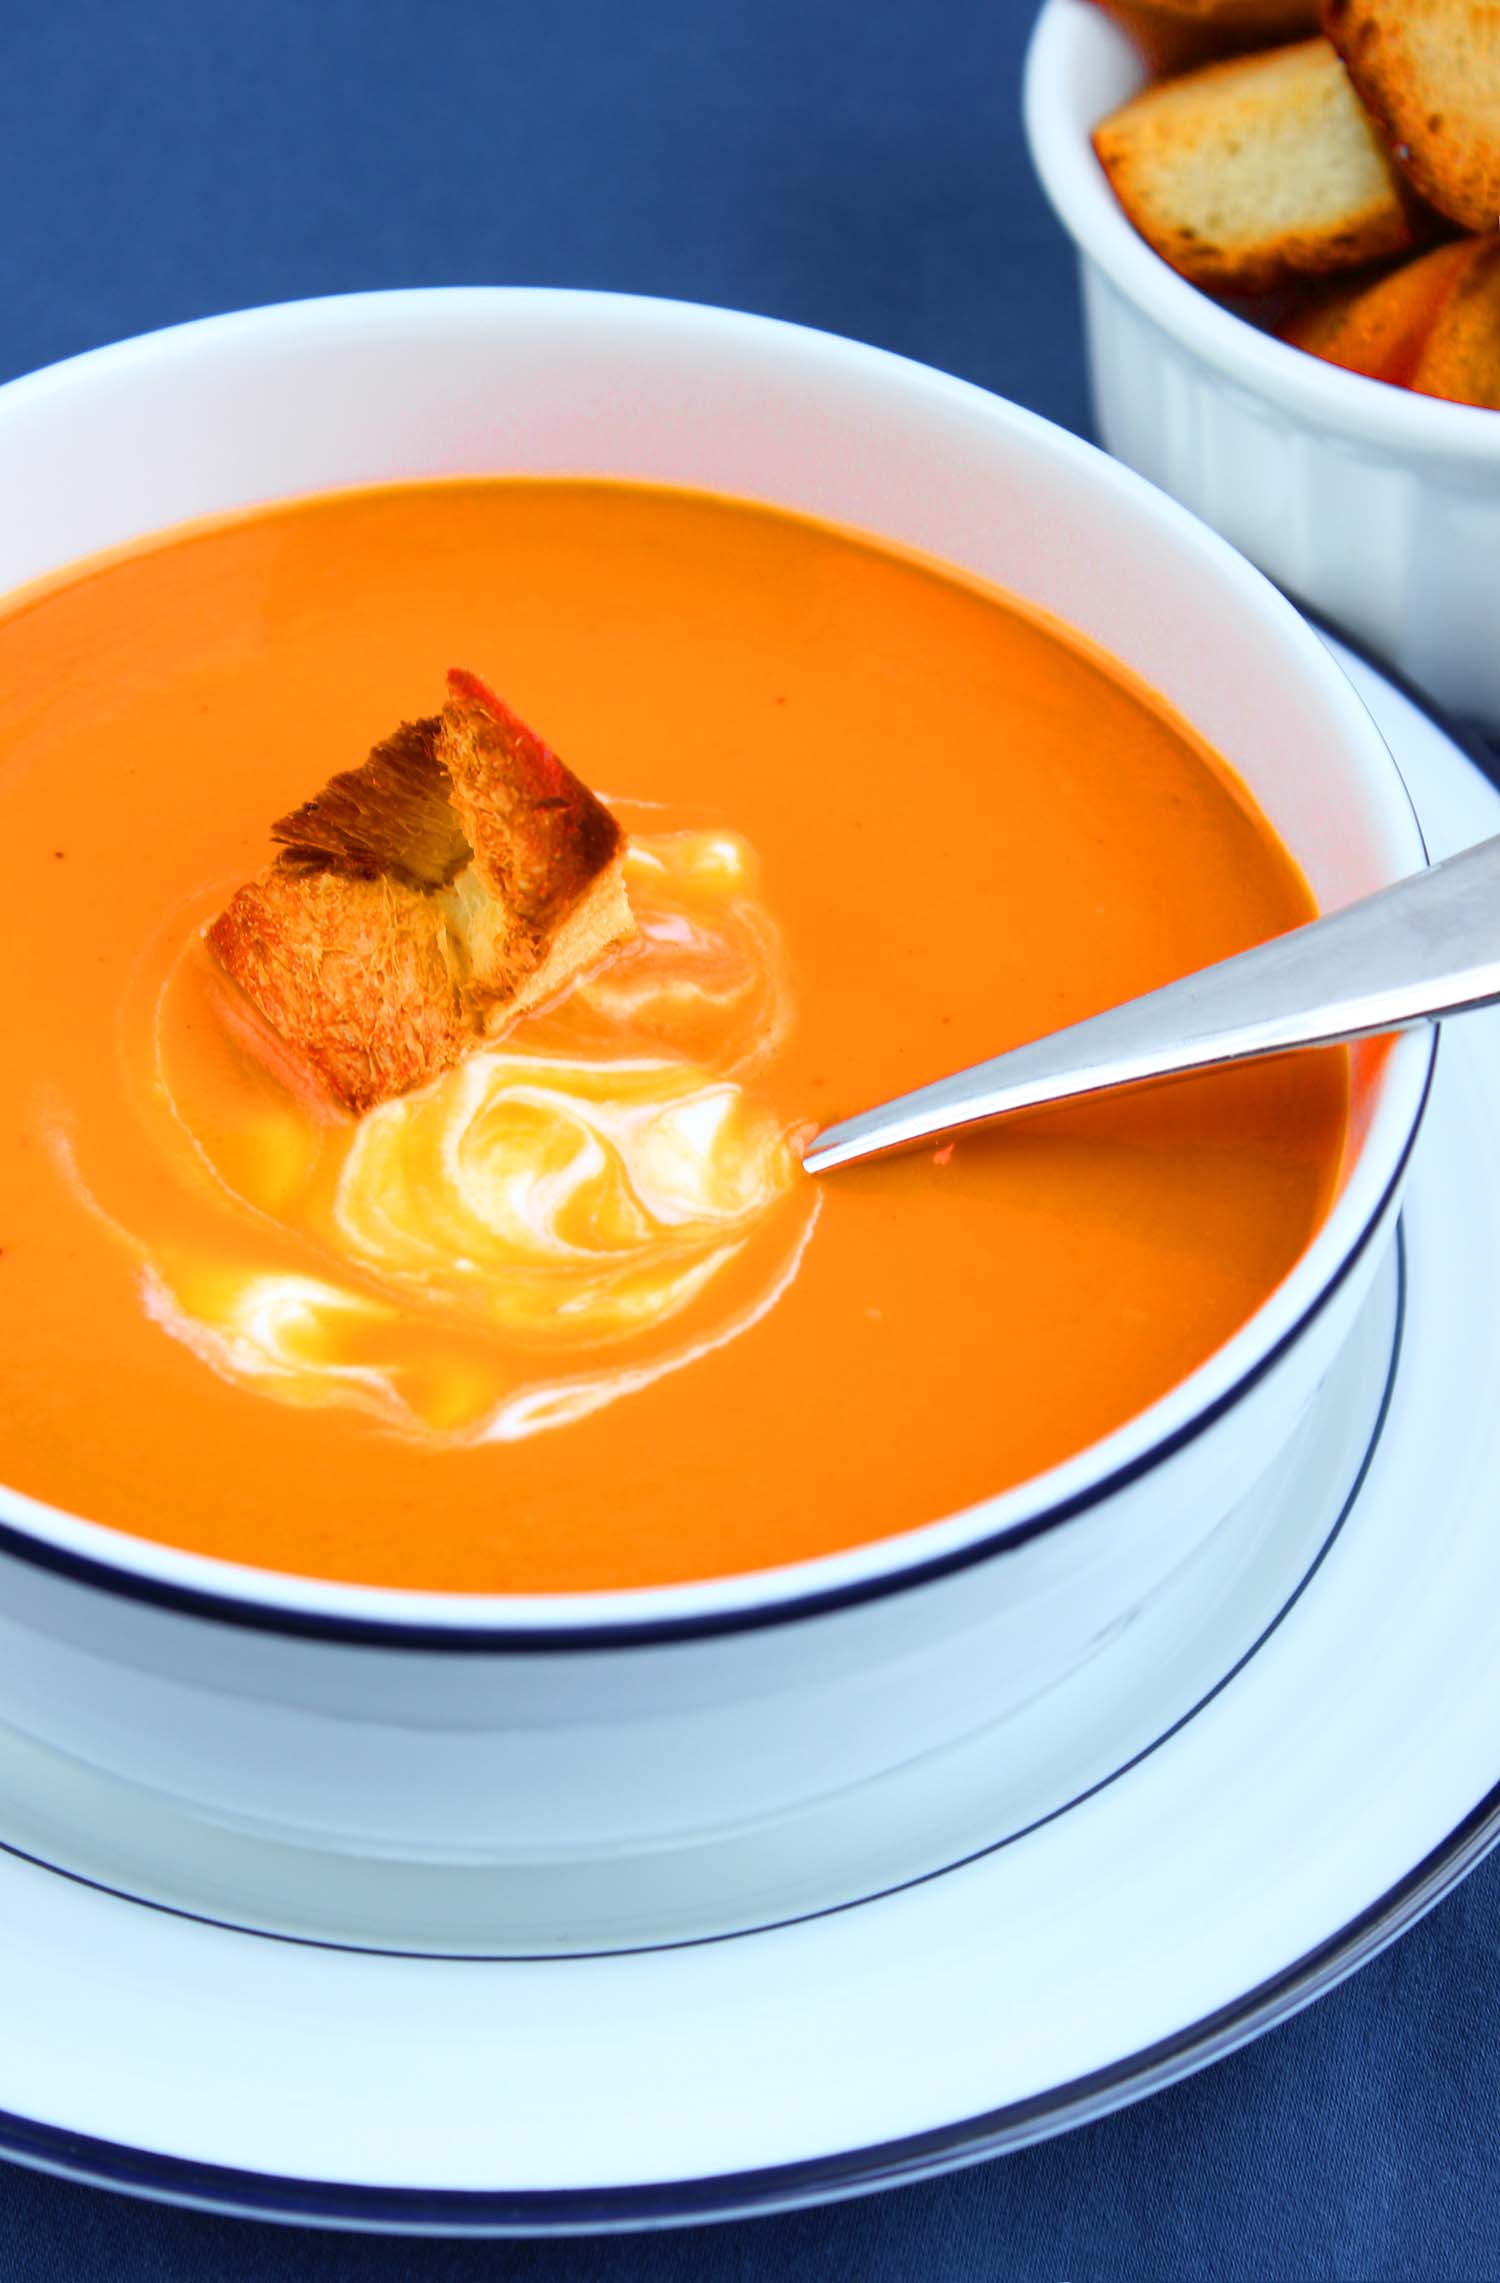
Roasted Red Pepper Soup

The first time I ever tasted this soup was on a vacation Mike and I took with his family to Maui. We spent the first handful of days together in Lahaina before breaking off to explore the other side of the island on our own. First stop: one of the last pineapple plantations on the island for a tour where we stuffed ourselves with fresh from the field Maui Gold pineapple.

Can I just pause for a moment to relive the gloriousness of a wedge of pineapple still warm from the sun cut from the stalk just moments before and sliced with a wickedly sharp machete by our fearless guide right before our eyes? Even though we had enough fresh fruit to make our tongues go a little numb lunch was still in order (what can I say, we were on a vacation “diet”) and we were fortunate to be within a stone’s throw of the Hali’imaile General Store; a somewhat confusingly named, but absolutely lovely café.

After the memorable morning we spent in the pineapple fields you can probably forgive me for not remembering all of lunch very clearly, but this soup on the other hand still lives in my dreams. Thanks to some Internet research I was able to recreate it in my own kitchen and return to that amazing day in the hills of Maui.

Roasted Red Pepper Soup

Hali'imaile General Store Roasted Red Pepper Soup (serves: 4)

Ingredients:
1 tablespoon olive oil
4 tablespoons unsalted butter
1 tablespoon (3 cloves) minced garlic
1 cup (1 medium) chopped onion
3/4 cup (3 medium) shallots
6 fire roasted red bell peppers
4 cups chicken stock
1 teaspoon kosher salt
1/4 teaspoon freshly ground black pepper
Pinch cayenne pepper
4-6 tablespoons Chobani 4% plain greek yogurt
Challah croutons (recipe below)

Instructions:
Roast the bell peppers by placing them directly on the burner over a gas flame or under a preheated broiler, rotating every 2-3 minutes until the skins blister and are completely charred. The more blackened and crispy the skin, the easier it will be to remove. Place the roasted peppers in a brown paper bag and fold over the top to allow the peppers to steam for 5 minutes.

As soon as the peppers are cool enough to handle, peel off the tough exterior skin. Rinse briefly under cold water and drain on paper towels. Remove the stems, seeds, and ribs before slicing each pepper into long strips, approximately 1/2 inch wide.

 In a large dutch oven, melt the oil and butter together over medium heat. Add the onion and shallots, and sauté for 4-5 minutes until softened. Add the minced garlic and sauté 1-2 minutes more before adding the strips of red pepper.

Cook for 6-8 minutes until softened.

Add the chicken stock, kosher salt, black pepper and cayenne pepper. Bring to a boil before decreasing to medium-low heat. Cover and simmer for 25 minutes until the peppers begin to fall apart.

Allow the soup to cool slightly, then ladle into a blender or food processor and puree until smooth. Return the soup to the saucepan and reheat. Serve warm, or chill for 2-3 hours and serve cold with a dollop of whole milk greek yogurt and crunchy croutons.

Roasted Red Pepper Soup

Homemade Challah Croutons (yield: 4-5 cups croutons)

Ingredients:
1 loaf challah bread (or brioche)
2 tablespoons olive oil
1/2 teaspoon kosher salt
1/4 teaspoon ground black pepper

Instructions:
Preheat the oven to 350 degrees F.

Slice the bread about 3/4-inch thick. If you prefer, cut off the crusts, otherwise cut the slices in 3/4-inch dice. You should have 6 to 8 cups of croutons.

Place the croutons on a sheet pan and toss with the olive oil, kosher salt, and black pepper. Bake for 10 to 15 minutes, tossing once about half-way through the baking time, until they're golden brown on all sides. Cool to room temperature.

Rewritten and slightly adapted from Ina Garten’s Brioche Croutons.

Challah Croutons 1 smaller.jpg

Small Kitchen Friendly?
Yes! I used my trusty 5.5 qt French oven, a high-powered blender, a large cutting board, and chef’s knife. I also used a liquid measuring cup, measuring spoons, a ladle, rubber spatula and tongs. A large paper grocery bag, or in a pinch several brown lunch bags, and paper towels will be super helpful.

If you’re also making the croutons, then add a baking sheet, wooden spatula, and serrated knife to your kit.

The Verdict:
This is an amazing summer recipe – truly the perfect marriage of deep pepper flavor with the creaminess of a pureed bisque, and while roasting the peppers yourself does take a little doing, the mixture of bright freshness tinged with smoke is so worth it. Serve this soup cold with a spoonful of plain greek yogurt and a tumble of crunchy homemade challah croutons for a meal (or appetizer) that’s refreshing and just the littlest bit spicy. 

Roasted Red Pepper Soup