Apple Spice Coffee Cake

Apple Spice Coffee Cake | Image: Laura Messersmith

Apple Spice Coffee Cake | Image: Laura Messersmith

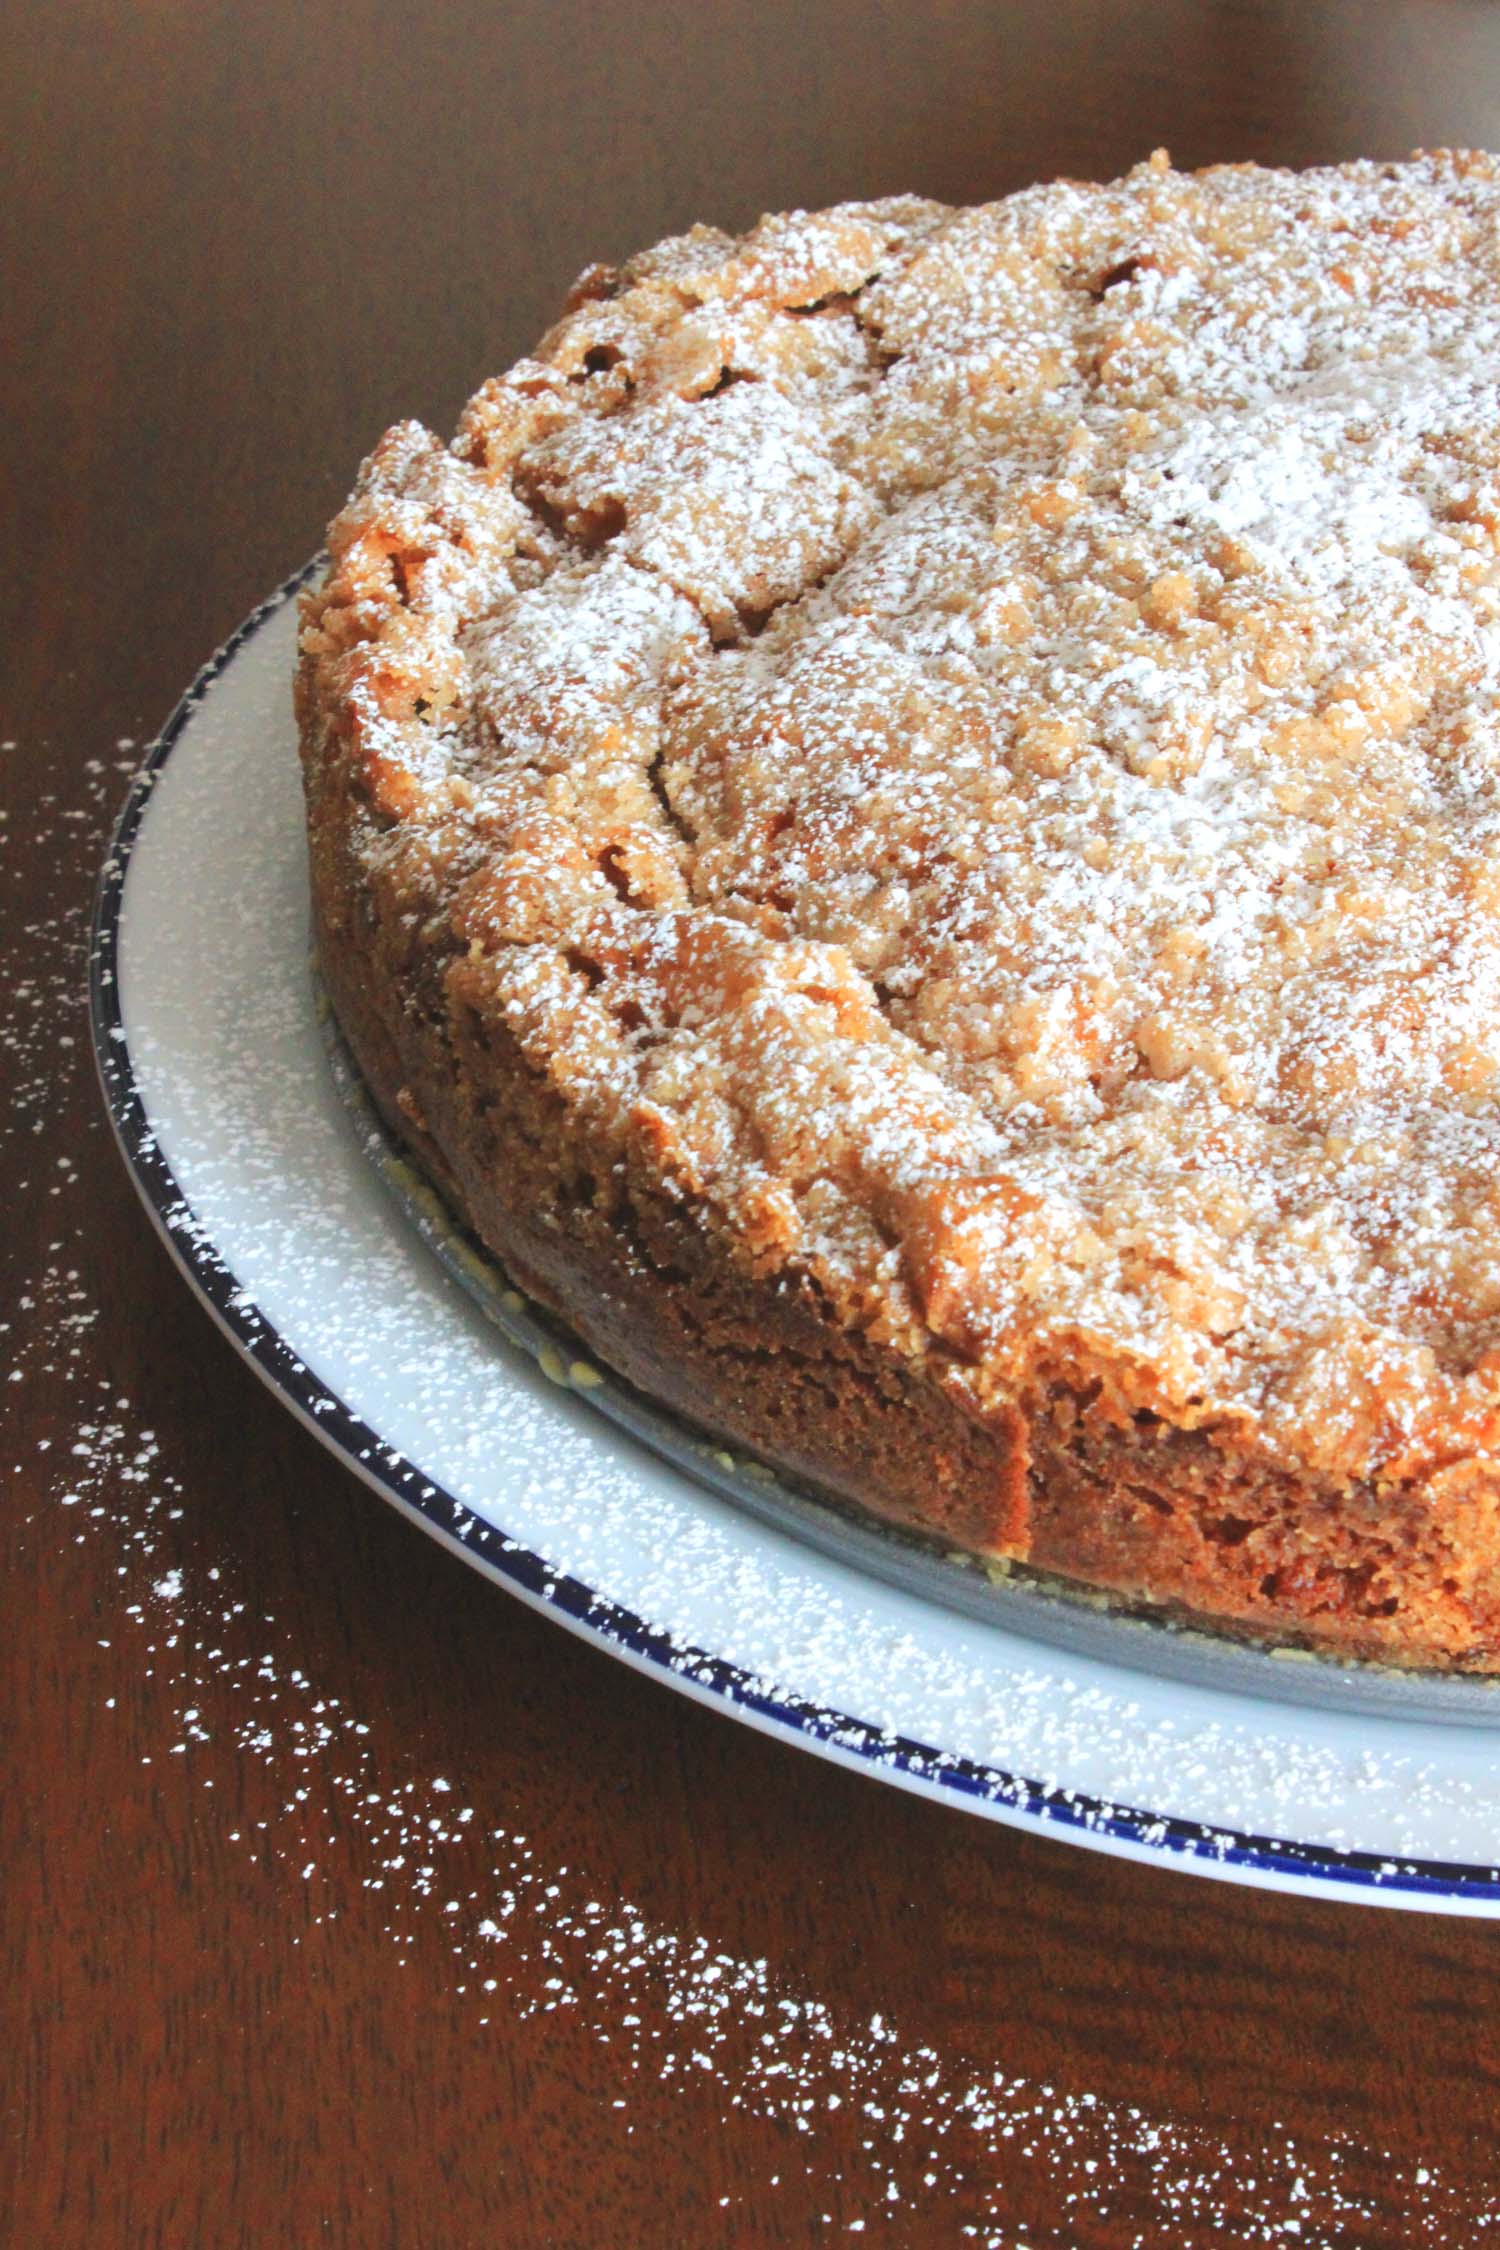
In my world October = Apple Season, a time I look forward to every year as the season’s fresh crop of MacIntoshes, Cortlands, and Macouns make their way from tree to market. It’s a time of year that practically begs for cinnamon and ginger spiced baked goods and this one plays right into everything that’s best about apple season.

When my parents visited a few weeks ago they brought a basketful of Honeycrisp apples from Beak & Skiff, my favorite orchard Upstate. I love eating them just as they are, but I recently came across this column from Bon Appetit and learned that they’re good for baking too.

I remembered the Cherry & Blueberry Buckle I made over the summer and decided to see if I could adapt it into a more traditional coffee cake. As the name suggests, Honeycrisp are on the sweeter side and since the topping I was planning on has plenty of sugar too I knew I’d need a cake that would balance and compliment those two elements.

Apple Spice Coffee Cake | Image: Laura Messersmith

Apple Spice Coffee Cake | Image: Laura Messersmith

I decided that using Greek yogurt - in place of the classic sour cream - would be a great way to make really moist cake with just a hint of tartness and when Mike brought home a few cups of Chobani’s seasonal Apple Spice I knew we were in business.

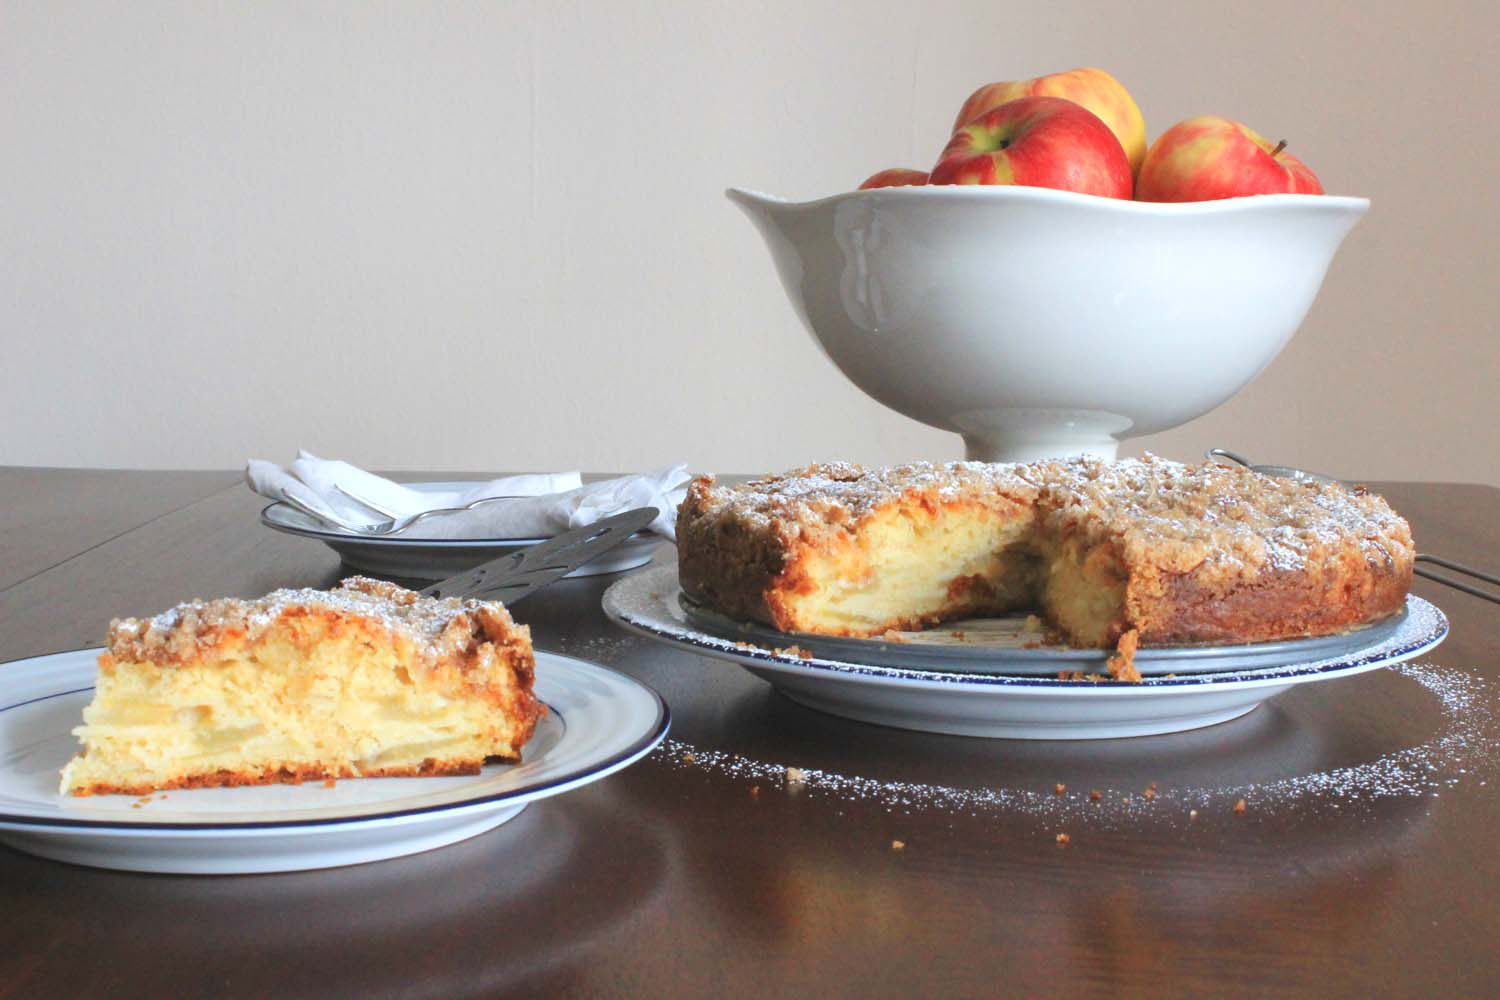
A heads up on the batter – it looks like there won’t be enough that you’ll never mange a whole cake, let alone one with two “layers”. My advice is to use an off-set spatula or a butter knife to spread the batter like frosting over the bottom of the pan and later the apple layer. As the cake bakes the batter rises a little and surrounds the apples while the sugar and spice layer melts and crystalizes.

The resulting cake with its center layer of tender apples, and a crunchy, spicy, sugary crust is just what October ordered.

Apple Spice Coffee Cake | Image: Laura Messersmith

Apple Spice Coffee Cake | Image: Laura Messersmith

Spicy Apple Yogurt Cake (yield: one cake, serves 6-8 ppl) 

Sugar & Spice Topping Ingredients:

1/2 cup sugar
1/4 cup all-purpose flour
1/2 teaspoon ground cinnamon
1/8 teaspoon ground cardamom
1/8 teaspoon ground ginger
1/4 teaspoon kosher salt
4 tablespoons (1/2 stick) chilled unsalted butter, cut into 1/4" pieces

Cake Ingredients:

4 tablespoons (1/2 stick) room temperature unsalted butter, plus more for pan
1 1/2 cups all-purpose flour, plus more for pan
2 1/4 teaspoons baking powder
3/4 teaspoons kosher salt
2/3 cup sugar
1 large egg
2 teaspoons vanilla extract
1/2 cup Chobani Apple Cinnamon Greek Yogurt
1/8 cup 2% or whole milk
3 cups (2 medium apples) apple, peeled, thinly sliced

Special Tools:

9” spring form pan
parchment paper

Sugar & Spice Topping Instructions:

In a medium bowl, stir together sugar, flour, cinnamon, cardamom, ginger, and salt. Add diced butter and combine with your fingers until mixture comes together to form a texture like damp sand; refrigerate until needed.

Cake Instructions:

Preheat oven to 350°. To prepare the pan butter the inside of a 9” spring form cake pan and place a disk of parchment paper cut to size in the bottom. Butter the parchment paper and lightly dust the interior of the pan with flour. Tap out any excess flour.

In a small bowl, whisk together baking powder, salt, and flour. Set aside.

Next, in a medium bowl, beat sugar and room temperature butter using an electric mixer on high speed until very light and fluffy, about 3 minutes. Beat in the egg and vanilla just to combine, about 2 minutes.

Reduce speed to low and add dry ingredients in stages until just mixed. Last, in a liquid measuring cup whisk together Chobani Apple Cinnamon Greek Yogurt and milk and then mix into batter just to combine. The resulting batter consistency will be like thick frosting.

Peel, core, and cut two medium Honeycrisp apple into half, then thinly slice, about 1/8” thick.

Spoon half batter into prepared pan and spread evenly with a butter knife or off-set spatula. Next arrange the apple slices to cover the bottom layer of batter – if the apples are very juicy sprinkle with a tablespoon of flour. Top with the second half of the batter spread it evenly across the apples. Place the cake pan on a rimmed baking sheet and evenly crumble the chilled sugar and spice mixture over the top.

Bake until the sugar and spice is golden brown and a cake tester inserted into the center comes out clean, 50–70 minutes. Transfer pan to a wire rack and let cool before unmolding and serving.

Apple Spice Coffee Cake | Image: Laura Messersmith

Apple Spice Coffee Cake | Image: Laura Messersmith

Small Kitchen Friendly?

Yes, to a degree. The recipe as written calls for three bowls (two small, one medium), an electric mixer, measuring cups & spoons, a spring form pan, and a baking sheet.

However, if bowl supplies are limited it’s easy to switch the order of prep and re-use the dry ingredient bowl to make the topping, or just shake the dry ingredients together in a ziplock. If a fancy presentation isn’t essential – and this is a rustic type of cake – then using a regular cake pan is a good option too.

The Verdict:

My expert team of taste-testers were unanimous: the Apple Spice Coffee Cake is addictively delicious. The apples and crunchy spice topping were meant for each other. And, extra bonus: on the off chance that there are leftovers that escape hungry people for more than 24 hours (doubtful) the cake stays lovely and moist.

Apple Spice Coffee Cake | Image: Laura Messersmith
Apple Spice Coffee Cake | Image: Laura Messersmith

Lemony Cucumber Salad with Chickpeas

Lemony Cucumber Salad with Chickpeas | Image: Laura Messersmith

Lemony Cucumber Salad with Chickpeas | Image: Laura Messersmith

My parents came to visit us in New York last weekend and brought with them some great produce from their local farmers market including a ton of late season cucumbers. The old saying “necessity is the mother of invention” is incredibly true in the kitchen and never more so for me than when I have an unexpected fresh produce.

Usually I buy cumbers one at a time and use them more as a garnish, but in this case I had a half dozen. So the question was: what to do with a half dozen cucumbers? Make pickles? A chilled soup? Or, maybe a different take on Greek/Mediterranean flavors by making the cucumber the star….

I scoured the pantry and fridge for inspiration and found feta and a can of chickpeas and after that the idea of doing a light, lemony vinaigrette seemed like the best way to bring all the ingredients together.

Lemony Cucumber Salad with Chickpeas | Image: Laura Messersmith

Lemony Cucumber Salad with Chickpeas | Image: Laura Messersmith

Lemony Cucumber Salad with Chickpeas (serves 4)

Ingredients:

4 cups (3-4 medium) thinly sliced seedless cucumber
1 can (15 ounce) drained rinsed chickpeas
1/4 cup crumbled feta cheese
1/4 cup slivered almonds
1/2 cup of freshly squeezed lemon juice
1 teaspoon lemon zest
2 teaspoons minced, fresh dill
1/4 cup olive oil
Kosher salt
Freshly ground black pepper

Directions:

Using a chef’s knife, vegetable peeler, or mandoline, thinly slice the cucumbers length-wise into long ribbons about 1/8”. Drain and rinse the chickpeas. Set aside both the chickpeas and the cucumbers in a medium bowl lined with paper towel to collect any excess moisture.

To make the vinaigrette whisk together the lemon juice, lemon zest, minced dill, 1 ½ teaspoons kosher salt, and 1/2 teaspoon black pepper with olive oil.

Remove the paper towel from underneath the cucumber and chickpeas and toss together with the dressing. Next, in a dry sauté pan toast the almonds for 2-3 minutes until lightly browned.

Arrange the cucumber and chickpeas on a platter and sprinkle with the toasted almonds and feta. Garnish with lemon zest and dill fronds.

Serve immediately.

Lemony Cucumber Salad with Chickpeas | Image: Laura Messersmith

Lemony Cucumber Salad with Chickpeas | Image: Laura Messersmith

Small Kitchen Friendly?

Yes, absolutely. I used a small sauté pan, a medium cutting board, and a medium mixing bowl. I also used a medium sieve, a mandoline slicer, a chef’s knife for chopping, a small paring knife, a liquid measuring cup and measuring spoons, along with a wire whisk.

The Verdict:

I made this for myself as a light lunch and I was really happy with the results. This salad incorporates Greek and Mediterranean ingredients in a way that highlights the cucumber and punches up the cool watery flavor with a strong lemony dressing. Mike’s influence on my cooking means that I’m always looking for ways to include substantial components in my salads. In this case the delicate crunch of the cucumbers are balanced by the chickpeas and almonds topped with a little salty feta. Yum.

Lemony Cucumber Salad with Chickpeas | Image: Laura Messersmith

Lemony Cucumber Salad with Chickpeas | Image: Laura Messersmith

Cheddar Chive Cornbread

Cheddar Chive Cornbread | Image: Laura Messersmith

Cheddar Chive Cornbread | Image: Laura Messersmith

This recipe comes from my desire for balance in my meals. As I was watching Ina for this week I noticed that she was serving Mexican Chicken Soup (spoiler alert: more on that Wednesday) with Jalapeno Cheddar Cornbread, which to my way of thinking doesn’t make a ton of sense. For me cornbread is the break my taste buds take in between bites of something spicy and if the cornbread is also spicy well then where will I be?

I felt it was my responsibility to re-work her recipe and create a version for my fellow spice-lightweights. I wanted to take down the spiciness without eliminating the flavor. I started thinking about other cornmeal-related dishes like biscuits and grits and took the recipe in a more Southern direction with the addition of buttermilk and chives to create a milder cornbread. The result: Cheddar Chive Cornbread is a welcome respite for a mouth on fire and might just steal the show from the flashier dishes at your next tailgate or Chili Cook-off.... Fighting words!

Cheddar Chive Cornbread | Image: Laura Messersmith

Cheddar Chive Cornbread | Image: Laura Messersmith

Cheddar Chive Cornbread (serves 6-8)

Ingredients:

1 1/2 cups all-purpose flour
1/2 cup yellow cornmeal
1/4 cup sugar
1 tablespoons baking powder
1 teaspoons kosher salt
1 cup buttermilk
2 large eggs
1/4 pound (1 stick) unsalted butter, melted and slightly cooled
4 ounces aged extra-sharp Cheddar, grated, divided
1/4 cup minced chives
Non-stick spray

Instructions:

In a medium mixing bowl, stir together the flour, cornmeal, sugar, baking powder, and salt. In a separate small bowl, gently whisk the eggs then incorporate the buttermilk and slowly stir in the melted butter.

Make a well in the center of the dry ingredients and pour the wet ingredients into the dry. With a wooden spoon or rubber spatula, fold the wet ingredients into the dry until just combined. Some lumps might remain, but don’t over mix!

Next fold in 1 cup of the grated Cheddar and the minced chives. Allow the mixture to sit at room temperature for 20 minutes.

Meanwhile, preheat the oven to 350 degrees F. Coat a 9” glass pie plate or an 8 x 8 x 2-inch baking pan with non-stick spray.

Pour the batter into the prepared pan, smooth the top, and sprinkle with the remaining grated Cheddar and any extra minced chives. Bake for 30 to 35 minutes, or until a toothpick comes out clean. Cool and cut into wedges. Serve warm or at room temperature.

Cheddar Chive Cornbread | Image: Laura Messersmith

Cheddar Chive Cornbread | Image: Laura Messersmith

Small Kitchen Friendly?

Yes, no electric mixer required! I used two mixing bowls one medium, one small; one small microwave-safe bowl, measuring cups and spoons (dry and liquid), and a box grater. I also used a medium cutting board, a chef’s knife, rubber spatula and a 9” pie plate.

The Verdict

I don’t mean to toot my own horn here, but this Cheddar Chive Cornbread is pretty killer and Mike said he thinks it’s the best cornbread he’s ever had. High praise indeed. The sprinkled cheddar makes the top crunchy and golden, the crumb is deliciously moist and has a little tangy edge thanks to the buttermilk and cheddar. I have a feeling that this cornbread will make a lot of appearances on our dinner table this fall.

Cheddar Chive Cornbread | Image: Laura Messersmith

Cheddar Chive Cornbread | Image: Laura Messersmith

Chickpeas with Spinach

Chickpeas with Spinach | Image: Laura Messersmith

Chickpeas with Spinach | Image: Laura Messersmith

I first came across this recipe for Espinacas con Garbanzos (aka Chickpeas with Spinach) on Smitten Kitchen a few years ago. I think it was via Pinterest...? Anyway, it sounded good and like a relatively simple way to make a dish that included both a leafy green vegetable and some protein – the holy grail, right?

I went out and bought the ingredients, stashed them away in the fridge and promptly began to procrastinate. As the clock ticked down on the lifespan of the baby spinach I found myself allergic to the idea of dragging down my food processor and honestly under motivated to follow all the steps even though none of them are terribly time consuming or difficult.

I still wanted to make the recipe, just on my level of effort, so instead I came up with this version of Chickpeas with Spinach – now known as “The Chickpea Thing” in our household. It’s in the spirit of the SK recipe, but pared back to just the essential steps for those evenings when 10-15 minutes from start to finish is all the time or effort you can muster.

I’ve since made this as a vegetarian main dish, a side to accompany something meatier like grilled sausage, and have served it as an appetizer. Since this dish is already flirting along the Mediterranean by way of Italy and Spain I like to accompany it with toasted pita bread just to add another country to the mix.

Chickpeas with Spinach | Image: Laura Messersmith

Chickpeas with Spinach | Image: Laura Messersmith

Chickpeas with Spinach (serves 4-6)

Ingredients:

2 cans (16 ounce) chickpeas, drained and rinsed
5 ounces fresh baby spinach, washedand dried
2 1/4 cups tomato sauce (I used Barilla basilico)
3 tablespoon olive oil
2 tablespoons minced garlic
1/3 teaspoon red pepper flakes
1/3 teaspoon red wine vinegar
1/2 teaspoon Kosher salt
1/2 teaspoon black pepper
6 pitas, cut into wedges and toasted

Instructions:

Place a large, deep-sided sauté pan over medium-low heat and add the olive oil. After just under a minute, when the olive oil is warm, but not hot add the minced garlic and sauté for one minute. While the garlic is cooking, drain the canned chickpeas in a sieve and rinse well with lukewarm water. Set aside.

Add the red pepper flakes to the sauté pan and cook for another 30 seconds then stir in the drained chickpeas coating well with the seasoned oil. Cook the chickpeas for 1-2 minutes until they begin to heat through, but do not brown or toast. Add the tomato sauce, kosher salt and freshly ground black pepper and use the flat side of a spatula to make sure any garlic or red pepper along the bottom of the pan is incorporated.

Once the sauce is hot and begins to simmer add the baby spinach leaves a handful or two at a time and fold into the sauce. As one handful wilts into the sauce add another until all the spinach is incorporated. Finish by stirring in the red wine vinegar and cooking another minute or two until all the ingredients are hot. Check the seasoning and add salt or pepper to taste. Serve with toasted pita wedges.

Chickpeas with Spinach | Image: Laura Messersmith

Chickpeas with Spinach | Image: Laura Messersmith

Small Kitchen Friendly?

Yes and yes. I used a large, deep-sided sauté pan, one medium cutting board, a sieve, and one chef’s knife. I also used a can opener, liquid measuring cup and measuring spoons along with a wooden spatula and a rubber spatula.

The Verdict

I really like this dish and I was surprised when it turned out that Mike liked it too. The chickpeas lend a substance and texture that make me forget I’m eating neither carbs nor meat. The simplicity of the seasonings is deceptive - red pepper, garlic and red wine vinegar, salt, black pepper – add so much depth of flavor and spice that this dish is never boring. Extra bonus – it reheats really nicely, so leftovers never go to waste!

Chickpeas with Spinach | Image: Laura Messersmith

Chickpeas with Spinach | Image: Laura Messersmith