Cannellini Beans with Spinach

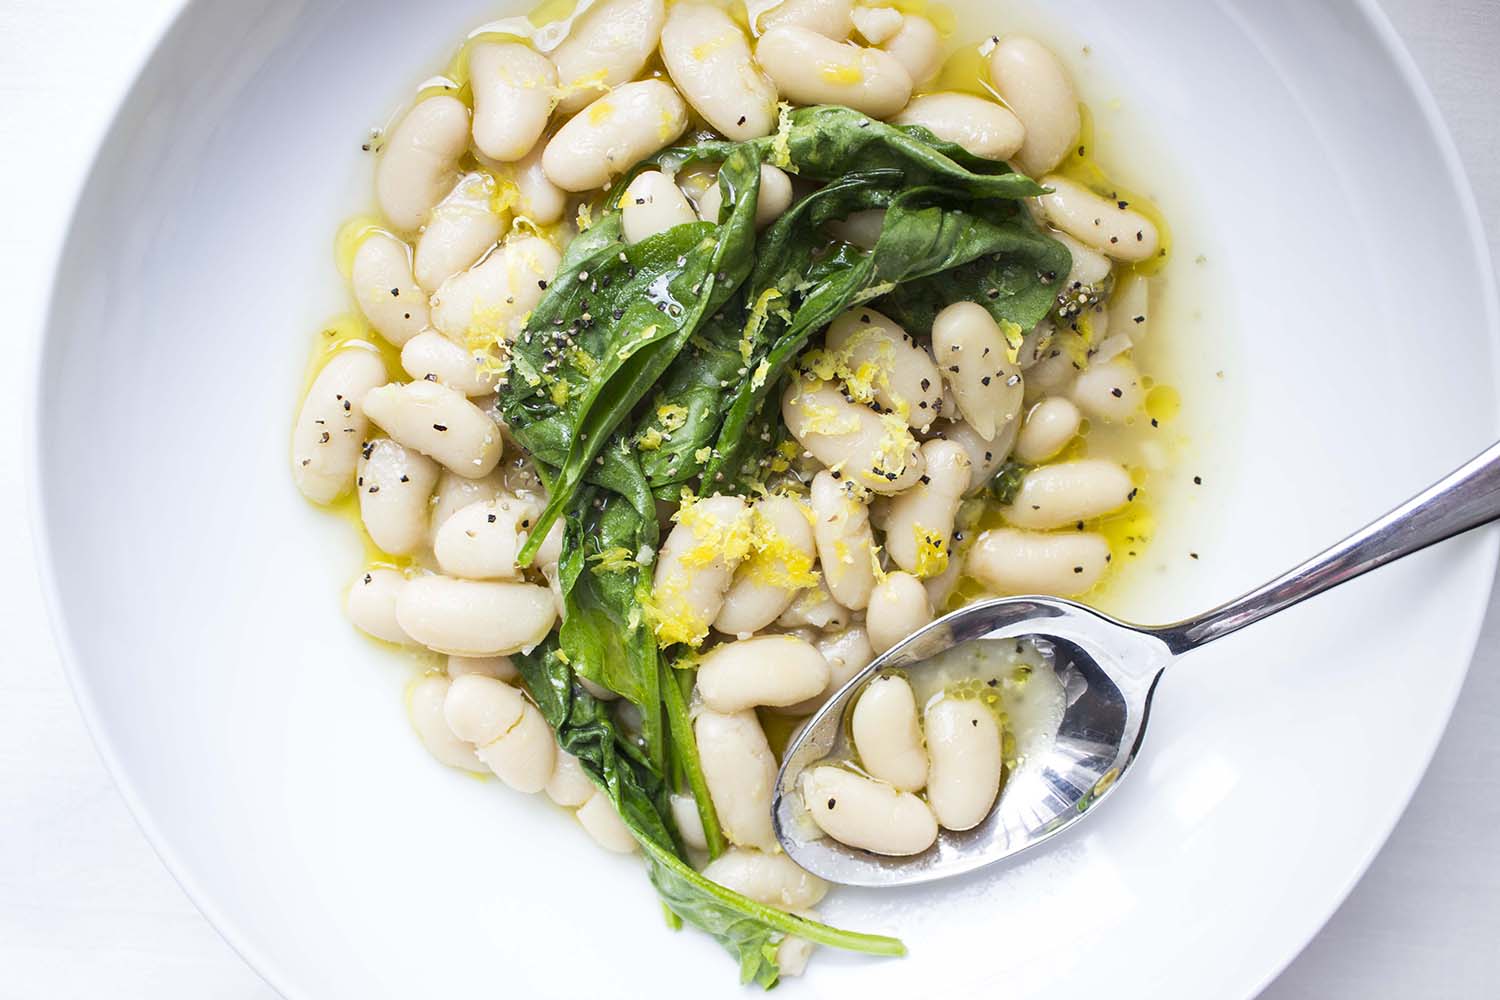
Cannellini Beans with Spinach | Image: Laura Messersmith
After an odd few days of 80 degree temperatures in New York we’re back to the weather I associate most with late October. Weather more in the vein of “a dark and stormy night” full of windy breezes that swirl the leaves and pulse with energy straight from Ghostbusters.
It’s days like today that absolutely call for something simple, warming, and earthy. A dinner that calls to mind the safety of hearth and home; simmering merrily on the stovetop through the afternoon then bringing family to gather around the table. As written this is a dish reminiscent of a Tuscan stew – creamy beans, bright lemon, leafy spinach – but with a bit more chicken stock could easily translate into a wintery soup. Even better? With just a quick swap in of vegetable stock for the broth you’ll have a fantastic main course that I’d be proud to serve to any vegetarian.
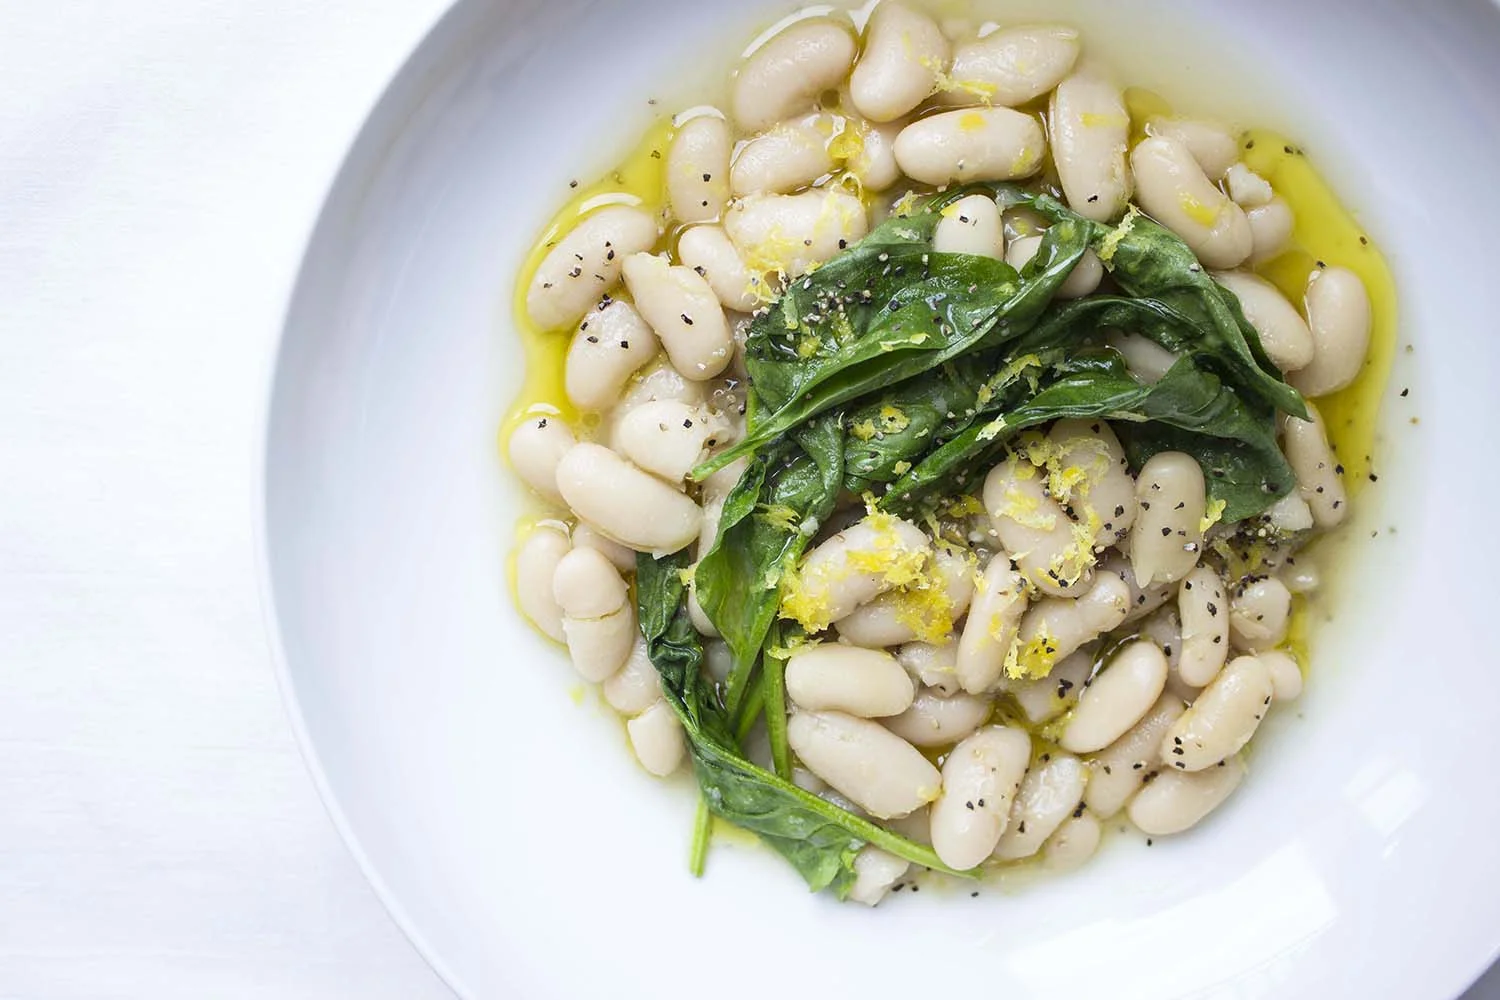
Cannellini Beans with Spinach | Image: Laura Messersmith
Stews always improve with a bit of time to think about what they’ve done, and so this is also a dish that I would absolutely make extras of and squirrel away in the freezer for use this winter when something cozy is just the ticket. Perfect with a slice of crusty bread toasted and rubbed with garlic or a sprinkle of parmesan melted on top.
Cannellini Beans with Spinach (serves: 8)
Ingredients:
1 1/2 cups dried cannellini beans
6 cups low sodium chicken broth
1 head of garlic, halved crosswise; plus 2 garlic cloves, crushed
3 sage leaves
6 tablespoons olive oil, divided, plus more for serving
1 teaspoon Kosher salt
1/2 teaspoon crushed red pepper flakes
2 bunches mature spinach, ends trimmed
1 tablespoon finely grated lemon zest
2 tablespoons fresh lemon juice
Instructions:
Place the dried beans in a large French oven or bowl and cover with double the amount of water. Cover and allow to soak for 16-24 hours at room temperature.
Drain the beans and return them to the pot. Bring beans, head of garlic, sage, 3 tablespoonsolive oil, and 6 cups chicken broth to a boil over medium heat. Reduce the heat, add 1 teaspoon kosher salt and simmer gently until beans are creamy all the way through but skins are still intact, 35–45 minutes. Some of the beans will break down slightly and thicken the broth. Let cool while you move onto the spinach.
Heat 3 tablespoons olive oil in a large deep sauté pan over medium. Cook crushed garlic and red pepper flakes, stirring, just until garlic is golden, about 1 minute. Working in batches, add spinach, letting it wilt slightly before adding more, and cook, tossing often, until leaves are just wilted, about 5 minutes; season with salt.
Using a slotted spoon, transfer beans to sauté pan with spinach and cook, tossing gently, until beans are warmed through. Add lemon zest, lemon juice, and 1/4 cup bean cooking liquid and toss, adding more cooking liquid if needed, until coated. The mixture should be closer to a sauce than a soup in consistency. Be careful not to over cook or the beans will begin to break down. Taste and season with salt as needed. Serve drizzled with oil and a slice of toasted crusty bread.
Do Ahead: Beans can be cooked 3 days ahead. Keep in cooking liquid; cover and chill. Cook spinach and seasonings when ready to serve.
Re-written and lightly adapted from Bon Appetit’s Cannellini Beans with Spinach by Rita Sodi & Jody Williams.

Cannellini Beans with Spinach | Image: Laura Messersmith
Small Kitchen Friendly?
Yes! I used a 6 qt. French oven, large deep sauté pan, fine mesh sieve, medium cutting board, chef’s knife, liquid measuring cup, slotted spoon, microplane grater, and measuring spoons.
Cannellini Beans with Spinach | Image: Laura Messersmith


