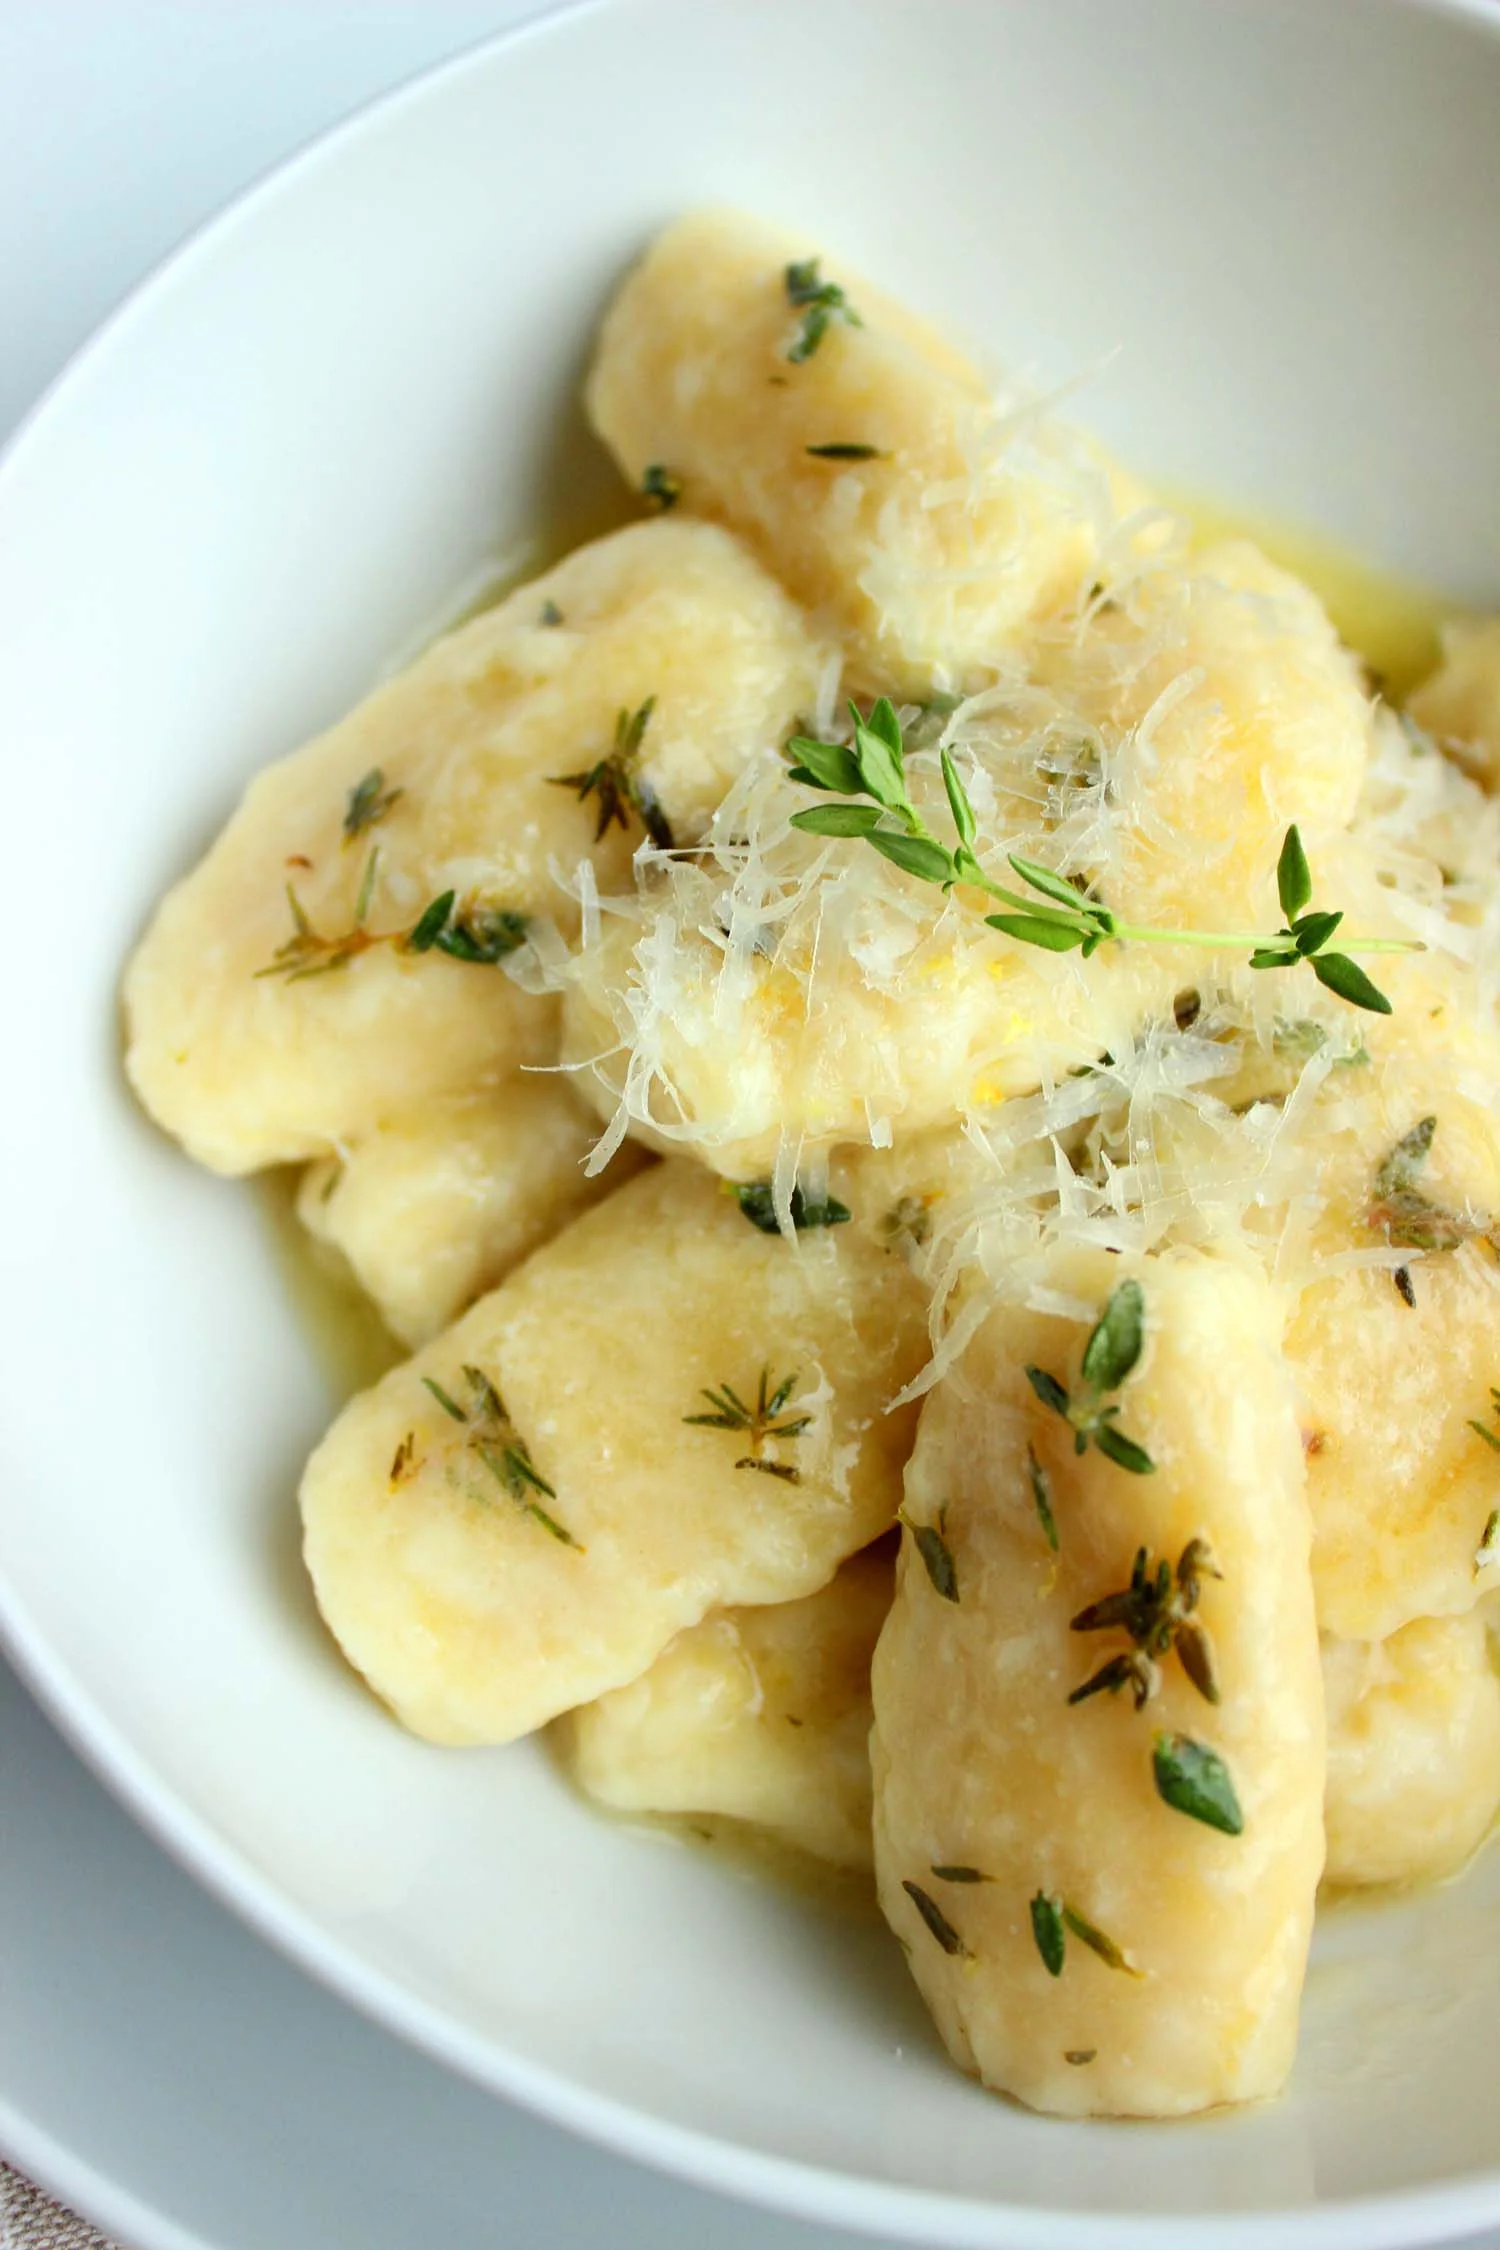
Cannellini Beans with Spinach

Cannellini Beans with Spinach | Image: Laura Messersmith

Cannellini Beans with Spinach | Image: Laura Messersmith

After an odd few days of 80 degree temperatures in New York we’re back to the weather I associate most with late October. Weather more in the vein of “a dark and stormy night” full of windy breezes that swirl the leaves and pulse with energy straight from Ghostbusters.

It’s days like today that absolutely call for something simple, warming, and earthy. A dinner that calls to mind the safety of hearth and home; simmering merrily on the stovetop through the afternoon then bringing family to gather around the table. As written this is a dish reminiscent of a Tuscan stew – creamy beans, bright lemon, leafy spinach – but with a bit more chicken stock could easily translate into a wintery soup. Even better? With just a quick swap in of vegetable stock for the broth you’ll have a fantastic main course that I’d be proud to serve to any vegetarian.

Cannellini Beans with Spinach | Image: Laura Messersmith

Cannellini Beans with Spinach | Image: Laura Messersmith

Stews always improve with a bit of time to think about what they’ve done, and so this is also a dish that I would absolutely make extras of and squirrel away in the freezer for use this winter when something cozy is just the ticket. Perfect with a slice of crusty bread toasted and rubbed with garlic or a sprinkle of parmesan melted on top.

Cannellini Beans with Spinach (serves: 8)

Ingredients:
1 1/2 cups dried cannellini beans
6 cups low sodium chicken broth
1 head of garlic, halved crosswise; plus 2 garlic cloves, crushed
3 sage leaves
6 tablespoons olive oil, divided, plus more for serving
1 teaspoon Kosher salt
1/2 teaspoon crushed red pepper flakes
2 bunches mature spinach, ends trimmed
1 tablespoon finely grated lemon zest
2 tablespoons fresh lemon juice

Instructions:
Place the dried beans in a large French oven or bowl and cover with double the amount of water. Cover and allow to soak for 16-24 hours at room temperature.

Drain the beans and return them to the pot. Bring beans, head of garlic, sage, 3 tablespoonsolive oil, and 6 cups chicken broth to a boil over medium heat. Reduce the heat, add 1 teaspoon kosher salt and simmer gently until beans are creamy all the way through but skins are still intact, 35–45 minutes. Some of the beans will break down slightly and thicken the broth. Let cool while you move onto the spinach.

Heat 3 tablespoons olive oil in a large deep sauté pan over medium. Cook crushed garlic and red pepper flakes, stirring, just until garlic is golden, about 1 minute. Working in batches, add spinach, letting it wilt slightly before adding more, and cook, tossing often, until leaves are just wilted, about 5 minutes; season with salt.

Using a slotted spoon, transfer beans to sauté pan with spinach and cook, tossing gently, until beans are warmed through. Add lemon zest, lemon juice, and 1/4 cup bean cooking liquid and toss, adding more cooking liquid if needed, until coated. The mixture should be closer to a sauce than a soup in consistency. Be careful not to over cook or the beans will begin to break down. Taste and season with salt as needed. Serve drizzled with oil and a slice of toasted crusty bread.

Do Ahead: Beans can be cooked 3 days ahead. Keep in cooking liquid; cover and chill. Cook spinach and seasonings when ready to serve.

Re-written and lightly adapted from Bon Appetit’s Cannellini Beans with Spinach by Rita Sodi & Jody Williams.

Cannellini Beans with Spinach | Image: Laura Messersmith

Cannellini Beans with Spinach | Image: Laura Messersmith

Small Kitchen Friendly?
Yes! I used a 6 qt. French oven, large deep sauté pan, fine mesh sieve, medium cutting board, chef’s knife, liquid measuring cup, slotted spoon, microplane grater, and measuring spoons.

Cannellini Beans with Spinach | Image: Laura Messersmith

Cannellini Beans with Spinach | Image: Laura Messersmith
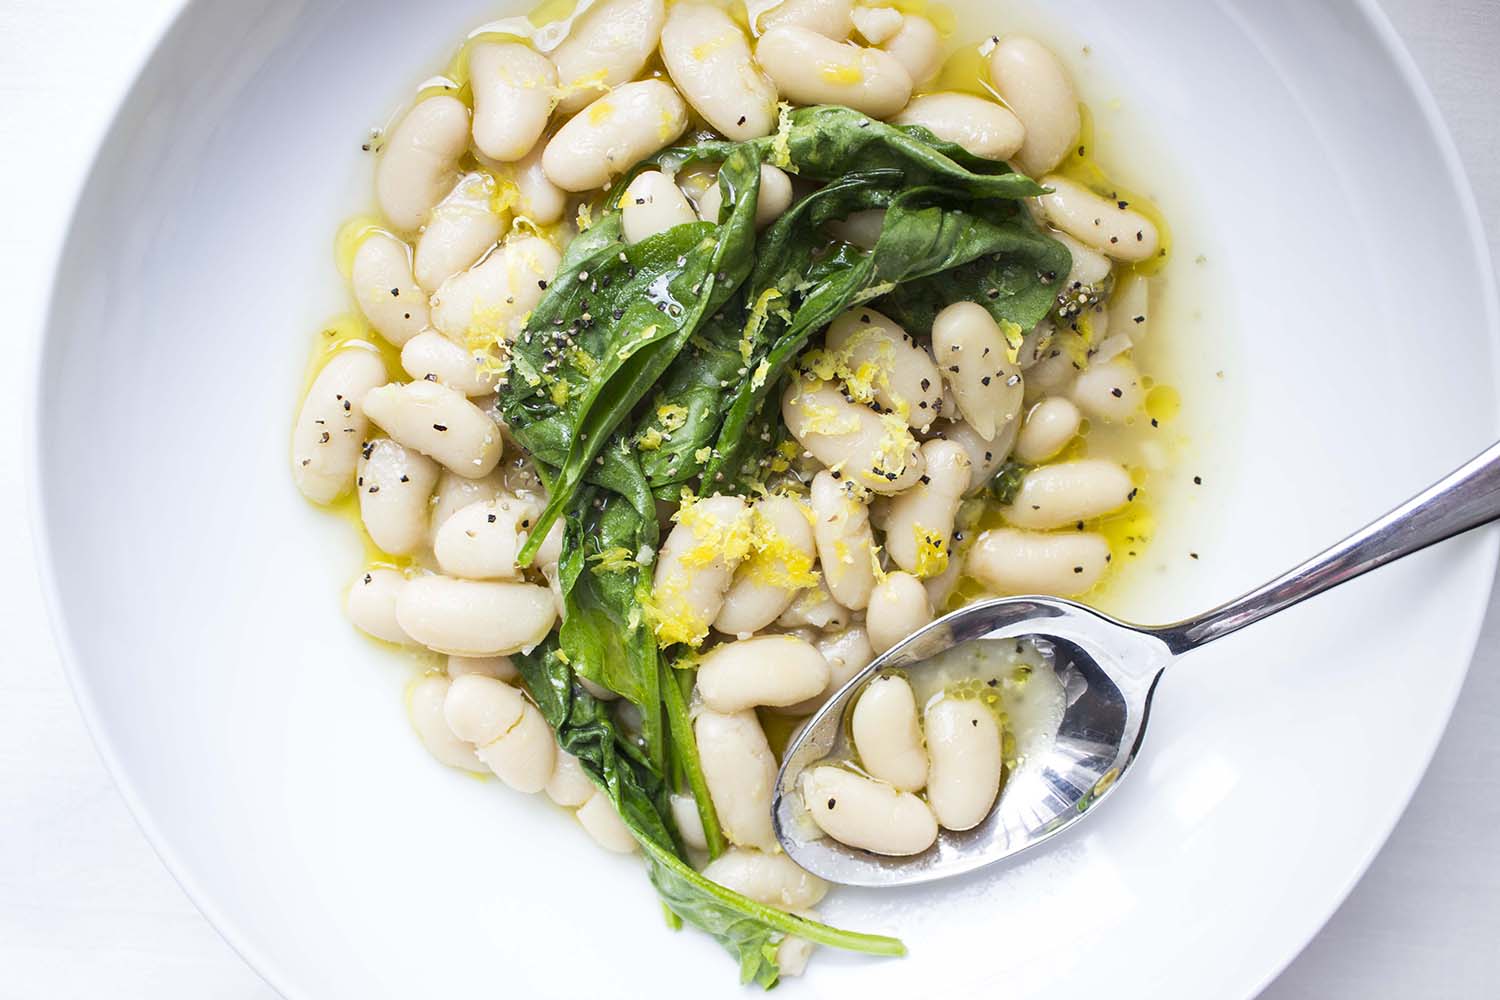
Honey Lemon Saffron Chicken

Honey Saffron Chicken | Image: Laura Messersmith

Honey Saffron Chicken | Image: Laura Messersmith

I’ve never been to Malibu, but after reading the Malibu Farm cookbook cover to cover it feels like I just got back from the Left Coast. Helene Henderson’s writing is straightforward and the recipes she created emphasize produce of the highest quality grown by her local community of farmers, beekeepers, and herdsmen. The dishes are homey and familiar, something you could throw together at a moment’s notice, with enough international flair to feel fresh.

Malibu Farm Cookbook

One caveat – the preparations are simple and the instructions bare bones assuming the reader knows details like how hot a skillet should be to pan-fry fish or cook an egg. Most recipes and their ingredients are approachable, perhaps with the exception of the whole roasted lamb or boar sausage, but even experienced cooks will find lots to inspire with these riffs on California cuisine. At this point the pages of my copy are bristling with tabs noting the dishes I want to make – particularly exciting as the summer approaches and ingredients like sweet corn and plums come into season.

For the moment I’ve settled on the Honey Lemon Saffron Chicken which pairs the savory depth of chicken legs with the bright, light lemon and honey marinade. The skin turns deep mahogany as the sugar in the honey burns and caramelizes. Finishing the cooking in the oven maintains the juiciness of the meat and ensures it’s perfectly done when the pan emerges.

Honey Lemon Saffron Chicken (serves 4)

Ingredients:
2 tablespoons butter
1 teaspoon (1 medium clove) grated garlic
3 tablespoons wildflower honey
1 pinch saffron strands
1/4 cup (1 large) fresh lemon juice
4 bone-in, skin on chicken legs
kosher salt

Instructions:
In a small sauté pan, cook the butter and grated garlic together over low heat for 4-5 minutes or until the garlic turns soft and fragrant. Off the heat, stir in the honey and juice from the lemon. Allow to cool.

Sprinkle both sides of the chicken legs liberally with kosher salt. Place in a ziptop plastic bag and pour in the cooled marinade. Press out the air and seal tightly making sure each piece of chicken is coated in the marinade. Refrigerate for at least 4 hours or overnight.

When ready to cook, pre-heat the oven to 375 degrees F.

In a large sauté pan, heat 2-3 teaspoons of olive oil over medium heat and place the pieces of chicken skin side down in the pan. Cook for 5-7 minutes until the chicken skin is deep brown and crisp. Turn the chicken over, skin side up, and place in the oven. Roast for 20-15 minutes or until an instant read thermometer registers 170 degrees. Serve immediately.

Re-written and adapted from Helene Henderson’s Honey Lemon Saffron Chicken in Malibu Farm Cookbook (page 111).

Small Kitchen Friendly?
Surprisingly, yes! I used one small sauté pan, one large sauté pan, a small cutting board, utility knife, tongs, a microplane grater, and a ziplock bag.

I received this book from Blogging for Books for this review. All opinions are my own.

Honey Saffron Chicken | Image: Laura Messersmith

Honey Saffron Chicken | Image: Laura Messersmith

Lemony Artichoke Heart Stuffed Shells

Lemony Artichoke Heart Stuffed Shells | Image: Laura Messersmith

Lemony Artichoke Heart Stuffed Shells | Image: Laura Messersmith

Between magazines, Pinterest, Instagram, and cookbooks at any given time I feel like there are about 1,000 recipes I’m dying to make. I try to be organized, but somehow there’s a notepad on my phone for those moments when inspiration strikes on the go (or as I’m drifting off to sleep), a Word document roughly organized by month/season, and of course multiple Pinterest boards all collecting ideas.

If I’m lucky I cook the recipe straightaway, but others I’m saving for the right occasion when the dish and the eaters are just meant for each other. That was the case here. I’ve been meaning to make this recipe from the Smitten Kitchen cookbook for nearly six months, rather a long time to wait.

As much as I love baked pasta dishes it’s tough when there are only two people to eat it, so there I am: waiting to make this recipe until the stars aligned and we could lure some folks to the neighborhood for dinner. Thank goodness too, because this dish is everything I hoped it would be - like homemade mac and cheese taken to a grown-up place by the addition of lemon, white wine, and sautéed artichokes. If that's not reason enough, how about this: you can completely assemble the dish up to a day in advance and bake it when you're ready to eat. A make ahead dish that feels special enough for company? Yes, please!

Lemony Artichoke Heart Stuffed Shells | Image: Laura Messersmith

Lemony Artichoke Heart Stuffed Shells | Image: Laura Messersmith

Lemony Artichoke Heart Stuffed Shells (serves 4-6)

Shell Ingredients:
25-30 jumbo pasta shells (about a 12-ounce box, I used Barilla)
3 tablespoons unsalted butter
1 to 2 tablespoons olive oil, divided
1 large onion, chopped small
18 ounces frozen artichoke hearts, thawed and patted dry
1/4 cup dry white wine
1 cup (1 1/4 ounces) finely grated Romano cheese
1 cup (1 1/2 ounces) finely grated Parmigiano-Reggiano cheese
2 large egg yolks
1 tablespoon lemon zest
1 tablespoon freshly squeezed lemon juice
1 teaspoon salt
1/4 teaspoon ground black pepper

Sauce Ingredients:
4 tablespoons (1/4 cup) unsalted butter
1/4 cup all-purpose flour
2 cups whole milk
3 teaspoons (2-3 cloves) minced garlic
1/2 cup ricotta cheese
2 tablespoons freshly squeezed lemon juice
1 tablespoon lemon zest
1/2 teaspoon salt
Freshly ground black pepper to taste
2 tablespoons chopped flat-leaf parsley

Instructions:
Make the Filling:

Melt butter in a heavy 12-inch skillet and cook it until it turns nutty and brown, stirring occasionally to keep the solids moving on the bottom of the pan. Once it is a nice nutty brown, add 1 tablespoon olive oil, then the onions and cook them until they are lightly brown and caramelized, about 7 minutes. Add the artichoke hearts and cook them until they are softened a bit, about 5 minutes. Add the wine and cook it until it completely disappears.

Remove the pan from the heat and let it cool slightly, before transferring it to the bowl of a food processor. Add both cheeses, the egg yolks, lemon juice, salt and black pepper and pulse in the food processor until roughly chopped. You want a mixture with some texture, not a puree.

Note: If you don’t have a food processor, then make sure to cut your onions quite small and chop the artichokes on the fine side before cooking. Follow the instructions as written, then once the filling cools mix it in a large bowl.

Cook the Pasta:
Bring a large pot of salted water to a boil, and cook the shells just shy of al dente. Check the box to see if there are cook times for shells that will be baked - Barilla recommends 9 minutes, which was perfect. Drain and toss with a teaspoon or two of olive oil, to keep them from sticking.

Make the Sauce:
While the shells are cooking, melt the butter in a medium saucepan (or the wiped out pot you made the artichoke filling in, if you’re into spending less time scrubbing pots) over medium-high heat. Once melted, add the flour all at once and whisk it until smooth. Add the milk, a small glug at a time, whisking constantly so no lumps form. Once the mixture has reached a batter-like consistency, you can begin adding the milk in larger pours at a time, whisking the whole time. Once all the milk is added, add the garlic and bring the sauce to a boil, stirring frequently. Once boiling, it will immediately begin to thicken. Reduce the heat to medium and simmer for two to three minutes before stirring in the ricotta, lemon juice, salt and black pepper, and chopped parsley. Adjust salt, pepper and lemon to taste.

Assemble the Dish:
Preheat oven to 350 degrees. Layer about half the sauce in the bottom of a 9×13 baking dish. Press a generous tablespoon of artichoke filling inside each cooked shell – a cookie scoop will be useful – so that the shell is full, but the sides can still meet. I found that resting the pasta on a cutting board using one hand to hold the edges apart and the other to scoop worked best. Nest each pasta shell in the sauce, seam up. Spoon the remaining sauce over the shells. Cover the dish with foil and bake it for 30 minutes, then remove the foil and bake it for a final 15 minutes. Serve immediately.

Individual Servings – Divide about half the sauce among 6 oven safe baking dishes (I used 16 ounce ramekins), divide the stuffed shells (5-6 shells fit snugly) among each dish and top with the remaining sauce as above. Cover with foil and bake for 20 minutes at 350 degrees F, followed by 5 minutes uncovered.

Make Ahead – Assemble the dish (or dishes) and cover each in foil. Refrigerate up to 24 hours. Add 3-5 minutes to the original baking times.

Recipe re-written and slightly adapted from Deb Perelman’s Artichoke Stuffed Shells in the Smitten Kitchen Cookbook (pg. 125 ) link via Bon Appetit.

Lemony Artichoke Heart Stuffed Shells | Image: Laura Messersmith

Lemony Artichoke Heart Stuffed Shells | Image: Laura Messersmith

Small Kitchen Friendly?
Yes, with organization. I used one large sauce pan, one large, deep sauté pan, a medium food processor, 9x13” baking dish (or 6 individual - the dishes pictured are Corningware 16 ounce ramekins), a colander, and a medium cutting board.

For tools I used a chef’s knife, microplane zester, a liquid measuring cup, measuring spoons, 1 tablespoon cookie scoop, rubber spatula, whisk, and a ladle or large spoon.

The Verdict:
Considering how fantastic the flavors are I fervently hope your stars hurry up and get their ducks in a row, because no one (even the artichoke adverse) should have to wait long to eat this dish. I bumped up the lemon zest a bit and added the parsley to the sauce, rather than sprinkling it on top to give the dish a subtle fresh note and make sure it didn’t become too heavy. Seconds were had by all and some simply roasted Brussels sprouts made the perfect accompaniment. All in all, a successful mid-winter dinner!

Lemony Artichoke Heart Stuffed Shells | Image: Laura Messersmith

Lemony Artichoke Heart Stuffed Shells | Image: Laura Messersmith


Lemon Mascarpone Gnocchi with Thyme Butter Sauce

Lemon Mascarpone Gnocchi | Image: Laura Messersmith

Lemon Mascarpone Gnocchi | Image: Laura Messersmith

Each week I follow along with Ina Garten (aka the Barefoot Contessa) and attempt to recreate one of her dishes in my tiny New York City kitchen. The catch? This is my version of cooking school and I’m making these recipes for the first time. I’ll share both my successes and um, challenges, along the way and we’ll see if I can keep up with the Contessa!

Episode: “Barefoot and Friends – Cooking with Giada DeLaurentiis”

The Set-up: Ina and Giada have been talking about a cooking date for ages and today’s the day!

The Menu: Lobster Potato Salad, Lemon Mascarpone Gnocchi, Chocolate Cassis Cake

0:47 – It’s a two-for-one deal - Giada is coming to cook with Ina today! Before she arrives, Ina is making lunch for them: Lobster Potato Salad.

1:20 – Pro Tip #1: To get perfectly cooked potatoes, after straining the boiled potatoes cover the colander with a kitchen towel to trap the steam.

2:32 – The inclusion of lobster in the potato salad is a nod to the last time Giada visited and they went to Montauk for lobster rolls. A new tradition in the making?

3:18 – Pro Tip #2: Buy pre-cooked lobster from the fish counter and avoid the messy (and traumatic?) process of boiling your own. Word.

5:14 – Giada, managing the most Italian errand ever, stops by Cavaniola’s Cheese Shop in a Fiat to pick up mascarpone, parmigiano and pecorino for gnocchi.

6:29 – As they’re sitting down to lunch it’s revealed that Ina makes lobster-something almost every time they get together, which G (may I call you G?) interprets as “I’m so happy to see you” special occasion food. Lucky girl, it could be worse!

7:55 – It’s decided that first they will make dessert and then move on to the gnocchi, which seems like an easy sell for both.

9:23 – They’re in the pantry gathering ingredients for the Chocolate Cassis Cake, which is right up Giada’s alley.

10:36 – Crème de Cassis for those not in the know (me) is black currant liqueur, which Ina says brings out the flavor in the raspberries that she’s serving with the cake.

11:21 – Ina asks Giada whether she considers herself a “cook” or a “baker" and learns that when G started she was more of a baker, due to her love of dessert, but now she’s both. Huh, never knew…

12:44 – Ina’s next question is whether Giada lines her cake pans with parchment paper. The answer: she knows she should, but she’s lazy. Love it.

13:05 – While the cake is in the oven, Ina and Giada take a tour of the gardens. G by her own description is the “world’s worst gardener” but does recognize the fresh thyme growing in the kitchen garden and gets permission to snip some stems for their gnocchi.

14:42 – Back in the kitchen to melt chocolate for the ganache that will cover the cake with Giada acting as sous chef taking direction from chef Ina.

15:39 – The parchment paper has done its work and the cake is released from the springform pan without incident. Ganache time!!!

16:50 – To her credit, I think Giada has licked every chocolate coated bowl and spatula in the kitchen. A girl after my own heart.

19:13 – Onward to the Lemon Mascarpone Gnocchi which will be Ina’s first attempt at gnocchi. I've never made gnocchi either, we can be twins!

20:48 – Giada says that these are non-traditional gnocchi because the mascarpone cheese and flour take the place of the potatoes. Works for me!

21:24 – Now that the gnocchi dough is made it’s time to form them using two small table spoons. Ina wonders how many she has to make before she becomes Italian.

22:17 – The little golden gnocchi are into the salted boiling water to cook – only 4 minutes per batch!

23:12 – In a bit of garden-to-table action Ina is put in charge of making a butter sauce with the thyme they picked earlier. (They agree that thyme + lemon is heavenly match.)

24:30 – Just so we’re clear, a cheese based dumpling/pasta, has been covered in butter sauce, and then sprinkled in more cheese. Giada and Ina laugh at their own wicked ingenuity.

27:29 – I suppose it’s dinner time by now, so they sit down to a gnocchi dinner while Giada agitate s for dinner to be served.

28:35 – Back to finish off the Chocolate Cassis Cake with some berries marinated in sugar and MOAR cassis, which they joke they’ve been getting into over the afternoon.

29:51 – Giada is literally jumping up and down a la a small child on a sugar high with excitement over the chance to eat some cake. Looks like someone is going to be in a boozy dessert coma….

Final Thoughts:
I love that Ina’s recipes are so adaptable. Lobster, salmon, tuna – any of them work.

Flourless chocolate cake. That is all.

I wonder if it’s awkward when two famous people in the same field socialize for the first time? What do they talk about?

Lemon Mascarpone Gnocchi | Image: Laura Messersmith

Lemon Mascarpone Gnocchi | Image: Laura Messersmith

Lessons Learned:
I’m just dipping my toe into fresh pasta making and know just enough to be dangerous when it comes to bread dough – both of which made trying Giada’s unconventional Lemon Mascarpone Gnocchi (no potatoes involved!) intriguing. I naturally learned a ton…

Mixing – I was a little unsure about the texture of the gnocchi dough but upon closely observing Giada’s I was convinced that I had it right. Strangely it closely resembles a cross between buttercream frosting (fluffy) and scone dough (sticky).

Forming the Gnocchi – This does take some time, but thankfully there’s no special equipment needed just two teaspoons from your silverware drawer. Giada suggests the “quenelle” shape, which is made by scraping a teaspoon of dough back and forth between the two spoons until it forms an oblong oval. Without weighing the dough it’s tough to be sure that they’re all the same size but do your best to eyeball it so that they’ll cook at a similar rate. Use a light touch when rolling the final shape like forming the most delicate meatball.

Storage – I wasn’t quite ready to cook the gnocchi once I was done forming them, so I was thankful to discover that the can be stored in the refrigerator wrapped in plastic on a sheet tray. I just left them on the floured one I used when I was forming them.

Cooking – I used a 3 quart sauce pan and put between 4-5 gnocchi in at a time so they’d have plenty of space and wouldn’t drop the water temperature too much. The recipe calls for waiting until the gnocchi begin to float, then start timing (5 minutes only, 6 is too long). It’s easy to over cook gnocchi and I found the best results were to start timing as soon as the gnocchi just began their ascent, otherwise the pasta began to deteriorate. Not good!

Serving Size – I was able to form about 28 gnocchi with the dough, which would serve two to three very generously or four people as a smaller portion. These are quite rich and puff up when cooked, so a little goes a long way. I’d recommend serving these as a small starter course and or as a main balanced with a nice bright green salad or light vegetable side.

Flavors – I made one very small change to the butter sauce to lighten it up – cheese, plus cheese, plus butter seemed a little much – adding the juice of 1 lemon (2-3 tablespoons). I also didn’t allow it to brown since I thought the nuttiness would overwhelm the delicate flavors in the gnocchi. I think my way is perfect, but I leave it up to your moods and preference.

Lemon Mascarpone Gnocchi | Image: Laura Messersmith

Lemon Mascarpone Gnocchi | Image: Laura Messersmith

Small Kitchen Friendly?
Fairly, yes. I needed a large mixing bowl, electric hand mixer, microplane grater, rubber spatula, measuring cups, two teaspoons, a rimmed baking sheet, large sauce pan, medium sauté pan and a utility knife.

The Verdict:
I’m fairly obsessed with anything bright and lemony, especially pasta and Giada's Lemon Mascarpone Gnocchi has lemon in spades, even more so with my tweaks. I handled the gnocchi as gently as I could to keep them from becoming tough and they came out light as a feather and beautifully tender. Somewhat surprising given the amount of cheese involved.  This is a rich dish, not for the counter of calories, and would be perfect as a first course in small portions or as the most elegant of comfort food dishes when only something decadent will do and the summer feels far away. 

Lemon Mascarpone Gnocchi | Image: Laura Messersmith

Lemon Mascarpone Gnocchi | Image: Laura Messersmith