Pesto Pasta with Green Peas and Chicken

Pesto Pasta with Green Peas and Chicken | Image: Laura Messersmith
When the mid-summer heat and humidity hit (at least the way they do here in New York) my appetite wanes and little and the thought of eating a hot meal is the furthest thing from my mind. While I want something light and fresh with the flavors of summer I also don’t necessarily want to eat salad 24/7 either.
For me this cold pasta dish hits that sweet spot: a happy medium between the clean bright taste of veggies and the substance of a meal that doesn’t feel like I’m missing something. And, as an extra bonus it uses all that great basil that’s growing like crazy at this time of year!
My starting point (surprise!) was an Ina Garten recipe that I then tinkered with a little bit to lighten it up and add a bit more protein. I’m tempted to call the final product something poetic like ‘Viridian Pasta’ because of its varying shades and multiple green ingredients, but in the interest of being direct I decided to go with this more umm, specific title. I’m open to feedback, though…
Pesto Pasta with Green Peas and Chicken (serves 6-8 generously)
Ingredients:
1/4 cup extra virgin olive oil
1 1/2 pounds cellentani pasta (like Barilla)
1/4 cup extra virgin olive oil
1 1/2 cups pesto (purchased, or see recipe below)
1 (10-ounce) package frozen chopped spinach, defrosted and squeezed dry
3 tablespoons freshly squeezed lemon juice
1 (5.3 oz.) container lemon Greek yogurt (like Chobani)
1/4 cup mascarpone cheese
1/2 cup freshly grated Parmesan
1 (14 oz.) package frozen baby peas
1/3 cup pine nuts (aka pignoli)
3/4 teaspoon kosher salt
3/4 teaspoon freshly ground black pepper
3 chicken breasts, bone-in, skin-on
Pesto:
1/4 cup walnuts
1/4 cup pine nuts (aka pignoli)
3 tablespoons chopped garlic (9 cloves)
5 cups fresh basil leaves, packed (1 large bunch)
1 teaspoon kosher salt
1 teaspoon freshly ground black pepper
1 1/2 cups good olive oil
1 cup freshly grated Parmesan
Instructions:
Preheat the oven to 350 degrees F.
Place the chicken breasts on a baking sheet skin side up and rub with a light coating of olive oil. Sprinkle generously with salt and black pepper. Roast in the oven for 35 to 40 minutes, or until cooked through according to a meat thermometer. Set aside until cool enough to handle, then remove the meat from the bones and discard the skin. Cut the chicken into small, ¼ inch dice which should yield 2 to 3 cups of cubed chicken. Side aside and continue to cool.
Meanwhile, cook the cellentani in a large pot of boiling salted water according to the package directions (about 10 to 11 minutes) until the pasta is al dente. In the last minute of cooking toss the frozen peas into the pot to defrost and cook. Drain and toss into a bowl with the olive oil. Cool to room temperature.
While the pasta is cooking, make the pesto according to the directions below.
Next, in the bowl of the food processor, puree the pesto, spinach, and lemon juice. Add the lemon Greek yogurt and mascarpone cheese and puree.
To finish toss the cooled pasta and peas with the pesto sauce, then add the diced chicken, grated Parmesan, pignoli, salt, and pepper. Stir until the ingredients are evenly coated with sauce, season to taste, and serve chilled or at room temperature.
Pesto: (yield: 4 cups)
Place the walnuts, pine nuts, and chopped garlic in the bowl of a food processor fitted with a steel blade. Process for 15 seconds. Add the fresh basil leaves, salt, and pepper. With the processor running, slowly pour the olive oil into the bowl through the feed tube and process until the pesto is thoroughly pureed. Add the Parmesan and puree for a minute.
Important storage note: This will make more pesto than needed for the recipe and exposure to air will turn it an unappetizing brown. So plan to use the extra right away or store the pesto in the refrigerator or freezer in an airtight container with a thin film of olive oil or plastic wrap pressed directly on top to remove air pockets.
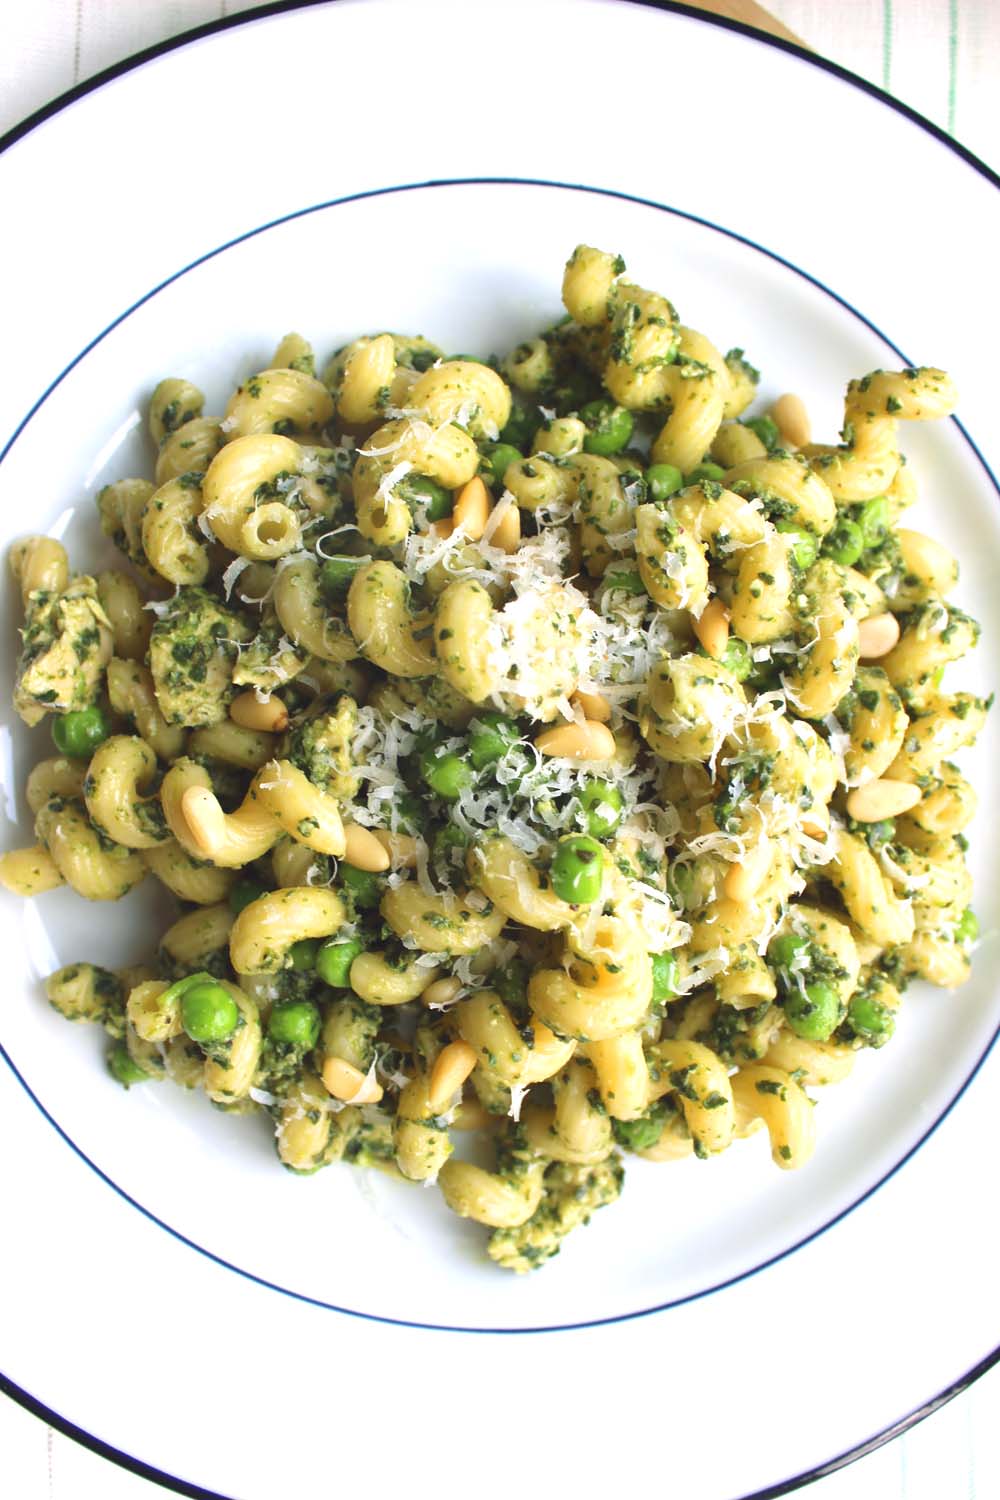
Pesto Pasta with Green Peas and Chicken | Image: Laura Messersmith
Small Kitchen Friendly:
Yes, assuming you have access to a medium-sized food processor. Ours is a 7 cup and it was just right for this recipe, too much smaller and I would have had trouble getting everything to fit. SInce I made the pesto and the sauce one right after the other I didn't even bother to wash the bowl in between steps. I also used one baking sheet, one large bowl (for the cooled pasta & peas and final mixing), one medium bowl (for the diced chicken), a large pot and a colander. Measuring cups, measuring spoons, a chef’s knife, a rubber spatula and one medium cutting board finished the job.
The Verdict:
Mike and I both loved this dinner – the pesto sauce is flavorful without being overpowering and the ‘sneaky’ vegetables and lean proteins make this a recipe that is on the virtuous side but didn’t leave us feel deprived and wishing for a bedtime snack a few hours later. We had this as a main (and only course) but it could easily be a part of a backyard cookout buffet as a side dish too. It makes a ton, so be prepared for leftovers or to halve the quantities.

Pesto Pasta with Green Peas and Chicken | Image: Laura Messersmith