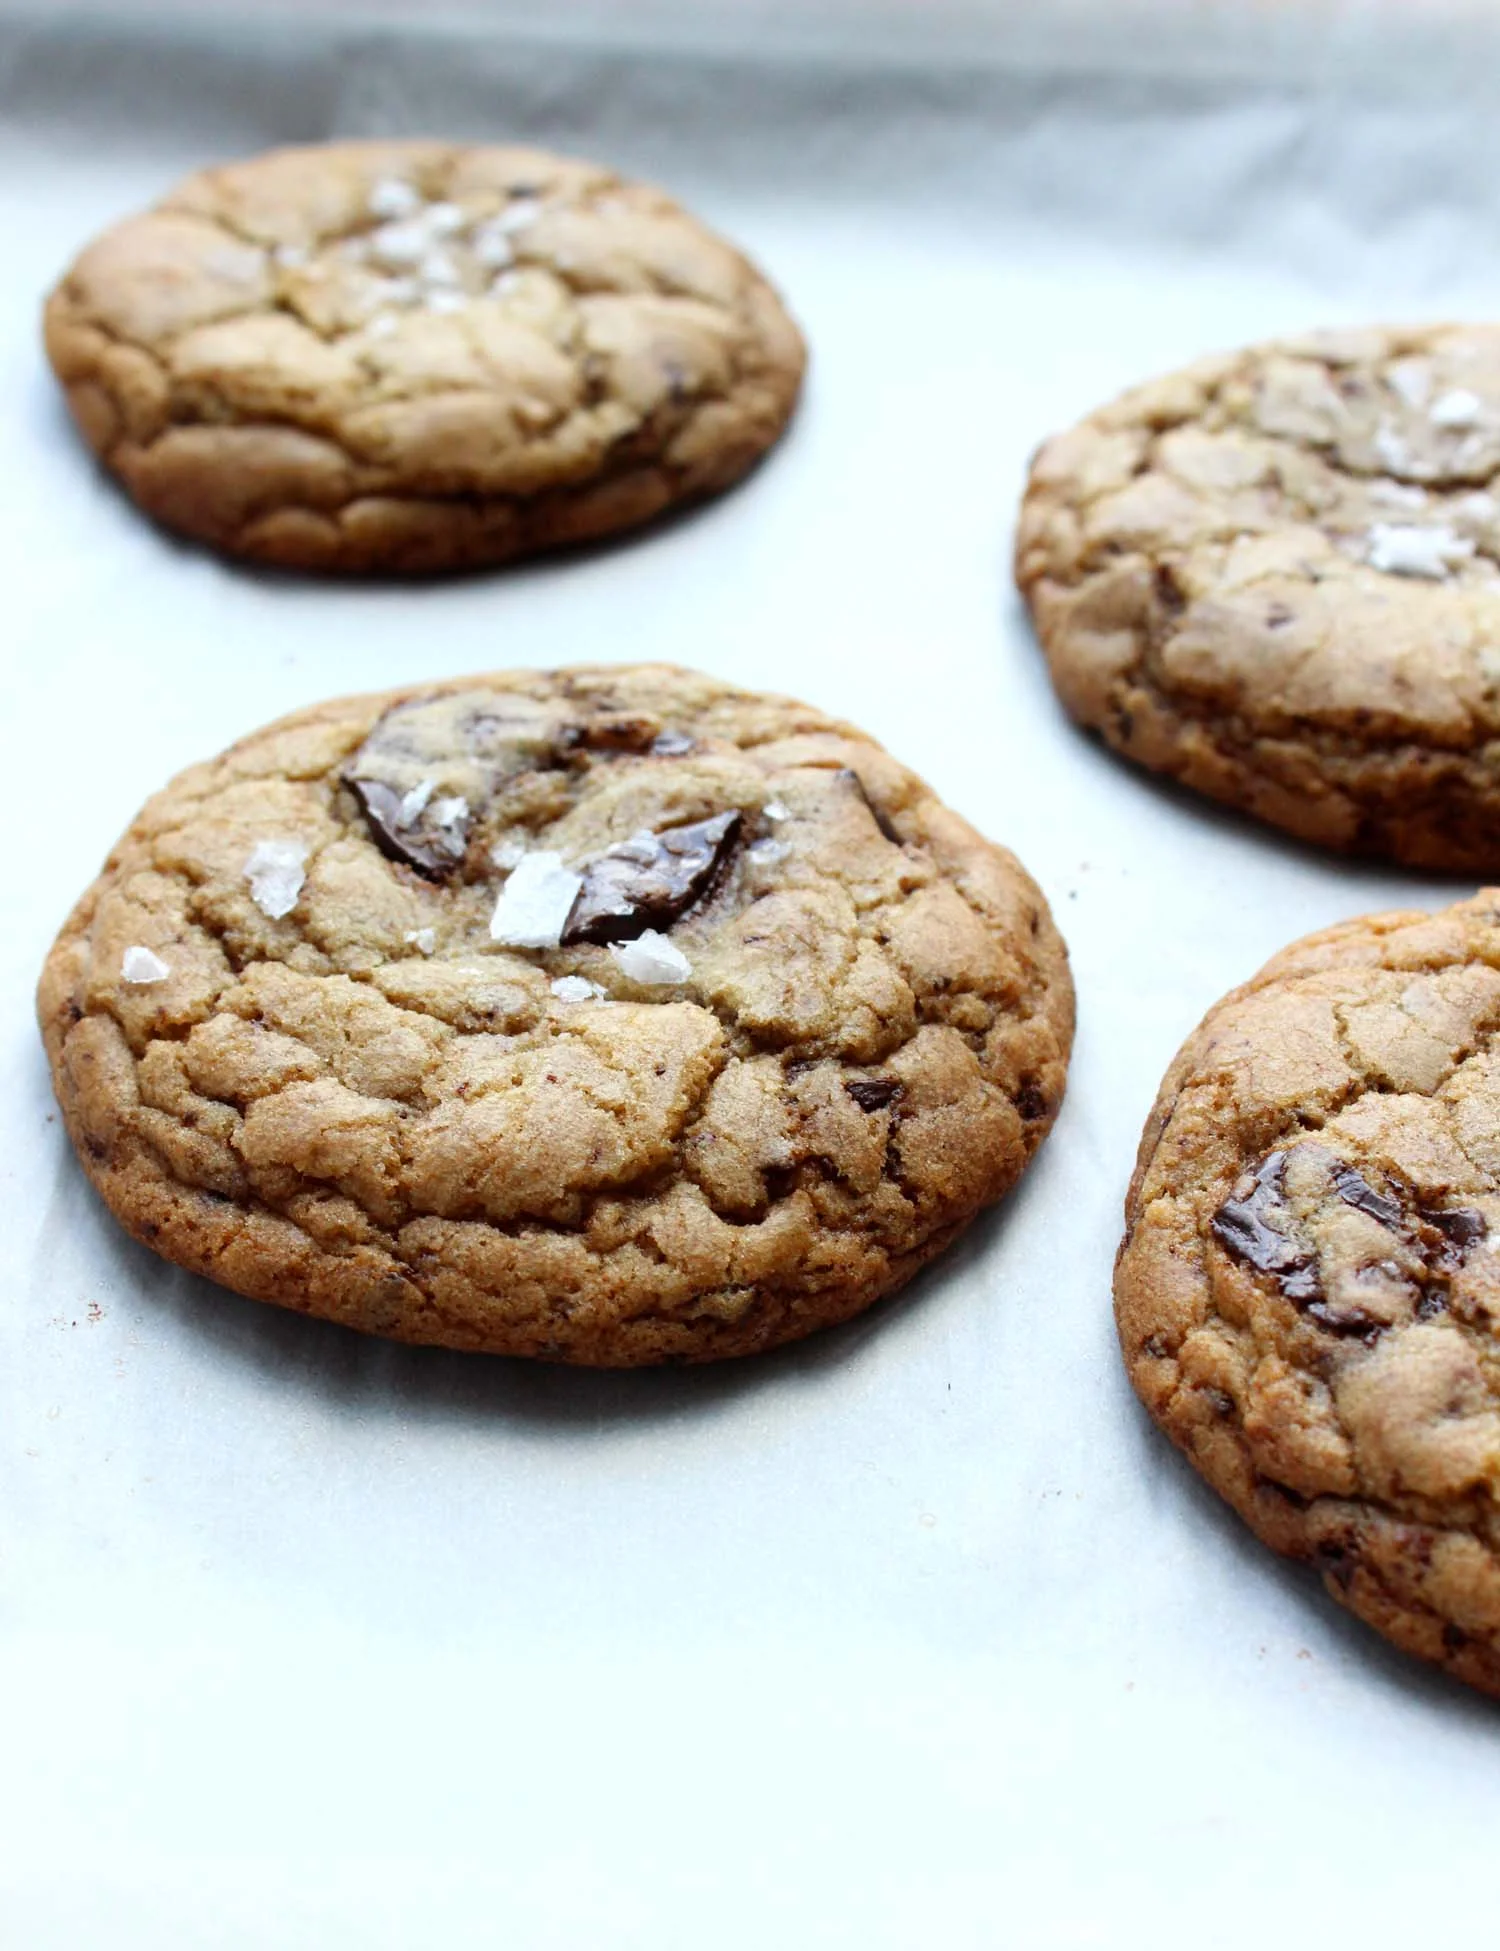
Browned Butter Chocolate Chip Cookies

Browned Butter Chocolate Chip Cookie | Image: Laura Messersmith

Browned Butter Chocolate Chip Cookie | Image: Laura Messersmith

It’s not overstating a fact to call the chocolate chip cookie iconic and there’s a reason they’re the first to go from any conference room buffet leaving only decoy oatmeal raisin and lackluster plain sugar to be last picks. Chocolate chip cookies are flipping delicious – sweet, a bit salty, and if the baker isn’t stingy with the chocolate pieces they can be downright decadent (hello fellow Levain devotees.)

I started my baking career with the classic yellow-bag Toll House recipe only daring to add an extra half teaspoon of vanilla or quarter cup of chips for fear of risking cookie meltdown. Today, I’m proud to say that while that version remains the bedrock of my kitchen memories I’ve found the courage to branch out a bit and explore.

There can never be enough chocolate chip cookies which means the search for the perfect recipe is ongoing. First with a Tara O’Brady’s recipe that toyed with both the brown sugar:white sugar ratio and included melted butter.* Now with this challenger from the very talented Joy Wilson, better known as Joy The Baker, we’re trying browned butter and now a third sugar ratio. All in the name of science, of course.

*Since I never plan quite far enough ahead; room temperature butter is always my downfall, so this was a major development.

Browned Butter Chocolate Chip Cookie | Image: Laura Messersmith

Browned Butter Chocolate Chip Cookie | Image: Laura Messersmith

Browned Butter Chocolate Chip Cookies (yield: about 3 dozen cookies)

Ingredients:
1 cup (2 sticks) room temperature unsalted butter, divided
1 cup light brown sugar, packed
2 teaspoons vanilla extract
1 teaspoon molasses
1/2 cup granulated sugar
1 large egg
1 large egg yolk
2 1/4 cups all-purpose flour
1 teaspoon kosher salt
1 teaspoon baking soda
1 1/2 cups roughly chopped bittersweet chocolate chips
flaked sea salt, to sprinkle on top

Instructions:
Line two rimmed baking sheets with parchment paper and set aside.

Place half the butter (1 stick) in a medium heavy-bottomed skillet; stainless steel or light colored will help you track the progress of the butter more easily. Melt the butter over medium-low heat, swirling the pan occasionally. The butter will foam as it cooks, and start to crackle and pop. Once the crackling stops, keep a close watch, continuing to swirl the pan often. The butter will start to smell nutty, and brown bits will form in the bottom, about 5-7 minutes. Once the bits are the color of wildflower honey remove from the heat and immediately pour it into a small bowl, bits and all. This will stop the butter from cooking and burning. Set aside to cool for 20 minutes.

Beat the remaining 1 stick room temperature butter and brown sugar together with an electric mixer for 3 to 5 minutes, until the mixture is very smooth. Next, beat in the vanilla extract and molasses.

Pour the cooled brown butter into the bowl, along with the granulated sugar. Beat for 2 minutes, until smooth; the mixture will lighten to the color of pale sand and become fluffy. Add the egg and egg yolk, and beat for one more minute.

Sift the flour, salt, and baking soda into the butter mixture, beating on low speed just until everything is incorporated. Use a spatula to fold in the chocolate chips by hand and finish incorporating all of the dry ingredients.

Turn the dough out onto a piece of parchment paper, waxed paper, or plastic wrap. Flatten it slightly into a thick disk, and refrigerate for at least 30 minutes. About 15 minutes before you’re ready to begin baking, place racks in the center and upper third of the oven and preheat your oven to 350°F.

Break the dough up into equal pieces – about 2 tablespoons worth - and roll into balls between your hands. Place the balls of dough on the prepared baking sheets leaving 2-inches of space between them so they have room to spread as they bake.

Sprinkle the top of the cookies with flaked sea salt – according to your taste**.

Bake the cookies in the pre-heated oven for 12 to 15 minutes, rotating the sheet pan halfway through, until they’re golden brown. Remove from the oven, and allow the cookies to cool on the baking sheet (5 minutes or so) before moving them.

Serve warm; or cool completely, and store airtight at room temperature for several days. For longer storage, wrap well and freeze.

**Note on Sea Salt: I made these cookies both with and without the sprinkling of sea salt on top and found that without it they were a little under-seasoned. If you don’t plan to use it then I’d add a bit salt more to the dough itself to keep the cookies from tasting flat.

Lightly adapted and rewritten from Joy the Baker’s The Best Brown Butter Chocolate Chip Cookies.

Browned Butter Chocolate Chip Cookie | Image: Laura Messersmith

Browned Butter Chocolate Chip Cookie | Image: Laura Messersmith

Small Kitchen Friendly?
For a cookie recipe, yes. I used one large mixing bowl, medium stainless steel skillet, an electric hand mixer, two rimmed baking sheets, mesh sieve (optional), measuring cups and spoons, a rubber spatula, metal spatula, small cutting board and a chef’s knife.

The Verdict:
How could these cookies possibly be anything other than AMAZING? Normally I resist trends like sprinkling sea salt on everything or constantly browning butter, but in this case these little additions to the process offer so much flavor and depth that it would be miserly to keep them from you. I baked a batch when a friend was visiting from out of town and after a bite or two I started to wonder whether we shouldn’t have just skipped the whole dinner business and gone straight to dessert. Well done, Ms. Wilson.

Browned Butter Chocolate Chip Cookie | Image: Laura Messersmith
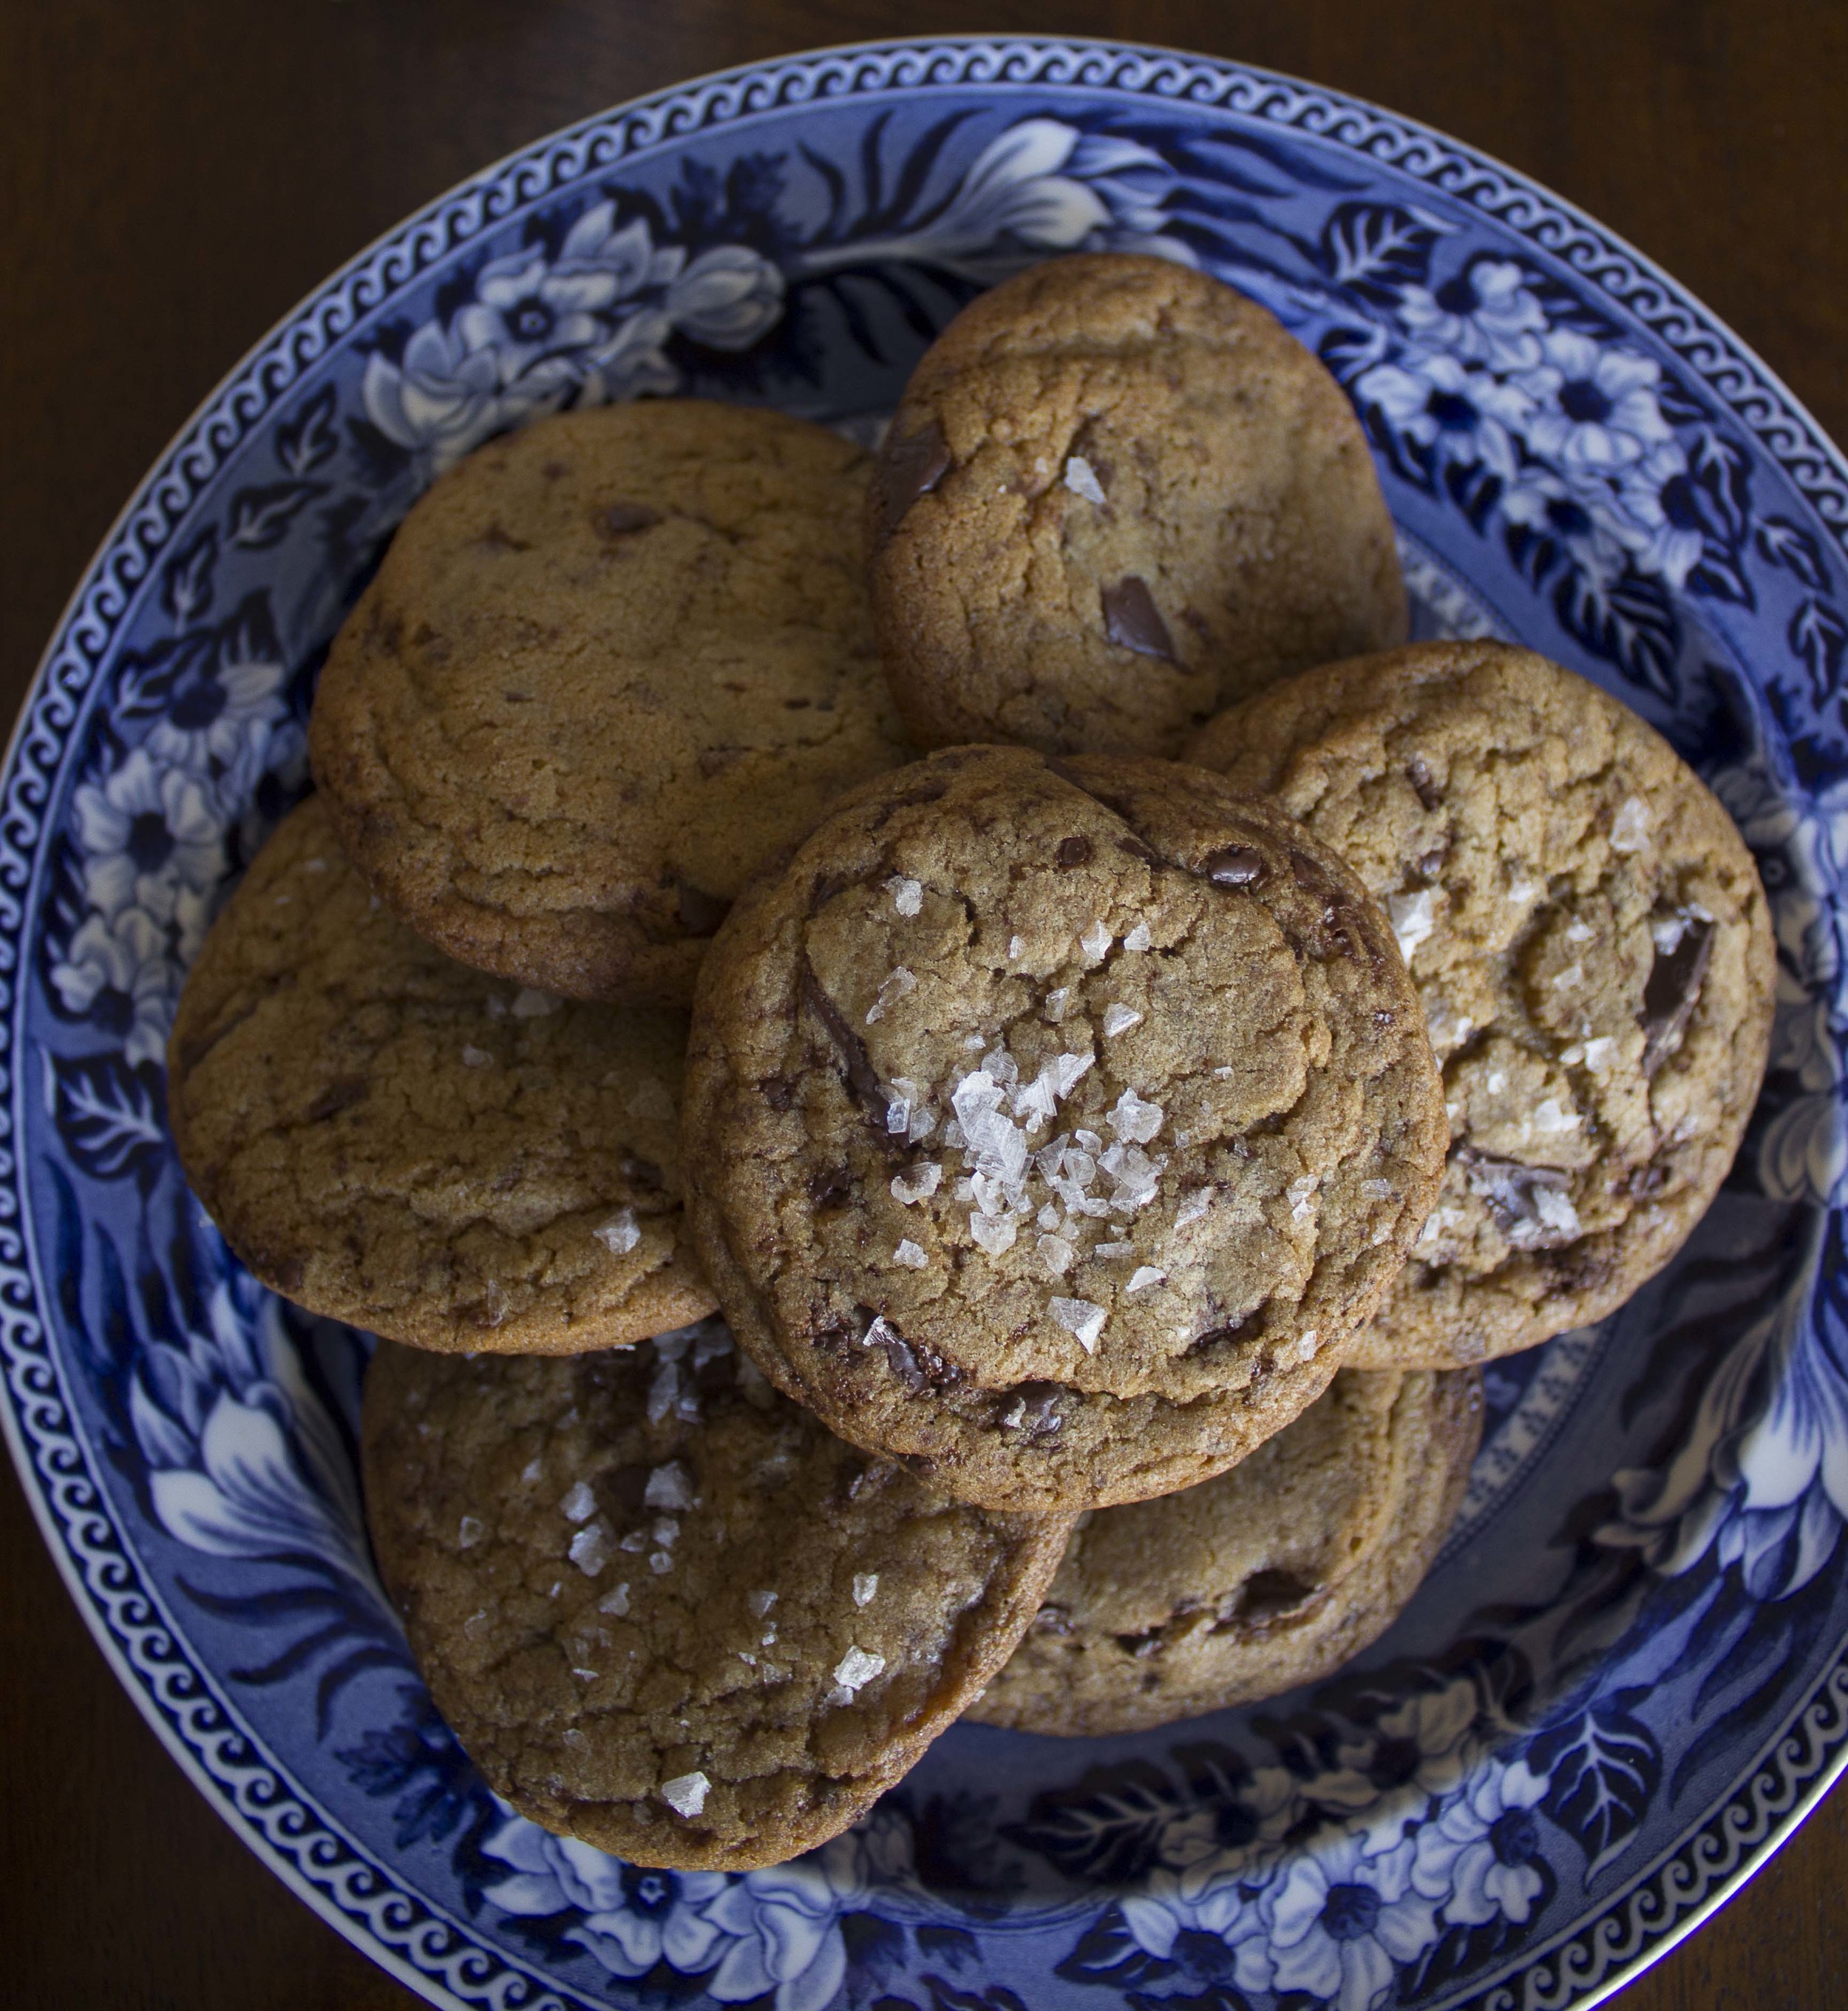
Browned Butter Chocolate Chip Cookie | Image: Laura Messersmith
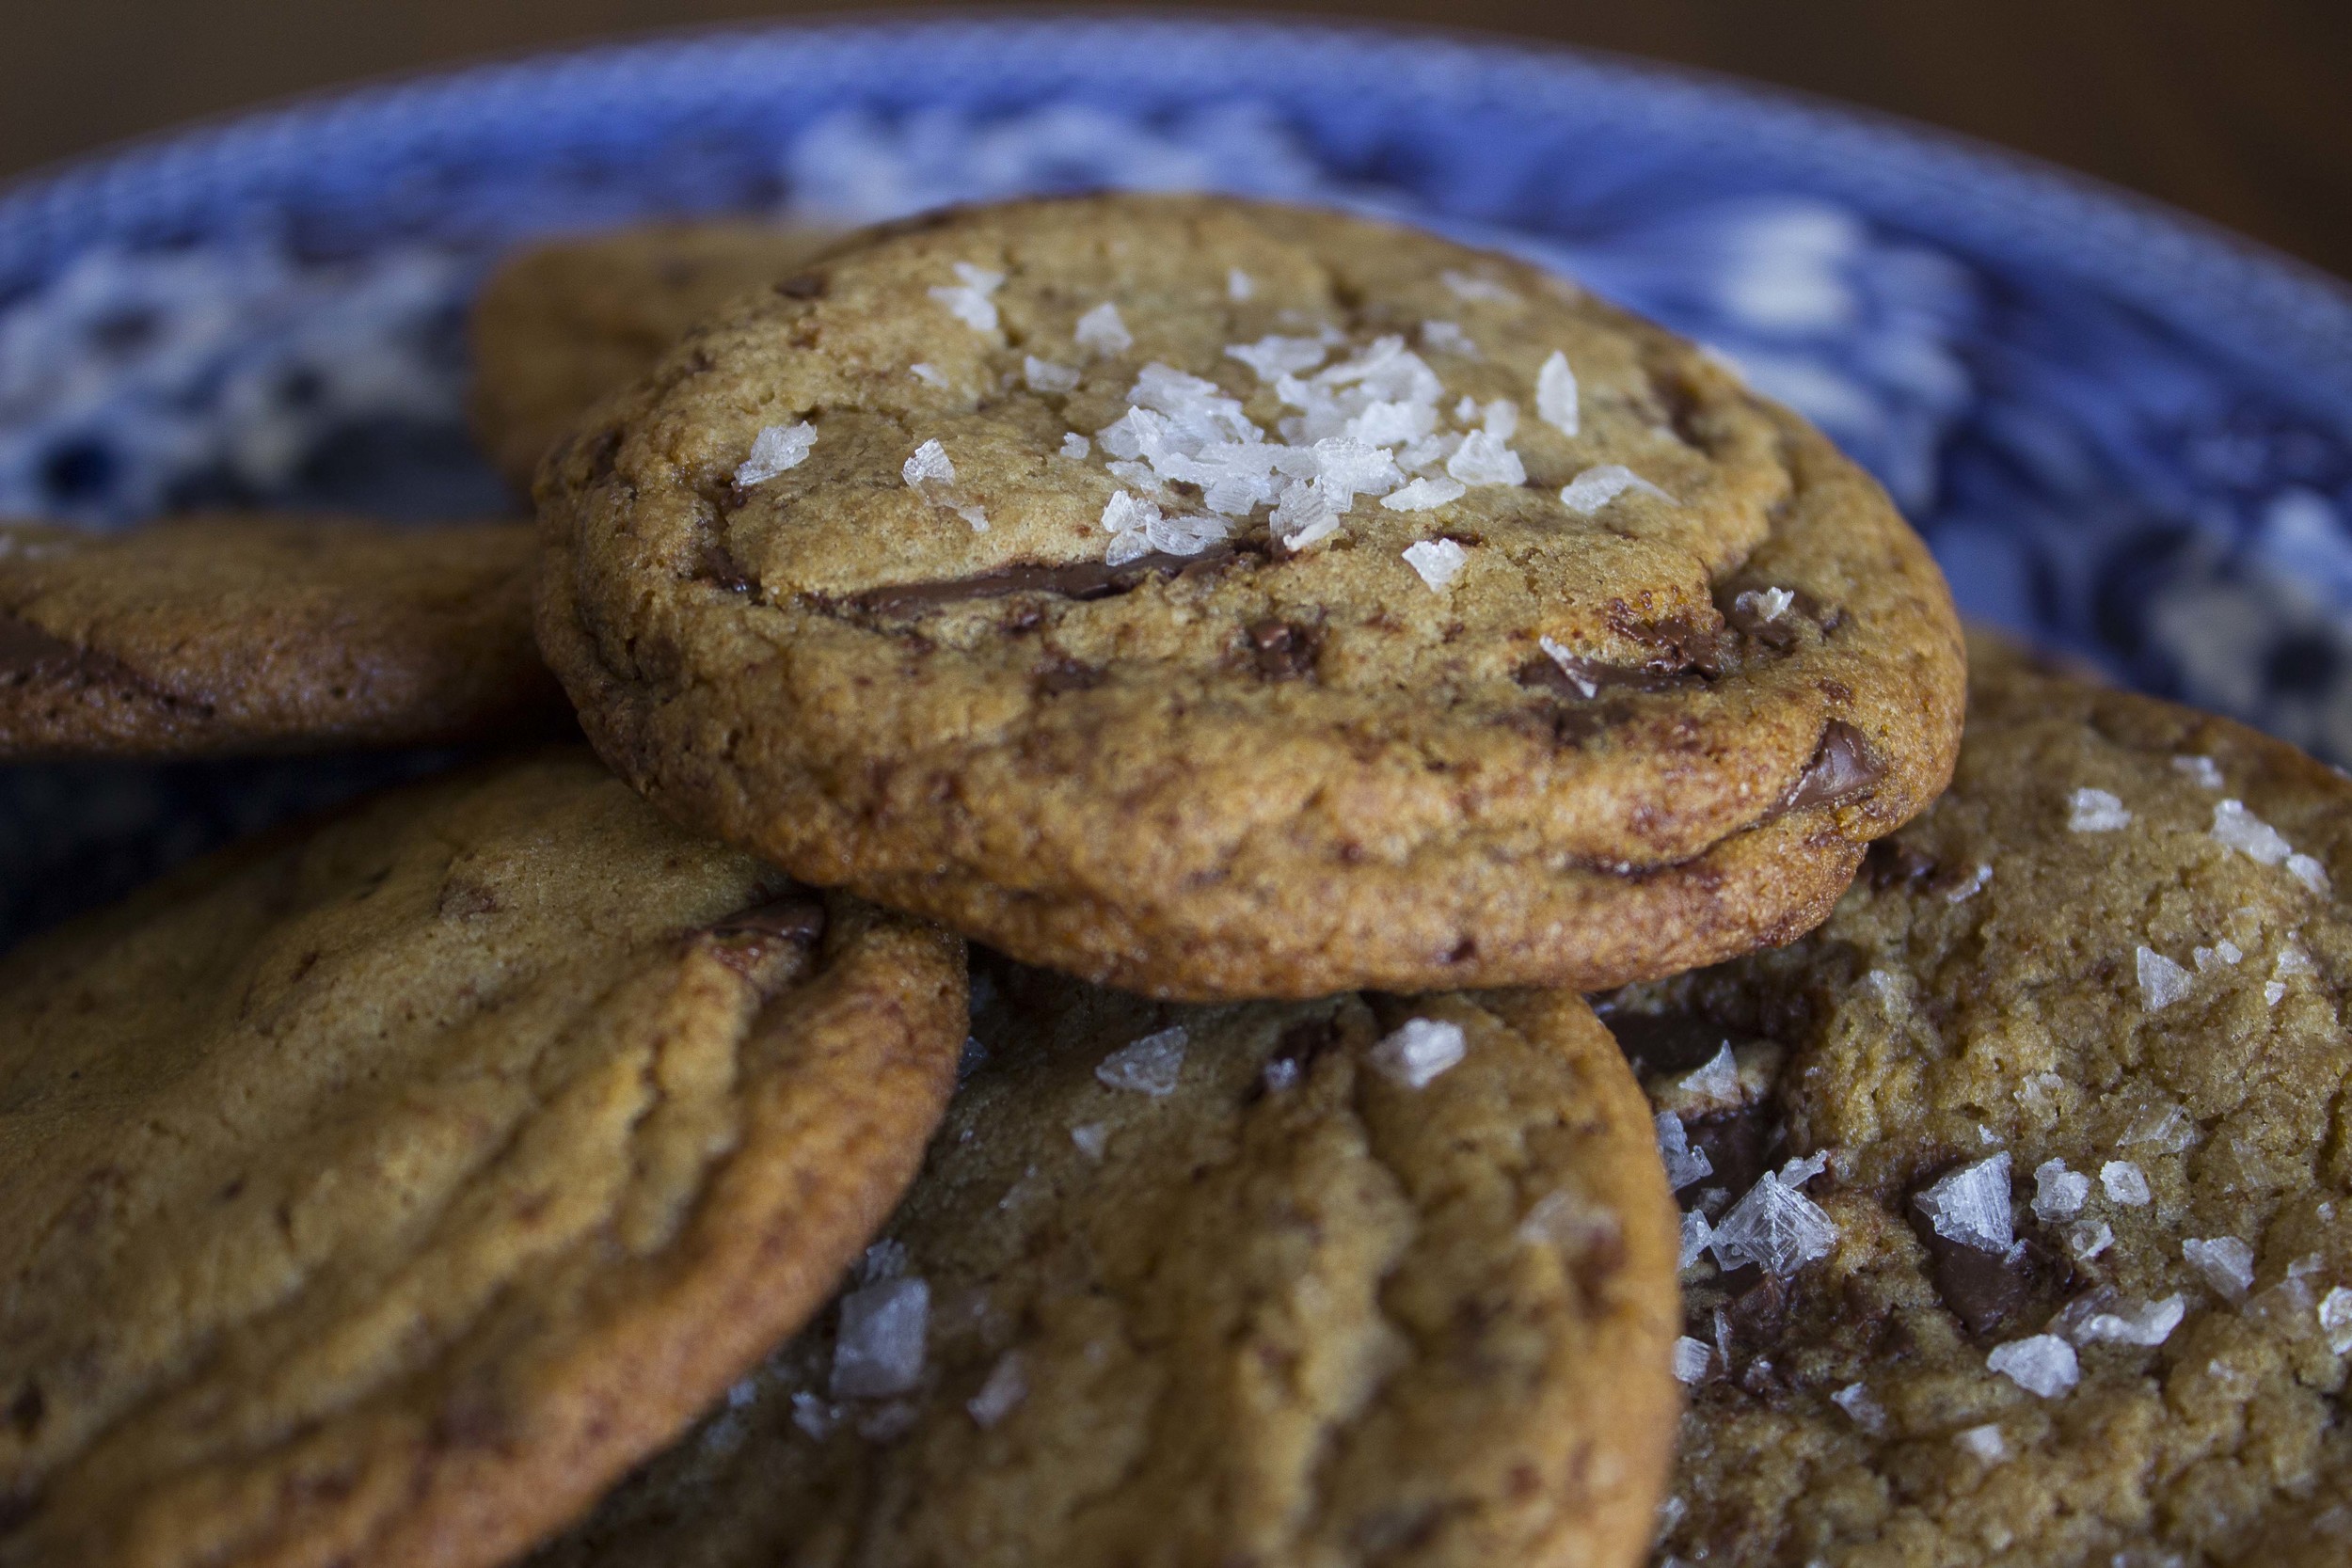
Chocolate Chip Cookies

Chocolate Chip Cookies | Image: Laura Messersmith

Chocolate Chip Cookies | Image: Laura Messersmith

Calling the chocolate chip cookie the all-time best cookie ever is still probably an understatement of its greatness. Nothing conjures more images of wholesome, homemade comfort than a warm tray of chocolate chip cookies and a glass of cold milk frosted with condensation. And just consider how sad it is when you realize you’ve picked up an oatmeal raisin masquerading as chocolate chip from the platter. Dagger, right? Instant disappointment.

We have Ruth Graves Wakefield, inventor of the Toll House Cookie, to thank for the afternoon snack that launched 1,000 half-hour family sitcom clichés. It’s the recipe I’ve been faithfully making for decades with little variation, other than a dash more vanilla here or a handful of dried cranberries there. It’s been my constant companion, a guaranteed crowd pleaser, never a crumb left on the plate. Why mess with a good thing?

And now I have a confession to make… thanks to the experimentation and inventiveness of Tara O’Brady, author of the blog and now cookbook Seven Spoons, I might have a new favorite chocolate chip cookie recipe. Don’t hate me, Ruth!

The Seven Spoons recipe clearly descends from the original with a few small changes like chocolate chunks and sea salt. While normally, the thought of having to chop a block of chocolate would seem like too much work, I was won over by the delicious realization that the cookies would have both big piece of chocolate in them and the small shavings too. Also it makes your kitchen smell like chocolate. Worth the effort in my book.

Sea salt window dressing aside, Tara’s true genius is in adjusting the proportions to solve the number one problem I consistently have when making classic chocolate chip cookies: softened butter. The original Toll House recipe relies on butter warm enough to mix easily, but not fully melted. Unfortunately, I always forget to take the butter out of the refrigerator and even the most careful microwaving fails to produce the same texture.

Cue choirs of angels when I realized that you and I no longer have to plan our cookie making a day in advance thanks to Ms. O’Brady and her wonderful recipe. Because one never knows when a cookie emergency will strike!

Chocolate Chip Cookies | Image: Laura Messersmith

Chocolate Chip Cookies | Image: Laura Messersmith

Basic, Great Chocolate Chip Cookies (yield: 28 cookies)

Ingredients:
1 cup (2 sticks) unsalted butter, diced
3 1/4 cups all purpose flour
1 1/4 teaspoons baking powder
1 teaspoon baking soda
1 1/2 teaspoons kosher salt
1 1/2 cups light brown sugar, firmly packed
1/2 cup granulated sugar
2 eggs
2 teaspoons vanilla extract
3/4 pound (12 ounces) semi or bittersweet chocolate, chopped
Flaky sea salt, to finish

Instructions:
Preheat the oven to 360 degrees F (not a typo). Line two baking sheets with parchment paper.

Melt the diced butter in a heavy bottomed saucepan over very low heat, stirring occasionally. Take care that the butter does not sizzle or bubble so that it retains its moisture.

While the butter is melting, chop the block of chocolate with a large chef’s knife into pieces - think somewhere in the ballpark of a sugar cube.

In a medium mixing bowl, whisk together the flour, baking powder, baking soda, and kosher salt.

Pour the melted butter into a second medium mixing and whisk in the light brown sugar and granulated sugar until smooth. Add the eggs, one at a time, whisking until just combined. Stir in the vanilla.

Use a wooden spoon or silicone spatula to stir in the dry ingredients until barely blended. When things are still looking a bit floury, stir in the chocolate (pieces, shavings and all) until all of the ingredients are just combined.

Chill the mixed dough in the refrigerator for 5 minutes before rolling into balls, about 2 tablespoons each. Arrange on the prepared baking sheets leaving a generous amount of space (2-3 inches) between them to allow the cookies to spread. Sprinkle each cookie with a pinch of sea salt.

Ideally, bake each pan individually at 360 degrees until the tops are cracked and lightly golden, about 10-12 minutes, rotating the pan halfway through. If time is of the essence, trade the pans halfway through the cooking time and rotate for evenness. Cool on the pan for 2 minutes, then remove to a wire rack to cool completely.

Very slightly re-written and adapted from Basic, Great Chocolate Chip Cookies from Seven Spoons by Tara O’Brady.

Chocolate Chip Cookies | Image: Laura Messersmith

Chocolate Chip Cookies | Image: Laura Messersmith

Small Kitchen Friendly?
Totally. I used two medium mixing bowls, a small sauce pan, two baking sheets, a wire rack, a medium cutting board, and a chef’s knife. I also needed measuring cups, measuring spoons, a rubber spatula, wire whisk, a 1 tablespoon sized cookie scoop, and parchment paper.

The Verdict:
The higher percentage of light brown sugar adds a caramel scented depth to the cookie dough that I absolutely looove. Finding a giant chunk of semi-sweet chocolate buried in the center doesn’t hurt either. These cookies manage to seamlessly evoke the classic back-of-the-package version, while the sprinkle of sea salt brings them into the modern age and makes them elegant enough for even the most jaded grown-up. The ability to make these cookies at a moment’s notice just seals the deal.

Chocolate Chip Cookies | Image: Laura Messersmith

Chocolate Chip Cookies | Image: Laura Messersmith

Mocha Hazelnut Granola Bars

Mocha Hazelnut Granola Bars | Image: Laura Messersmith

Mocha Hazelnut Granola Bars | Image: Laura Messersmith

My first taste of Nutella came in the mid-1980s when my parents brought back a jar from a trip to Europe. Their travels took them into Northern Italy where I suspect this particular jar of pasta gianduja was procured, and for me it was love at first bite. It made a strong impression on me and I’ve had it many times since then; memorably while visiting my sister in Australia over her study abroad semester when we began most mornings with an English muffin generously spread with a layer of chocolate-hazelnut deliciousness. Vacation breakfast at it's best.

The flavor combination is one of my favorites - deeply, but gently nutty, smooth, sweet, creamy, chocolate-y heaven. Great on fruit, a shortbread cookie, or right off the spoon. Even better with a cup of coffee, which leads me to the other Italian-ish component of this recipe: instant coffee. The mochas on espresso bar menus everywhere and the presence of coffee in chocolate cake recipes have ably proven that coffee and chocolate pair beautifully.

It's a classic combination, but one I haven't seen in pre-made granola bars, and since these three ingredients were just made for each other I had to find a way. The flavors compliment each other, and together are far greater than the sum of their parts. It also doesn’t hurt that these bars mix up quickly and are perfectly portable – a pick-me-up snack if I ever saw one!

Mocha Hazelnut Granola Bars | Image: Laura Messersmith

Mocha Hazelnut Granola Bars | Image: Laura Messersmith

Mocha Hazelnut Granola Bars (yield: 8 bars)

Ingredients:
3/4 cup chopped hazelnuts
2/3 cup semi sweet chocolate chips
1 1/4 cups Old-fashioned rolled oats
2 tablespoons whole wheat flour
1/4 cup vanilla whey protein powder
1/2 teaspoon kosher salt
1/4 cup olive oil
1/3 cup cashew or hazelnut butter
1/2 cup wildflower honey
3 teaspoons instant coffee
1/2 teaspoon vanilla extract
Non-stick spray

Instructions:
Pre-heat oven to 350 degrees F.

Spray the interior of an 8x8x2 inch pan or 9 inch pie plate with non-stick spray and line the bottom with parchment paper.

Roughly chop the hazelnuts and stir together with the semi-sweet chocolate chips, rolled oats, whole wheat flour, whey protein powder, and kosher salt in a medium bowl.

In a separate smaller mixing bowl, combine the olive oil, nut butter, honey, instant coffee powder, and vanilla extract until evenly combined. Note: measuring olive oil first will make it easier to remove the cashew butter and honey from the cup.

Pour the nut butter mixture over the dry ingredients and stir until all the chocolate chips, nuts, and oats are evenly coated. The granola mixture will be stiff, but should stick together. Add a touch more honey if the granola is too crumbly.

Spread the batter into the prepared baking pan and use a rubber spatula press the mixture into the pan in an even layer, don’t neglect the corners!

Bake at 350 degrees F for 20-25 minutes until the edges begin to brown and the top turns lightly golden. Cool the bars completely in the pan before turning out onto a cutting board. Slice the baked bars into squares.

Wrap the bars individually in plastic, or store in an airtight container with a piece of parchment paper or waxed paper between the layers.

Mocha Hazelnut Granola Bars | Image: Laura Messersmith

Mocha Hazelnut Granola Bars | Image: Laura Messersmith

Small Kitchen Friendly?
Yes, indeed! I used an 8 x 8 x 2 glass baking dish, one medium mixing bowl, one small mixing bowl, a small cutting board, chef’s knife, a rubber spatula, measuring cups and spoons. A sheet of parchment paper will help too.

The Verdict:
Oh Lord. These are crazy addictive, so make them at your own risk…. The coffee flavor comes through clearly and plays off the sweet (but not too sweet) chocolate and rich hazelnut. A smidgen of saltiness keeps it all in check. I made a batch to bring with us on a long trip and it was all I could do to resist finishing them before the end of the flight. We found ourselves pressing the crumbs out of the ziplock bag when the last bar was gone. If you like chocolate, hazelnut, and coffee you’ll loooove these granola bars.

Mocha Hazelnut Granola Bars | Image: Laura Messersmith

Mocha Hazelnut Granola Bars | Image: Laura Messersmith

Peanut Butter Marbled Bars

Peanut Butter Marbled Bars | Image: Laura Messersmith

Peanut Butter Marbled Bars | Image: Laura Messersmith

I’m guessing I first had a Peanut Butter Marbled Bar in seventh grade or so. My dear friend Kate’s mom used to send them in her lunch from time to time and at some point I must have requested the recipe (even then I knew a good thing when I tasted it.) The original, wide ruled piece of notebook paper with Kate’s neat handwriting is still in the highly organized pile of recipes at my parent’s house; evidence of heavy use in its creased, crumpled and smudged state.

There’s a reason that recipe is so well worn; it’s absolutely delicious, requires no special equipment, no special ingredients, and, truthfully, not a lot of baking expertise. Peanut butter lovers take note this is a direct line to a dense peanut butter cookie swirled with melted chocolate – the perfect balance of salty and sweet – and it all gets baked in a 9x13 pan.

I made these for our holiday party a few weeks ago, and based on the lack of leftovers I can promise you that they will be popular for any Super Bowl gathering or bake sale on your horizon. Maybe pull out a few sheets of notebook paper for recipe requests and make thirteen-year old me proud.

Peanut Butter Marbled Bars | Image: Laura Messersmith

Peanut Butter Marbled Bars | Image: Laura Messersmith

Peanut Butter Marbled Bars (yield: 1 dozen 3 inch bars)

Ingredients:
1/2 cup (1 stick) butter, room temperature
3/4 cup light brown sugar
3/4 cup granulated sugar
1/2 cup peanut butter (smooth or crunchy, baker’s choice!)
2 eggs, room temperature
2 teaspoons vanilla
1 teaspoon baking powder
1 cup all purpose flour
1/4 teaspoon kosher salt
12 ounces (1 bag) semi-sweet chocolate chips
Non-stick spray

Instructions:
Pre heat the oven to 350 degrees.

In a medium bowl, cream together the softened butter, sugar, and brown sugar until light and fluffy. The butter should be softened to room temperature - not melted, definitely not cold. A hand mixer will help, but isn’t necessary. Next mix in the peanut butter until well combined. Stir in the eggs and vanilla, don’t over mix.

In a separate small bowl, sift together the all purpose flour, baking powder, and salt. Stir the dry ingredients into the peanut butter mixture until combined.

Spread the batter in a greased 9x13 inch pan. Sprinkle the semi sweet chocolate chips evenly across the top of the batter. Place the pan in 350° oven for 3-5 minutes until the chocolate chips are softened and beginning to melt.

Remove the pan from oven and run a knife through the softened chocolate chips create a marble pattern of thick swirls. Less is more here - the point is not to mix the chocolate in, but to have ribbons through each bar.

Return to the pan to oven and bake for another 20-25 minutes until a toothpick comes out clean. Cool thoroughly and cut into bars.

Adapted and rewritten from Nestle Toll House

Peanut Butter Marbled Bars | Image: Laura Messersmith

Peanut Butter Marbled Bars | Image: Laura Messersmith

Small Kitchen Friendly?
Yes! I used a glass 9x13 inch pan, 1 medium mixing bowl, 1 small bowl, dry measuring cups and spoons. I also used a wooden spoon, rubber spatula, and a butter knife.

The Verdict:
I have Mike’s permission to make Peanut Butter Marbled Bars anytime, no seriously anytime. When I put out the platter of these as a dessert option for our party they went like proverbial hotcakes. And why wouldn’t they? Peanut butter and chocolate is a classic combination for a reason.

Peanut Butter Marbled Bars | Image: Laura Messersmith

Peanut Butter Marbled Bars | Image: Laura Messersmith

Peanut Butter Marbled Bars | Image: Laura Messersmith

Peanut Butter Marbled Bars | Image: Laura Messersmith