Browned Butter Chocolate Chip Cookies
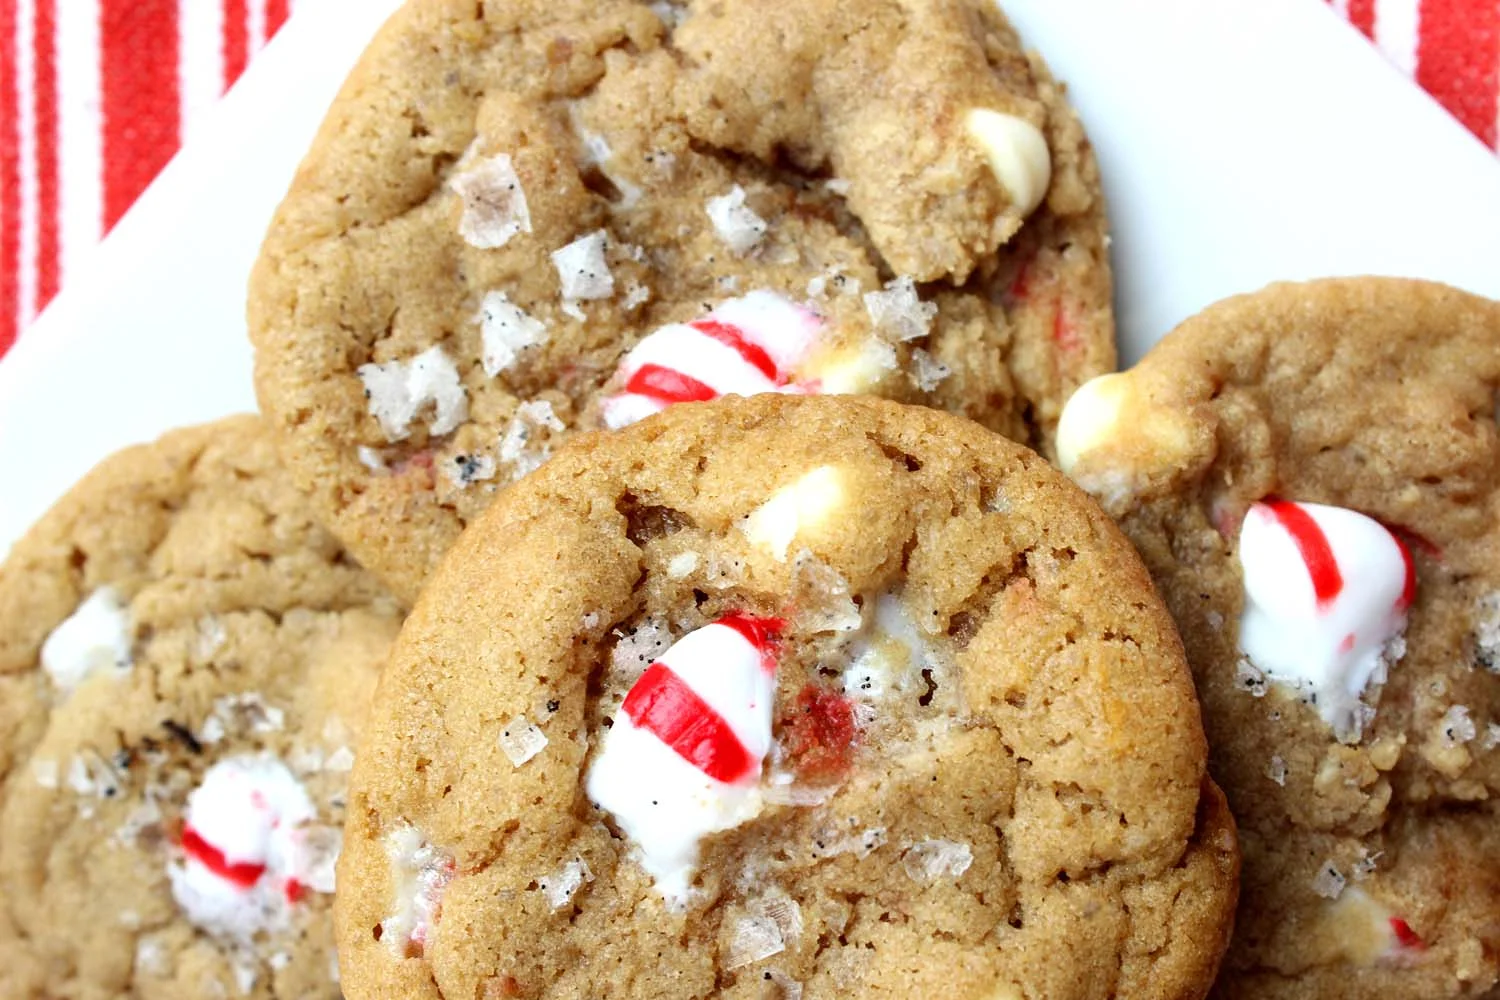
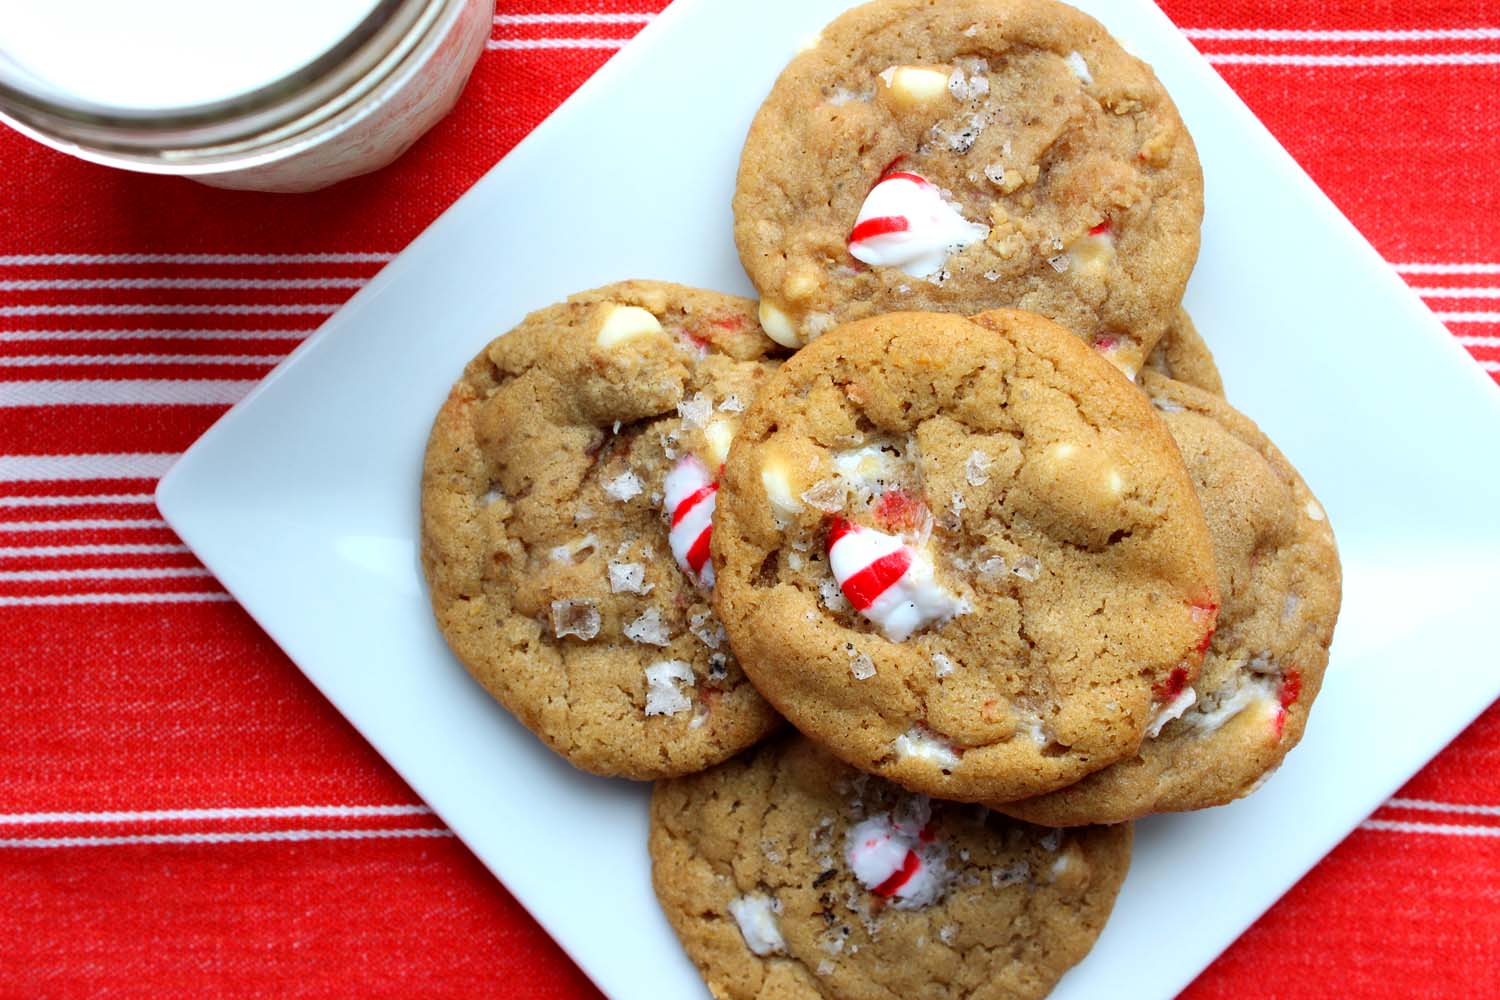
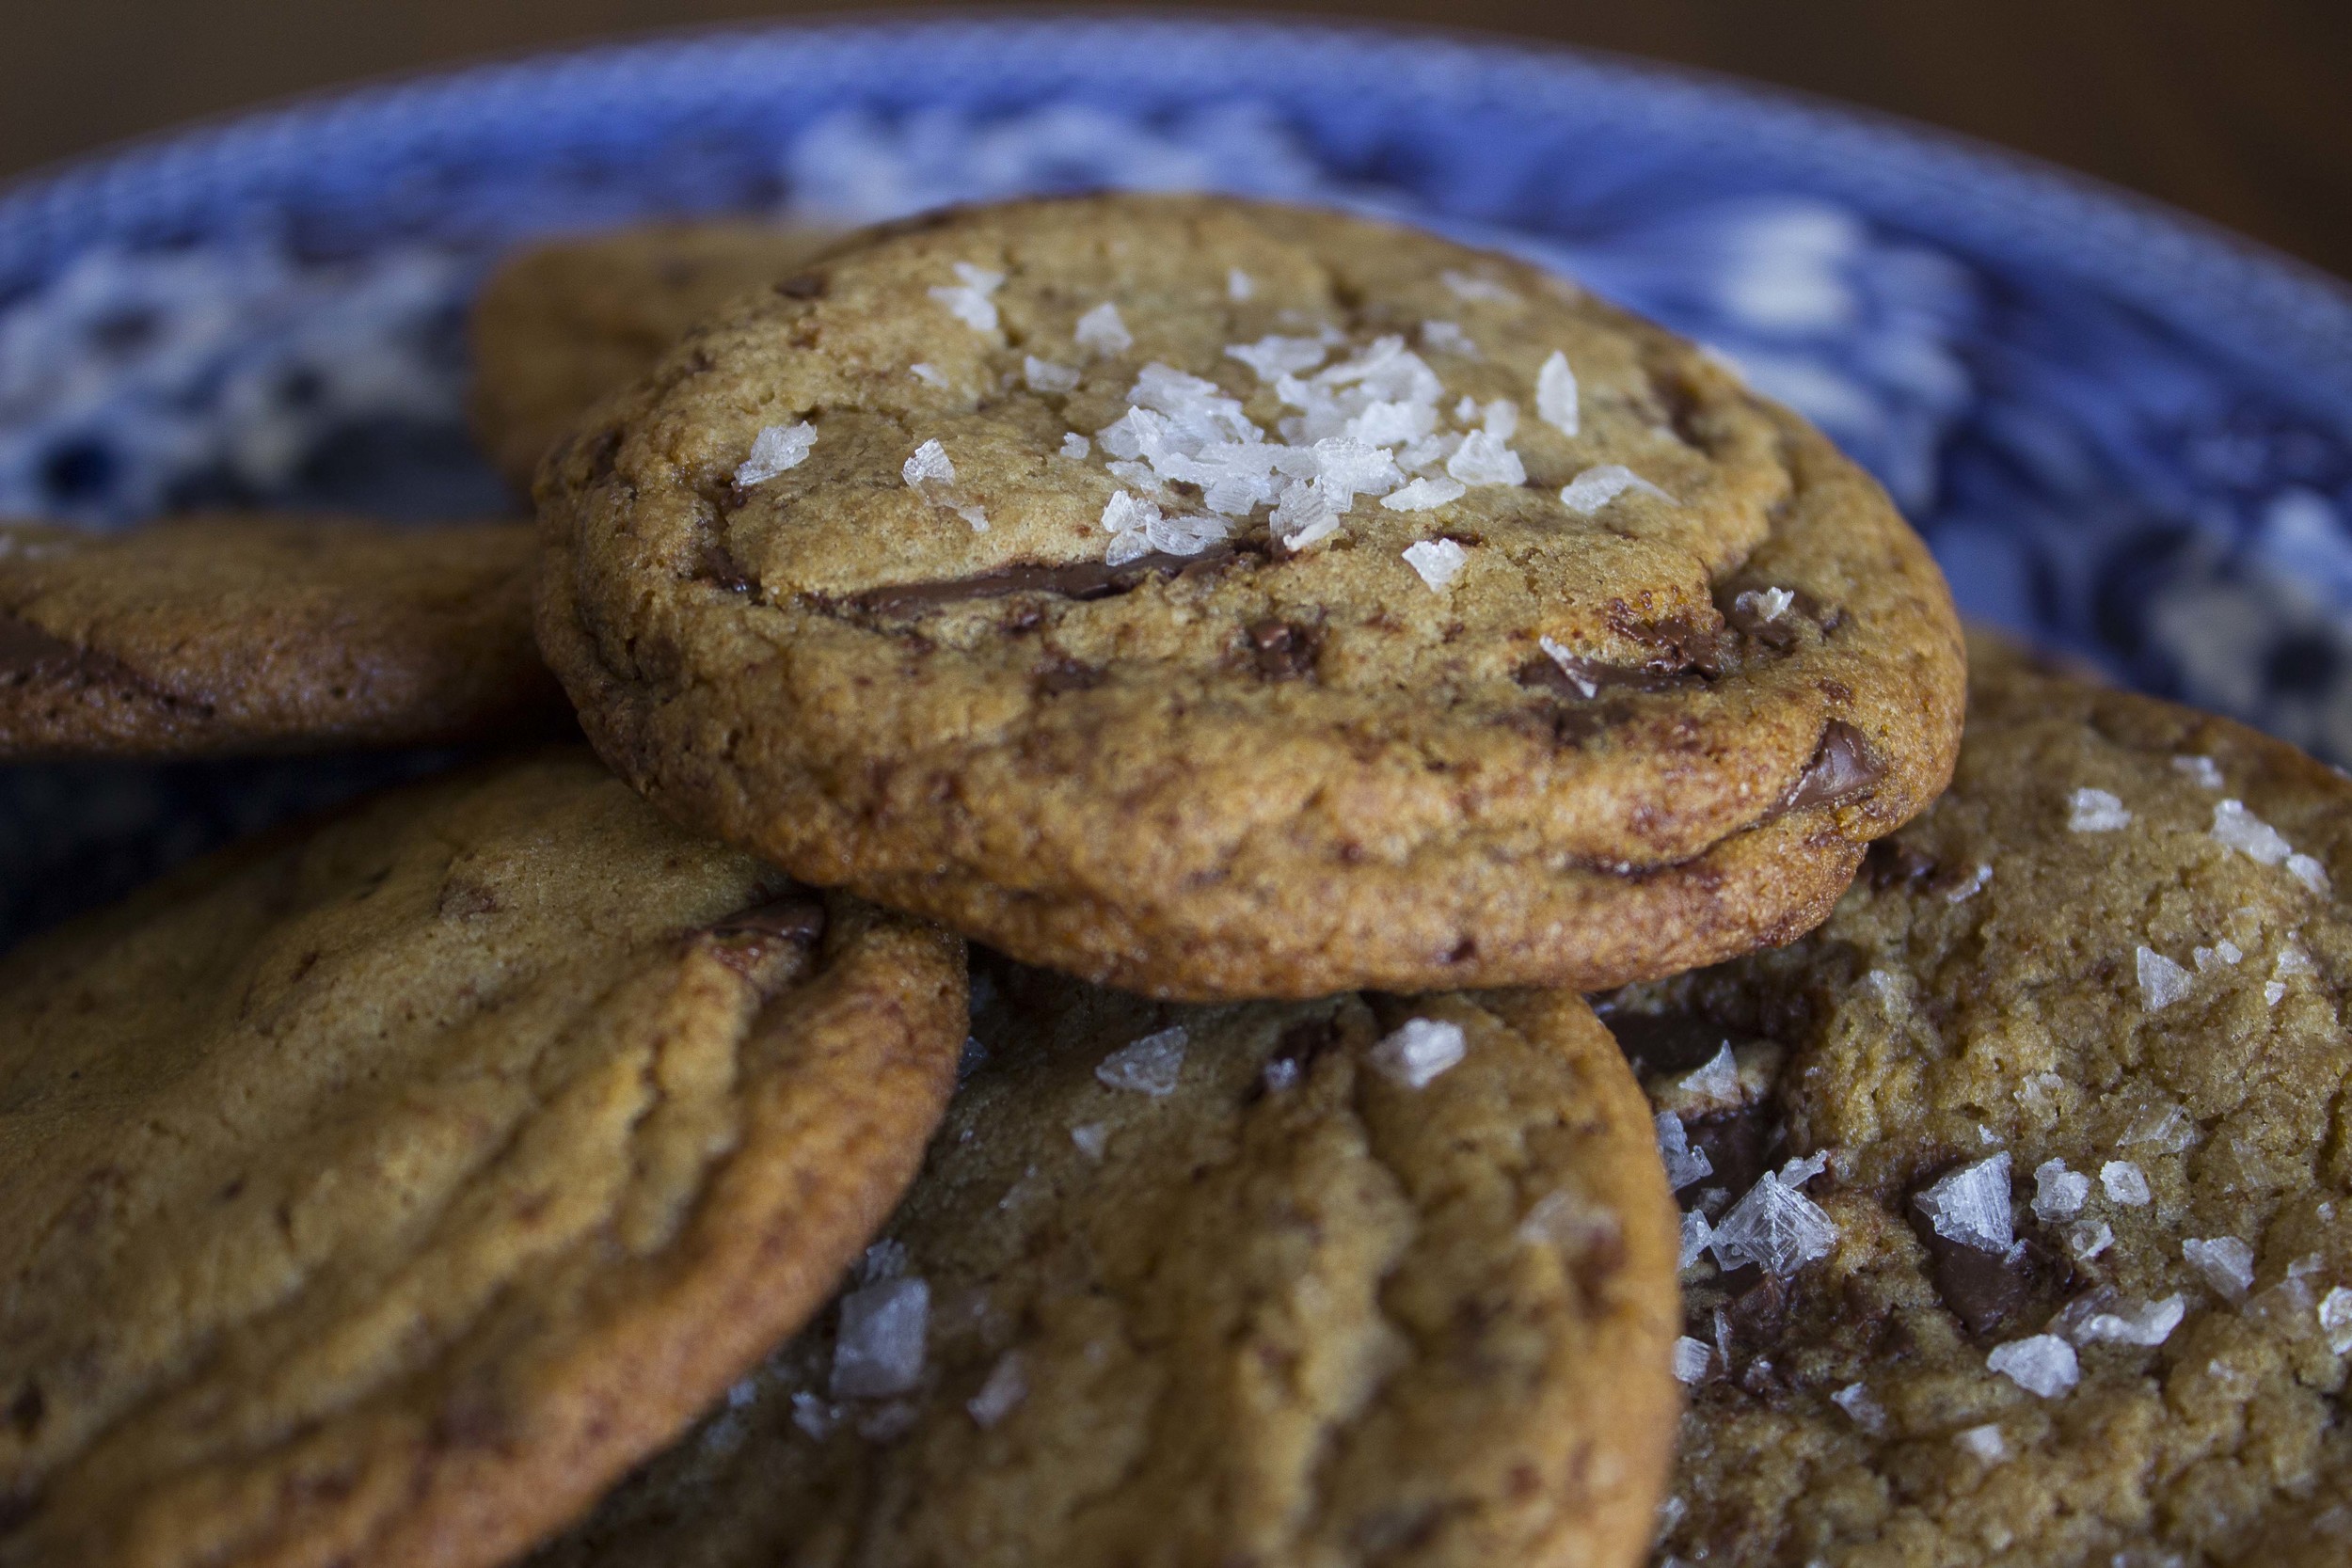
Browned Butter Chocolate Chip Cookie | Image: Laura Messersmith
It’s not overstating a fact to call the chocolate chip cookie iconic and there’s a reason they’re the first to go from any conference room buffet leaving only decoy oatmeal raisin and lackluster plain sugar to be last picks. Chocolate chip cookies are flipping delicious – sweet, a bit salty, and if the baker isn’t stingy with the chocolate pieces they can be downright decadent (hello fellow Levain devotees.)
I started my baking career with the classic yellow-bag Toll House recipe only daring to add an extra half teaspoon of vanilla or quarter cup of chips for fear of risking cookie meltdown. Today, I’m proud to say that while that version remains the bedrock of my kitchen memories I’ve found the courage to branch out a bit and explore.
There can never be enough chocolate chip cookies which means the search for the perfect recipe is ongoing. First with a Tara O’Brady’s recipe that toyed with both the brown sugar:white sugar ratio and included melted butter.* Now with this challenger from the very talented Joy Wilson, better known as Joy The Baker, we’re trying browned butter and now a third sugar ratio. All in the name of science, of course.
*Since I never plan quite far enough ahead; room temperature butter is always my downfall, so this was a major development.
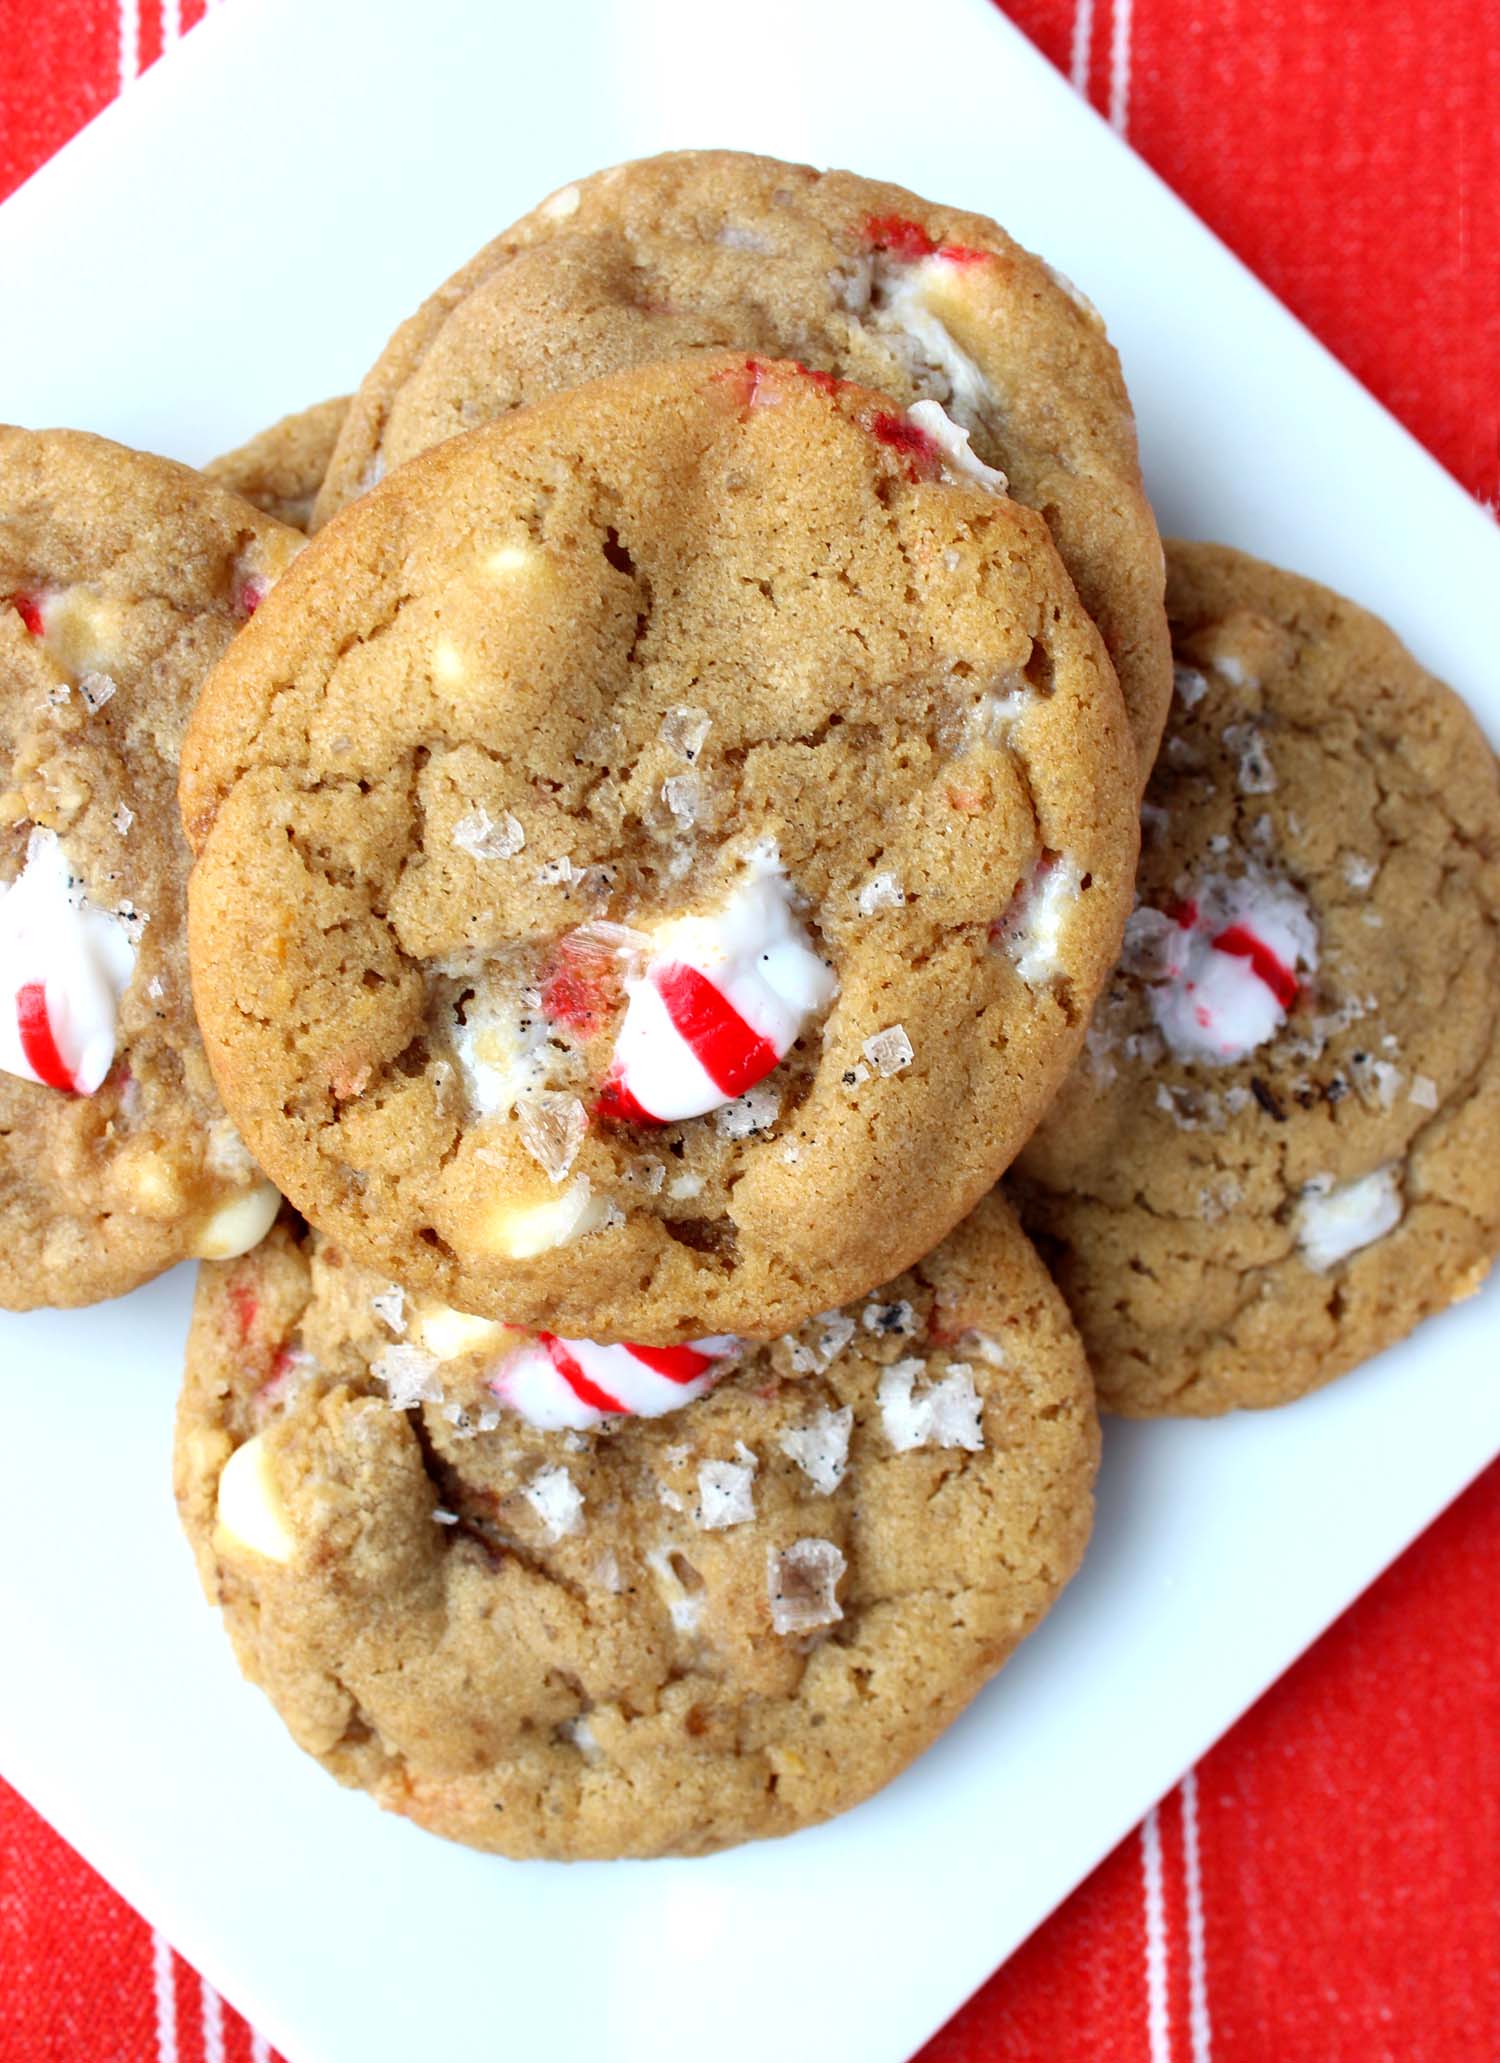
Browned Butter Chocolate Chip Cookie | Image: Laura Messersmith
Browned Butter Chocolate Chip Cookies (yield: about 3 dozen cookies)
Ingredients:
1 cup (2 sticks) room temperature unsalted butter, divided
1 cup light brown sugar, packed
2 teaspoons vanilla extract
1 teaspoon molasses
1/2 cup granulated sugar
1 large egg
1 large egg yolk
2 1/4 cups all-purpose flour
1 teaspoon kosher salt
1 teaspoon baking soda
1 1/2 cups roughly chopped bittersweet chocolate chips
flaked sea salt, to sprinkle on top
Instructions:
Line two rimmed baking sheets with parchment paper and set aside.
Place half the butter (1 stick) in a medium heavy-bottomed skillet; stainless steel or light colored will help you track the progress of the butter more easily. Melt the butter over medium-low heat, swirling the pan occasionally. The butter will foam as it cooks, and start to crackle and pop. Once the crackling stops, keep a close watch, continuing to swirl the pan often. The butter will start to smell nutty, and brown bits will form in the bottom, about 5-7 minutes. Once the bits are the color of wildflower honey remove from the heat and immediately pour it into a small bowl, bits and all. This will stop the butter from cooking and burning. Set aside to cool for 20 minutes.
Beat the remaining 1 stick room temperature butter and brown sugar together with an electric mixer for 3 to 5 minutes, until the mixture is very smooth. Next, beat in the vanilla extract and molasses.
Pour the cooled brown butter into the bowl, along with the granulated sugar. Beat for 2 minutes, until smooth; the mixture will lighten to the color of pale sand and become fluffy. Add the egg and egg yolk, and beat for one more minute.
Sift the flour, salt, and baking soda into the butter mixture, beating on low speed just until everything is incorporated. Use a spatula to fold in the chocolate chips by hand and finish incorporating all of the dry ingredients.
Turn the dough out onto a piece of parchment paper, waxed paper, or plastic wrap. Flatten it slightly into a thick disk, and refrigerate for at least 30 minutes. About 15 minutes before you’re ready to begin baking, place racks in the center and upper third of the oven and preheat your oven to 350°F.
Break the dough up into equal pieces – about 2 tablespoons worth - and roll into balls between your hands. Place the balls of dough on the prepared baking sheets leaving 2-inches of space between them so they have room to spread as they bake.
Sprinkle the top of the cookies with flaked sea salt – according to your taste**.
Bake the cookies in the pre-heated oven for 12 to 15 minutes, rotating the sheet pan halfway through, until they’re golden brown. Remove from the oven, and allow the cookies to cool on the baking sheet (5 minutes or so) before moving them.
Serve warm; or cool completely, and store airtight at room temperature for several days. For longer storage, wrap well and freeze.
**Note on Sea Salt: I made these cookies both with and without the sprinkling of sea salt on top and found that without it they were a little under-seasoned. If you don’t plan to use it then I’d add a bit salt more to the dough itself to keep the cookies from tasting flat.
Lightly adapted and rewritten from Joy the Baker’s The Best Brown Butter Chocolate Chip Cookies.

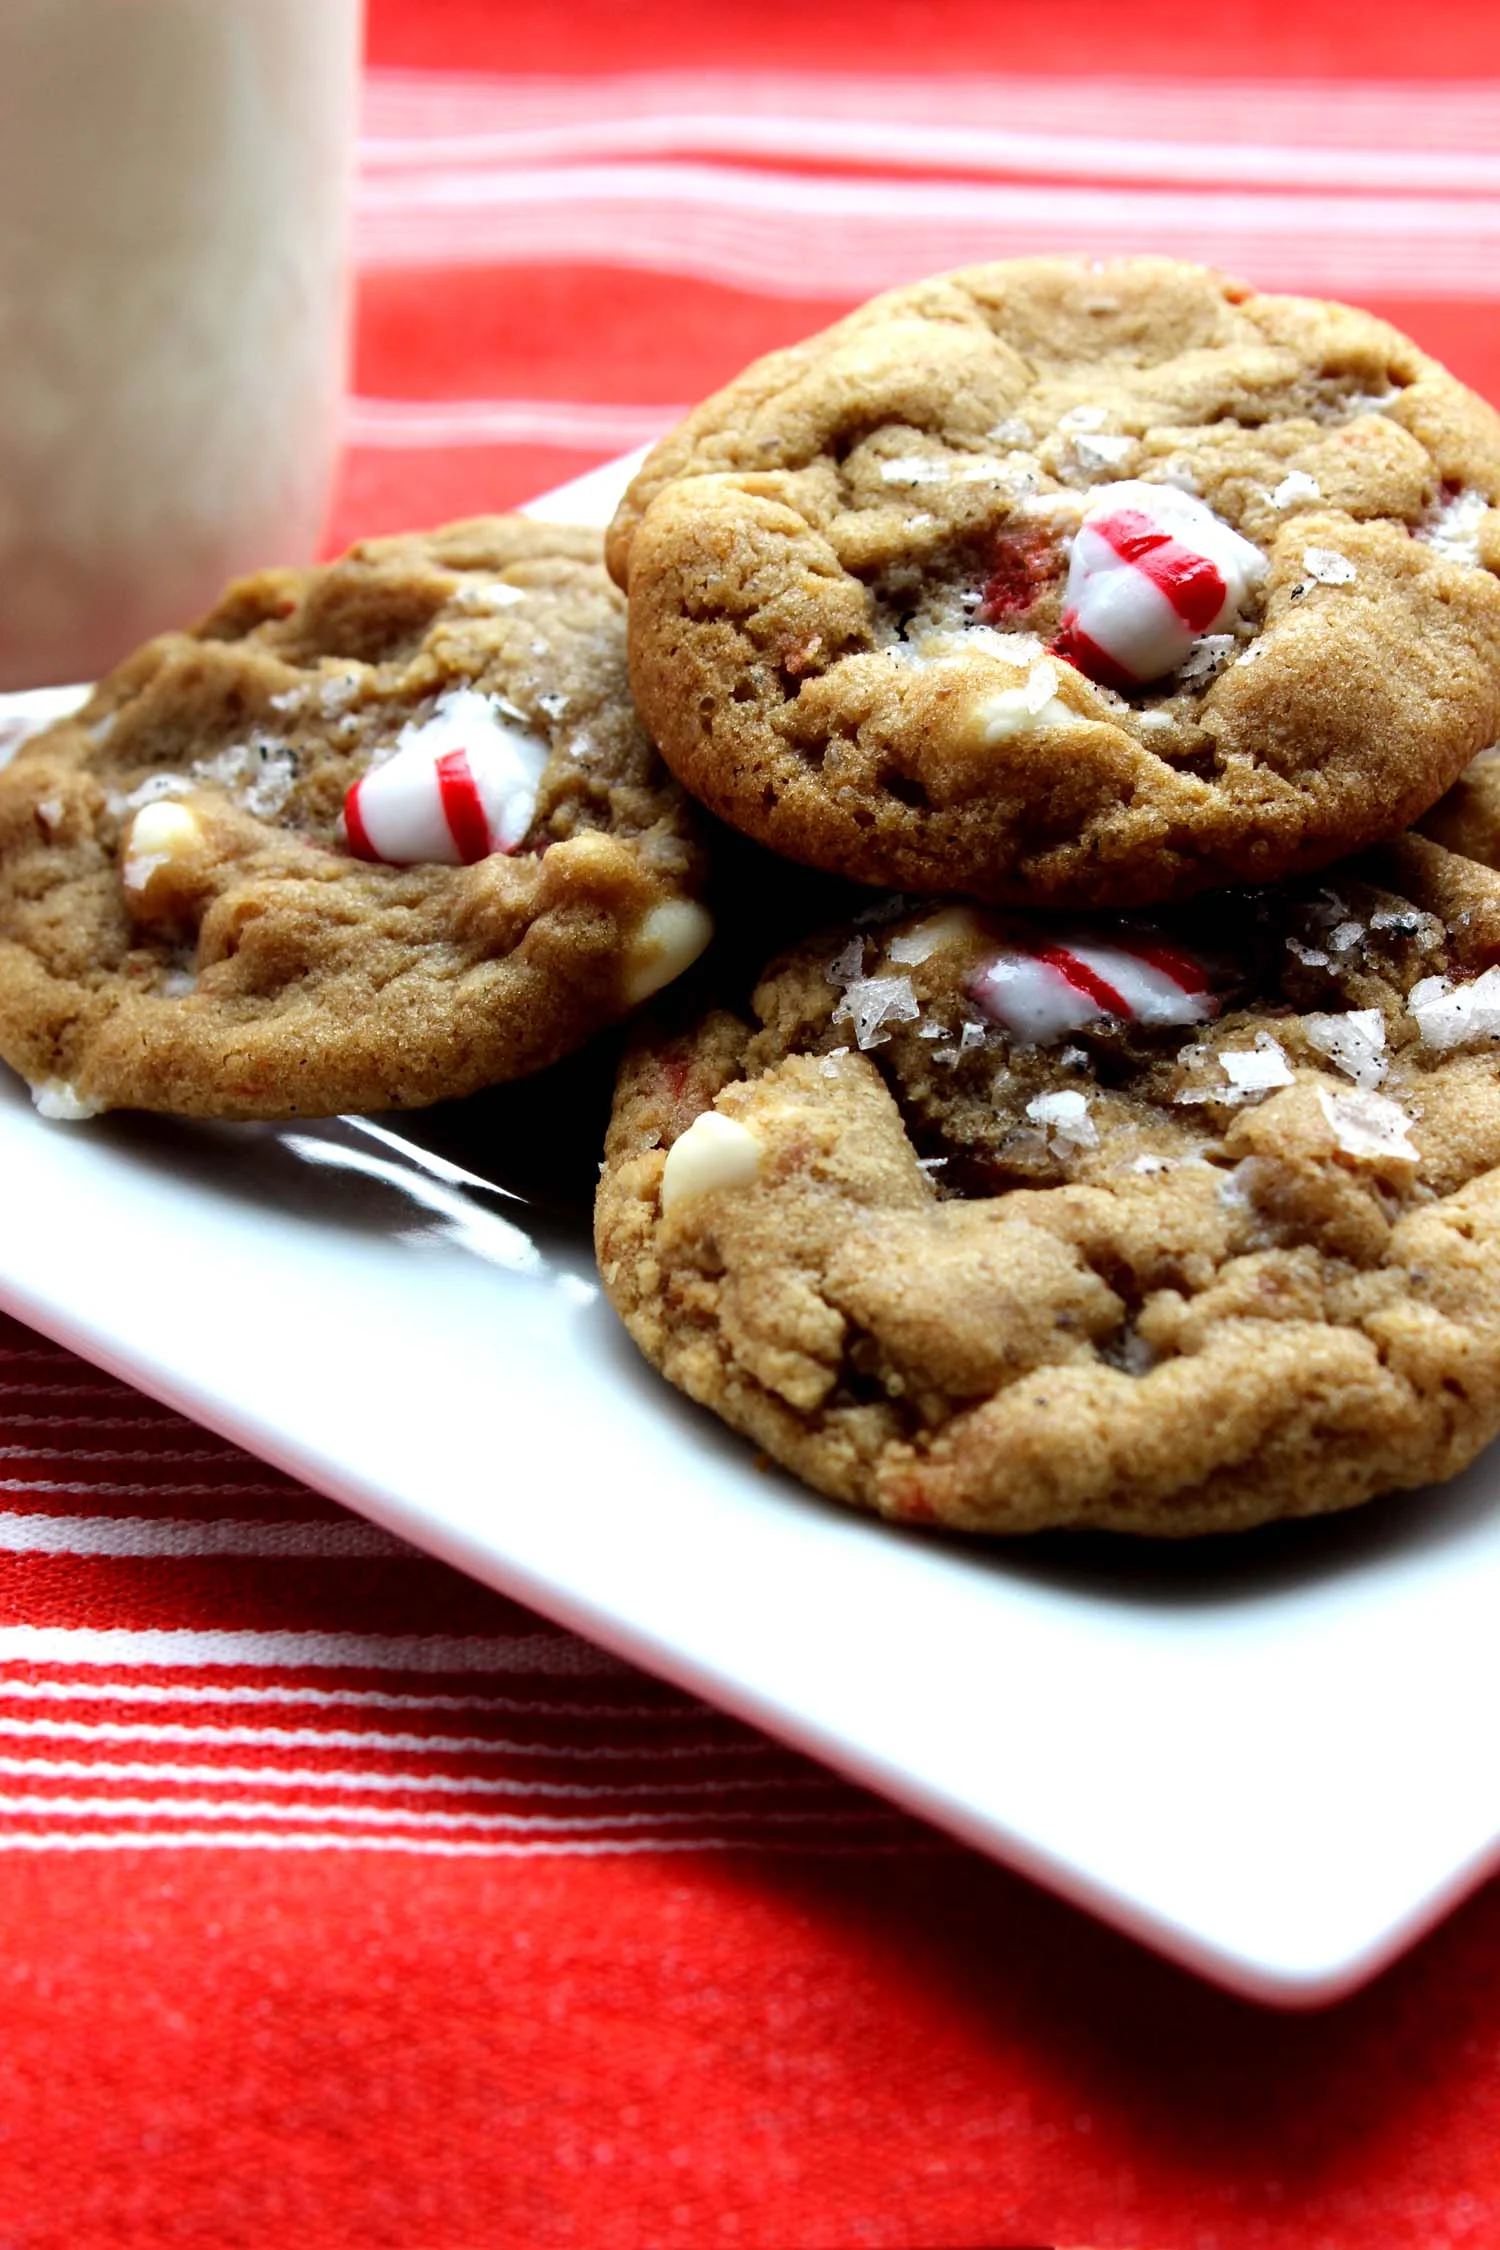
Browned Butter Chocolate Chip Cookie | Image: Laura Messersmith
Small Kitchen Friendly?
For a cookie recipe, yes. I used one large mixing bowl, medium stainless steel skillet, an electric hand mixer, two rimmed baking sheets, mesh sieve (optional), measuring cups and spoons, a rubber spatula, metal spatula, small cutting board and a chef’s knife.
The Verdict:
How could these cookies possibly be anything other than AMAZING? Normally I resist trends like sprinkling sea salt on everything or constantly browning butter, but in this case these little additions to the process offer so much flavor and depth that it would be miserly to keep them from you. I baked a batch when a friend was visiting from out of town and after a bite or two I started to wonder whether we shouldn’t have just skipped the whole dinner business and gone straight to dessert. Well done, Ms. Wilson.

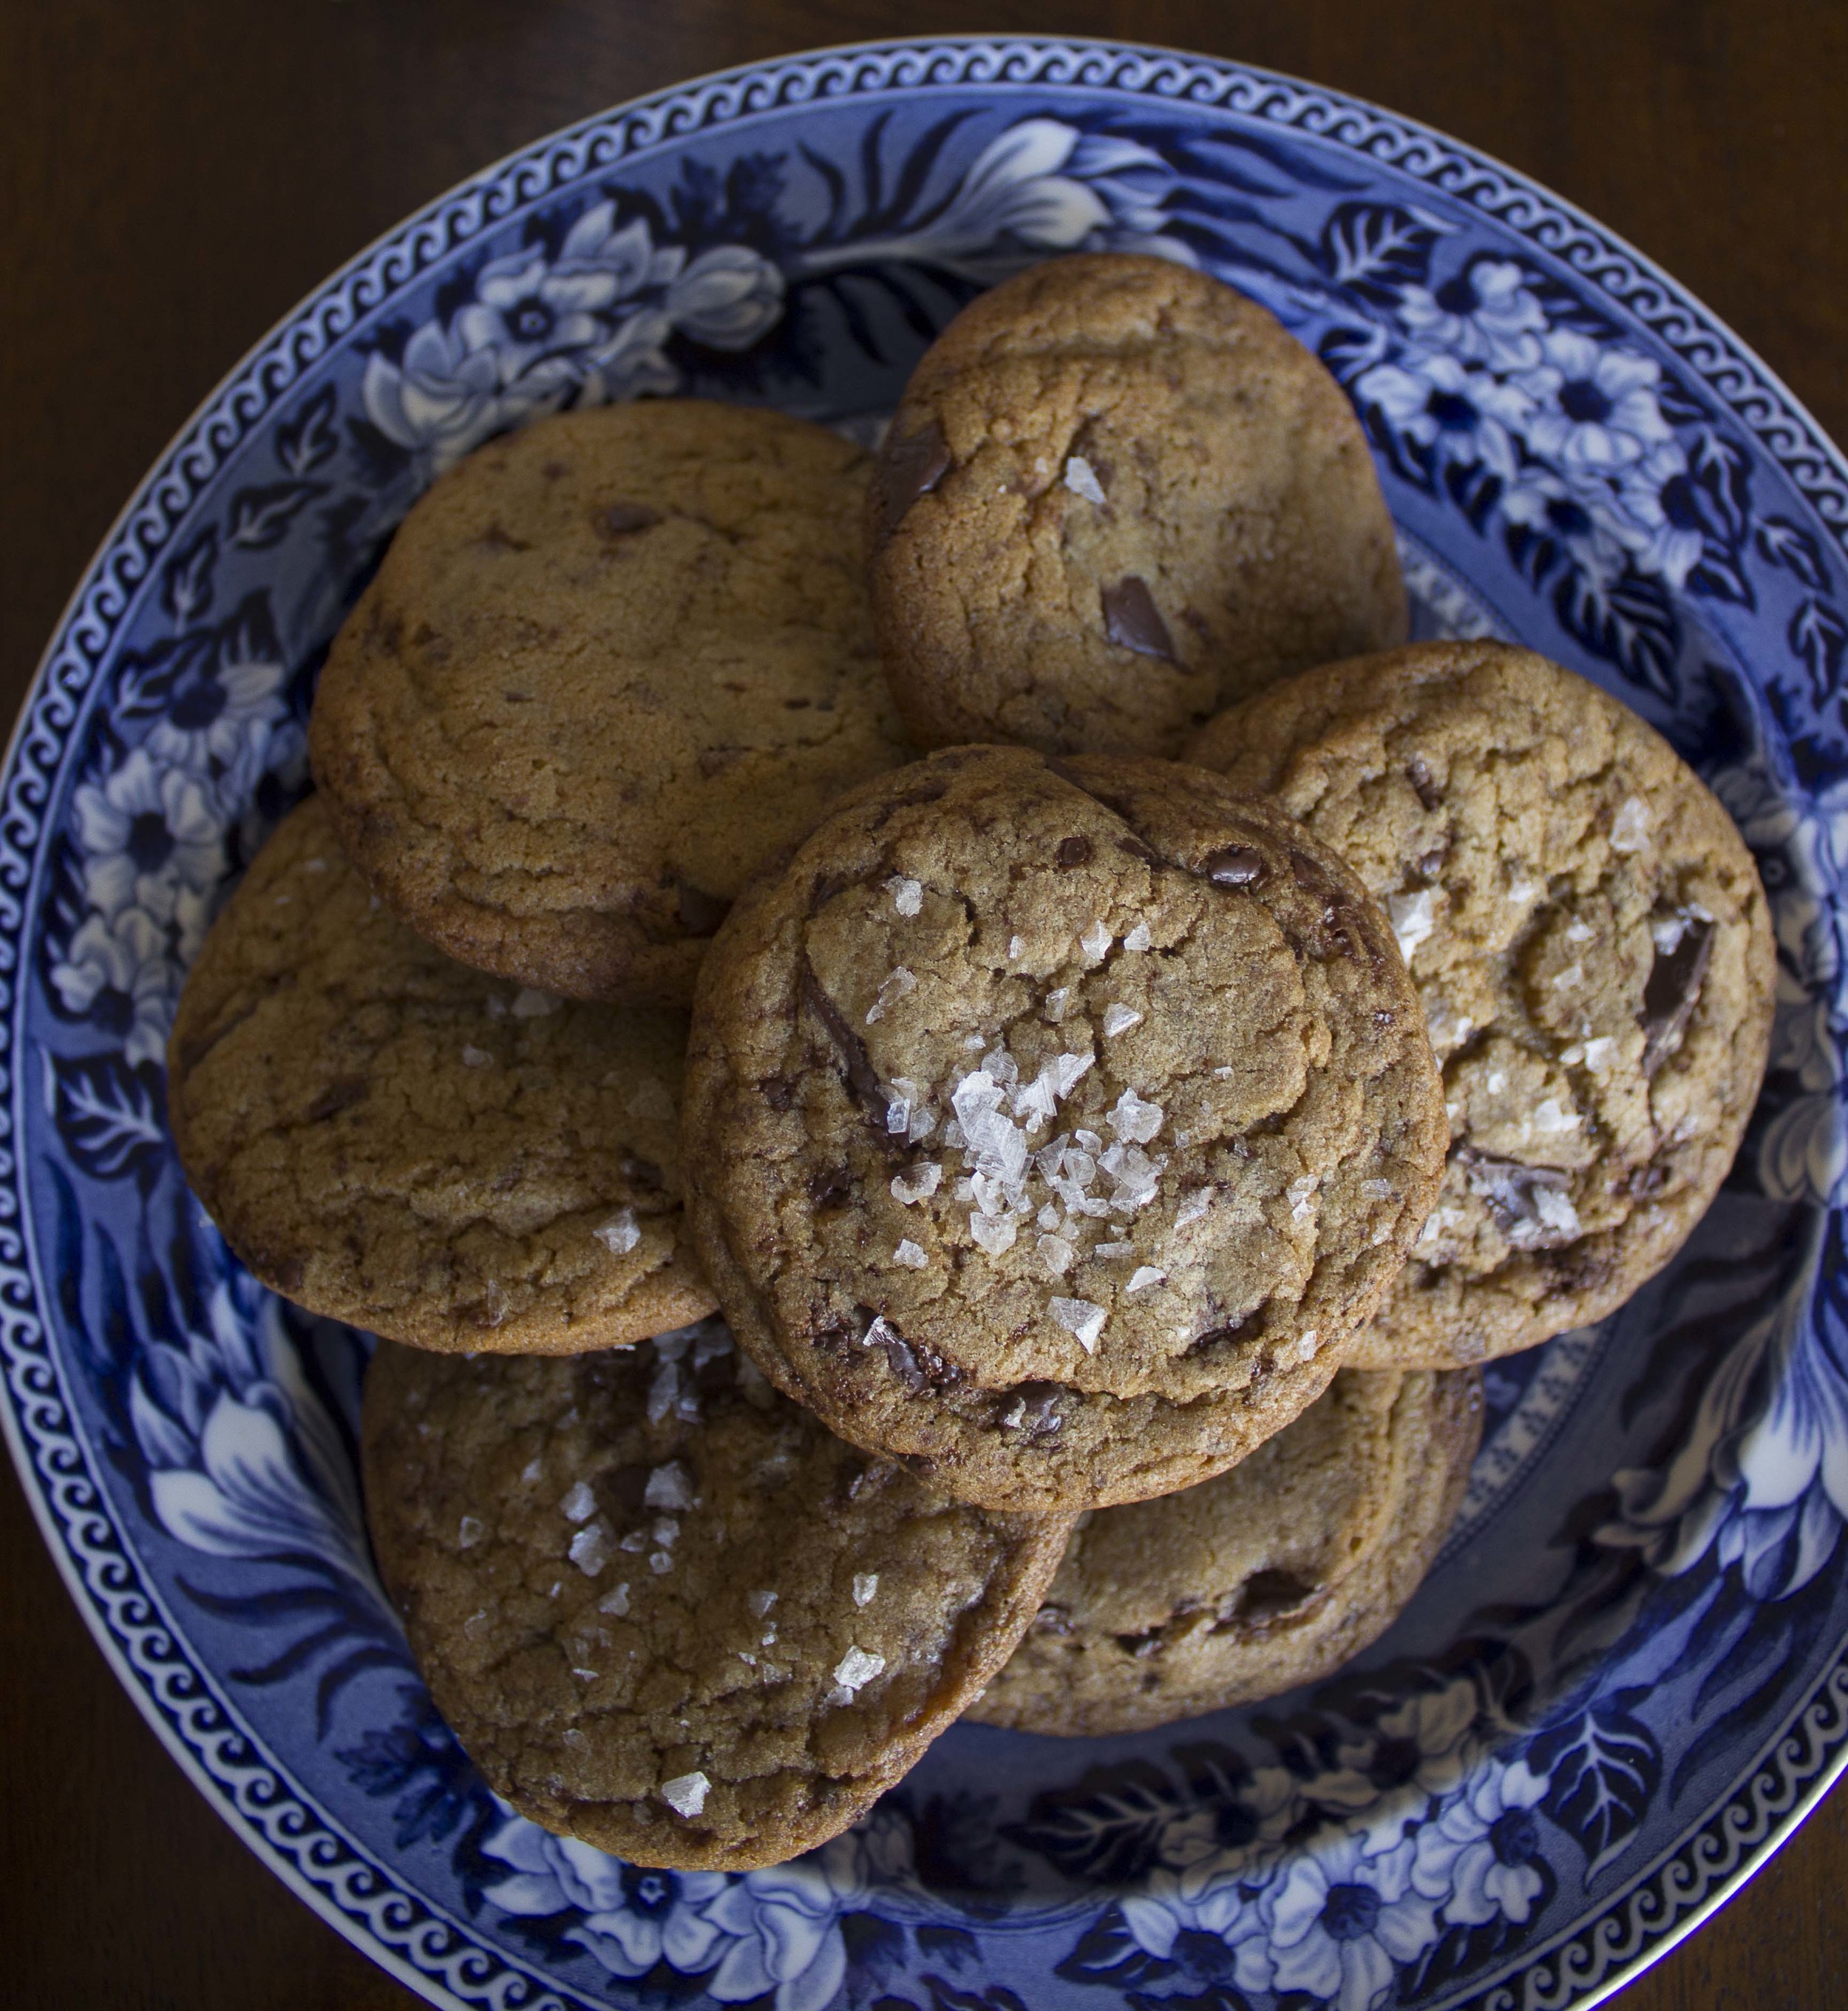
Browned Butter Chocolate Chip Cookie | Image: Laura Messersmith