Bruléed Grapefruit Tart

Bruléed Grapefruit Tart | Image: Laura Messersmith

Bruléed Grapefruit Tart | Image: Laura Messersmith

It’s citrus season again and the produce section is once more bursting with oranges, pink lemons, and my favorite: grapefruits. When I was younger the only way I could eat bracingly tart grapefruit was with heaping spoons of sugar. I admit, this pretty much defeats the purpose of consuming fruit in the first place, but that’s neither here nor there. As my taste buds matured I needed less and less sugar and today I sip freshly squeezed grapefruit juice without wincing.

My mood needs the bracing boost of sharp citrus. But for folks still on the fence, this bruléed grapefruit tart strikes a happy medium between lovely sweetness and teeth aching acidity by combining the milder ruby red or pink grapefruit variety with just the lightest sprinkle of toasted sugar and a simple, crisp crust.

Now, if it just tasted delicious I’d be sold, but this dessert has the extra benefit of also looking impressive. Elegant, concentric overlapping circles of grapefruit segments glistening under the melted sugar fooled my friends into thinking it came from a bakery. High praise. Imagine my enjoyment when I revealed that the entire process took place entirely in my own kitchen.

Bruléed Grapefruit Tart | Image: Laura Messersmith

Bruléed Grapefruit Tart | Image: Laura Messersmith

Bruléed Grapefruit Tart (serves 8)

 Tart Shell Ingredients:
10 tablespoons (1 1/4 sticks) unsalted butter at room temperature
1/2 cup granulated sugar
1/2 teaspoon pure vanilla extract
1 3/4 cups all-purpose flour
Pinch salt
3-4 tablespoons cold water

Filling Ingredients:
4 large ruby red or pink grapefruits
1/4 cup orange or citrus marmalade
1/3 cup finely crushed butter cookies or honey graham crackers
6 tablespoons coarse sugar

Instructions:
In a large bowl, combine the butter and sugar together with an electric hand mixer. Add the vanilla. Add the flour and salt and mix on low speed until the dough starts to come together.

Press the dough into a 9 inch round false-bottom tart pan making sure that the finished edge is flat and the corner between the sides and bottom is sharp. Refrigerate until firm, about 1-2 hours.

Meanwhile, preheat the oven to 350 degrees F.

Prick the bottom of the chilled tart shell all over with a fork, then line with parchment paper and fill with dried beans or pie weights. These steps will prevent the shell from puffing up. Bake for 20 minutes. Allow to cool slightly before removing the paper and beans.

Increase the oven temperature to 425 degrees F.

To prep the filling, cut a thin slice from both ends of each grapefruit. Place the cut end on a cutting board and cut away the peel and the white part of the rind. Slip the knife along the sides of the membrane dividing the segment to remove the slice of grapefruit.

Spread the marmalade over the partially baked crust. Sprinkle with the crushed cookies or graham crackers. Arrange the grapefruit slices over the crust in concentric circles starting from the outer edge. (You probably won’t use every single piece.) Sprinkle 3 tablespoons of the coarse sugar over the grapefruit.

Bake at 425 degrees F for 15-20 minutes or until crust is lightly browned. Remove tart from oven; turn on broiler (or pull out your kitchen torch). Sprinkle tart with the remaining 3 tablespoons sugar. Broil for 2 to 3 minutes or until sugar is lightly browned and the edges of the grapefruit just begin to singe.

Let cool to room temperature before slicing and serving.

Re-written and adapted from Better Homes and Garden’s Broiled Grapefruit Tart and Ina Garten’s Lemon Curd Tart.

Bruléed Grapefruit Tart | Image: Laura Messersmith

Bruléed Grapefruit Tart | Image: Laura Messersmith

Small Kitchen Friendly?
Yes, indeed. I used a medium mixing bowl, an electric hand mixer, measuring cups and spoons, a rubber spatula, a 9 inch false bottom tart pan, a medium cutting board, a serrated utility knife, and a kitchen torch. Parchment paper and dried beans, uncooked rice, or pie weights round out the equipment.

Bruléed Grapefruit Tart | Image: Laura Messersmith

Bruléed Grapefruit Tart | Image: Laura Messersmith

Honey Rosé Plum Cobbler

Honey Rosé Plum Cobbler | Image: Laura Messersmith

Honey Rosé Plum Cobbler | Image: Laura Messersmith
I adore fall and the smoky scent of leaves, the crisp brightness, the enjoyment of cool cheeks and a cozy sweater. I anticipate the energy change from the hot laziness of summer, but I also sort of dread it – the beginning of the all too rapid transition into full-on winter. Slushy side walks, cold fingers, wearing my duck boots nearly 24/7 – no thanks.

But let’s focus on the here and now – the blazing blue skies the last lingering summer produce. Who doesn’t need a great late-summer early-fall recipe to take advantage of the glorious wealth of plums that hit the markets in September and generously hang on until October? Definitely not a delicate berry, but a bit more tender-hearted than the sturdy apples and pears to come in oh like t-minus 1 week (not that I’m really complaining.)

Honey Rosé Plum Cobbler | Image: Laura Messersmith

Honey Rosé Plum Cobbler | Image: Laura Messersmith

Plums have the depth to stand proudly alongside other robust flavors and add their tart sweetness to the dry rosé. This cobbler topped with buttery dough – is waiting to grace your dinner table.

Honey-Rosé Plum Cobbler (serves 6)

Ingredients:
1 3/4 cups, plus 2 tablespoons all-purpose flour, divided
1/4 cup sugar
2 teaspoons baking powder
1/4 teaspoon salt
1/2 cup, plus 2 tablespoons whole milk, divided
1/3 cup olive oil
2/3 cup dry rosé wine
1/3 cup clover honey
2 1/2 pounds assorted plums, pitted and cut into 8 wedges each
2 tablespoons coarse sugar, aka sugar in the raw

Optional for serving: ice cream or whipped cream

Instructions:
Preheat oven to 400 degrees F. Brush 6 oven-safe ramekins with softened butter.

For the biscuits, combine the 1 3/4 cups flour, 1/4 cup sugar, baking powder, and salt in a medium bowl. Add 1/2 cup milk and olive oil to the flour mixture. Stir to combine. Cover with plastic wrap, and set aside.

For filling, combine the wine, honey in an extra-large skillet whisk in remaining 2 tablespoons flour. Stir in the plums. Cook and stir over medium-high heat about 8 minutes or until thickened and bubbly. Remove from heat; keep warm.

Unwrap dough and roll out to 1/2-inch thickness on a floured surface. Cut into rounds using a 1-inch round cutter. Divide plums among the ramekins filling nearly to the tops. Arrange the biscuits over the filling, slightly overlapping as needed. Brush with the remaining 2 tablespoons of milk and sprinkle the biscuits with the coarse sugar.

Bake for 15-20 minutes or until biscuits are golden. Place a baking sheet below the dish to catch an drips during baking.

Remove from oven and let stand 30 minutes before serving with a scoop of ice cream or whipped cream.

Adapted and lightly re-written from Better Homes and Gardens’ Honey Rosé Plum Cobbler by David Bonom.

Honey Rosé Plum Cobbler | Image: Laura Messersmith

Honey Rosé Plum Cobbler | Image: Laura Messersmith

Small Kitchen Friendly?
I used 6 (7 ounce) oven-safe ramekins, pastry brush, medium mixing bowl, measuring cups & spoons, liquid measuring cup, spatula, large skillet, whisk, chef’s knife, medium cutting board, small fluted biscuit cutter, and rimmed baking sheet.

Honey Rosé Plum Cobbler | Image: Laura Messersmith

Honey Rosé Plum Cobbler | Image: Laura Messersmith

Double Chocolate Zucchini Bread

Double Chocolate Zucchini Bread | Image: Laura Messersmith

Double Chocolate Zucchini Bread | Image: Laura Messersmith

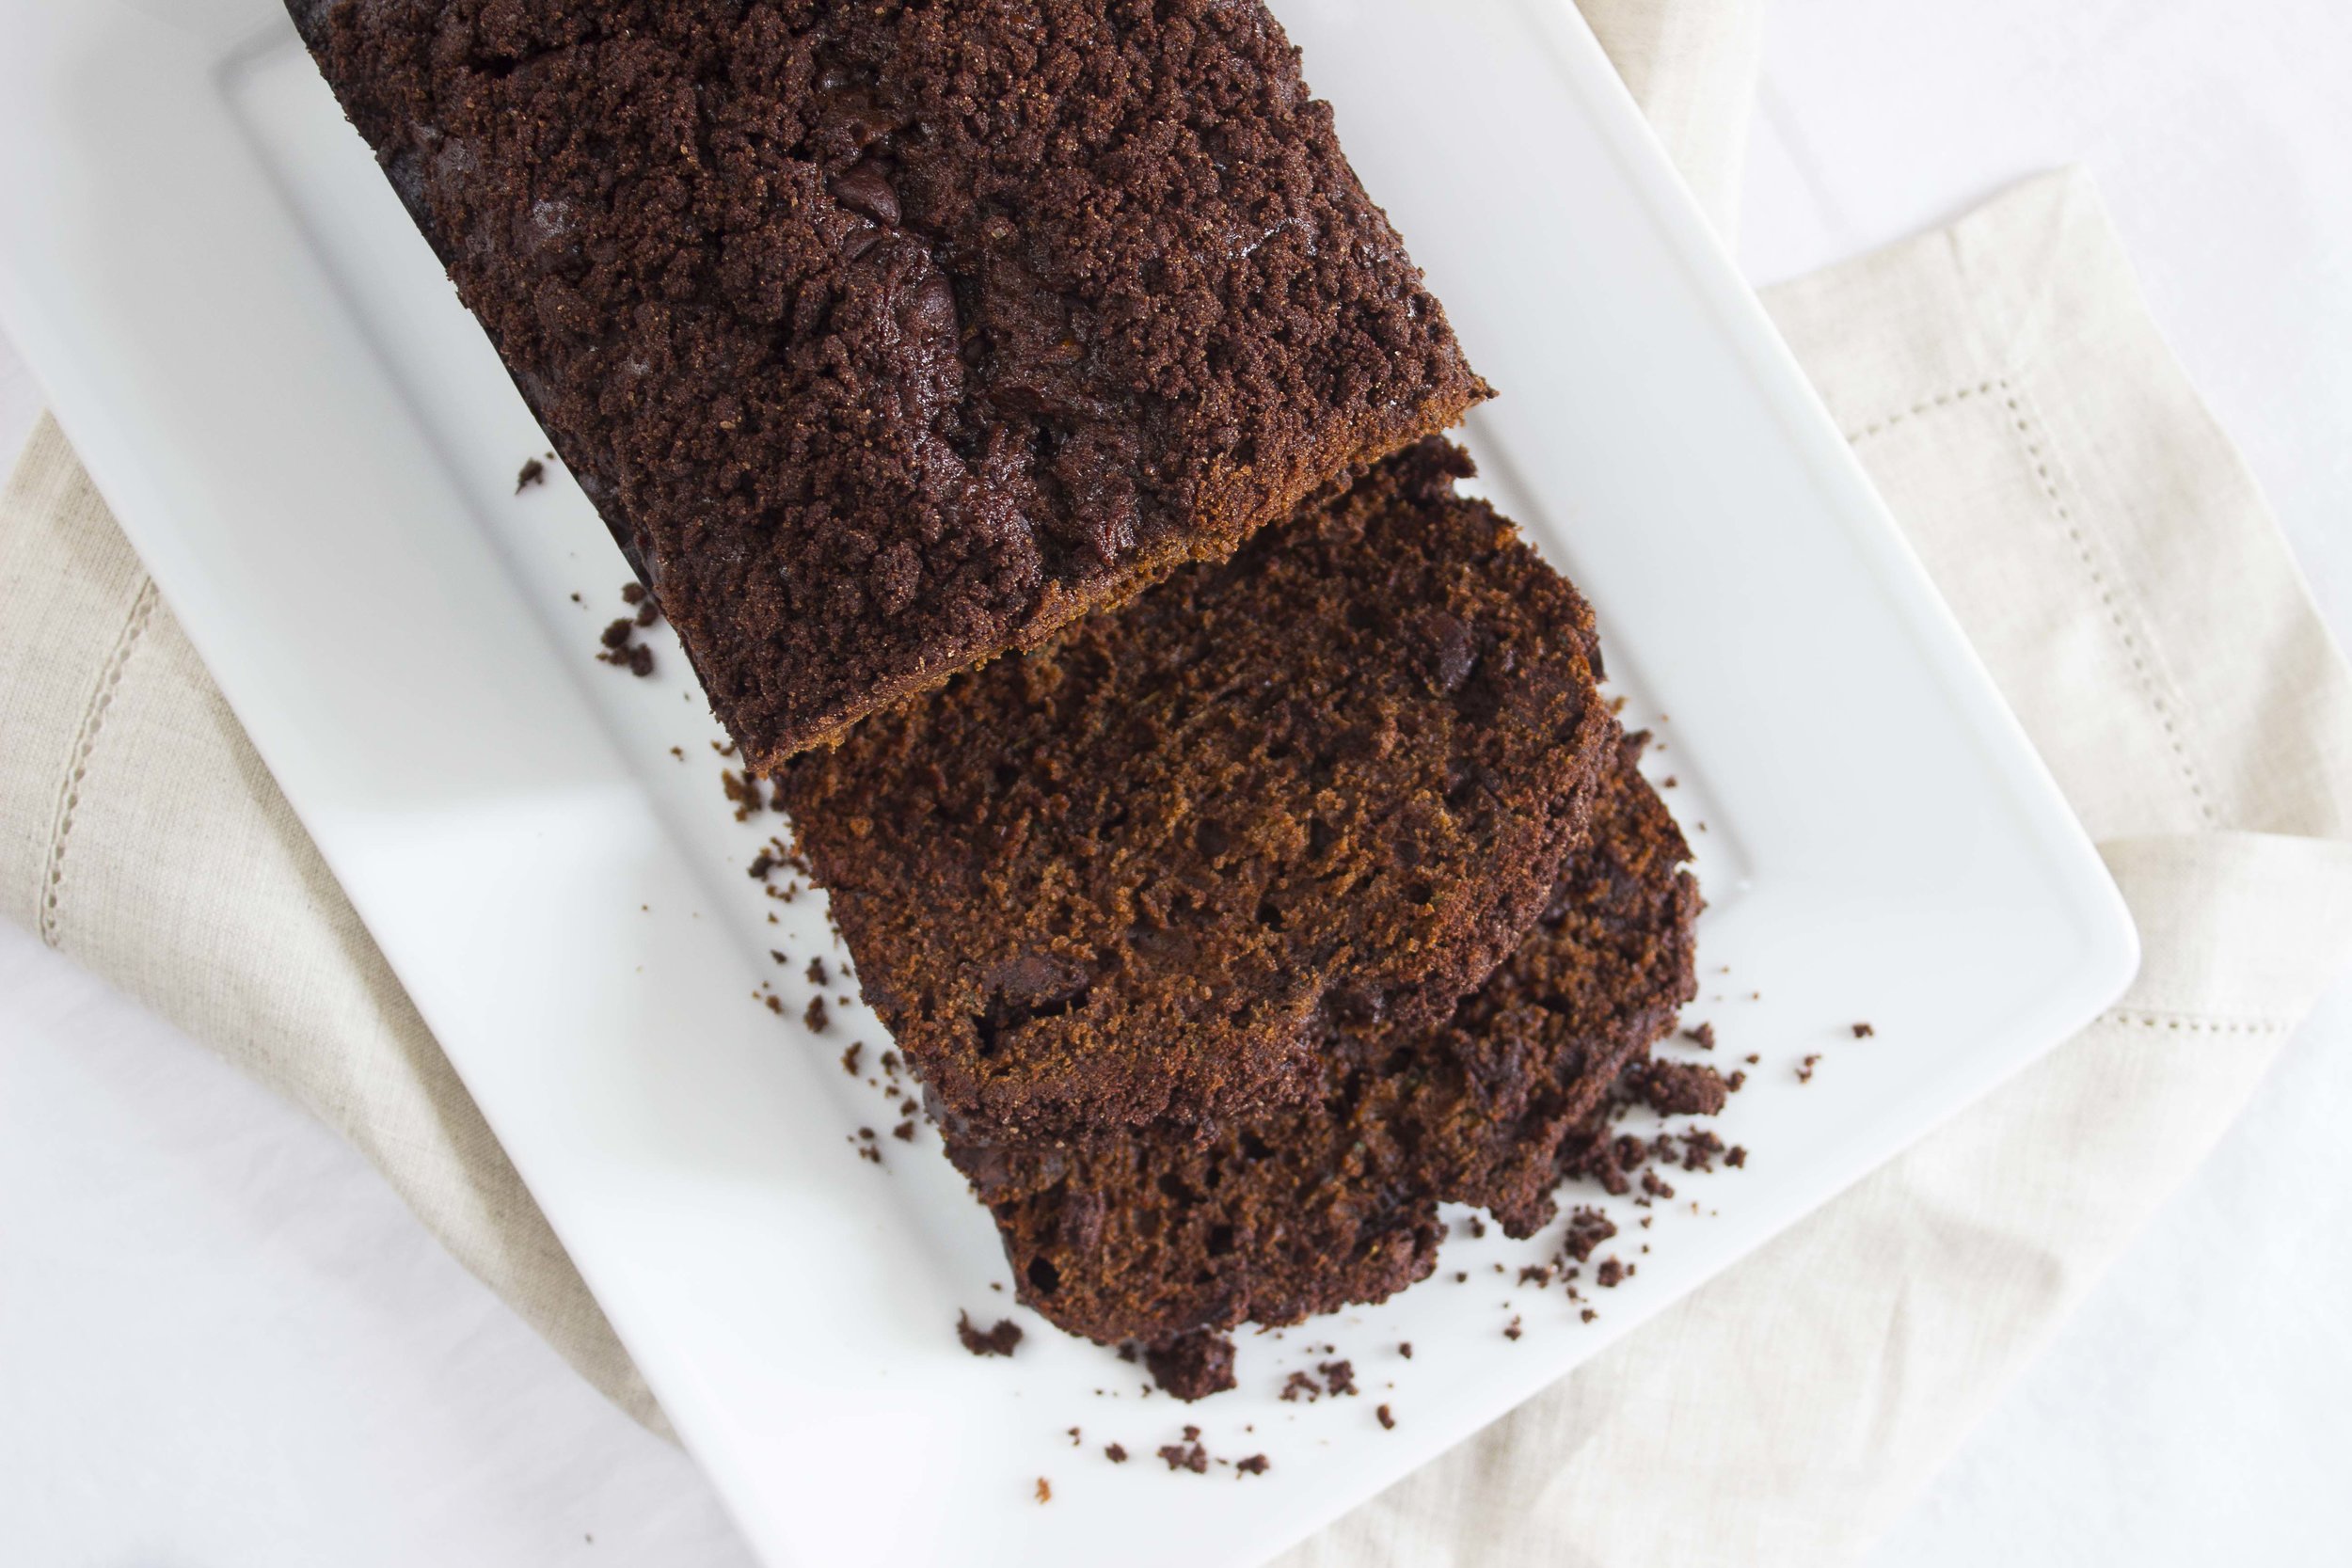
Earlier this summer (it’s still summer right?) we traveled out to Colorado to visit my brother, sister-in-law and new baby nephew (!!) Mike and I both love breakfast, so while we were in Denver we had to check out the local coffee shops and cafes, and boy they did not disappoint! We discovered Lula Rose General Store when a long line and a fortuitous parking spot conspired to deposit us on the shop’s doorstep. There’s a reason Eater included Lula Rose on their Ultimate Guide to Denver's Best Coffee Shops. Revived by their awesome cold brew and a slice of fantastic Double Chocolate Zucchini Bread I was ready to tackle the day.

I was also reminded A. that zucchini bread exists. Honestly I can’t remember when I last had some let alone made any…? And B. that any and all quick breads involving a vegetable or fruit are vastly improved with the addition of chocolate and preferably also chocolate chips. Tell me I’m wrong.

I’ve pretty much been chasing the dream of that bread ever since and now that it’s prime zucchini surplus season I think we’ve all earned the right to consume it in dessert form. Your CSA box will thank me.

Double Chocolate Zucchini Bread | Image: Laura Messersmith

Double Chocolate Zucchini Bread | Image: Laura Messersmith

Double Chocolate Zucchini Bread (yield: 1 loaf)

Ingredients:
2 large eggs, room temperature
1/3 cup honey
1/2 cup vegetable oil
1/2 cup brown sugar, lightly packed
1 teaspoon vanilla extract
1 teaspoon kosher salt
1/2 teaspoon baking soda
1/2 teaspoon baking powder
1/2 teaspoon espresso powder
1/3 cup, plus 1 tablespoon unsweetened cocoa powder, divided
1 2/3 cups all purpose Flour
2 1/2 cups (1 large) shredded zucchini
1 cup semi-sweet chocolate chips

Streusel:
1/4 cup granulated sugar
3 tablespoons unsweetened cocoa powder
3 tablespoons unsalted butter, room temperature
1/2 teaspoon kosher salt

Instructions:
Preheat the oven to 350°F; lightly grease an 8 1/2 x 4 1/2 inch loaf pan and line with parchment paper.

In a large mixing bowl, beat together the eggs, honey, oil, sugar, and vanilla on low speed until smooth.

Place the salt, baking soda, baking powder, espresso powder, 1/3 cup of the cocoa, and flour in a fine sieve and sift into the wet mixture. Beat on low until nearly combined – some streaks of flour will remain.

Shred the zucchini on a box grater and very lightly press between paper towels before folding into the batter with a rubber spatula. Place and chocolate chips in a small bowl and toss with the remaining 1 tablespoon of cocoa powder, then fold the chips into the batter.

In the same small bowl, make the streusel by combining the sugar, cocoa powder, salt, and softened butter. Rub together between your fingers or press with the back of a spoon until a damp, crumbly mixture forms.

Sprinkle half the streusel in the bottom of the prepared loaf pan, pour in the batter, and then distribute the remaining streusel over the top.

Bake the bread for 55-65 minutes, rotating half way through the baking time, until a toothpick comes out clean (don’t be fooled by melted chocolate chips!) and the cake springs back when lightly pressed.

Allow the bread to cool in the pan for 10 to 15 minutes before turning it out onto a rack. Cool completely before slicing. Store well-wrapped, at room temperature.

Re-written and adapted from King Arthur Flour’s Double Chocolate Zucchini Bread with reference to the New York Times’s Chocolate Streusel Pound Cake by Melissa Clark.

Small Kitchen Friendly?
Yes! I used one large mixing bowl, one small mixing bowl, a fine mesh sieve (optional), a 8 1/2 x 4 1/2 inch loaf pan, dry and liquid measuring cups and spoons. A hand mixer, rubber spatula, and parchment paper.

Double Chocolate Zucchini Bread | Image: Laura Messersmith

Double Chocolate Zucchini Bread | Image: Laura Messersmith

Double Chocolate Zucchini Bread | Image: Laura Messersmith

Double Chocolate Zucchini Bread | Image: Laura Messersmith

Mini Pavlovas with Roasted Rhubarb and Pistachios

Mini Pavlovas with Roasted Rhubarb and Pistachios | Image: Laura Messersmith

Mini Pavlovas with Roasted Rhubarb and Pistachios | Image: Laura Messersmith

I was so jazzed when one of my favorite bloggers, Yossy Arefi of Apt 2B Baking Co. published a cookbook this past spring, and yeah I totally went to a signing at Union Square Farmer’s Market just to have my copy autographed. Her inventive flavor combinations, unfussy baking style, and gorgeous photography never fail to inspire me in the kitchen. I’ve been slowly working my way through Sweeter Off the Vine, a book that focuses on seasonal fruit-focused recipes, and couldn’t wait to make the Pavlova with Rhubarb.

Mini Pavlovas with Roasted Rhubarb and Pistachios | Image: Laura Messersmith

Mini Pavlovas with Roasted Rhubarb and Pistachios | Image: Laura Messersmith

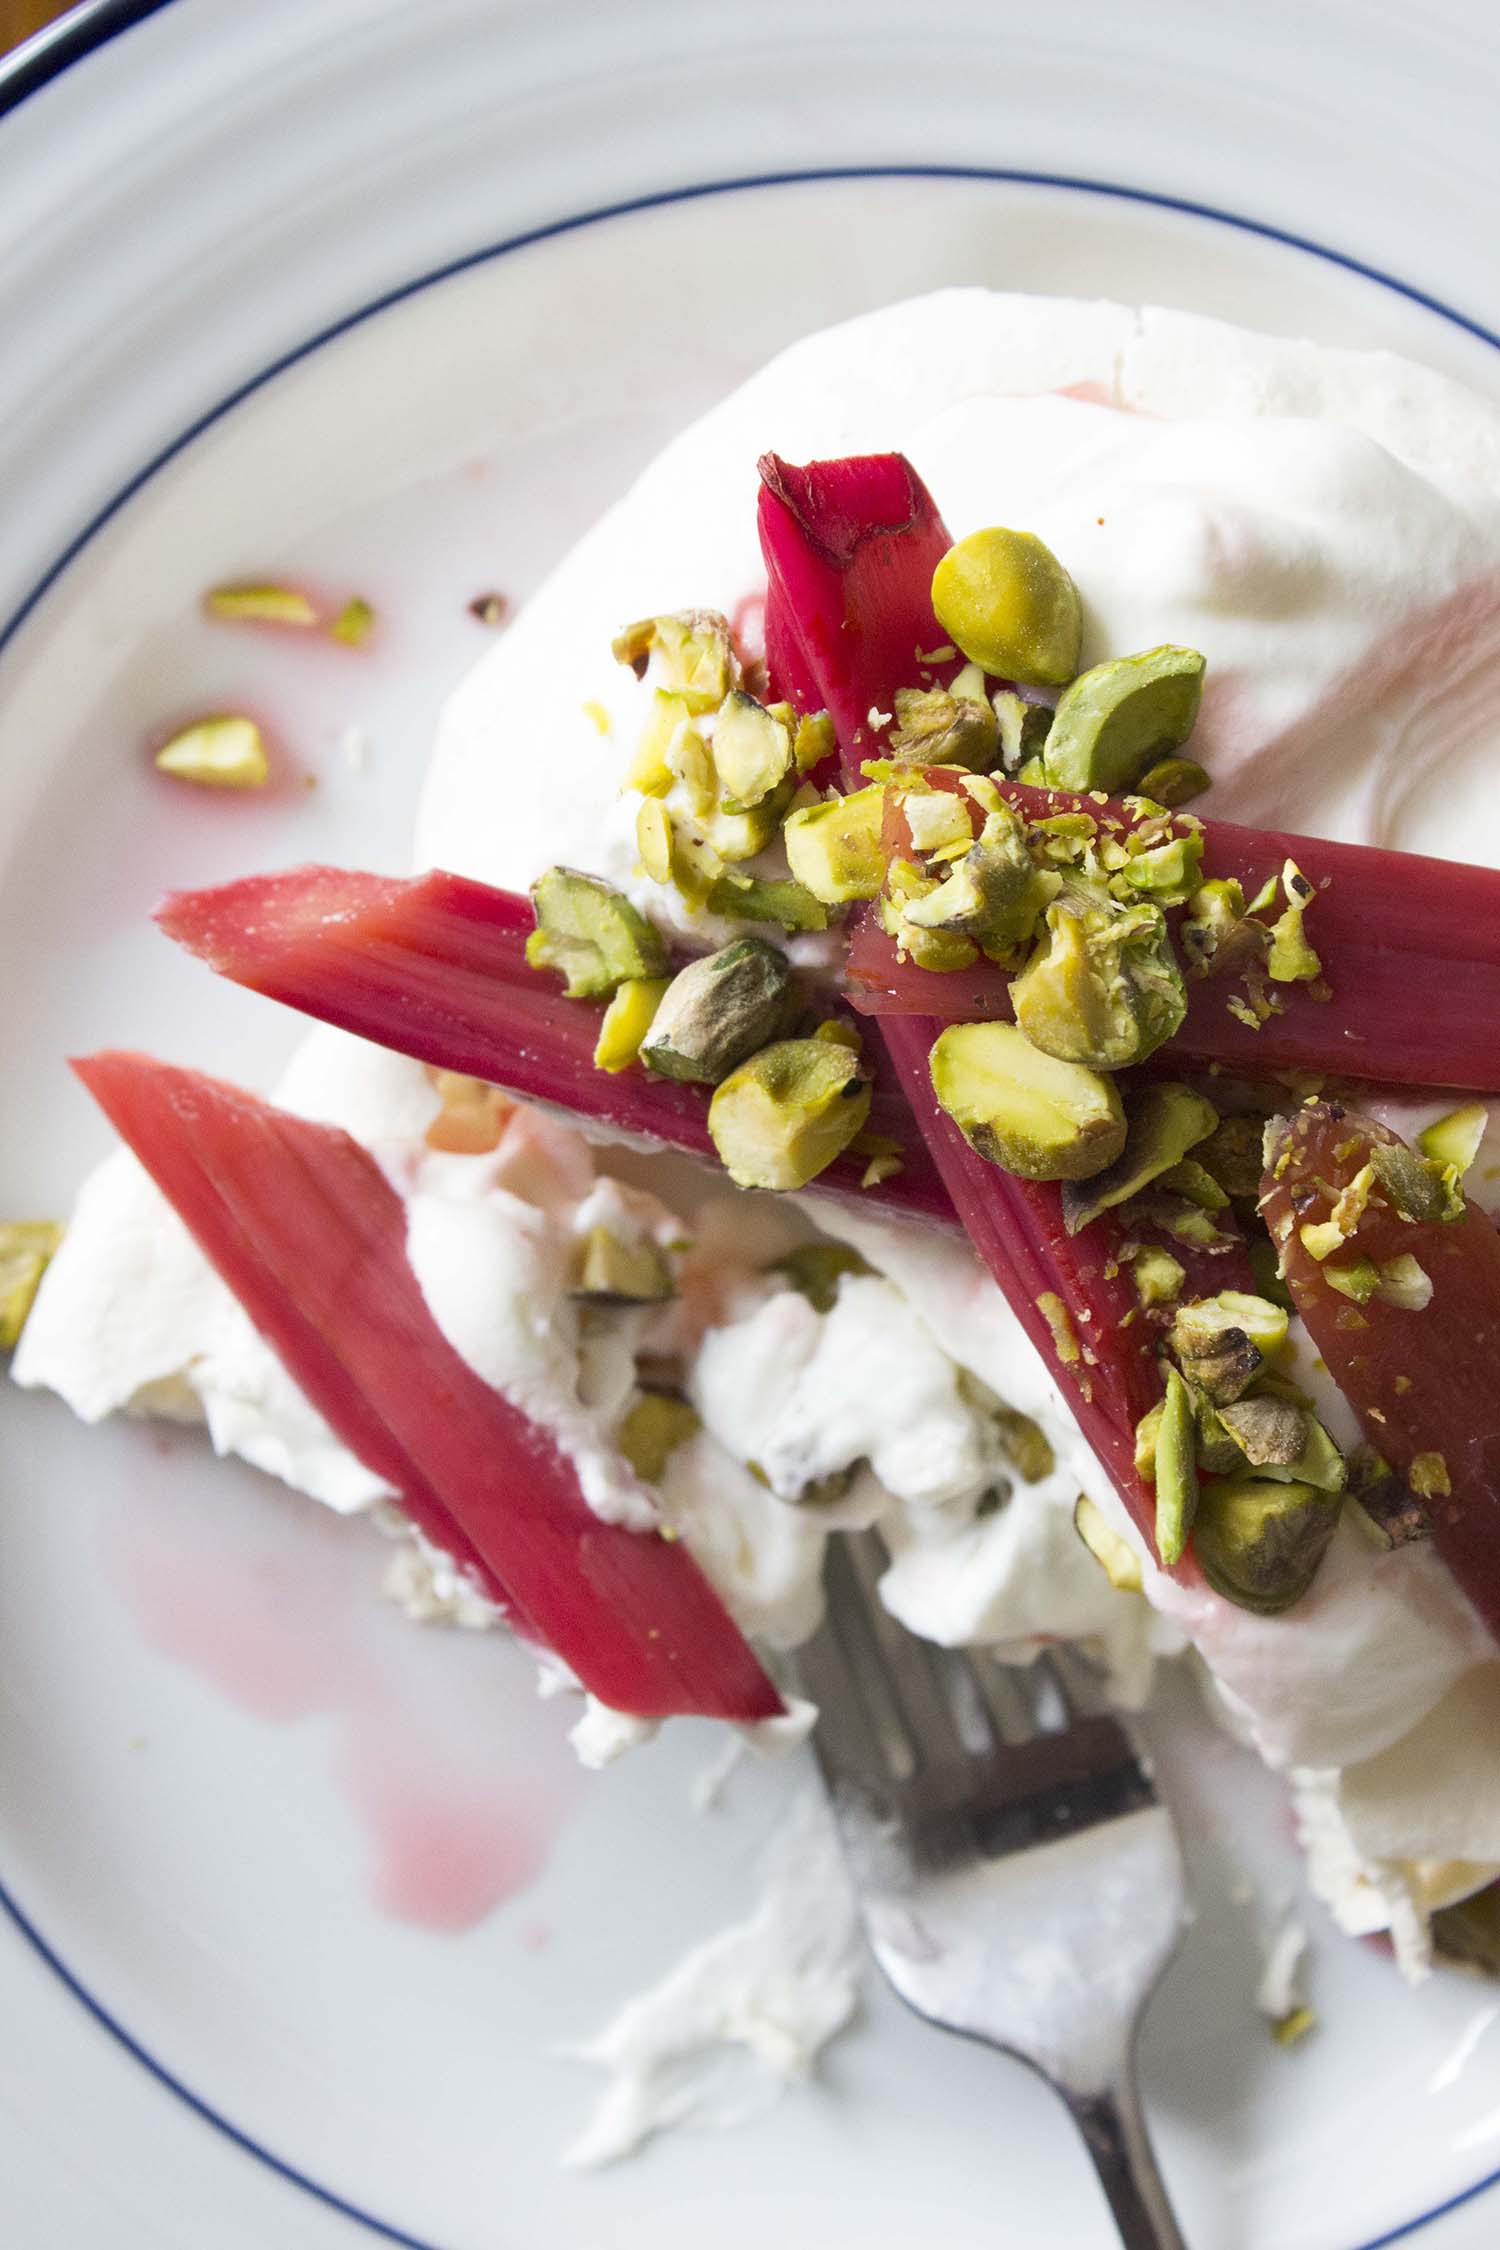
I’m a bit late to the party since rhubarb season is coming to an end, but if you have a few stalks left that need a great opportunity to shine or a have been stockpiling it like I have then this is for you. A showstopper that does take a few steps, but is so worth it when the sweet crisp meringue, cool smooth whipped cream, and tart rhubarb hit your palate. I liked the twist of making them individual portions a little crunch from toasted pistachios – and who can resist that pale green color against the fuchsia pink.

Mini Pavlovas with Roasted Rhubarb and Pistachios | Image: Laura Messersmith

Mini Pavlovas with Roasted Rhubarb and Pistachios | Image: Laura Messersmith

Mini Pavlovas with Rhubarb and Pistachios (yield 12 servings)

Meringue Ingredients:
6 large egg whites, room temperature
1 1/2 cups granulated sugar
1 tablespoon cornstarch
1 1/2 teaspoon white wine vinegar
3/4 teaspoon vanilla extract
kosher salt

Topping Ingredients:
1 pound rhubarb, trimmed and sliced on the bias into 2-inch pieces
1/3 cup granulated sugar
3 tablespoons fresh lemon juice
1 teaspoon vanilla extract
1 1/2 cups heavy cream
2 tablespoons confectioner’s sugar
1/2 cup roasted unsalted pistachios, chopped

Meringue Instructions:
Preheat the oven to 350 degrees F.

In a small bowl, stir together 1 1/2 cups of sugar with the cornstarch. Then, in the bowl of a stand mixer with the wire whisk attachment or (large mixing bowl with a hand mixer) beat the egg whites with a pinch of salt on high speed until firm, 1-2 minutes. With the mixer still on high, slowly add the sugar mixture a little at a time.

The mixture will start off looking foamy and frothy, then turn white and look closer to soft whipped cream, eventually resembling melted marshmallow fluff. Continue to beat on high until the meringue is solid white and forms shiny, firm peaks, about 12-15 minutes. The true test? Turn off the mixer and once the whisk has stopped spinning, remove the whisk from the meringue – both the meringue in the bowl and the meringue on the should form matching points like snowy mountain tops.

Once the meringue is ready sprinkle 3/4 teaspoon vanilla extract and the vinegar on top and fold in gently with a rubber spatula to combine.

With a pencil, draw 6 circles approximately 4 inches in diameter (think the size of a water glass) on each of the parchment-lined sheets and turn over. You’ll still be able to see the guides, but you won’t get pencil markings on your meringue!

Spoon the meringue onto the baking parchment into the delineated circles, and spread and smooth to fill. Use the back of the spoon to make an indentation in the center and form a shallow bowl – that’s where the whipped cream and fruit will go later.

Put the sheet pans into the oven, immediately turn it down to 300 degrees F, and bake for 30 minutes rotating the sheets halfway through the baking time. Turn the oven off and leave them in for another 30 minutes with the oven door closed. The remove the sheets from the oven and slide the parchment paper and meringues over to wire racks to cool. Once fully cooled, meringues can be stored in an airtight container for 2-3 days.

Topping Instructions:
For the rhubarb topping, preheat oven to 375 degrees F. Combine rhubarb, remaining 1/3 cup sugar, 3 tablespoons lemon juice, and a pinch of salt in a 9-by-13-inch glass baking dish. Bake until just tender, about 10 to 12 minutes, spooning juices over halfway through.

Carefully transfer rhubarb pieces (they will be quite soft) to a bowl and reserve juices. Let cool completely.

Just before serving, beat together heavy cream and 1 teaspoon vanilla extract until soft peaks form.

Place meringues on a plated and fill each one with whipped cream. Top the whipped cream with the poached rhubarb, and garnish with pistachios. Spoon rhubarb juices over the pavlova, and serve immediately.

Inspired by and written with reference to Yossy Arefi’s Rhubarb Pavlovas in Sweeter Off the Vine (pg. 27), pistachio component from Martha Stewart’s Pavlova with Rhubarb and Pistachios, and assistance with miniaturization from Nigella Lawson’s Mini Pavlovas with Berries. Thank you, Ladies.

Mini Pavlovas with Roasted Rhubarb and Pistachios | Image: Laura Messersmith

Mini Pavlovas with Roasted Rhubarb and Pistachios | Image: Laura Messersmith

Small Kitchen Friendly?
Yes! I used a stand mixer (but a handheld would work just as well), medium mixing bowl, spatula, two rimmed baking sheets, chef’s knife, a medium cutting board, glass baking dish, tongs, measuring cups and spoons.