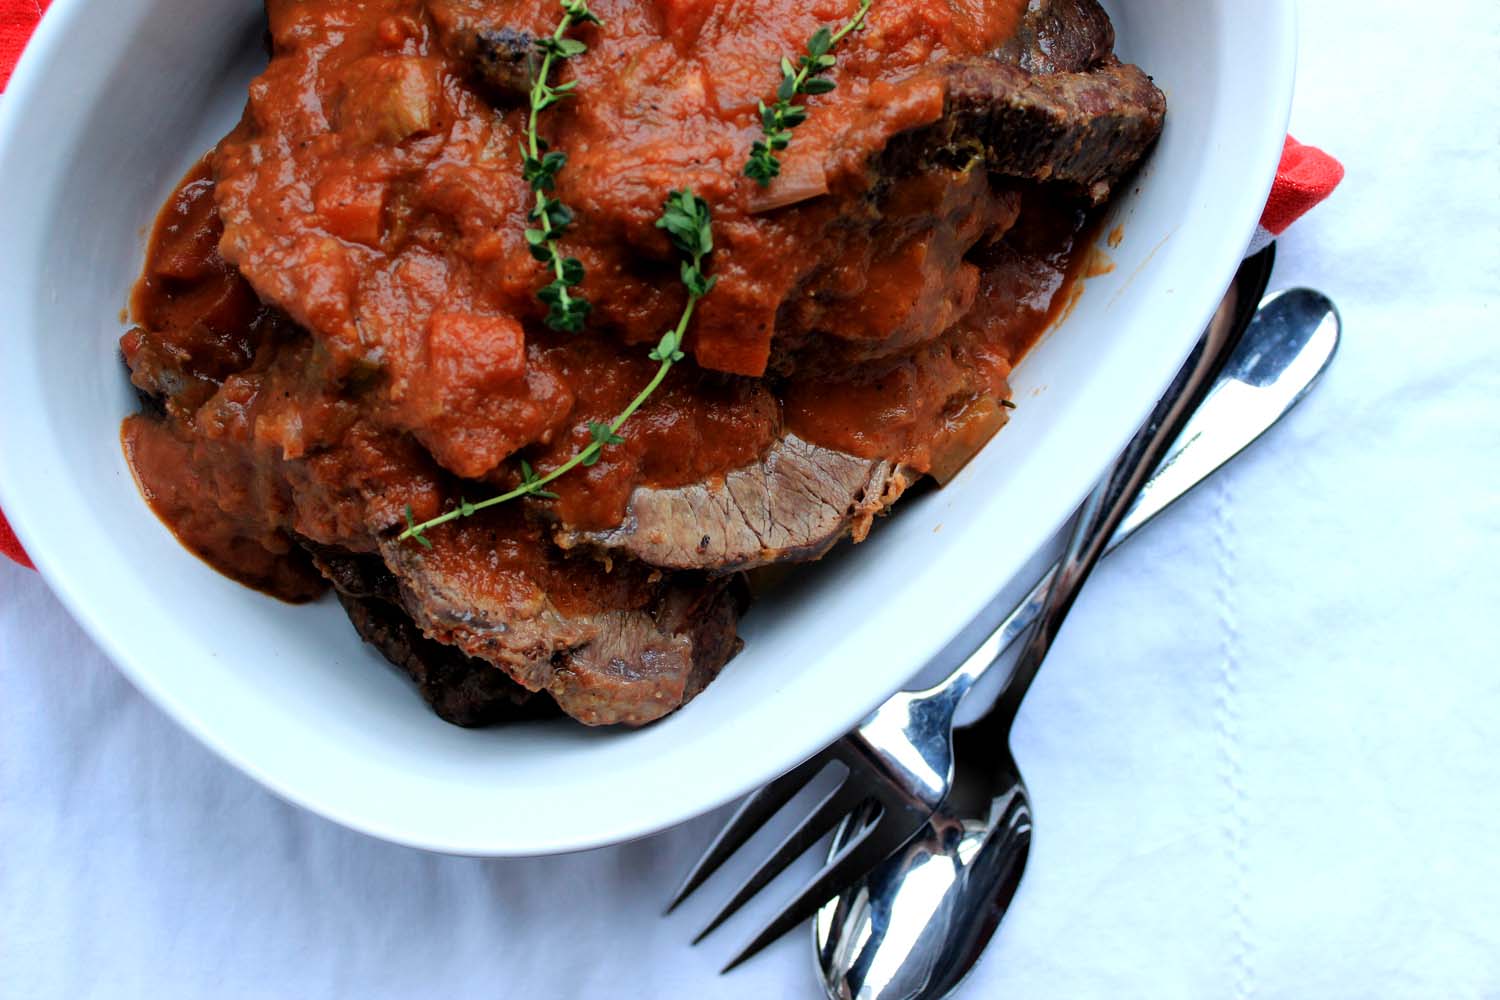
Spicy Turkey Meatballs and Spaghetti

Spicy Turkey Meatballs and Spaghetti | Image: Laura Messersmith
Each week I follow along with Ina Garten (aka the Barefoot Contessa) and attempt to recreate one of her dishes in my tiny New York City kitchen. The catch? This is my version of cooking school and I’m making these recipes for the first time. I’ll share both my successes and um, challenges, along the way and we’ll see if I can keep up with the Contessa!
Episode: “Baby’s First Bash”
The Set-up: Ina’s close friends, the Libermans, are celebrating their first grandchild!
The Menu: Spicy Turkey Meatballs and Spaghetti, Truffled Popcorn, Strawberry Rhubarb Crisp, S’mores
0:40 – Ina’s theme for the party is “nursery food” which I guess translates to things that adults and children will like. Interested to see how she makes that work.
1:23 – First up Strawberry Rhubarb Crisp. Ina says that rhubarb has a very short season and I believe it since I think I’ve only tasted it once in my life.
2:15 – Pro Tip #1: Dissolve a little cornstarch in the orange juice before adding it to the fruit filling. The cornstarch will help thicken the fruit “goo” and mixing it ahead will prevent lumps.
3:41 – The party is taking place outside, so Ina has called up the troops – namely her friend Greg Yale, a professional lighting designer – to transform her already magnificent garden into a wonderland. This is one lucky seven week-old baby.
4:08 – We’re back with Ina to make the crumble topping, which she admits is basically the same from recipe to recipe with the usual suspects (butter, flour, brown sugar, oatmeal…)
5:36 – This particular crumble combination - strawberry rhubarb - is in honor of a recipe Ina once made up on the fly for the grandmother of honor. Even the Barefoot Contessa has to wing it from time to time.
9:43 – Time to make the main course: Spicy Turkey Meatballs and Spaghetti. Ina emphasizes the need to add moisture, in this case fresh bread crumbs soaked in milk, since they’re made from turkey.
10:35 – We check in with Greg, who is literally up a tree hanging café lights. This is a man who is dedicated to making things “magical.”
11:21 – Ina’s recipe calls for mincing up prosciutto to add flavor to the ground turkey, but to me prosciutto is just sort of salty and not all that flavorful.
12:39 – These meatballs are supposed to be spicy, so in go the red pepper flakes. I wonder if using hot Italian sausage instead of sweet would be too much?
13:14 – Instead of frying/sautéing the meatballs they’re going into the oven to roast, which sounds like a fantastic way to get out of standing over a pot of hot oil. Eww.
14:20 – Meatballs go in the oven as Greg and his team tether huge, helium inflated and presumably illuminated, balloons around the garden. These are going to look awesome.
19:06 – The meatballs are done and beautifully browned, now for a little shortcut: store bought tomato sauce. Glad to see that even Ina sometimes turns to a jar once in a while.
20:25 – Outside with Greg for the big lighting reveal and while I do think it’s a little over the top for six people it also looks really cool.
21:40 – Back inside to pop the bag of popcorn and melt truffle butter for the Truffled Popcorn. Newman’s Own in case you’re wondering. I think it’s the Natural Tender White which I can assure you is really good – not too salty, no strangely yellow butter.
22:33 – Full disclosure: I cannot STAND truffles. Seriously, even a whiff of one in a dish and I’m done. I do like the idea of doing a flavored butter or oil with popcorn though – something to explore perhaps…
23:08 – The Liberman family arrives as Jeffrey pops the cork on some champagne the lights twinkle in the trees. #jealous
26:44 – The spaghetti is done cooking and now it’s time to serve the most enormous bowl covered in sauce and meatballs. Yum!
27:37 – Ina’s whole philosophy of cooking could probably be summed up as “nursery food for adults.” She’s so great at taking comfort food classics and dialing up the sophistication without losing the familiarity. Obviously I’m a fan.
28:11 – Outside with the giant bowl of “meatballs and sketti” and everyone dives in over a beautifully candle-lit table. Next comes the Strawberry Rhubarb Crisp with vanilla ice cream.
29:55 – Finally, the moment we’ve actually been waiting for: making use of the fire pit to light marshmallows on fire for S’mores. Ahh, summer.
Final Thoughts:
Note to self: cook something with rhubarb this summer when it’s in season.
I want to try cooking popcorn in infused oil, maybe rosemary? This bears further trial.
Also, investigate giant inflatable balloon lights and a fire pit…

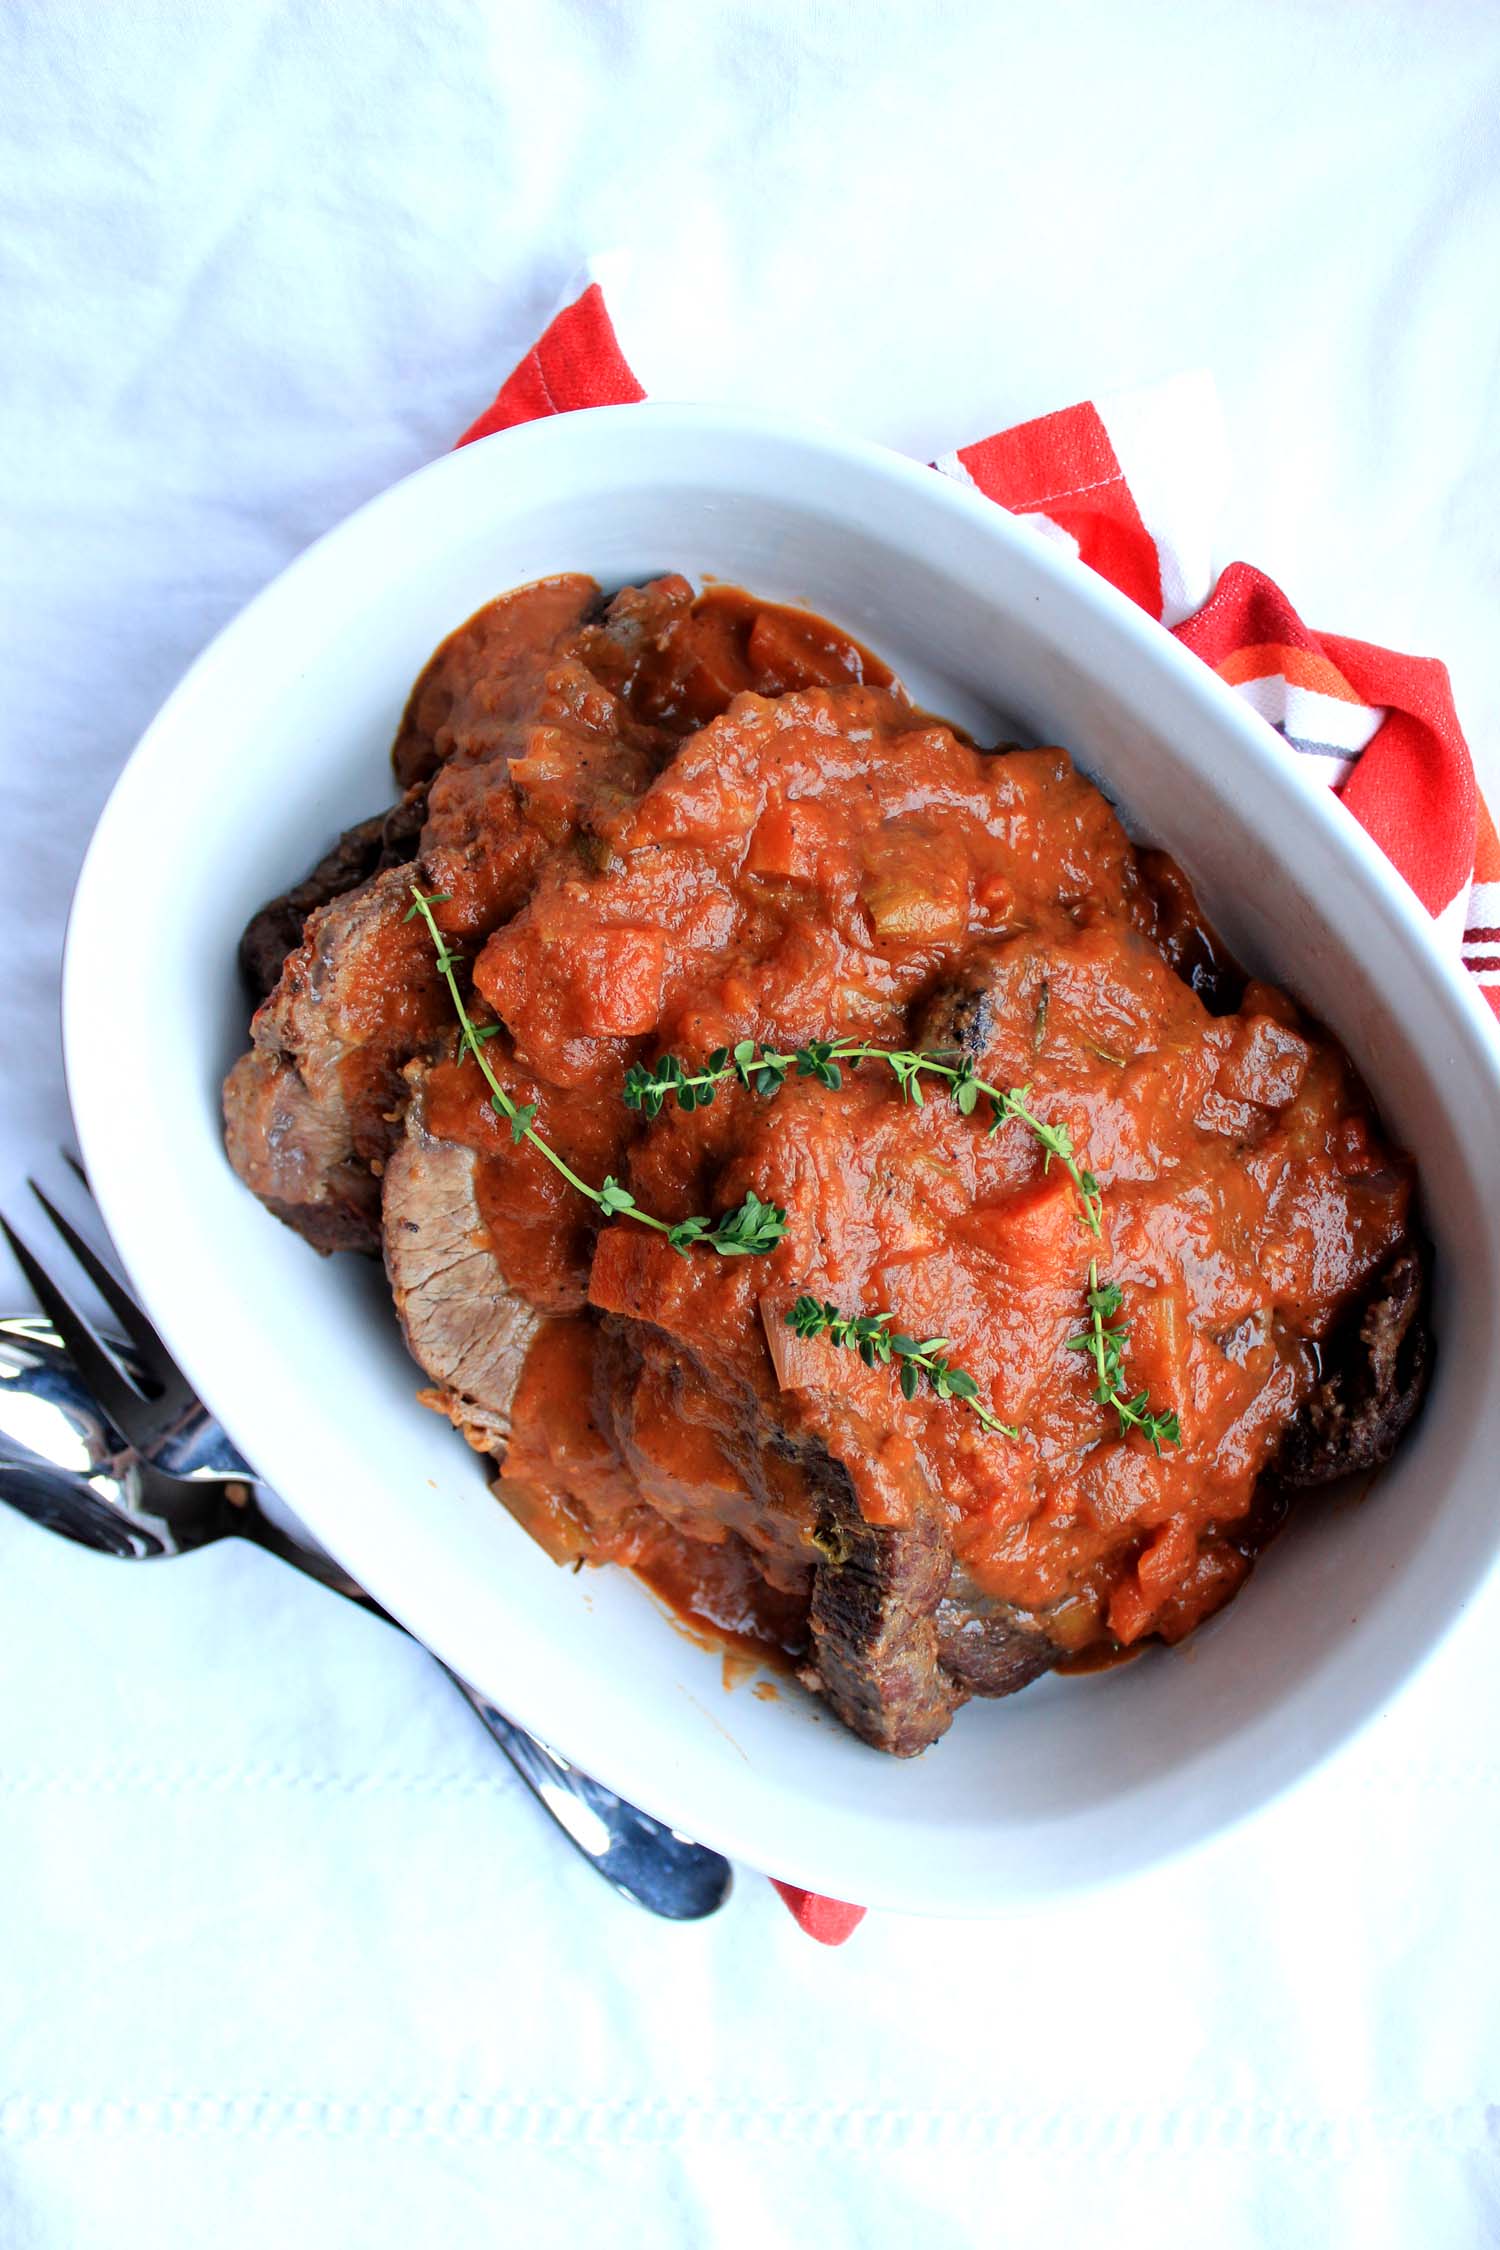
Spicy Turkey Meatballs and Spaghetti | Image: Laura Messersmith
Lessons Learned:
I’ve cooked meatballs before, actually about a month ago, so trying Spicy Turkey Meatballs and Spaghetti was more about trying a different flavor combination and cooking technique.
Meatball Assembly – This mixture was a bit stickier than the original combination and I suspect that’s due to the lack of dry breadcrumbs. I assume they aren’t needed because turkey is so lean and the fresh ones absorb enough of the juices from the sausage. Fluff the mixture together with a fork, or gently fold together with clean hands to keep them from packing too tightly. Portioning to exactly the same size takes a little guess-timation – I find that if I divide the mixture into 4 parts and then try to roll 6 meatballs (for a total of 24) from each quarter it comes out about right. Full disclosure: I ended up with 23 this time, so close enough.
Meatball Cooking – These meatballs are cooked on sheet trays (don’t forget the parchment paper!) in the oven, which is a far simpler technique than cooking them in olive oil on the stove. I put both sheets in at the same time and probably should have switched them halfway through – the bottom ones were a little browner. So, lesson learned!
Final Simmer – I am officially a huge fan of doing this in the oven. It takes the same amount of time and there’s no stress about having to stir or watch the sauce. I just cover and stick the pot in a 350 degree oven where it can pretty much hang out as long as you need it to and then like magic it’s ready whenever the pasta finishes cooking. I’ll also point out that it opens up a burner on the stovetop and the fewer items I have bubbling away there the more in control I feel.

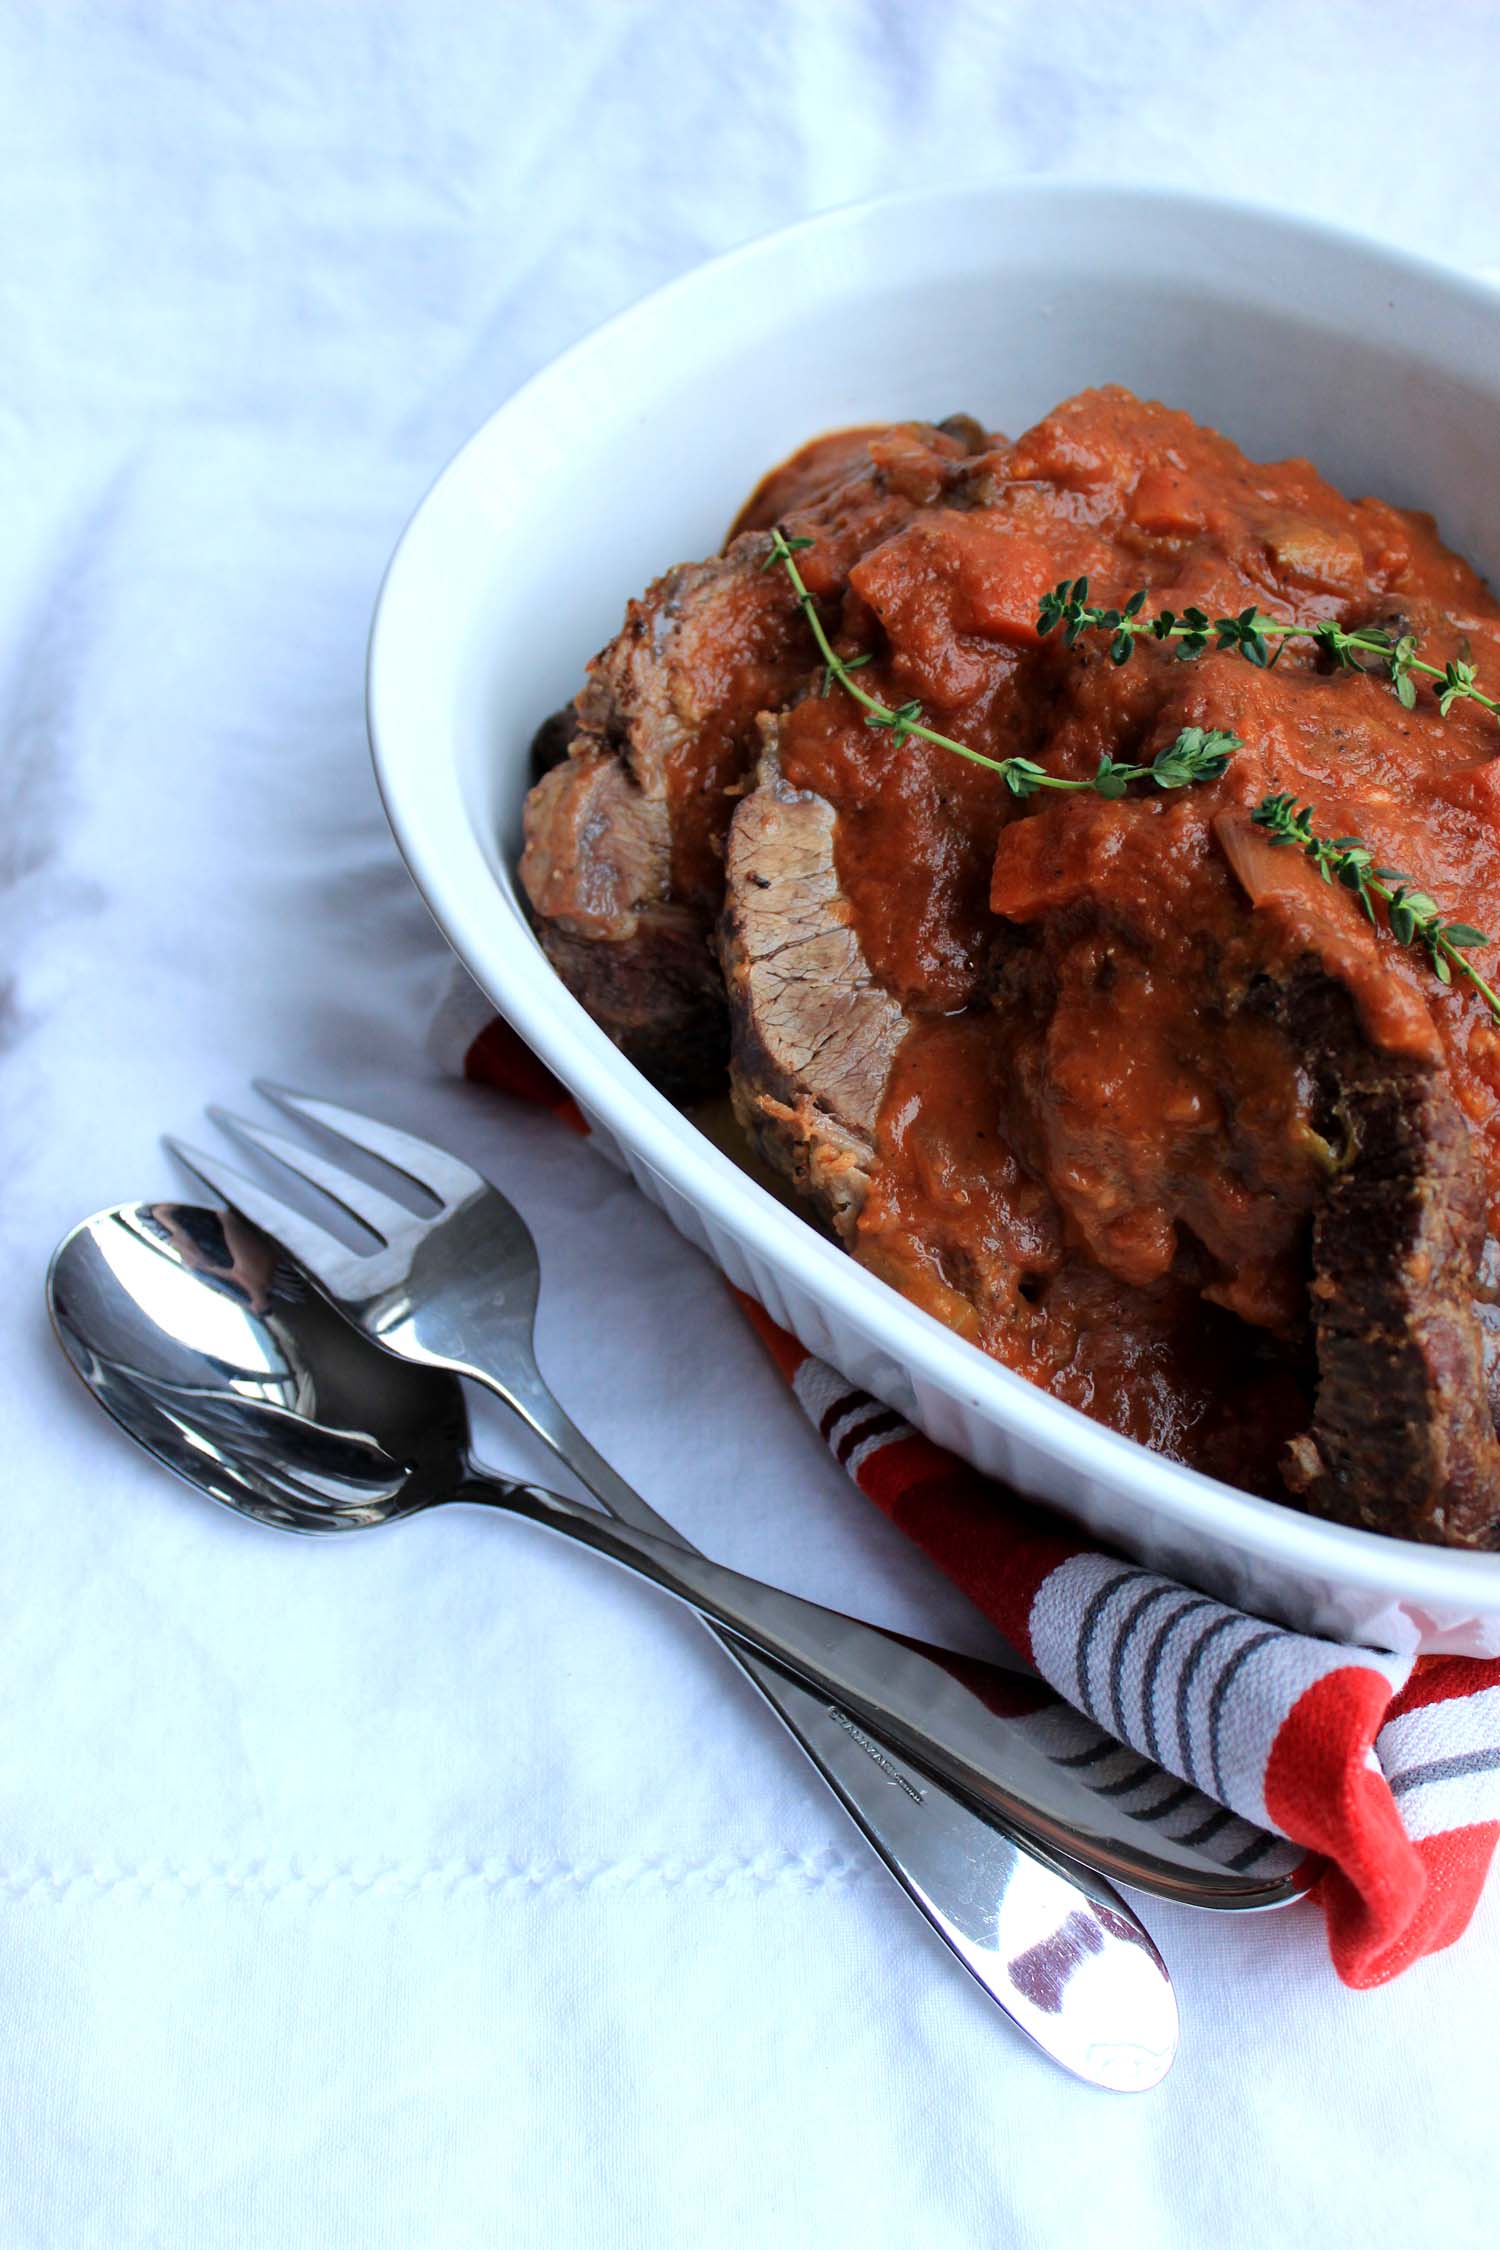
Spicy Turkey Meatballs and Spaghetti | Image: Laura Messersmith
Small Kitchen Friendly?
Fairly, it felt more so than the first meatball recipe, but upon reflection it actually requires the same amount of items. Once again, I used my trusty 5.5 qt French oven for sauce and meatball simmering, in addition to a second large pot for the pasta, a colander, medium mixing bowl, two baking sheet (assuming you’re making the full recipe) and medium cutting board. For utensils, a dinner fork, a wooden spatula, a liquid measuring cup & measuring spoons, a microplane grater, and an instant read meat thermometer. I also needed a small food processor to prep the fresh bread crumbs.
The Verdict:
I made Spicy Turkey Meatballs and Spaghetti when we were having a group of visiting college students for dinner, and while making meatballs from scratch does take effort I also think it’s kind of the perfect home-cooking meal. I hadn’t fully considered what a treat it might be after months of dining hall food. Based on how many meatballs disappeared it was a popular choice. In this version I used sweet Italian sausage and a classic tomato basil sauce, but even with my relatively low tolerance for heat I’d up the spice-factor and use hot Italian sausage and/or an arrabiata sauce in future iterations.

Spicy Turkey Meatballs and Spaghetti | Image: Laura Messersmith