Winter Greens Gratin

Winter Greens Gratin | Image: Laura Messersmith

Winter Greens Gratin | Image: Laura Messersmith

It’s easy in the frenzy of holiday preparations to get caught up in more, more, more – more butter, more options on the sideboard, more going crazy trying to make everything perfect. I’ve been trying to resist being caught in that trap this year and focus instead on less. Not less care, just redirecting my effort into singular dishes that make a meal feel special. If it can be made ahead leaving more time on Thanksgiving Day for watching parades, playing board games and hanging with my family; even better.

This Winter Greens Gratin fills the bill on all accounts, but I won’t lie – it does take a voluminous amount of fresh kale and mustard greens, like possibly all the kale in Brooklyn. It’s a little intimidating at first, but slowly the mountain is tamed down to a manageable amount and then stirred together with cream steeped with garlic and thyme. Thankfully (intentional pun alert!) ninety percent of the prep can be done a day or two ahead and then layered in a baking dish to find it’s way into the oven at the appropriate moment. Mischief managed.

Winter Greens Gratin | Image: Laura Messersmith

Winter Greens Gratin | Image: Laura Messersmith

Winter Greens Gratin (serves 8-10)

Ingredients:
3 pounds (2 large bunches) lacinato kale
2 1/2 pounds (2 medium bunches) mustard greens
Kosher salt
1/4 cup extra-virgin olive oil
3 cups coarse fresh breadcrumbs
1/2 cup finely grated Parmesan
1 cup coarsely grated Gruyère
2 teaspoons fresh thyme leaves, divided, plus 7 sprigs thyme
1 cup (2 large) thickly sliced shallots
1 tablespoon unsalted butter plus more for dish
2 cups half and half
7 garlic cloves, smashed
1/8 teaspoon freshly ground nutmeg
Freshly ground black pepper

Instructions:
Bring a large pot of lightly salted water to a boil. Fill a large bowl with cold water and ice cubes.

Wash the kale and mustard greens carefully to remove any sand. Strip the leaves from the stalks and roughly chop in large pieces keeping the two types of greens separate.

Working in batches, drop 3-4 generous handfuls of the chopped kale into the boiling water. Use tongs to stir the leaves and cook for about 3 minutes. Transfer the kale with the tongs into the bowl of ice water and let cool for 1 minute. Remove the leaves from the ice water with your hands and squeeze as much water as possible from the leaves. Set aside on a cutting board, and repeat the process until all the kale is cooked.

Repeat the same process with all the mustard greens, cooking in the boiling water for 2 minutes per batch. Coarsely chop all the greens; you should have 6 cups tightly packed leaves. Discard the ice water and combine the kale and mustard greens in the bowl by loosening with your fingers. Set aside, or refrigerate in a food storage container.

Next prep the bread crumbs and cheeses in a mini food processor. Heat oil in a deep, 12 inch skillet over medium heat. Add the breadcrumbs and cook, stirring frequently, until golden and crispy, 8-10 minutes. Transfer to a large bowl allow to cool for a few minutes, then stir in Parmesan and 1 teaspoon thyme leaves. Set aside, or store in an airtight food storage container at room temperature.

***Greens and breadcrumbs can be made up to 2 days ahead.

To prepare the sauce, wipe out the skillet and melt 1 tablespoon butter over medium-high heat. Add shallots and cook, stirring often, until slightly softened and lightly golden, about 5 minutes. Transfer shallots to the bowl with greens.

Add half and half, garlic cloves, and thyme sprigs to same skillet; bring to a simmer. Cook until mixture is thickened and reduced to 1 1/2 cups, about 10-12 minutes. Discard thyme sprigs and garlic cloves; stir in nutmeg. Season the mixture with kosher salt and ground black pepper to taste.

Pour the sauce over greens in bowl and toss with a fork to evenly coat the greens and shallots in the cream.

Lightly butter a 3 quart baking dish and spread the greens mixture into the dish. Sprinkle with the grated Gruyère, then top with the toasted breadcrumbs. Cover the dish with foil.

***Gratin can be assembled 1 day ahead and stored in the refrigerator.

Preheat oven to 400 degrees F. Bake until filling is hot, about 25 minutes. Remove the foil and bake an additional 10-20 minutes until cheese is melted, edges are bubbling, and breadcrumbs are golden brown. Garnish with the remaining 1 teaspoon fresh thyme leaves.

Lightly adapted and re-written from Bon Appétit’s Winter Greens Gratin.

Winter Greens Gratin | Image: Laura Messersmith

Winter Greens Gratin | Image: Laura Messersmith

Small Kitchen Friendly?
A challenge to your small kitchen cooking skills, but doable if you clear the decks before starting. I used a large sauce pan, a deep sauté pan, a mini-food processor, two large bowls, a medium baking dish, and a large cutting board. A pair of tongs, measuring spoons, a chef’s knife, microplane grater, a rubber spatula, and foil will round out the kit. Food storage containers will make life easier and save the need for both bowls.

The Verdict:
Winter Greens Gratin blends the best of creamed spinach with the crisp topping and sharp tang of homemade mac and cheese. The proportion of greens to dairy is perfect and as a result the herbaceous flavor of the kale and mustard greens is highlighted, not masked by the garlic-y cream sauce and cheeses. The toasted breadcrumbs add a little crunch and texture. I made this as a contribution to a Friendsgiving dinner last weekend and the emptiness of the baking dish told the tale. No one will have to be reminded to eat their greens with this gratin on the table.

Winter Greens Gratin | Image: Laura Messersmith

Winter Greens Gratin | Image: Laura Messersmith


Roasted Vegetable Soup

Roasted Vegetable Soup | Image: Laura Messersmith
Roasted Vegetable Soup | Image: Laura Messersmith

Each week I follow along with Ina Garten (aka the Barefoot Contessa) and attempt to recreate one of her dishes in my tiny New York City kitchen. The catch? This is my version of cooking school and I’m making these recipes for the first time. I’ll share both my successes and um, challenges, along the way and we’ll see if I can keep up with the Contessa!

Episode: “Barefoot Classics”

The Set-up: Ina is revisiting some favorite recipes from her years running The Barefoot Contessa specialty food shop.

The Menu: Easy Sticky Buns, Mustard Chicken Salad, Roasted Vegetable Soup

0:53 – A quick overview of the Barefoot Contessa days, and then it’s on to Ina’s new version of the sticky buns they used to make.

1:20 – These are called Easy Sticky Buns and already I can tell that they’re going to be dead simple, no yeast dough required. Instead it’s defrosted puff pastry.

2:34 – Ina says when she first thought of using puff pastry, she was worried that they might not be as good as the original, but now she thinks they’re even better, which is convenient…

3:15 – So far the ingredients have been butter, sugar, pecans and puff pastry so we’re off to a great start.

4:37 – Note to self: make more puff pastry-based items.

5:09 – Buns are assembled and baked which means it’s time to cue Jeffrey to arrive and try to abscond with as many sticky buns as he can. His allotment on camera: one.

6:42 – I’m not sure it’s possible to eat a sticky bun without ending up a little sticky and so far it’s getting the best of Jeffrey.

9:03 – Moving on to the promised Mustard Chicken Salad. Interesting, I didn’t realize that this would actually be a salad, with cherry tomatoes and broccoli

10:46 – Hmm, blanching and shocking are not my favorite techniques – kind of a pain

11:21 – Ina says she like the flavor but not the texture of mayonnaise, so she always thins it a bit with chicken stock or white wine to make more of a sauce.

12:55 – I’ve used Ina’s technique of roasting the chicken for chicken salad before and it’s really really good. Pro Tip #1: Roasting chicken with the bone-in and skin on keeps the meat really moist.

13:59 – She says they used to make “huge vats” of Mustard Chicken Salad – I wonder if she’s having a traumatic flashback.

14:04 – A little tarragon to add another layer of flavor and it’s time to serve! Ina suspects that Jeffrey will remember where this is from…’

18:27 – Ina says they used to make “millions and millions of pounds” of roasted vegetables and that she can’t really think of any vegetable that isn’t better cooked that way.

19:48 – She’s over at the farm stand and decides to get a combination of root vegetables – sweet potatoes, parsnips, carrots and a butternut squash.

20:10 – Pro Tip #2: Cut all the vegetables in similar sizes so that they roast at the same rate.

21:29 – It’s comforting to watch Ina wrangle a butternut squash and realize that it’s tricky even for a seasoned professional!

22:36 – She’s roasting the vegetables at quite a high temperature: 425 degrees.

23:01 – Pro Tip #3: If you’re serving the vegetables as is, put them all in big groupings on one platter and season individually. The parnsips get sea salt, carrots get parsley, sweet potato gets a drizzle of maple syrup, and the butternut squash gets fresh pepper.

27:45 – Ina says the key to turning a profit in the specialty food business is knowing how to use the leftovers and in her case she wants them to taste better than the original dish.

28:14 – In this case, she’s turning the left over vegetables into Roasted Vegetable Soup and some extra brioche bread into croutons.

29:53 – The soup is pureed, croutons are toasted and Jeffrey has arrived to have dinner. So cozy!

Final Thoughts:
I’m dying to make the sticky buns, but the contrarian in me wants to fuss with the whole yeast dough process….

Ina’s point about leftovers certainly holds true at home too, and why waste perfectly delicious food?

It just occurred to me, if Jeffrey eats well now imagine the BC days when there was an entire shop full of freshly prepared items.

Roasted Vegetable Soup | Image: Laura Messersmith

Roasted Vegetable Soup | Image: Laura Messersmith

Lessons Learned:
I’ve roasted vegetables and made soup many times before, but Roasted Vegetable Soup is the ultimate in my book: a pureed soup based on a variety of roasted vegetables sounded amazing. Here’s what I learned.

Vegetable Prep – Time to get familiar with your peeler and chef’s knife! We’ve talked about this before, but this is a great opportunity to practice your knife skills and take care to cut the pieces a consistent size. It will help the outcome of the soup since the recipe calls for roasting different vegetables simultaneously.

Vegetable Roasting Time – Which brings me to my next point. Ina in her infinite wisdom has selected dense vegetables that all roast at the same temperature for the same length of time. Brilliant. As I’ve cooked more and more I’ve internalized the cooking times, but it’s always helpful to have a reference handy – so I put together the chart below.

Flavor Combination – The recipe calls for carrots, butternut squash, parsnips, and sweet potatoes to be roasted and then pureed together. I wondered if in the end it would be too sweet, but actually the flavors blend beautifully and the crisp croutons make a great counter point to the smooth soup. Lovely in its simplicity.

Roasted Vegetable Soup | Image: Laura Messersmith

Roasted Vegetable Soup | Image: Laura Messersmith

Small Kitchen Friendly?
Yes. I used a large cutting board, vegetable peeler, chef’s knife and large spoon to prep the vegetables. I also needed two rimmed baking sheets (aluminum foil or parchment paper optional), a spatula, 5.5 qt French oven, and a blender. A food processor, food mill, or stick blender would work just fine too.

The Verdict:
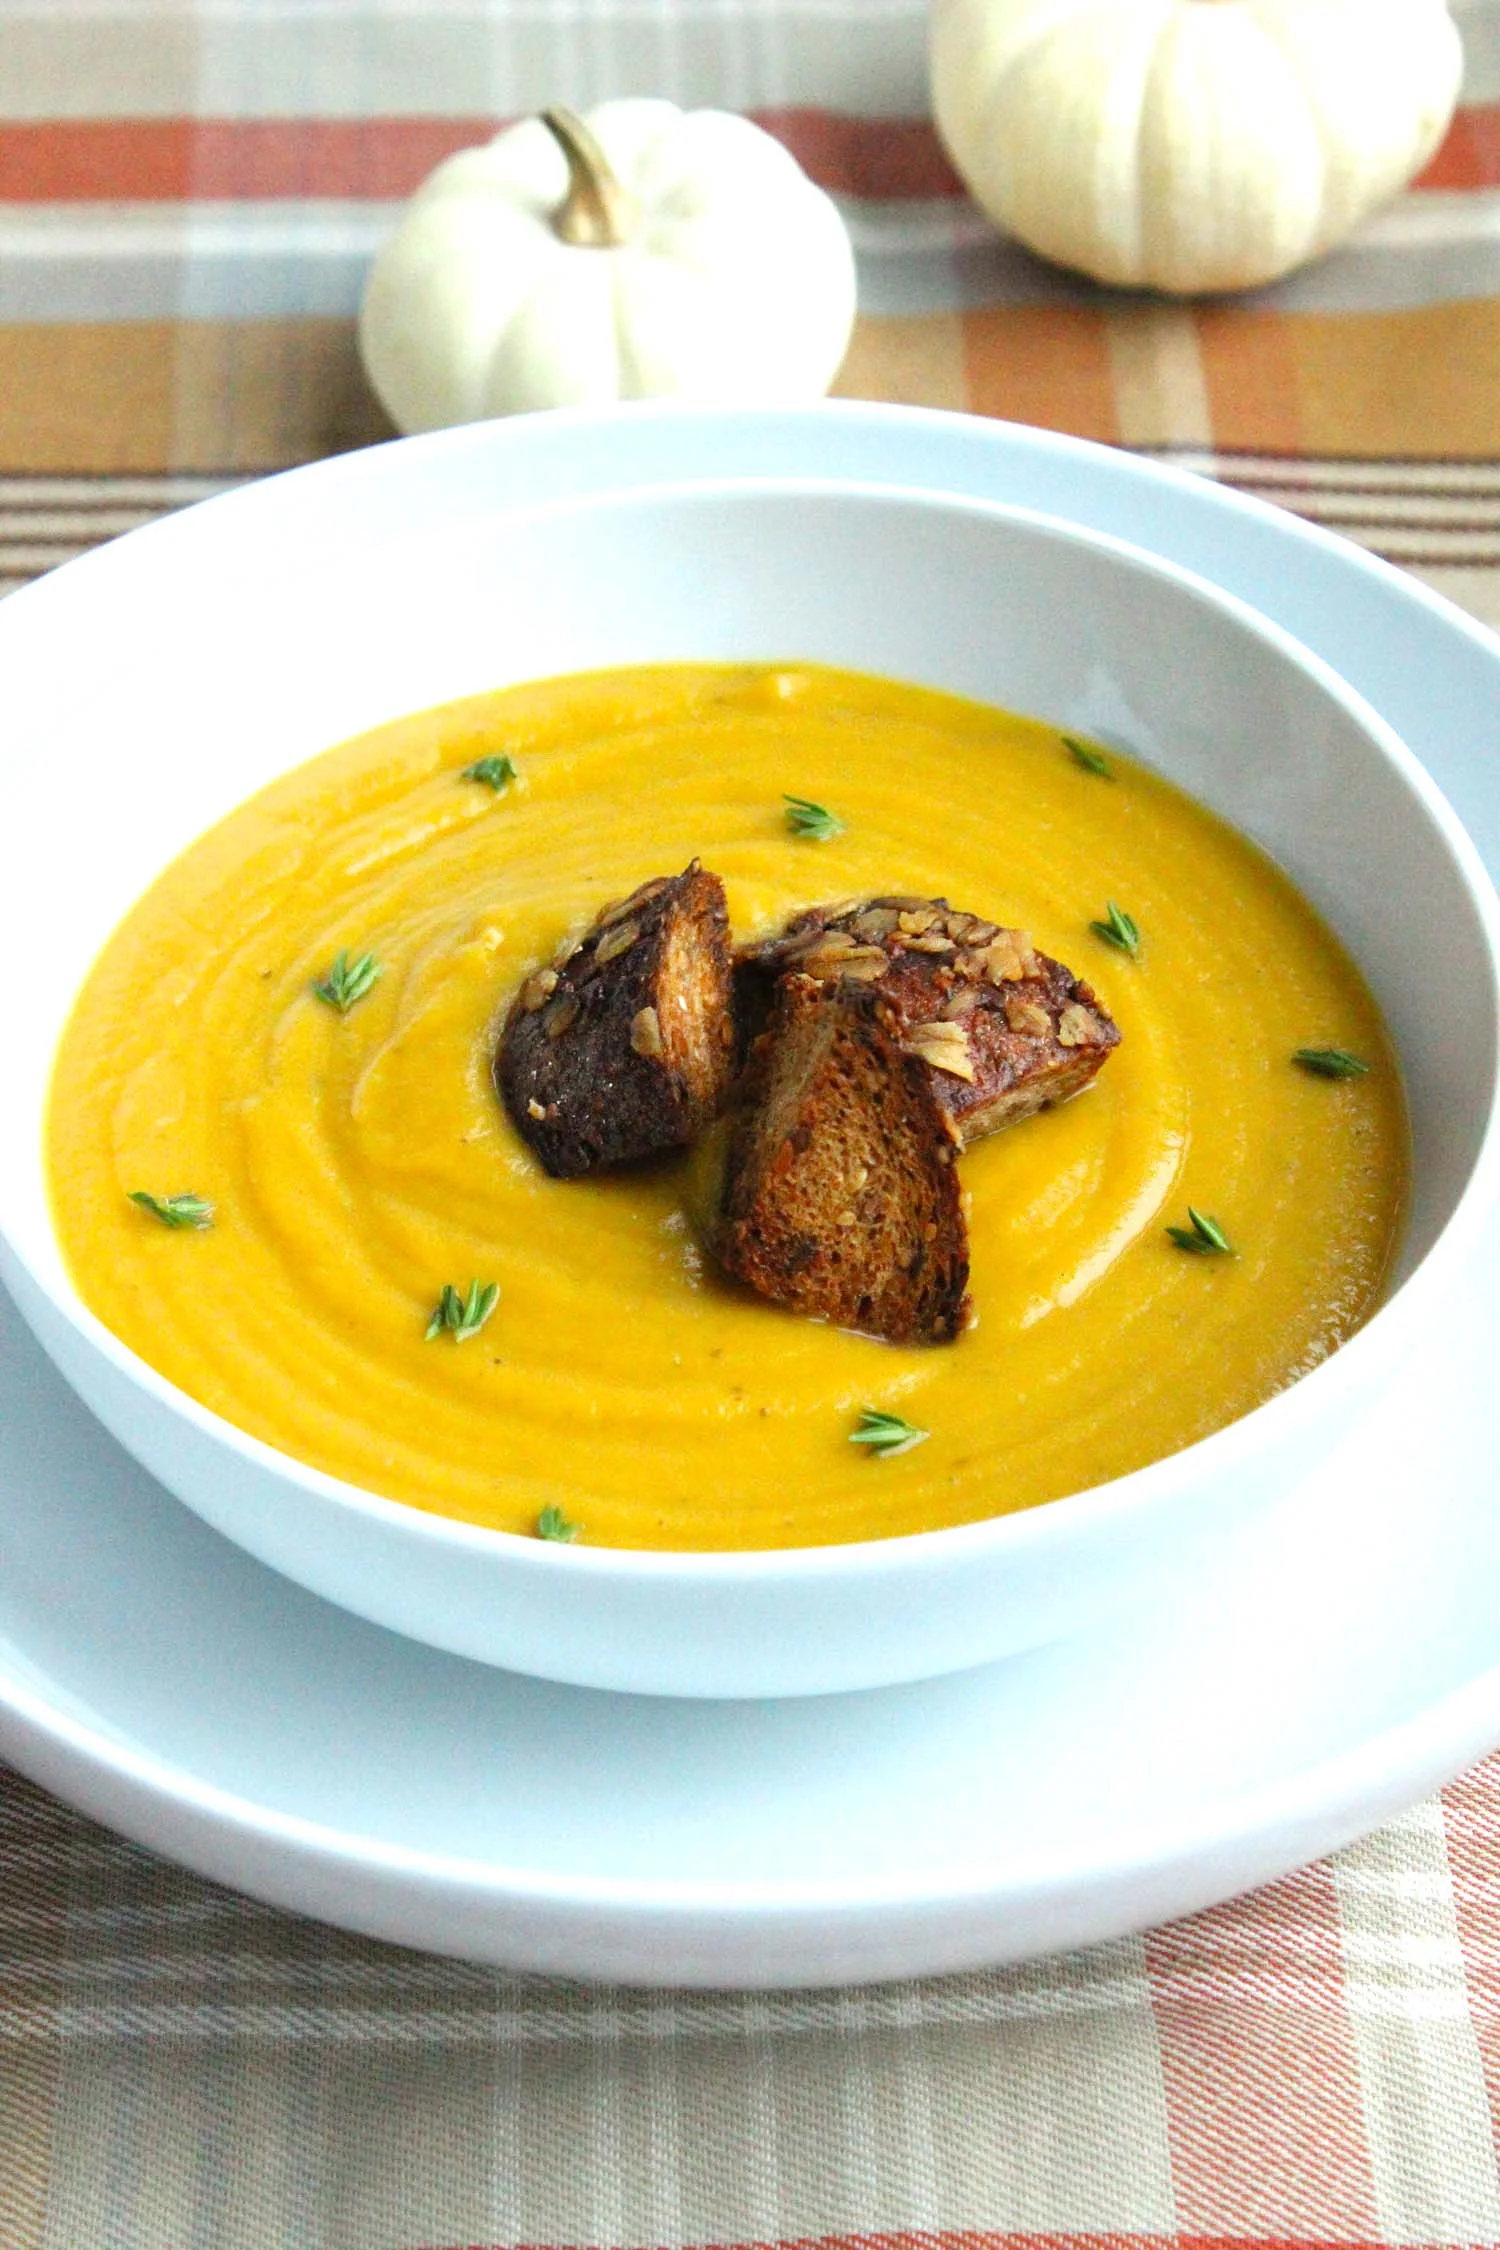
Roasted Vegetable Soup is perfect for late fall. We had it for a weekend lunch served with a green salad and a few pieces of cheddar cheese and crisp apple slices for a hearty and satisfying meal. I went with multigrain croutons for a rustic touch instead of brioche or challah. Either way, this soup is simple, healthful, and easy to whip up a big batch to have on hand or to make use of leftover odds and ends. It’s also a gorgeous color and would make an excellent starter for a more formal Thanksgiving feast.

Roasted Vegetable Soup | Image: Laura Messersmith

Roasted Vegetable Soup | Image: Laura Messersmith

goldfinch and scout guide to roasting vegetables

Reading Material: Friendsgiving Edition

Image: Laura Messersmith

Image: Laura Messersmith

This week was better than last in the Dept. of Getting Stuff Done, fewer Internet rabbit holes ensnared me, the cooking was focused, my props mostly behaved themselves during their time in the limelight, and this weekend we have a Friendsgiving party to attend. Yay!

As you might imagine I’ve been plotting and scheming what to make since we received the invitation with a mental Pinterest board about seventy-five items (25% of which were pies) that would be a-mazing to make. Overkill, much? Probably a good thing our hosts put together a list of assignments or I might have showed up with everything from appetizers and dessert to the bird itself…

With my role clearly defined – two sides (this Herbed Butternut Squash & Apple Mash and a Winter Greens Gratin I can’t wait to share with you) and some assistance with turkey roasting – I did find some time to peruse a few Internet items. Here’s what caught my attention this week.

Reading Material:
A timely and relevant question in all entertaining moments, but particularly in times of high-pressure cooking: what to wear? The New Potato has some thoughts on Friendsgiving outfits.

Am I the only one who mainlined The Great British Bake-off when Netflix released it a few weeks ago and then searched madly for more seasons? GQ has perfectly distilled my thoughts on why the show is so good.

And while we’re at it, The Toast continues to kill it with their list of horrifying desserts on GBBO. Just a small slice of “treacle and desperation tart” for me, thanks.

Cooking TV presenter, Rachel Khoo, who knows what it’s like to cook in a small kitchen first hand, summarized her essential cooking tools. Do you agree with her list? (via Food52)

The New York Times notes that written recipes have evolved over time - as a writer, reader, and follower (sometimes) of recipes it resonated. Do you prefer direct and to the point, or a bit more story along the way?

I haven’t made it to Sadelle’s in Soho yet, but Bon Appétit says it’s like something out of a Wes Anderson’s The Grand Budapest Hotel. They had me at “whimsy.”


Herbed Butternut Squash & Apple Mash

Herbed Butternut Squash and Apple Mash | Image: Laura Messersmith

Herbed Butternut Squash and Apple Mash | Image: Laura Messersmith

It’s fall, early November to be exact, when thoughts of Thanksgiving are in the air, and that means the number of squash, pumpkin, and pumpkin spice recipes have reached a critical mass. No one could possibly make them all without turning into a gourd of some kind, so does the world really need another? Normally, I’d say no and move on to something else banking on our mutual pumpkin fatigue, but in this case I just have to share this recipe because to horde it all to myself would be depriving you of something awesome.

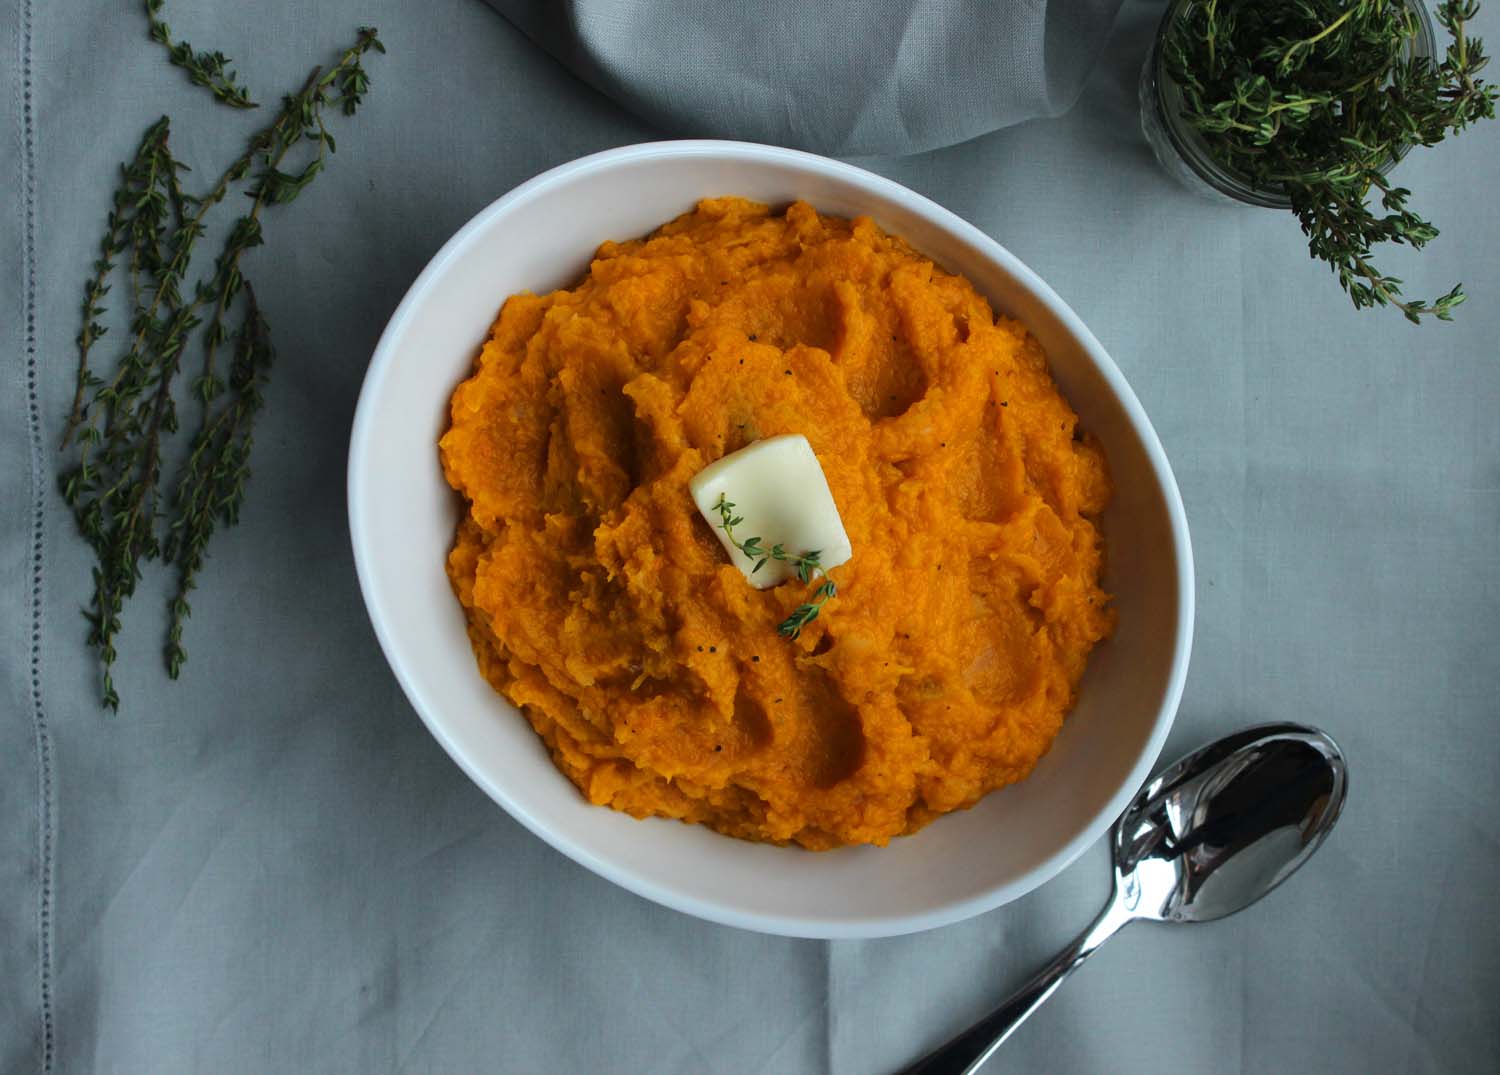
Some recipes are the result of careful planning – an idea, some tests, and then a final version that corresponds with the initial light bulb concept – while others are a happy accident. This is one of the latter. Remember the Cider Braised Chicken & Apples from a few weeks ago? Notice the butternut squash in the photo? That was what I would consider a classic mash – squash roasted in the oven until soft, then stirred together with butter, kosher salt, and ground black pepper. Solidly tasty, but nothing earth shattering there.

The magic moment was when that earthy, slightly sweet puree met the tangy mustard-cider sauce and tart apples. It nearly stole the show from the chicken and I realized that I had to come up with a way to combine those flavors intentionally. This is that recipe. See, I’m a humanitarian, not just some shill for the squash lobby.

Herbed Butternut Squash and Apple Mash | Image: Laura Messersmith

Herbed Butternut Squash and Apple Mash | Image: Laura Messersmith

Herbed Butternut Squash & Apple Mash (serves 8-10)

Ingredients:
2 tablespoons unsalted butter
2 tablespoons olive oil
1/4 cup (1 large) minced shallot
4 pounds (2 large) butternut squash
1 1/2 pounds (2-3 medium) tart, firm apples
1 cup dry hard apple cider (I used Angry Orchard Stone Dry)
2 tablespoons Dijon mustard
1 teaspoon apple cider vinegar
1 tablespoon minced fresh thyme
2 teaspoons kosher salt
1/2 teaspoon ground black pepper

Instructions:
Peel, de-seed and cut the butternut squash into 1/2 inch cubes. Mince the shallots, and peel, core and dice the apples in 1/2 inch pieces.

In a large pot or dutch oven, melt together the butter and olive oil over medium heat. Add the minced shallots and cook for 3-4 minutes until they begin to turn translucent, watch them to be sure they don’t burn. Add the butternut squash pieces and stir to coat with the shallots and butter. Cover and cook over medium heat for about 8 minutes until the squash is just beginning to soften, stirring occasionally to prevent the squash from burning.

Whisk together the hard cider, Dijon mustard, apple cider vinegar, kosher salt and black pepper. Add the mixture to the pot along with the diced apples and stir to combine. Cover and cook for 20-25 minutes or until the squash and apples are very tender. Stir periodically. Uncover and cook 5-7 minutes more until most of the liquid has evaporated. Finally, add the minced thyme to the pot and mash the squash and apples into a thick puree or process in a food processor, according to your preference. Check the seasoning and serve hot.

Recipe written with reference to Martha Stewart’s Butternut Squash Mash and Fine Cooking’s Braised Chicken Legs with Cider, Apples, and Mustard.

Herbed Butternut Squash and Apple Mash | Image: Laura Messersmith

Herbed Butternut Squash and Apple Mash | Image: Laura Messersmith

Small Kitchen Friendly?
Totally. I used my 5.5 qt French oven, which has taken up residence on the stovetop for the winter, a large cutting board, Y-shaped vegetable peeler, chef’s knife, a liquid measuring cup and spoons, and wooden spatula. I used a regular potato masher which gives the mash a chunkier, rustic texture, if you’d like more of a puree then a potato ricer or food processor is recommended.

The Verdict:
Can you tell I'm excited about this recipe? It’s the perfect blend of comfort food flavors with the peace of mind that it’s actually pretty healthy. It’s also incredibly easy to make and can be made in advance, which means it’s the perfect thing to whip up and have on hand as an awesome side through the week. For example, I found this recipe for “Vermont” Roast Pork Loin on Food52 the other day, and I think they’d be heavenly together. The slightly sharp edge from the cider and mustard keep the apples and squash from being too heavy – an excellent compliment to all your wintery dishes.

Herbed Butternut Squash and Apple Mash | Image: Laura Messersmith

Herbed Butternut Squash and Apple Mash | Image: Laura Messersmith