Winter Woodland Gingerbread Cookies

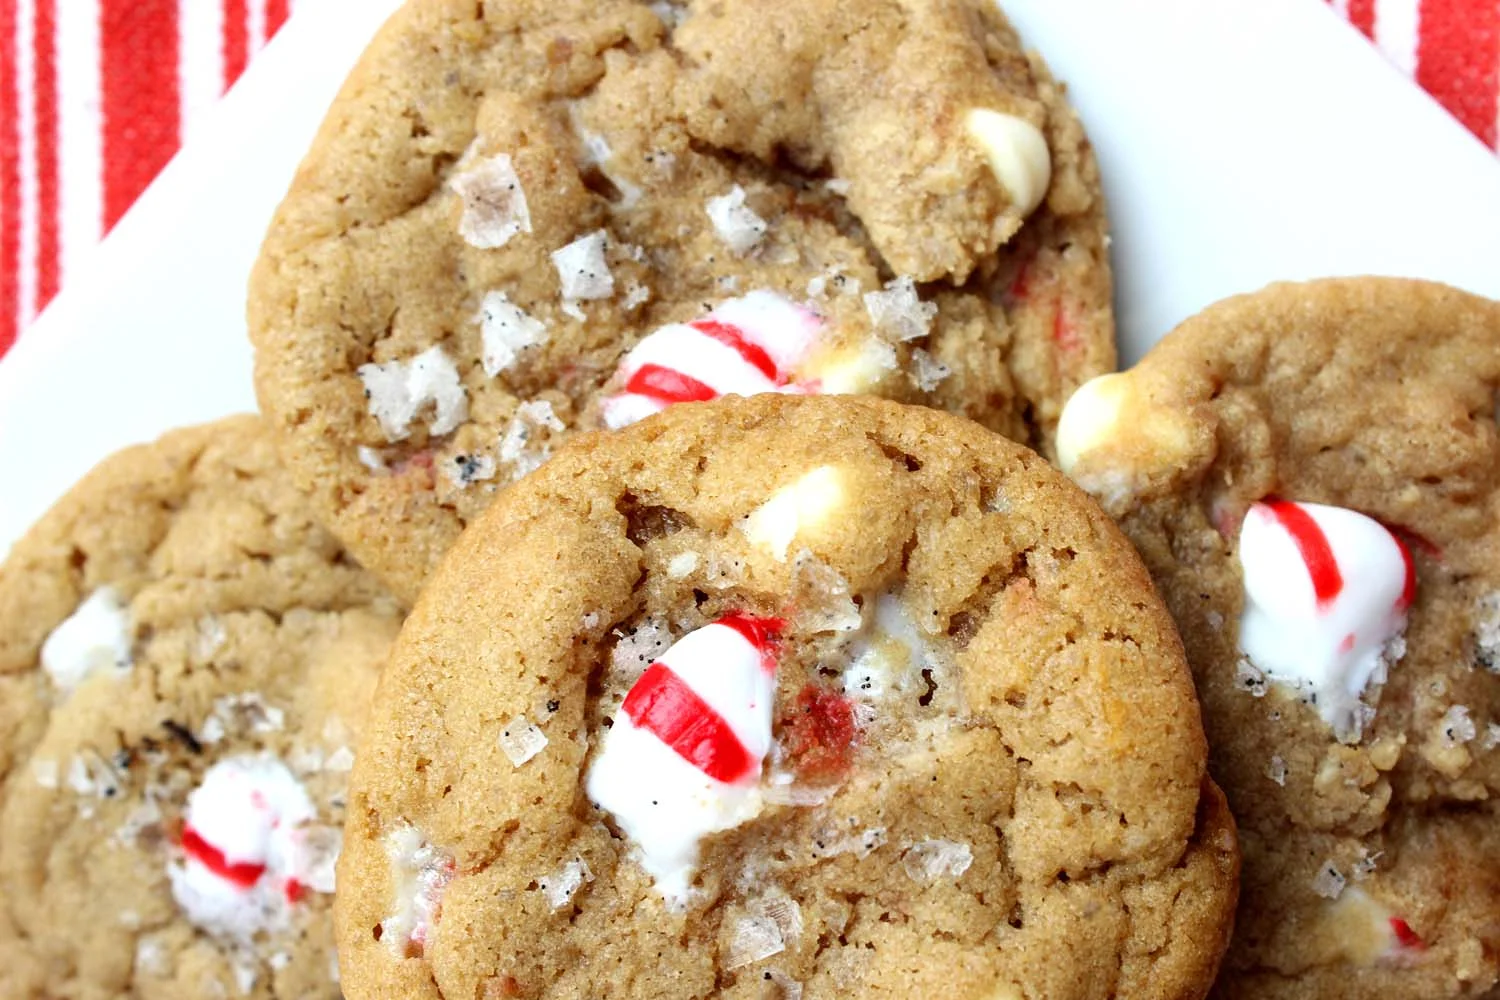
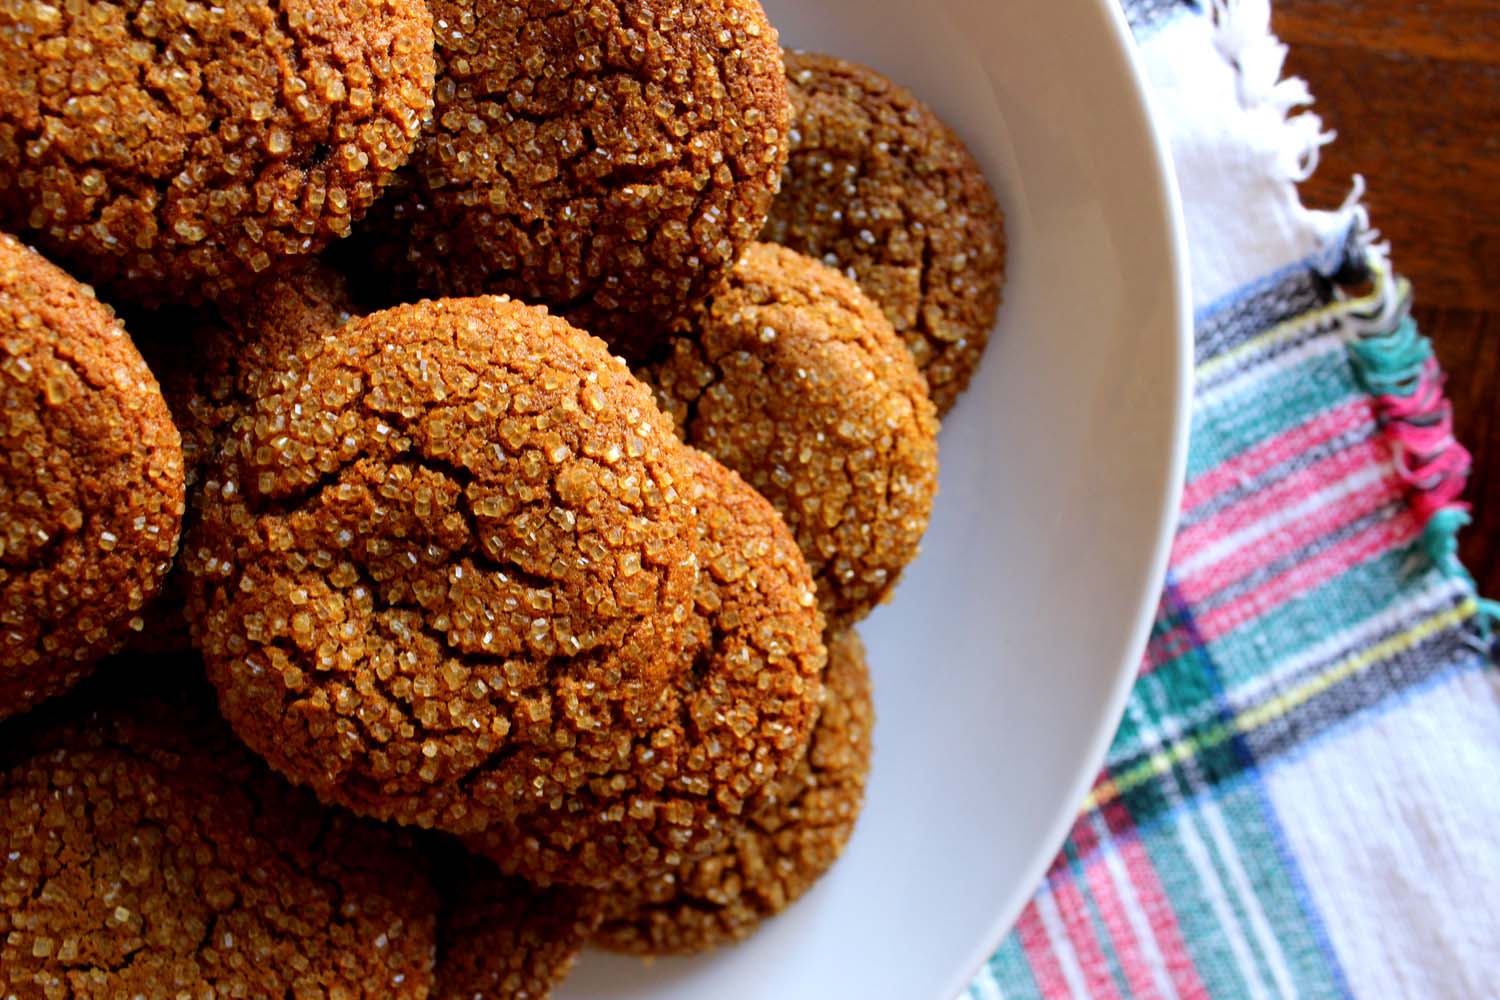
Woodland Gingerbread Cookies | Image: Laura Messersmith
When I was growing up my siblings and I would spend most of the afternoon on Christmas Eve rolling dough and making cutout cookies. My sister and I traded off who used the rolling pin to prepare a new patch of dough while my brother plotted his next move – would it be the evergreen tree, the star, maybe the random chicken shaped cutter (an old-fashioned tin one with a red painted handle) that we insisted on using despite it’s non existent connection to the holiday at hand? My mother mainly left us to our own devices, occasionally taking a pass through the room to check on our progress.
We continued that tradition every year up until a year or so ago when we began spending holidays with our respective in-laws, and now I’m continuing in my own way. Much to my father’s chagrin we were dedicated to plain sugar cookies when I was a kid, but I’ve since realized the error in judgment and have turned my attention to these spicy, gingery cookies chewy with molasses and dark brown sugar.
The cookies are wonderful plain - complex with plenty of cinnamon, ginger and cloves – but a light layer of icing makes them festive and transforms some of my brown bears and foxes into their arctic cousins. Plus, who can resist snowy vanilla frosting or a sparkle of coarse sugar at Christmas?
Woodland Gingerbread Cookies (yield*: 50-60 medium cookies)
Ingredients:
6 cups all purpose flour, plus more for work surface
1 teaspoon baking soda
1/2 teaspoon baking powder
4 teaspoons ground ginger
4 teaspoons ground cinnamon
1 1/2 teaspoons ground cloves
1 teaspoon ground cardamom
1/2 teaspoon ground nutmeg
1/2 teaspoon ground allspice
1 1/2 teaspoons kosher salt
1 cup (2 sticks) unsalted butter at room temperature
1 cup packed dark-brown sugar
2 large eggs at room temperature
1 cup unsulfured molasses
Vanilla Icing (recipe below)
Decorative sugar (I used Sugar in the Raw Organic Cane)
Instructions:
Whisk together flour, baking soda, baking powder, spices and salt in a large bowl and set aside.
In a separate large mixing bowl (or in the bowl of a stand mixer) beat butter and brown sugar together with an electric hand mixer until fluffy. Add in one egg at a time and then the molasses until well combined. (A light coating of non-stick spray inside the liquid measuring cup will make pouring the molasses much easier.)
Slowly add in the flour mixture, mixing on low until just combined. The dough should still have streaks of flour and look a little dusty. Finish mixing by hand making sure to scrape the bottom and sides of the bowl with a rubber spatula. The texture will be quite sticky and almost fluffy.
Divide dough into thirds pat each portion into a flat disk about 1 inch thick and wrap each in plastic. Refrigerate until cold and firm, about one hour or up to two days.
When ready to bake, pre-heat the oven to 350 degrees F and line two rimmed baking sheets with parchment paper.
Roll the dough out on a lightly floured surface to a 1/4-inch thick. Even after chilling, the dough will remain semi-soft and pliable, and the cookies will puff up and spread slightly when baked, so cutters with minimal fine detail are best.
Cut into shapes of your choice and place 2 inches apart on the prepared baking sheets. Gather the scraps and re-roll until all the dough is used.
Refrigerate the cut cookies again for about 15 minutes. Bake cookies until crisp but not dark, 12 to 14 minutes. Place the baking sheets on wire racks and cool.
Allow the cookie sheets to return to room temperature before placing the next batch of cut cookies.
When the cookies are cool, decorate with icing and sprinkles. Once the icing is set, store cookies between layers of parchment or waxed paper in an airtight container for up to a week.
*Yield Notes: 50 medium/large cookies (moose, reindeer, fawns, bears, foxes), 22 small cookies (hedgehogs, squirrels)
Rewritten and slightly adapted from Smitten Kitchen’s Spicy Gingerbread Cookies a version of Martha Stewart’s Gingerbread Snowflakes

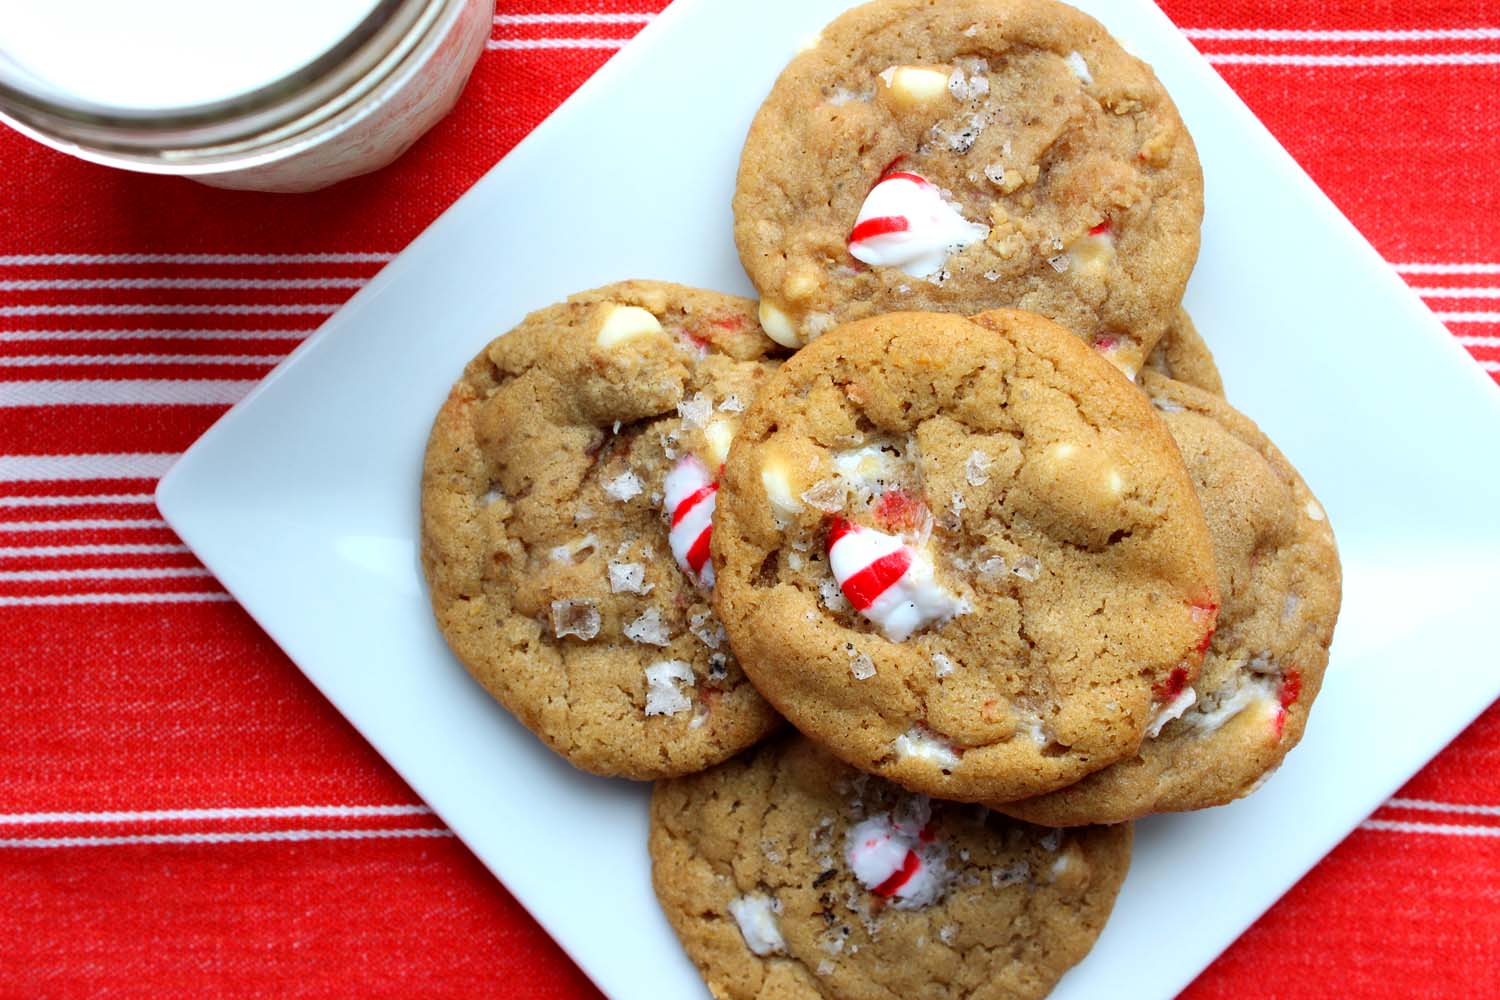
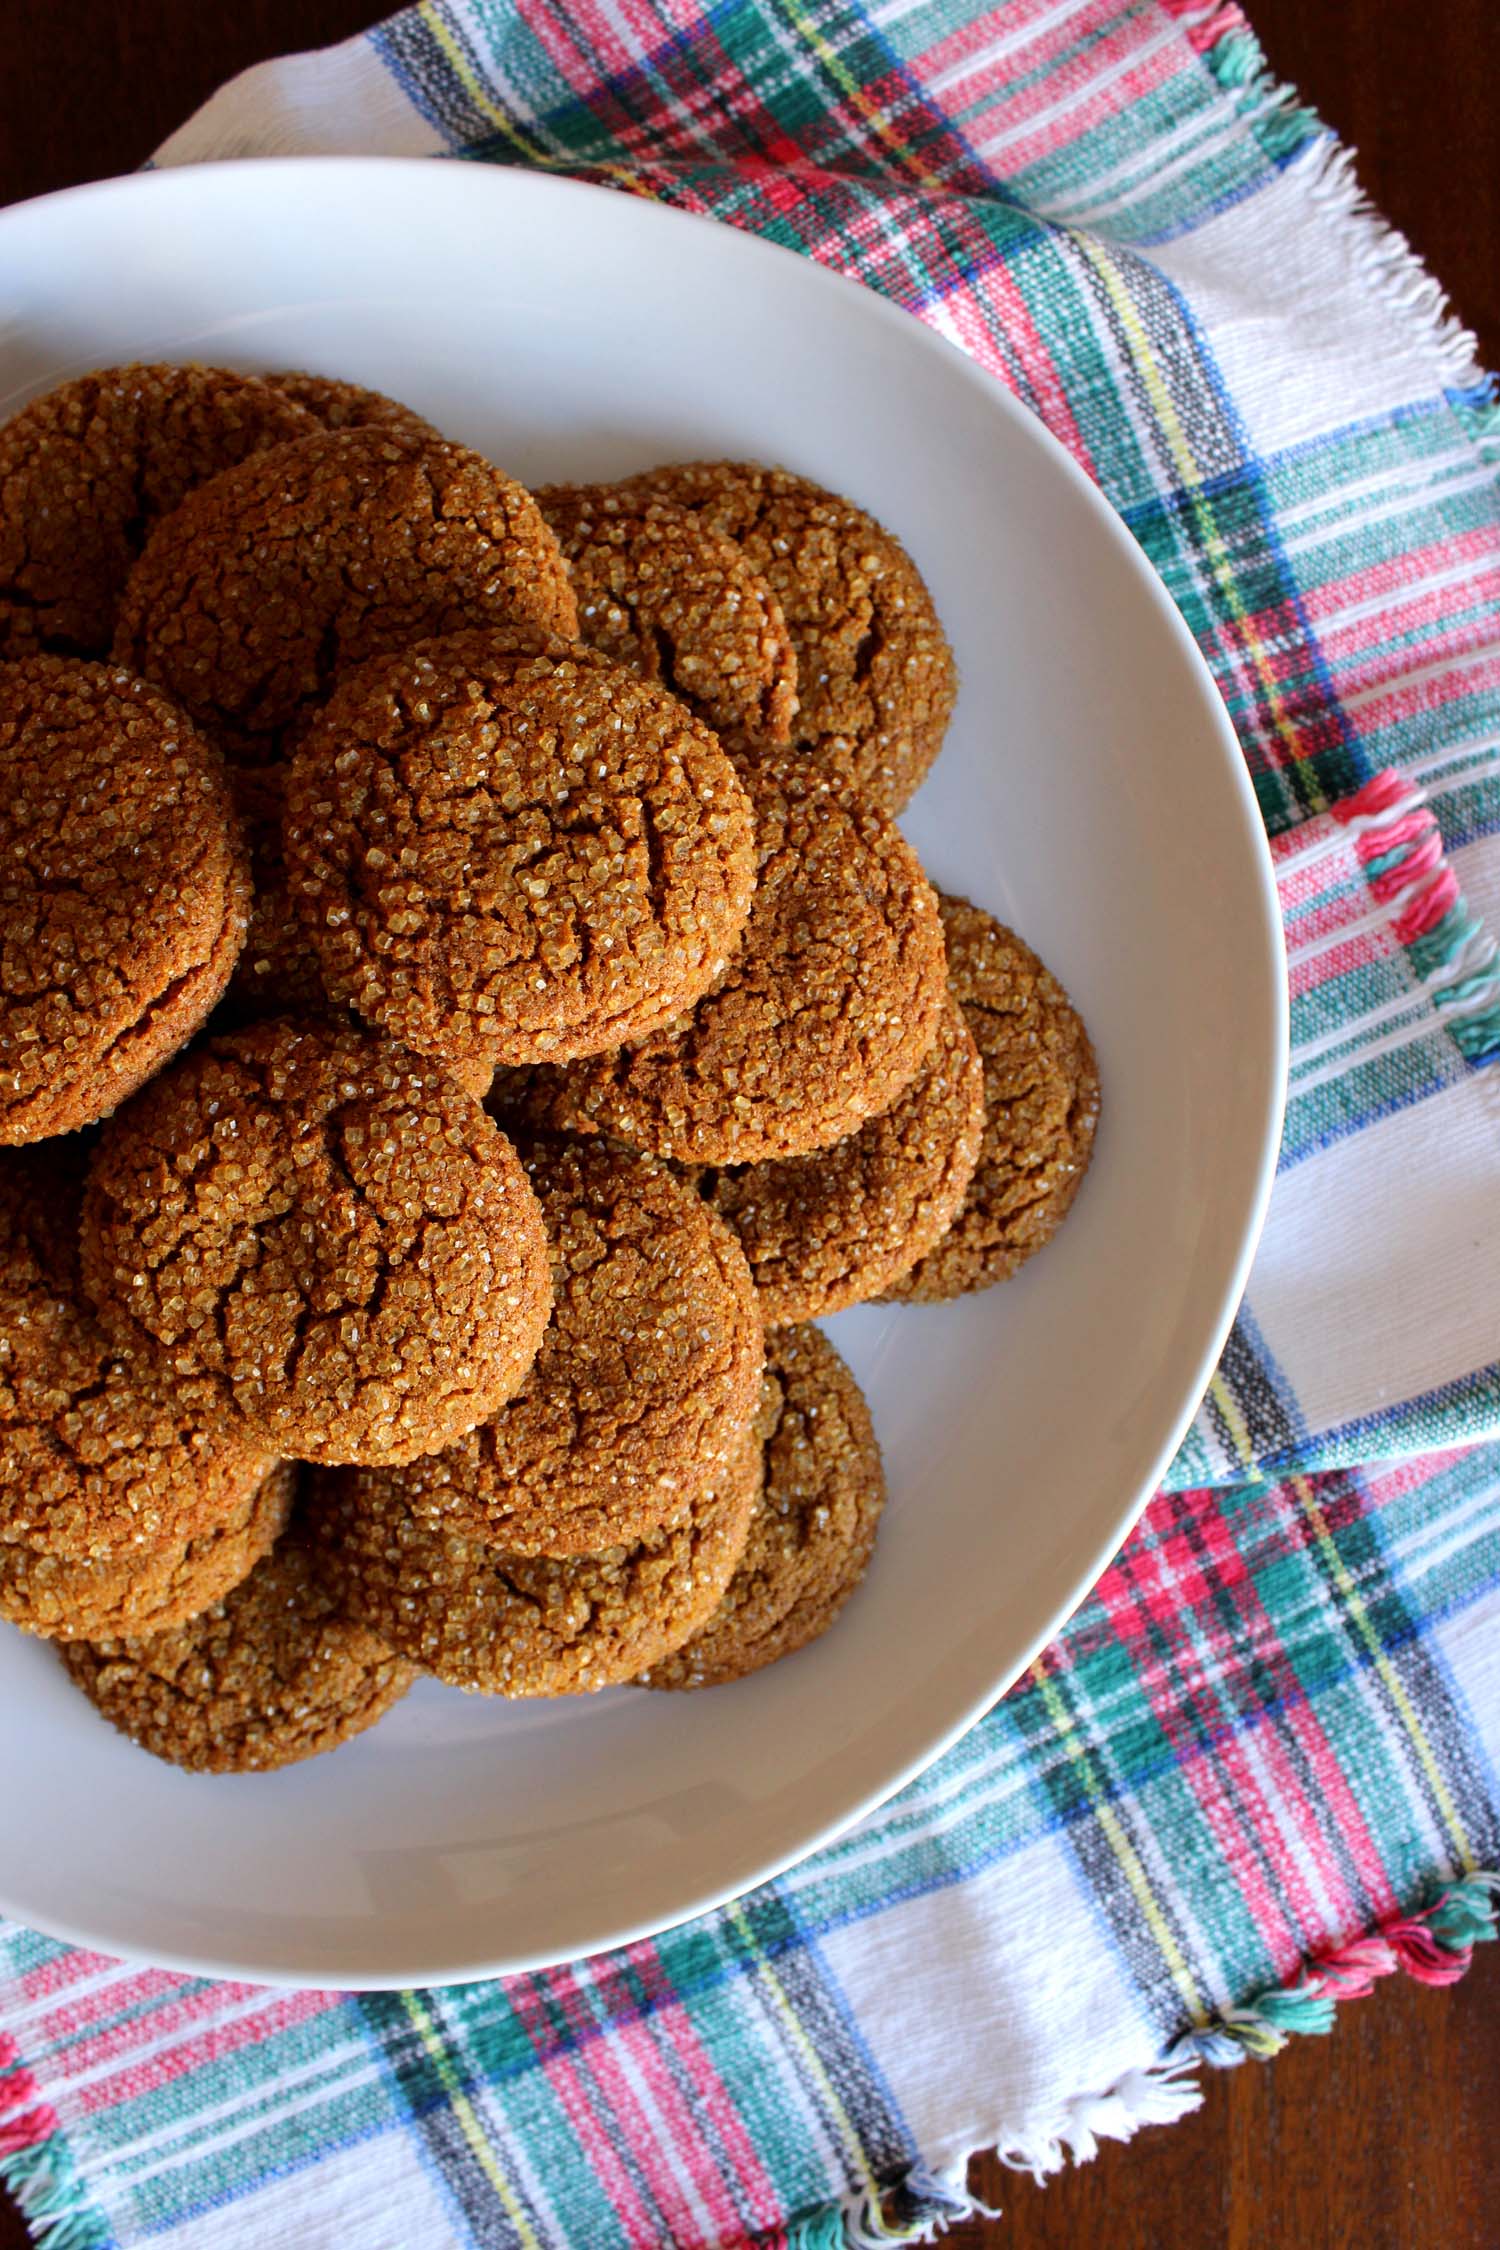
Woodland Gingerbread Cookies | Image: Laura Messersmith
Vanilla Icing (yield: about 2 1/2 cups icing)
Ingredients:
6 cups confectioner’s sugar
2 teaspoons vanilla extract
3 teaspoons light corn syrup
1/2 teaspoon table salt
1/2 cup, plus 1 tablespoon skim milk
Food coloring (optional)
Instructions:
In a large mixing bowl, sift the confectioner’s sugar through a fine mesh sieve to remove any lumps. Next add the vanilla extract, corn syrup, salt, and food coloring, if using.
Pour in 1/4 cup of the skim milk and mix on low speed with an electric hand mixer. Consistency will be very thick. Add remaining milk 1-2 teaspoons at a time until the icing reaches your desired consistency. Thicker if you plan to spread with a knife or spatula, a bit thinner if you plan to pipe.
When the cookies are cool, ice with a piping bag or small offset spatula. Sprinkle with decorative sugars.
Adapted from Bon Appetit’s icing as described in New England Molasses Gingerbread Cookies.

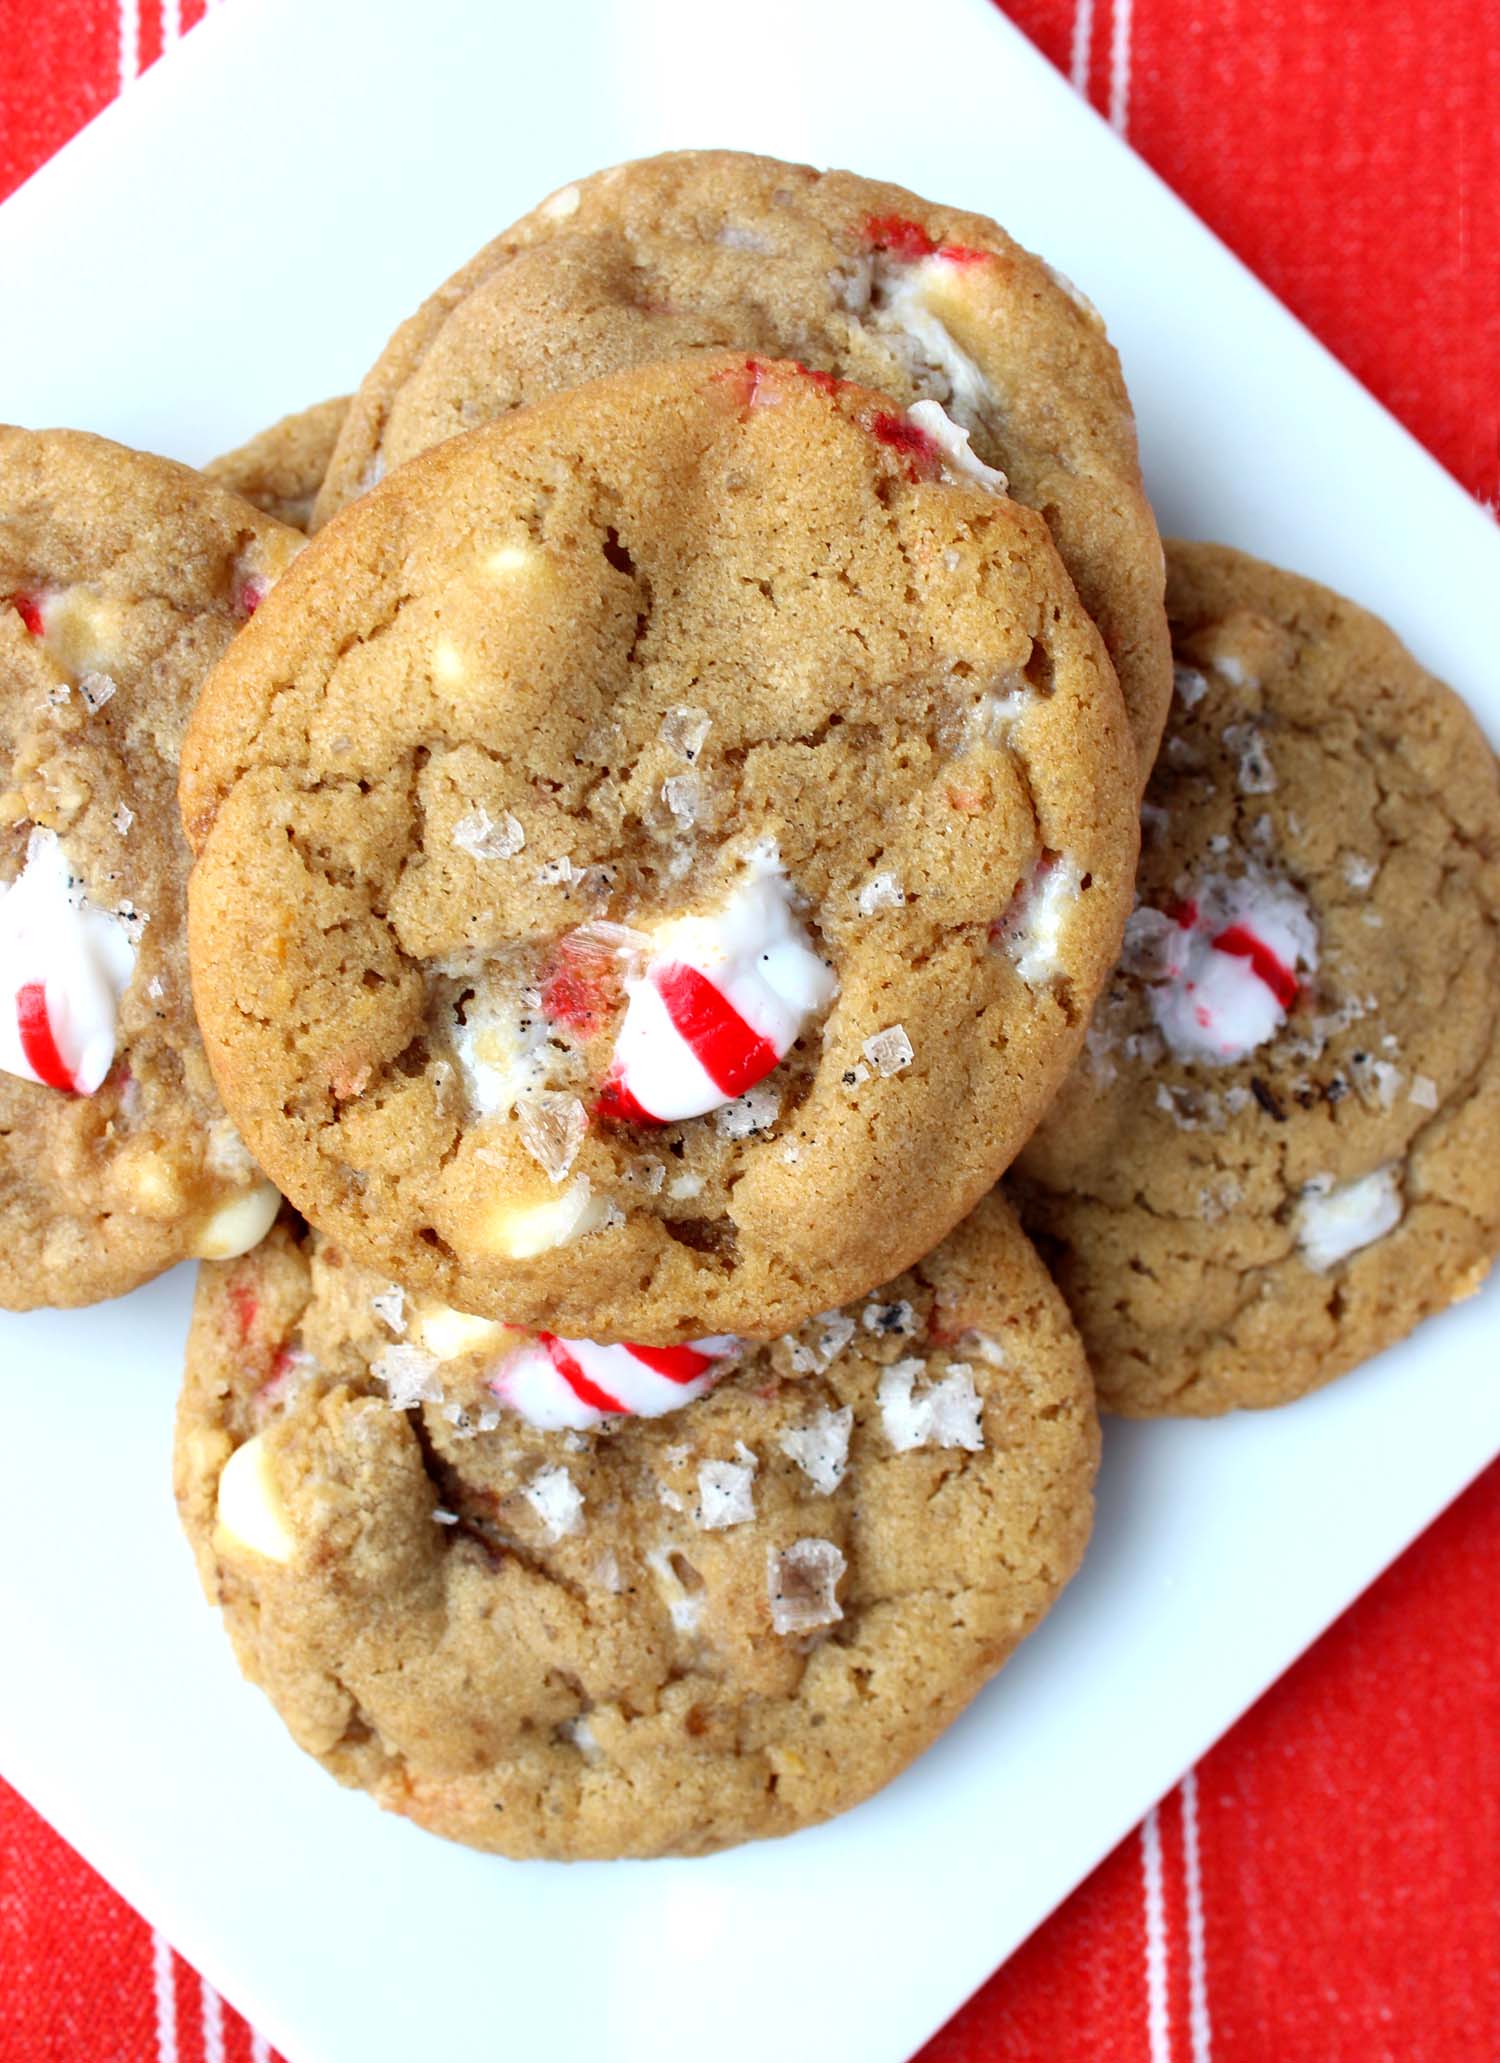
Woodland Gingerbread Cookies | Image: Laura Messersmith
Decoration Ideas
I did a combination of all over sugar, piping, full icing, and full icing + sugar for the truly hummingbird inclined. This had the dual effect of giving me the appearance of both arctic animals and creatures from more temperate climates. The icing recipe described above was enough to do about half with full icing, if you want every cookie to be fully covered I'd double it.
If you’d like to achieve the un-iced, all-over sugar effect place an even layer of white granulated sugar or sanding sugar in a plate. Lightly press the top of the un-baked cookie into the sugar and then chill and bake as usual.
Some hints on piping the outline, which I learned from watching cookie artist Patti Page on an episode of Barefoot Contessa. (some of her work) Rather than touching the tip of the piping bag to the cookie, instead hover the piping bag just above the surface letting the strand of icing fall onto the cookie and moving the piping bag along slowly (maintaining even pressure), so that the strand of icing drags behind just slightly. To adjust your position, turn a corner, or catch the details, tap the point down. Think connect the dots except you’re creating both the dot and the line between with the icing. You can watch her demonstrate here.
This is also useful if you’re looking for sharp icing edges. Pipe the outline first let it set a bit, then fill in the middle with an offset spatula or more piped icing. More coloring book than connect the dots.
Edited to Add: If you're looking for the specific cookie cutters I used the Drommar set from Ikea (via Amazon) and these two additional fawn and reindeer cutters by R&M (also via Amazon.)

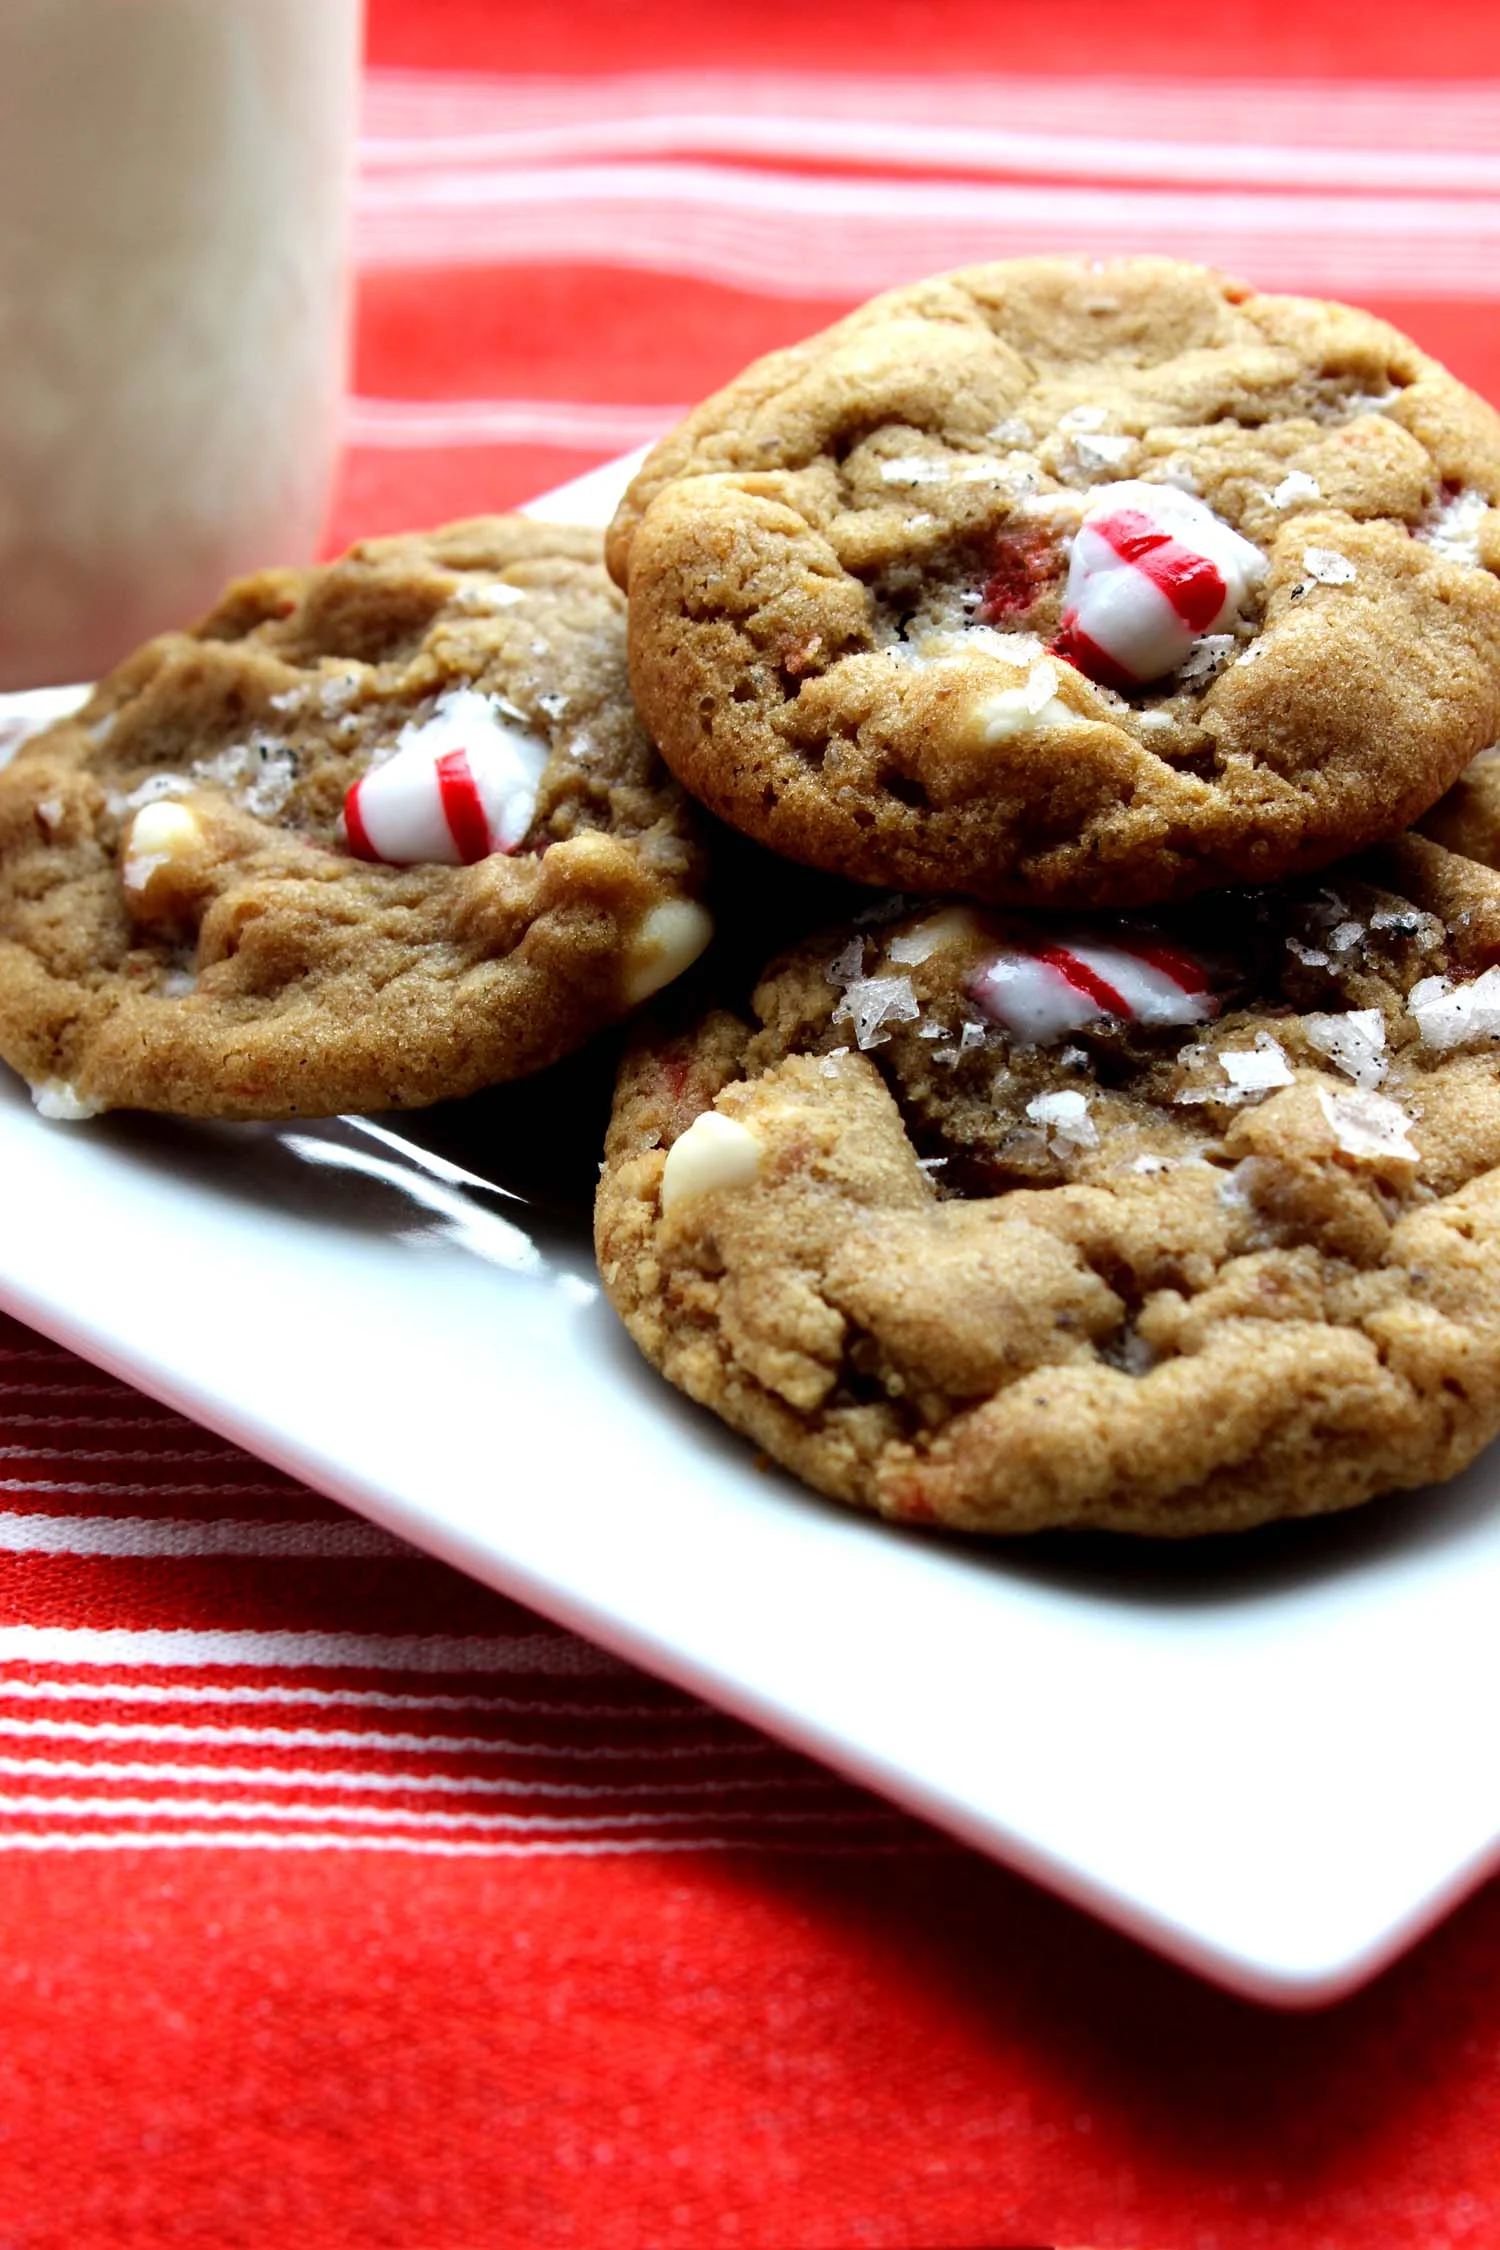
Woodland Gingerbread Cookies | Image: Laura Messersmith
Small Kitchen Friendly?
Potentially, with strict organization. The tricky part is during the baking/cooling stage. Do this in batches over the course of a day if you have to. For equipment I used two large mixing bowls, an electric hand mixer, rubber spatula, mixing spoon, liquid and dry measuring cups to mix the dough. You’ll also cookie cutters (or use biscuit cutters, the rim of a glass, any shape that appeals) need two rimmed baking sheets, wire cooling racks (or an elevated trivet), parchment paper, and plastic wrap.
For the icing I washed and reuse one of the large bowls, the electric hand mixer, measuring cups. Add in a sieve and an offset spatula, or piping bag set. Toothpicks will help with fine detail work.
The Verdict:
This is everything I could hope for in a gingerbread cookie and has more than earned its place in my Christmas cookie line-up. Spiciness that holds it's own against even the heaviest layer of icing, texture that miraculously balances the tricky tipping point between chewy and crisp. They filled the apartment with Christmas-y warmth only holiday baking and crazy whimsical cookie cutouts can. Yes, I probably spent more time than is healthy decorating, but that's half the fun, right? Definitely make these and watch them fly off the platter, that is if anyone can stand to eat something so adorable.

Woodland Gingerbread Cookies | Image: Laura Messersmith