Double Chocolate Zucchini Bread

Double Chocolate Zucchini Bread | Image: Laura Messersmith

Double Chocolate Zucchini Bread | Image: Laura Messersmith
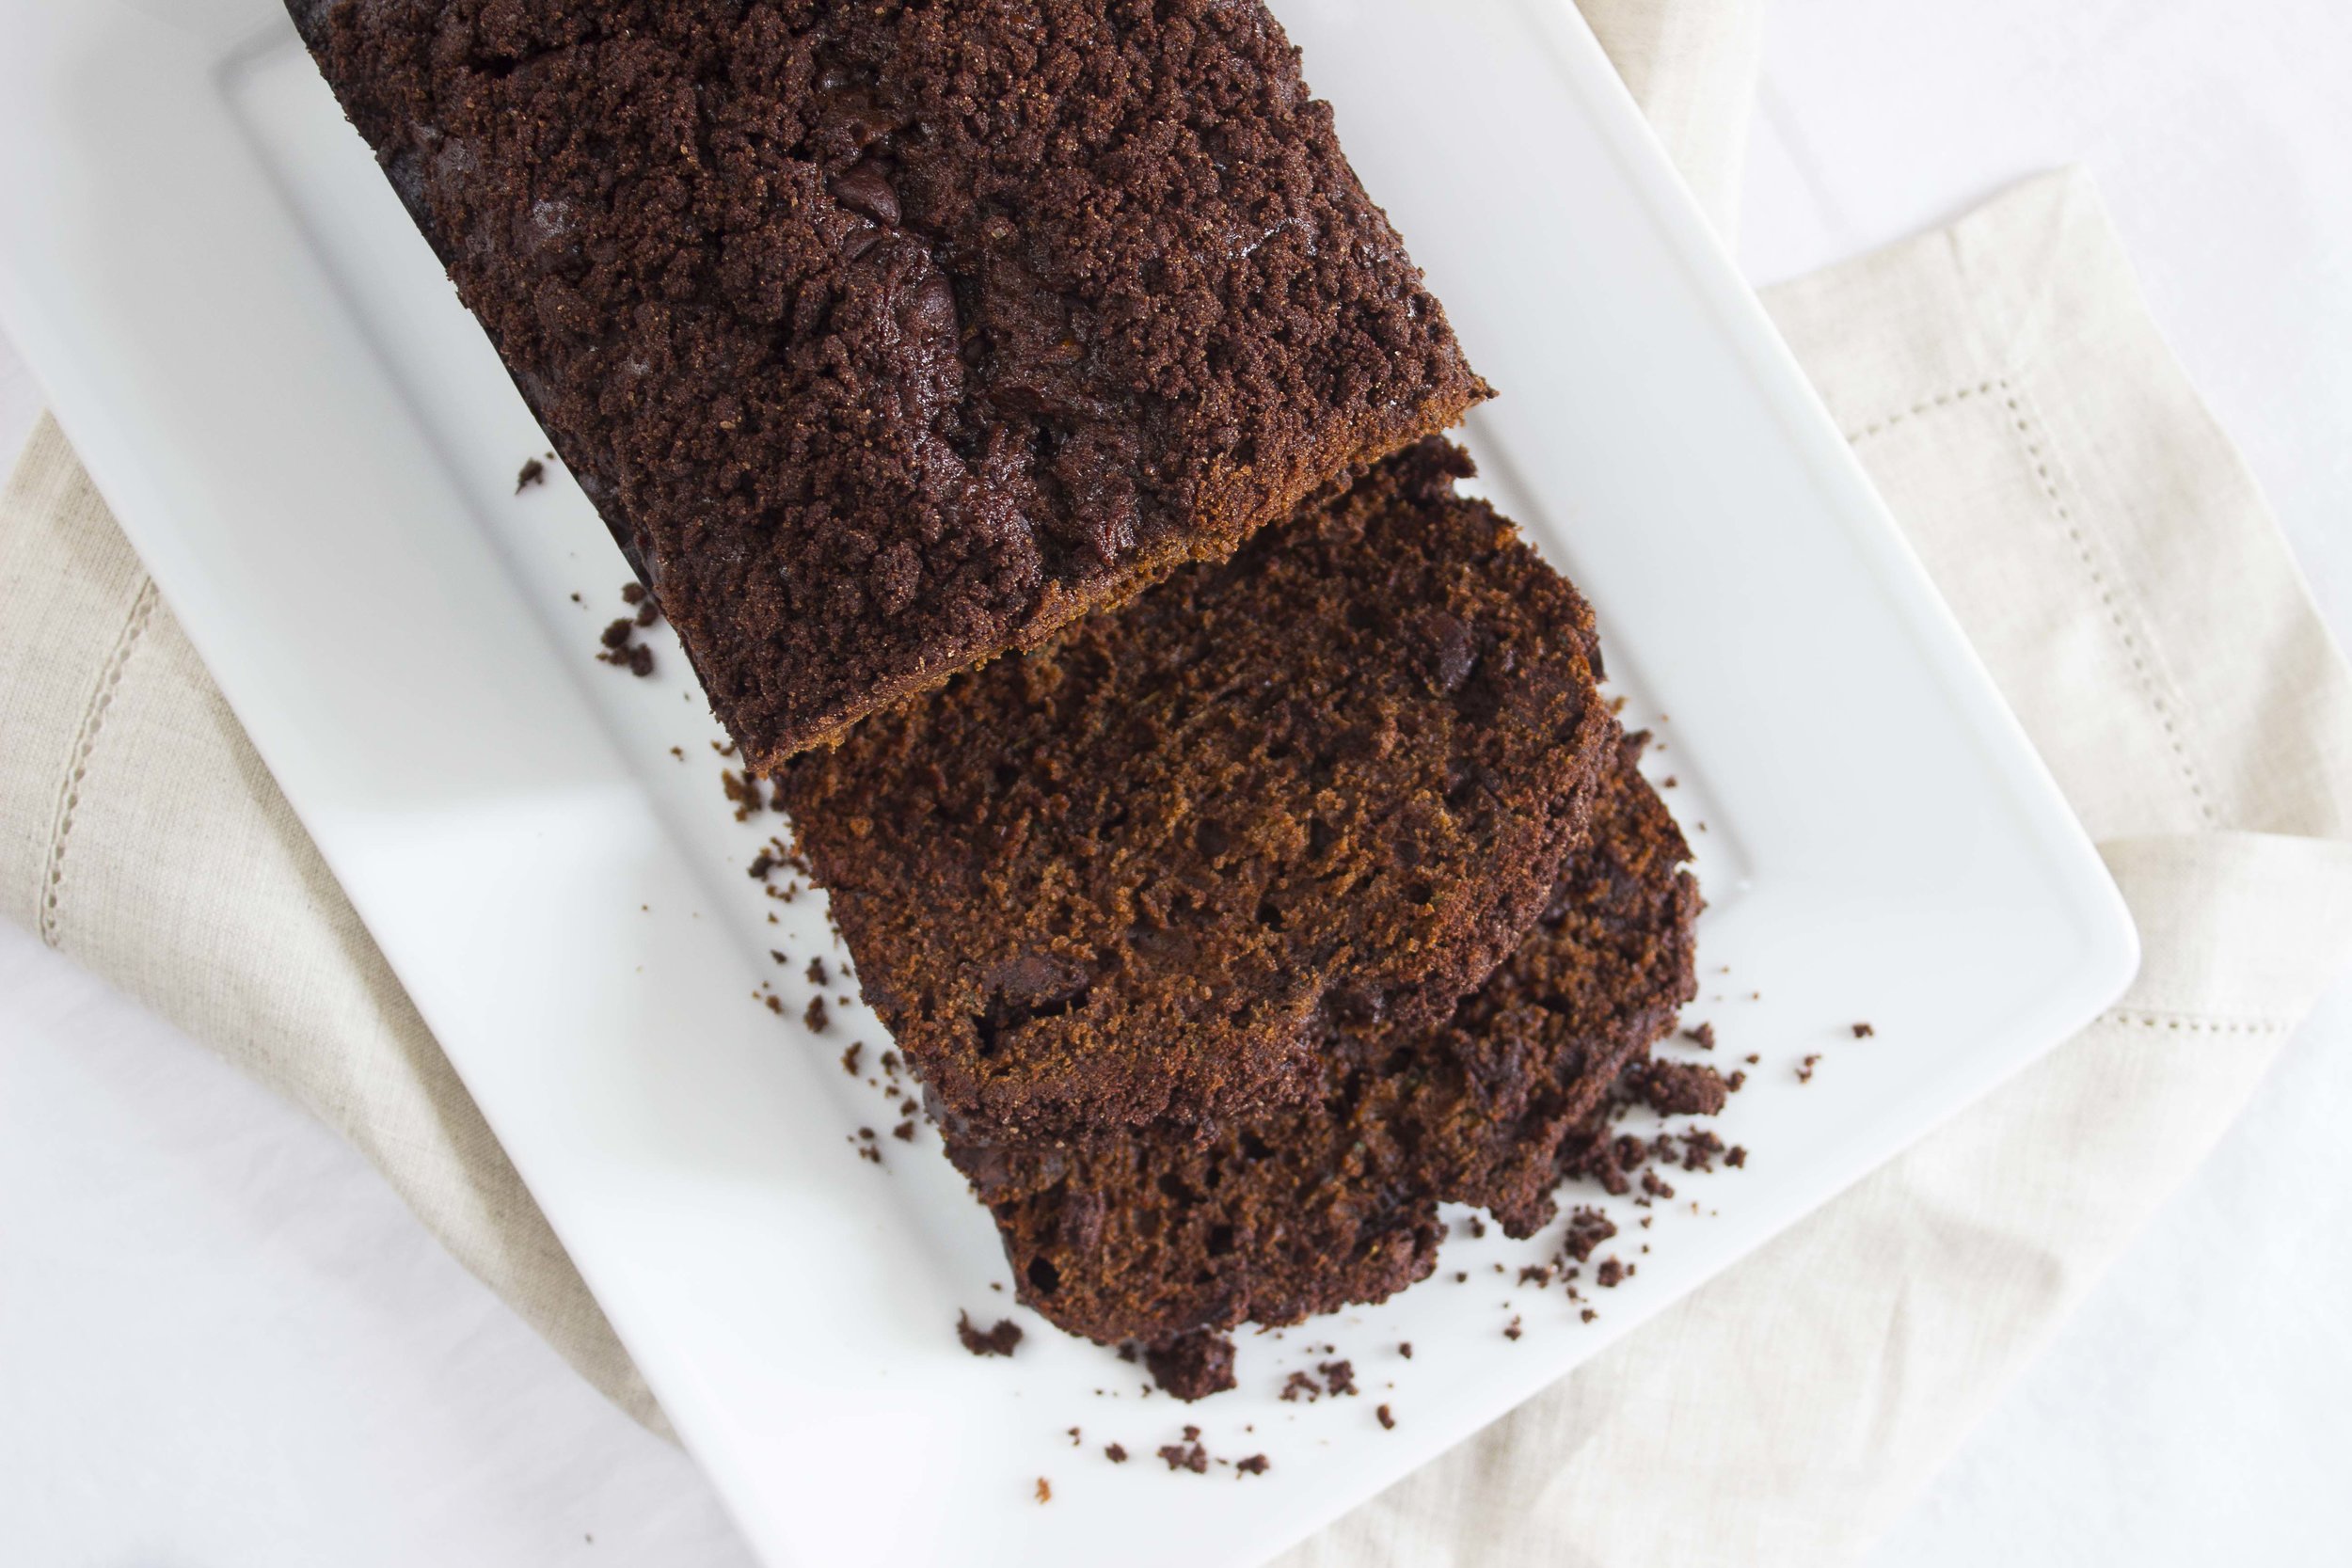
Earlier this summer (it’s still summer right?) we traveled out to Colorado to visit my brother, sister-in-law and new baby nephew (!!) Mike and I both love breakfast, so while we were in Denver we had to check out the local coffee shops and cafes, and boy they did not disappoint! We discovered Lula Rose General Store when a long line and a fortuitous parking spot conspired to deposit us on the shop’s doorstep. There’s a reason Eater included Lula Rose on their Ultimate Guide to Denver's Best Coffee Shops. Revived by their awesome cold brew and a slice of fantastic Double Chocolate Zucchini Bread I was ready to tackle the day.

I was also reminded A. that zucchini bread exists. Honestly I can’t remember when I last had some let alone made any…? And B. that any and all quick breads involving a vegetable or fruit are vastly improved with the addition of chocolate and preferably also chocolate chips. Tell me I’m wrong.

I’ve pretty much been chasing the dream of that bread ever since and now that it’s prime zucchini surplus season I think we’ve all earned the right to consume it in dessert form. Your CSA box will thank me.

Double Chocolate Zucchini Bread | Image: Laura Messersmith

Double Chocolate Zucchini Bread | Image: Laura Messersmith

Double Chocolate Zucchini Bread (yield: 1 loaf)

Ingredients:
2 large eggs, room temperature
1/3 cup honey
1/2 cup vegetable oil
1/2 cup brown sugar, lightly packed
1 teaspoon vanilla extract
1 teaspoon kosher salt
1/2 teaspoon baking soda
1/2 teaspoon baking powder
1/2 teaspoon espresso powder
1/3 cup, plus 1 tablespoon unsweetened cocoa powder, divided
1 2/3 cups all purpose Flour
2 1/2 cups (1 large) shredded zucchini
1 cup semi-sweet chocolate chips

Streusel:
1/4 cup granulated sugar
3 tablespoons unsweetened cocoa powder
3 tablespoons unsalted butter, room temperature
1/2 teaspoon kosher salt

Instructions:
Preheat the oven to 350°F; lightly grease an 8 1/2 x 4 1/2 inch loaf pan and line with parchment paper.

In a large mixing bowl, beat together the eggs, honey, oil, sugar, and vanilla on low speed until smooth.

Place the salt, baking soda, baking powder, espresso powder, 1/3 cup of the cocoa, and flour in a fine sieve and sift into the wet mixture. Beat on low until nearly combined – some streaks of flour will remain.

Shred the zucchini on a box grater and very lightly press between paper towels before folding into the batter with a rubber spatula. Place and chocolate chips in a small bowl and toss with the remaining 1 tablespoon of cocoa powder, then fold the chips into the batter.

In the same small bowl, make the streusel by combining the sugar, cocoa powder, salt, and softened butter. Rub together between your fingers or press with the back of a spoon until a damp, crumbly mixture forms.

Sprinkle half the streusel in the bottom of the prepared loaf pan, pour in the batter, and then distribute the remaining streusel over the top.

Bake the bread for 55-65 minutes, rotating half way through the baking time, until a toothpick comes out clean (don’t be fooled by melted chocolate chips!) and the cake springs back when lightly pressed.

Allow the bread to cool in the pan for 10 to 15 minutes before turning it out onto a rack. Cool completely before slicing. Store well-wrapped, at room temperature.

Re-written and adapted from King Arthur Flour’s Double Chocolate Zucchini Bread with reference to the New York Times’s Chocolate Streusel Pound Cake by Melissa Clark.

Small Kitchen Friendly?
Yes! I used one large mixing bowl, one small mixing bowl, a fine mesh sieve (optional), a 8 1/2 x 4 1/2 inch loaf pan, dry and liquid measuring cups and spoons. A hand mixer, rubber spatula, and parchment paper.

Double Chocolate Zucchini Bread | Image: Laura Messersmith

Double Chocolate Zucchini Bread | Image: Laura Messersmith

Double Chocolate Zucchini Bread | Image: Laura Messersmith

Double Chocolate Zucchini Bread | Image: Laura Messersmith

Valencia Orange Pound Cake

Valencia Orange Pound Cake | Image: Laura Messersmith

Valencia Orange Pound Cake | Image: Laura Messersmith

Each week I follow along with Ina Garten (aka the Barefoot Contessa) and attempt to recreate one of her dishes in my tiny New York City kitchen. The catch? This is my version of cooking school and this week I’m making Orange Pound Cake for the first time. I’ll share both my successes and “challenges” along the way along with suggestions on how to adapt Ina’s recipe to a small kitchen.

Episode: “Jeffrey’s Birthday Pop-up”

The Set-up: It’s Jeffrey’s birthday and Ina is cooking him a surprise Greek themed lunch at an historic home in East Hampton

The Menu: Hummus, Spinach Pie, Raspberry Orange Trifle (featuring: Orange Pound Cake and Orange Cream)

0:42 – Jeffrey doesn’t want a birthday cake and Ina is of the opinion that no one over the age of 25 needs one anyway (did not get this memo) so she’s making individual Raspberry Orange Trifles for dessert.

1:25 – The base of the trifle is homemade Orange Pound Cake, so we’re starting with that step.

2:03 – Pro Tip #1: A light cake starts with butter (and eggs) softened to room temperature – preferably at least over night; this helps the butter cream together with the sugar and combine evenly with the eggs.

3:19 – Pro Tip #2: The second step to light cakes is alternating the dry ingredients with the wet ingredients so that both are incorporated without over mixing.

4:36 – Ina has a ton of good baking recommendations today! Here’s Pro Tip #3: Use a kitchen scale (don’t forget to tare off the weight of the pan) to make sure the batter is evenly distributed.

5:17 – I remember hearing an interview where Ina said that buttering and flouring the insides of cake pans was one of her least favorite kitchen tasks. Word. But why is it so annoying?

6:48 – We get the inside scoop on the rest of Jeffrey’s celebration – the lunch will be at the historic “Home Sweet Home” residence with flowers and period tablesetting by Ina’s friend Lilee Fell

7:11 – The pound cakes are out of the oven and receiving an additional dose of flavor via an orange simple syrup. Yum.

10:23 – Time to assemble the individual Raspberry Orange Trifles. Each piece of cake is spread with raspberry jam and then layered with fresh raspberries and Orange Cream.

11:10 – I originally assumed that the orange cream would just be whipped cream scented with orange zest, but it actually seems to be a traditional Crème Patisserie. (You can thank the Great British Bake Off for teaching me the difference.)

12:59 – Over to “Home Sweet Home” to see what Lilee is up to and we learn that non-skid pads and a second interior vase allow her to use historic vessels for flowers without fear of damaging them.

13:36 - The trifles are complete, now it’s time for a trip to Cavaniola’s in Sag Harbor for some stuffed grape leaves, olives and feta to complete the Greek Platter.

14:47 – The Greek theme comes from Jeffrey’s request to go to Greece, but I guess that wasn’t in the travel budget for the year.

18:08 – Time to work on the rest of the main course: Spinach Pie which Ina plans to serve along side the other items she bought.

19:15 – The filling of the pie is spinach, pine nuts, feta, and parmesan held together with beaten eggs, which if I remember correctly is similar to the recipe for Spanakopita.

20:37 – Instead of a traditional butter/flour based crust, the spinach pie has a few layers of phyllo dough.

21:53 – How interesting, the phyllo crust is placed in a sauté pan and then the edges are pulled together over the top to form a little purse. Ina calls it a “top knot”.

22:29 – I wonder why she used a metal sauté pan instead of a glass pie plate? I assume she has a reason…

26:34 – The Spinach Pie is out of the oven and Ina is portioning it onto the platter. It looks like this is the sort of dish that’s just as good room temperature as it is piping hot.

27:00 – Last element: homemade lemon and garlic Hummus which forms the center of the platter. A quick drizzle of olive oil here, a sprinkle of toasted pine nuts there, some rubbed dried oregano.

28:41 – Pro Tip #4: Grouping each item on the platter in big blocks of color prevents it from looking like the “proverbial dog’s breakfast.” Lilee is in charge of bringing the food to “Home Sweet Home” while Ina collects Jeffrey.

29:52 – The surprise is revealed and the two sit down to their Greek lunch. Jeffrey seems tickled by the thoughtfulness (as he should be) and true to form says this is the best lunch and dessert ever. He will live to see another year.

Final Thoughts:
Still wishing Ina had explained the sauté pan vs. pie plate choice.
Like Jeffrey, I too wonder what the original homeowners would make of the Greek menu.
I will never tire of Ina’s “dog’s breakfast” comparison.

Valencia Orange Pound Cake | Image: Laura Messersmith

Valencia Orange Pound Cake | Image: Laura Messersmith

Lessons Learned:
As has probably become obvious, I am in a citrusy mood lately so naturally the Orange Pound Cake caught my attention. It’s been awhile since I made pound cake and since this one has a slightly unusual step I figured it was a good one to refresh my memory and learn a trick or two. Here are my take aways.

Room Temperature Ingredients – If you do nothing else, but do allow your butter, eggs, and buttermilk to come to room temperature then I will consider this blog post a success. But here’s the thing, to be truly effective you really need all three at the same temperature. Consider: you’ve got soft butter all beautifully creamed together with the sugar, but then add cold eggs. The butter is going to firm up and the eggs won’t incorporate the way they should. Same deal at the buttermilk stage.

Orange Zest – I halved Ina’s recipe to make just one loaf of pound cake, but intentionally left the amount of orange zest the same (1/3 cup) as in the original recipe. I wanted the orange flavor to come through loud and clear and I think oranges (unlike lemons) can sometimes be a little wimpy. Essentially doubling the zest per cake ratio made sure that wasn’t a problem.

Orange Drizzle – Again, I am all about getting the most orange flavor I can and here I’d recommend allowing the orange juice/sugar mixture to reduce a bit so the juice is slightly more concentrated. Also, to make sure the cake soaked up as much of the syrup as possible I used a toothpick to gently poke small holes across the top of the bread. The better to absorb the drizzle.

Orange Segments – Lastly, this is more of a home-ec, waste not want not tip, but once you have the zest and juice you need there will still likely be an orange or two that can be supremed and the segments served as a topping for the pound cake. The cake is lovely on its own, but a little fresh fruit makes it just that much more special.

Valencia Orange Pound Cake | Image: Laura Messersmith

Valencia Orange Pound Cake | Image: Laura Messersmith

Small Kitchen Friendly?
Totally. I used two medium mixing bowls, an 8x3 glass loaf pan, a hand mixer, a small sauce pan, measuring cups (liquid and dry), measuring spoons, a microplane grater, and a rubber spatula. A wire rack and rimmed sheet pan will be helpful if you don’t want the drizzle or glaze to pool around the bottom of the pound cake.

The Verdict:
This Orange Pound Cake is really flipping good. The interior crumb manages to be both moist and light simultaneously, and thanks to my extra zest the orange flavor is lively and bright. I’m sure this is fabulous in a trifle, but on it’s own or with a spoonful of fresh orange segments it caps off the meal with a fresh note. I can see making this for a summer dessert just as easily as in winter.

Valencia Orange Pound Cake | Image: Laura Messersmith

Valencia Orange Pound Cake | Image: Laura Messersmith

Grapefruit Olive Oil Cake

Grapefruit Olive Oil Cake | Image: Laura Messersmith

Grapefruit Olive Oil Cake | Image: Laura Messersmith

Happy day after Mother’s Day! I hope you had a wonderful weekend celebrating the mamas figures in your life, preferably with brunch... I love going out to restaurants, but there are three high holidays in the brunch game that I avoid like the plague: Easter, Mother’s Day and Father’s Day. The lines are long, the reservations hard to come by, not really conducive to relaxing and enjoyable meal. Hence, brunch at home.

Mike’s parents were in town this weekend and with both Mother’s Day and my mother-in-law, Lucy’s birthday coming up on Tuesday I had an excellent excuse to go a little bananas with our brunch menu. Spinach frittata, crispy thyme potatoes, bacon (obviously), OJ, fresh fruit salad and the literal icing on the cake: Grapefruit Olive Oil Muffins.

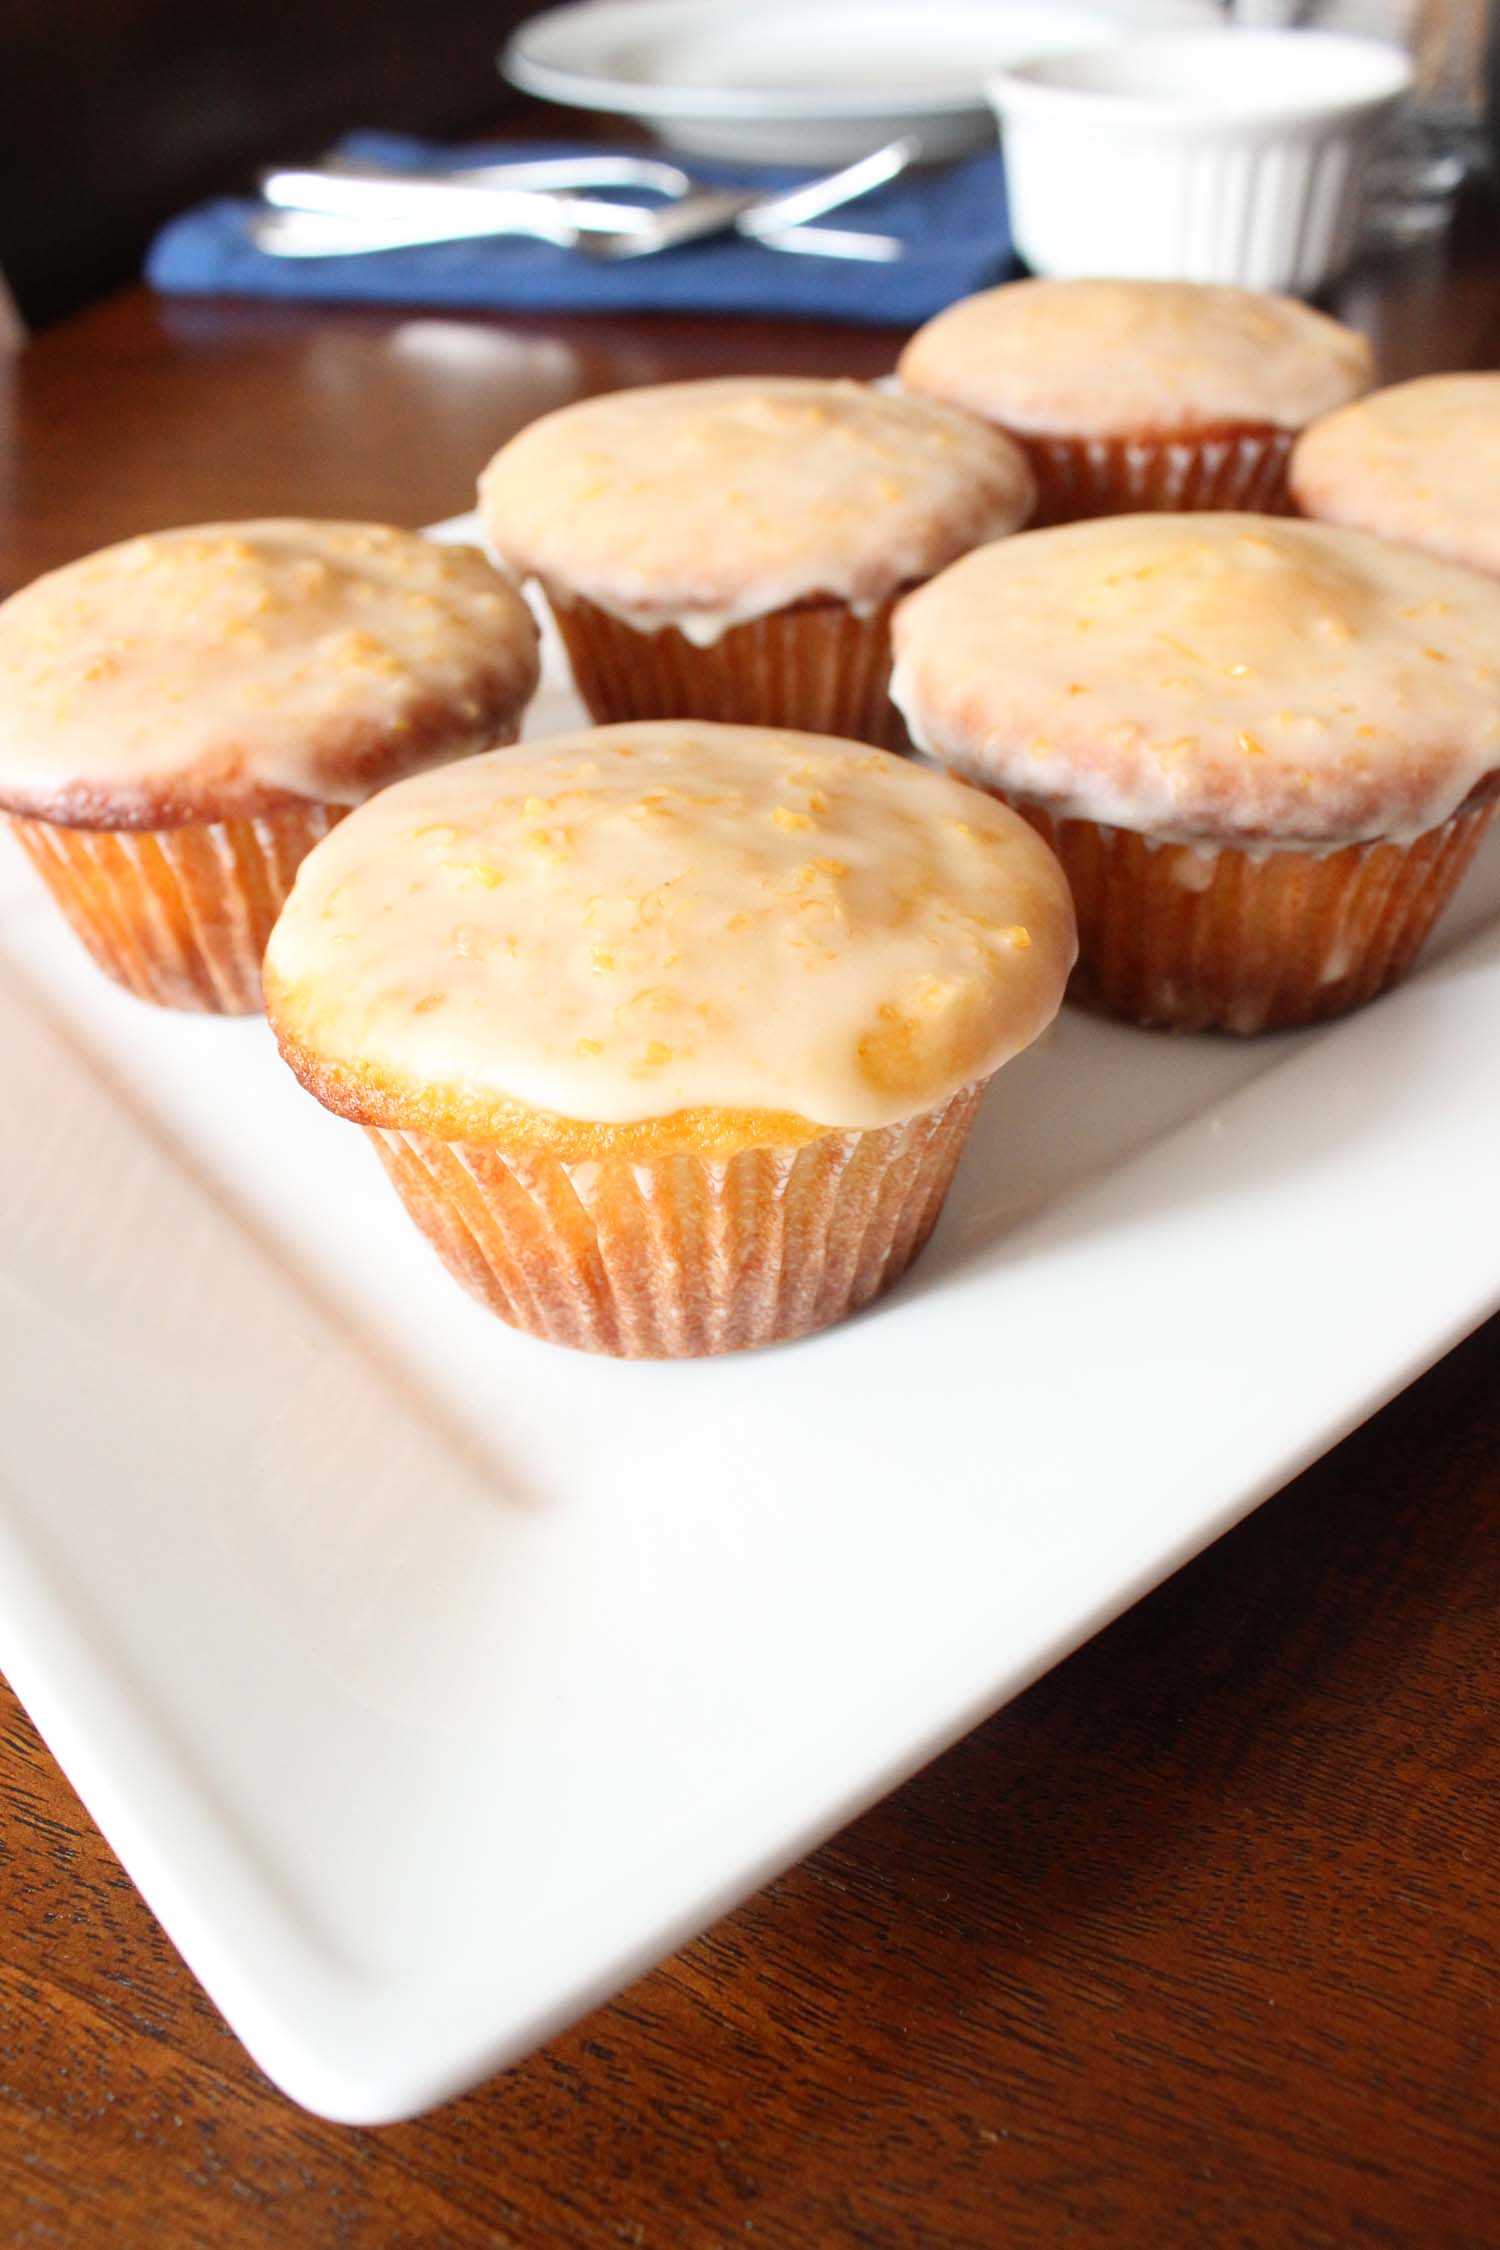
I’ve been wanting to make a citrus olive oil cake for months now, but never really had an occasion, not that you really need one for this delicious cake as it turns out. I came across this recipe by Ashley Rodriguez who writes the beautiful blog Not Without Salt and I was intrigued by using grapefruit. I played around with the recipe a little until I got what I wanted – intense grapefruit flavor, a moist muffin, and just a little sweetness from the glaze.  

Grapefruit Olive Oil Cake | Image: Laura Messersmith

Grapefruit Olive Oil Cake | Image: Laura Messersmith

Grapefruit Olive Oil Cake (yield 1 loaf or 1 dozen muffins)

Ingredients:
3⁄4 cup freshly squeezed grapefruit juice, divided
2 tablespoons grapefruit zest, divided
1⁄2 cup Chobani 4% plain yogurt
3 large eggs
2⁄3 cup extra-virgin olive oil
3⁄4 cup granulated sugar
1 3⁄4 cups all-purpose flour
1 1⁄2 teaspoons baking powder
1⁄4 teaspoon baking soda
1 1⁄4 teaspoons kosher salt
1/4 teaspoon vanilla extract
1 1⁄2 cups confectioners’ sugar
Crème fraîche, for serving (optional)
Non-stick spray or muffin liners

Ingredients:
Preheat the oven to 350 degrees F. Lightly coat a loaf pan with non-stick spray or place paper liners in the muffin tins.

Add 1⁄2 cup grapefruit juice to a small saucepan set over medium heat. Bring to a simmer and reduce the juice by half. Cool slightly.

In a small bowl, combine 1 tablespoon grapefruit zest, yogurt, eggs, olive oil, vanilla extract, and reduced grapefruit juice and whisk to mix well.

In a separate medium bowl, add the granulated sugar, all purpose flour, baking powder, baking soda, and kosher salt. Whisk to combine.

Add the wet ingredients to the dry ingredients. Mix until everything is well blended.

Pour the batter into the prepared pan and place in the hot oven. Bake until the cake is deeply brown and set and springs back gently when pressed, 50 to 55 minutes for cake or 25-30 minutes for muffins.

Let the cake or muffins cool in the pan for 5 minutes before turning out to cool on a wire rack.

While the cake comes to room temperature, prepare the glaze. In a small bowl, combine the remaining 1⁄2 tablespoon grapefruit zest with 5 teaspoons grapefruit juice and 1 cup plus 2 tablespoons confectioners’ sugar until well mixed to create a thick, but still pourable glaze.

Place the cake on a serving platter and drizzle with the glaze, or swirl the tops of the muffins to coat with glaze. The cake can be made 1 day in advance.

Slightly adapted and rewritten from Ashley Rodriguez’s Grapefruit Olive Oil Cake with Bittersweet Chocolate via Not Without Salt.

Grapefruit Olive Oil Cake | Image: Laura Messersmith

Grapefruit Olive Oil Cake | Image: Laura Messersmith

Small Kitchen Friendly?
Yes! I used one medium bowl, one small bowl, a small sauce pan, and two muffin tins (or one loaf pan.) I also needed a microplane grater, utility knife, dry and liquid measuring cups, a wire whisk, and a rubber spatula. If you’re making muffins an ice cream scoop is really helpful for portioning the batter.

The Verdict:
This cake is the perfect way to round out a breakfast table with a sweet bread that doesn’t stray into cloyingly sugary territory. The flavors are light and refreshing, and personally I like the slightly bitter edge that grapefruit offers. This cake is simple to make and could easily be the basis for a sweeter version suitable for a summer dessert.

Grapefruit Olive Oil Cake | Image: Laura Messersmith

Grapefruit Olive Oil Cake | Image: Laura Messersmith

Grandma Quinlan's Banana Bread

Grandma Quinlan's Banana Bread | Image: Laura Messersmith

Grandma Quinlan's Banana Bread | Image: Laura Messersmith

There are some recipes that follow you through life and for me this banana bread is one of them. I can remember my mother mixing up a batch on a Saturday morning double-checking the measurements against the recipe card. I mashed the bananas myself in my post-college apartment(s) plural and tried to share with roommates. And now, I sift the flour in anticipation of guests, since it’s nice to have a little something freshly baked when visitors arrive.

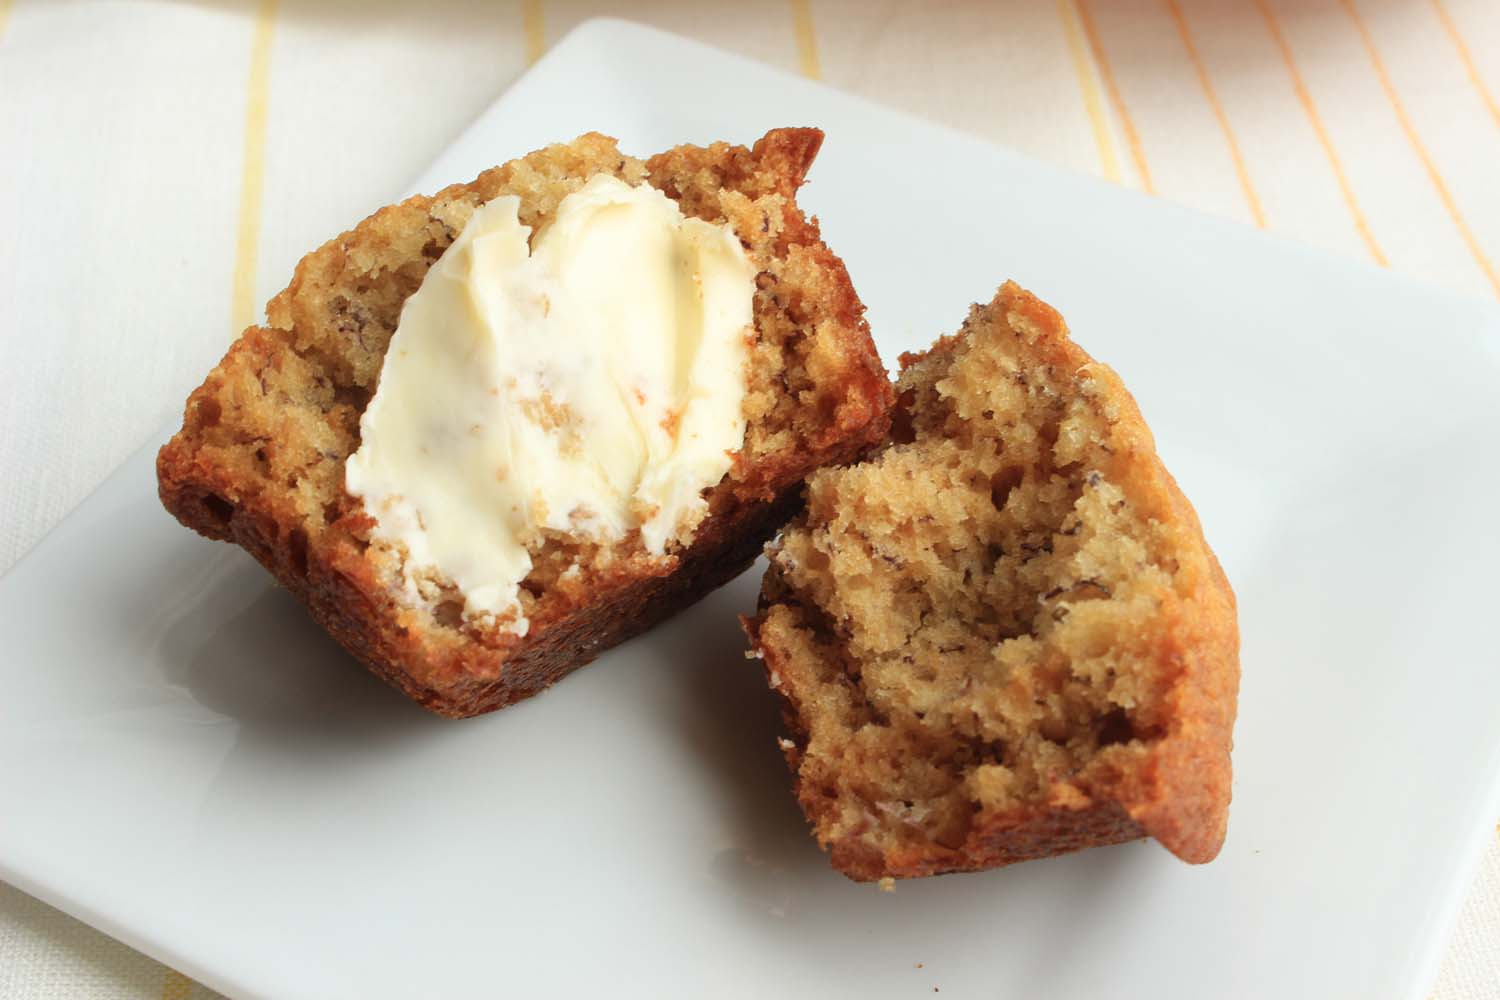
This banana bread has a lot to recommend it – simple ingredients, no fuss process- but it’s really my favorite and the one I judge all others against because it’s the one I’ve been eating the longest. For me this recipe represents the perfect combination of a slightly salty, golden brown crust and gently sweet banana-laced crumb.

When it comes to the bananas – the riper the better – a few speckles are good, some solid freckles are better, but the ones where the peel is definitely more brown than yellow are best. I usually end up with a few good candidates through benign neglect of our banana supplies and what a heavenly way to elevate a banana just past its peak.

Grandma Quinlan's Banana Bread | Image: Laura Messersmith

Grandma Quinlan's Banana Bread | Image: Laura Messersmith
Grandma Quinlan’s Banana Bread (yield: 12 muffins or 1 loaf)

Ingredients:
1 cup (2 medium) mashed ripe bananas
3/4 cup granulated sugar
1/2 cup vegetable oil
2 eggs
1 3/4 cups all purpose flour
2 teaspoons baking powder
1/2 teaspoons baking soda
1/2 teaspoon salt
Non-stick spray

Instructions:
Pre-heat the oven to 325 degrees.

Peel the bananas and mash with a fork on a plate until they form a loose puree with some small pieces of banana remaining.

In a small mixing bowl, beat together the granulated sugar, vegetable oil, and eggs until frothy and pale yellow. Fold the mashed bananas into the mixture.

In a separate medium mixing bowl, sift together the all purpose flour, baking powder, baking soda, and salt.

Add the banana mixture to the dry ingredients and fold together until just mixed.

Pour the batter into a greased bread pan or spoon into greased muffin tins.

Bake bread at 325 degrees for 1 hour, muffins at 325 degrees for 30 minutes until lightly browned.

Grandma Quinlan's Banana Bread | Image: Laura Messersmith

Grandma Quinlan's Banana Bread | Image: Laura Messersmith

Small Kitchen Friendly?
Yes, indeed. I used a dinner plate, small mixing bowl, medium mixing bowl, dry and liquid measuring cups and spoons. A loaf pan (or two sets of muffin tins), a spatula, a fork, and a mixing spoon.

The Verdict:
This recipe has been a family favorite since I can remember and when I baked these muffins earlier this week Mike, my friend Kate, and I made short order of them in just a few days. Addictively delicious without being overly sweet. So, so good.

Grandma Quinlan's Banana Bread | Image: Laura Messersmith
Grandma Quinlan's Banana Bread | Image: Laura Messersmith