Bruléed Grapefruit Tart

Bruléed Grapefruit Tart | Image: Laura Messersmith

Bruléed Grapefruit Tart | Image: Laura Messersmith

It’s citrus season again and the produce section is once more bursting with oranges, pink lemons, and my favorite: grapefruits. When I was younger the only way I could eat bracingly tart grapefruit was with heaping spoons of sugar. I admit, this pretty much defeats the purpose of consuming fruit in the first place, but that’s neither here nor there. As my taste buds matured I needed less and less sugar and today I sip freshly squeezed grapefruit juice without wincing.

My mood needs the bracing boost of sharp citrus. But for folks still on the fence, this bruléed grapefruit tart strikes a happy medium between lovely sweetness and teeth aching acidity by combining the milder ruby red or pink grapefruit variety with just the lightest sprinkle of toasted sugar and a simple, crisp crust.

Now, if it just tasted delicious I’d be sold, but this dessert has the extra benefit of also looking impressive. Elegant, concentric overlapping circles of grapefruit segments glistening under the melted sugar fooled my friends into thinking it came from a bakery. High praise. Imagine my enjoyment when I revealed that the entire process took place entirely in my own kitchen.

Bruléed Grapefruit Tart | Image: Laura Messersmith

Bruléed Grapefruit Tart | Image: Laura Messersmith

Bruléed Grapefruit Tart (serves 8)

 Tart Shell Ingredients:
10 tablespoons (1 1/4 sticks) unsalted butter at room temperature
1/2 cup granulated sugar
1/2 teaspoon pure vanilla extract
1 3/4 cups all-purpose flour
Pinch salt
3-4 tablespoons cold water

Filling Ingredients:
4 large ruby red or pink grapefruits
1/4 cup orange or citrus marmalade
1/3 cup finely crushed butter cookies or honey graham crackers
6 tablespoons coarse sugar

Instructions:
In a large bowl, combine the butter and sugar together with an electric hand mixer. Add the vanilla. Add the flour and salt and mix on low speed until the dough starts to come together.

Press the dough into a 9 inch round false-bottom tart pan making sure that the finished edge is flat and the corner between the sides and bottom is sharp. Refrigerate until firm, about 1-2 hours.

Meanwhile, preheat the oven to 350 degrees F.

Prick the bottom of the chilled tart shell all over with a fork, then line with parchment paper and fill with dried beans or pie weights. These steps will prevent the shell from puffing up. Bake for 20 minutes. Allow to cool slightly before removing the paper and beans.

Increase the oven temperature to 425 degrees F.

To prep the filling, cut a thin slice from both ends of each grapefruit. Place the cut end on a cutting board and cut away the peel and the white part of the rind. Slip the knife along the sides of the membrane dividing the segment to remove the slice of grapefruit.

Spread the marmalade over the partially baked crust. Sprinkle with the crushed cookies or graham crackers. Arrange the grapefruit slices over the crust in concentric circles starting from the outer edge. (You probably won’t use every single piece.) Sprinkle 3 tablespoons of the coarse sugar over the grapefruit.

Bake at 425 degrees F for 15-20 minutes or until crust is lightly browned. Remove tart from oven; turn on broiler (or pull out your kitchen torch). Sprinkle tart with the remaining 3 tablespoons sugar. Broil for 2 to 3 minutes or until sugar is lightly browned and the edges of the grapefruit just begin to singe.

Let cool to room temperature before slicing and serving.

Re-written and adapted from Better Homes and Garden’s Broiled Grapefruit Tart and Ina Garten’s Lemon Curd Tart.

Bruléed Grapefruit Tart | Image: Laura Messersmith

Bruléed Grapefruit Tart | Image: Laura Messersmith

Small Kitchen Friendly?
Yes, indeed. I used a medium mixing bowl, an electric hand mixer, measuring cups and spoons, a rubber spatula, a 9 inch false bottom tart pan, a medium cutting board, a serrated utility knife, and a kitchen torch. Parchment paper and dried beans, uncooked rice, or pie weights round out the equipment.

Bruléed Grapefruit Tart | Image: Laura Messersmith

Bruléed Grapefruit Tart | Image: Laura Messersmith

Valencia Orange Pound Cake

Valencia Orange Pound Cake | Image: Laura Messersmith

Valencia Orange Pound Cake | Image: Laura Messersmith

Each week I follow along with Ina Garten (aka the Barefoot Contessa) and attempt to recreate one of her dishes in my tiny New York City kitchen. The catch? This is my version of cooking school and this week I’m making Orange Pound Cake for the first time. I’ll share both my successes and “challenges” along the way along with suggestions on how to adapt Ina’s recipe to a small kitchen.

Episode: “Jeffrey’s Birthday Pop-up”

The Set-up: It’s Jeffrey’s birthday and Ina is cooking him a surprise Greek themed lunch at an historic home in East Hampton

The Menu: Hummus, Spinach Pie, Raspberry Orange Trifle (featuring: Orange Pound Cake and Orange Cream)

0:42 – Jeffrey doesn’t want a birthday cake and Ina is of the opinion that no one over the age of 25 needs one anyway (did not get this memo) so she’s making individual Raspberry Orange Trifles for dessert.

1:25 – The base of the trifle is homemade Orange Pound Cake, so we’re starting with that step.

2:03 – Pro Tip #1: A light cake starts with butter (and eggs) softened to room temperature – preferably at least over night; this helps the butter cream together with the sugar and combine evenly with the eggs.

3:19 – Pro Tip #2: The second step to light cakes is alternating the dry ingredients with the wet ingredients so that both are incorporated without over mixing.

4:36 – Ina has a ton of good baking recommendations today! Here’s Pro Tip #3: Use a kitchen scale (don’t forget to tare off the weight of the pan) to make sure the batter is evenly distributed.

5:17 – I remember hearing an interview where Ina said that buttering and flouring the insides of cake pans was one of her least favorite kitchen tasks. Word. But why is it so annoying?

6:48 – We get the inside scoop on the rest of Jeffrey’s celebration – the lunch will be at the historic “Home Sweet Home” residence with flowers and period tablesetting by Ina’s friend Lilee Fell

7:11 – The pound cakes are out of the oven and receiving an additional dose of flavor via an orange simple syrup. Yum.

10:23 – Time to assemble the individual Raspberry Orange Trifles. Each piece of cake is spread with raspberry jam and then layered with fresh raspberries and Orange Cream.

11:10 – I originally assumed that the orange cream would just be whipped cream scented with orange zest, but it actually seems to be a traditional Crème Patisserie. (You can thank the Great British Bake Off for teaching me the difference.)

12:59 – Over to “Home Sweet Home” to see what Lilee is up to and we learn that non-skid pads and a second interior vase allow her to use historic vessels for flowers without fear of damaging them.

13:36 - The trifles are complete, now it’s time for a trip to Cavaniola’s in Sag Harbor for some stuffed grape leaves, olives and feta to complete the Greek Platter.

14:47 – The Greek theme comes from Jeffrey’s request to go to Greece, but I guess that wasn’t in the travel budget for the year.

18:08 – Time to work on the rest of the main course: Spinach Pie which Ina plans to serve along side the other items she bought.

19:15 – The filling of the pie is spinach, pine nuts, feta, and parmesan held together with beaten eggs, which if I remember correctly is similar to the recipe for Spanakopita.

20:37 – Instead of a traditional butter/flour based crust, the spinach pie has a few layers of phyllo dough.

21:53 – How interesting, the phyllo crust is placed in a sauté pan and then the edges are pulled together over the top to form a little purse. Ina calls it a “top knot”.

22:29 – I wonder why she used a metal sauté pan instead of a glass pie plate? I assume she has a reason…

26:34 – The Spinach Pie is out of the oven and Ina is portioning it onto the platter. It looks like this is the sort of dish that’s just as good room temperature as it is piping hot.

27:00 – Last element: homemade lemon and garlic Hummus which forms the center of the platter. A quick drizzle of olive oil here, a sprinkle of toasted pine nuts there, some rubbed dried oregano.

28:41 – Pro Tip #4: Grouping each item on the platter in big blocks of color prevents it from looking like the “proverbial dog’s breakfast.” Lilee is in charge of bringing the food to “Home Sweet Home” while Ina collects Jeffrey.

29:52 – The surprise is revealed and the two sit down to their Greek lunch. Jeffrey seems tickled by the thoughtfulness (as he should be) and true to form says this is the best lunch and dessert ever. He will live to see another year.

Final Thoughts:
Still wishing Ina had explained the sauté pan vs. pie plate choice.
Like Jeffrey, I too wonder what the original homeowners would make of the Greek menu.
I will never tire of Ina’s “dog’s breakfast” comparison.

Valencia Orange Pound Cake | Image: Laura Messersmith

Valencia Orange Pound Cake | Image: Laura Messersmith

Lessons Learned:
As has probably become obvious, I am in a citrusy mood lately so naturally the Orange Pound Cake caught my attention. It’s been awhile since I made pound cake and since this one has a slightly unusual step I figured it was a good one to refresh my memory and learn a trick or two. Here are my take aways.

Room Temperature Ingredients – If you do nothing else, but do allow your butter, eggs, and buttermilk to come to room temperature then I will consider this blog post a success. But here’s the thing, to be truly effective you really need all three at the same temperature. Consider: you’ve got soft butter all beautifully creamed together with the sugar, but then add cold eggs. The butter is going to firm up and the eggs won’t incorporate the way they should. Same deal at the buttermilk stage.

Orange Zest – I halved Ina’s recipe to make just one loaf of pound cake, but intentionally left the amount of orange zest the same (1/3 cup) as in the original recipe. I wanted the orange flavor to come through loud and clear and I think oranges (unlike lemons) can sometimes be a little wimpy. Essentially doubling the zest per cake ratio made sure that wasn’t a problem.

Orange Drizzle – Again, I am all about getting the most orange flavor I can and here I’d recommend allowing the orange juice/sugar mixture to reduce a bit so the juice is slightly more concentrated. Also, to make sure the cake soaked up as much of the syrup as possible I used a toothpick to gently poke small holes across the top of the bread. The better to absorb the drizzle.

Orange Segments – Lastly, this is more of a home-ec, waste not want not tip, but once you have the zest and juice you need there will still likely be an orange or two that can be supremed and the segments served as a topping for the pound cake. The cake is lovely on its own, but a little fresh fruit makes it just that much more special.

Valencia Orange Pound Cake | Image: Laura Messersmith

Valencia Orange Pound Cake | Image: Laura Messersmith

Small Kitchen Friendly?
Totally. I used two medium mixing bowls, an 8x3 glass loaf pan, a hand mixer, a small sauce pan, measuring cups (liquid and dry), measuring spoons, a microplane grater, and a rubber spatula. A wire rack and rimmed sheet pan will be helpful if you don’t want the drizzle or glaze to pool around the bottom of the pound cake.

The Verdict:
This Orange Pound Cake is really flipping good. The interior crumb manages to be both moist and light simultaneously, and thanks to my extra zest the orange flavor is lively and bright. I’m sure this is fabulous in a trifle, but on it’s own or with a spoonful of fresh orange segments it caps off the meal with a fresh note. I can see making this for a summer dessert just as easily as in winter.

Valencia Orange Pound Cake | Image: Laura Messersmith

Valencia Orange Pound Cake | Image: Laura Messersmith

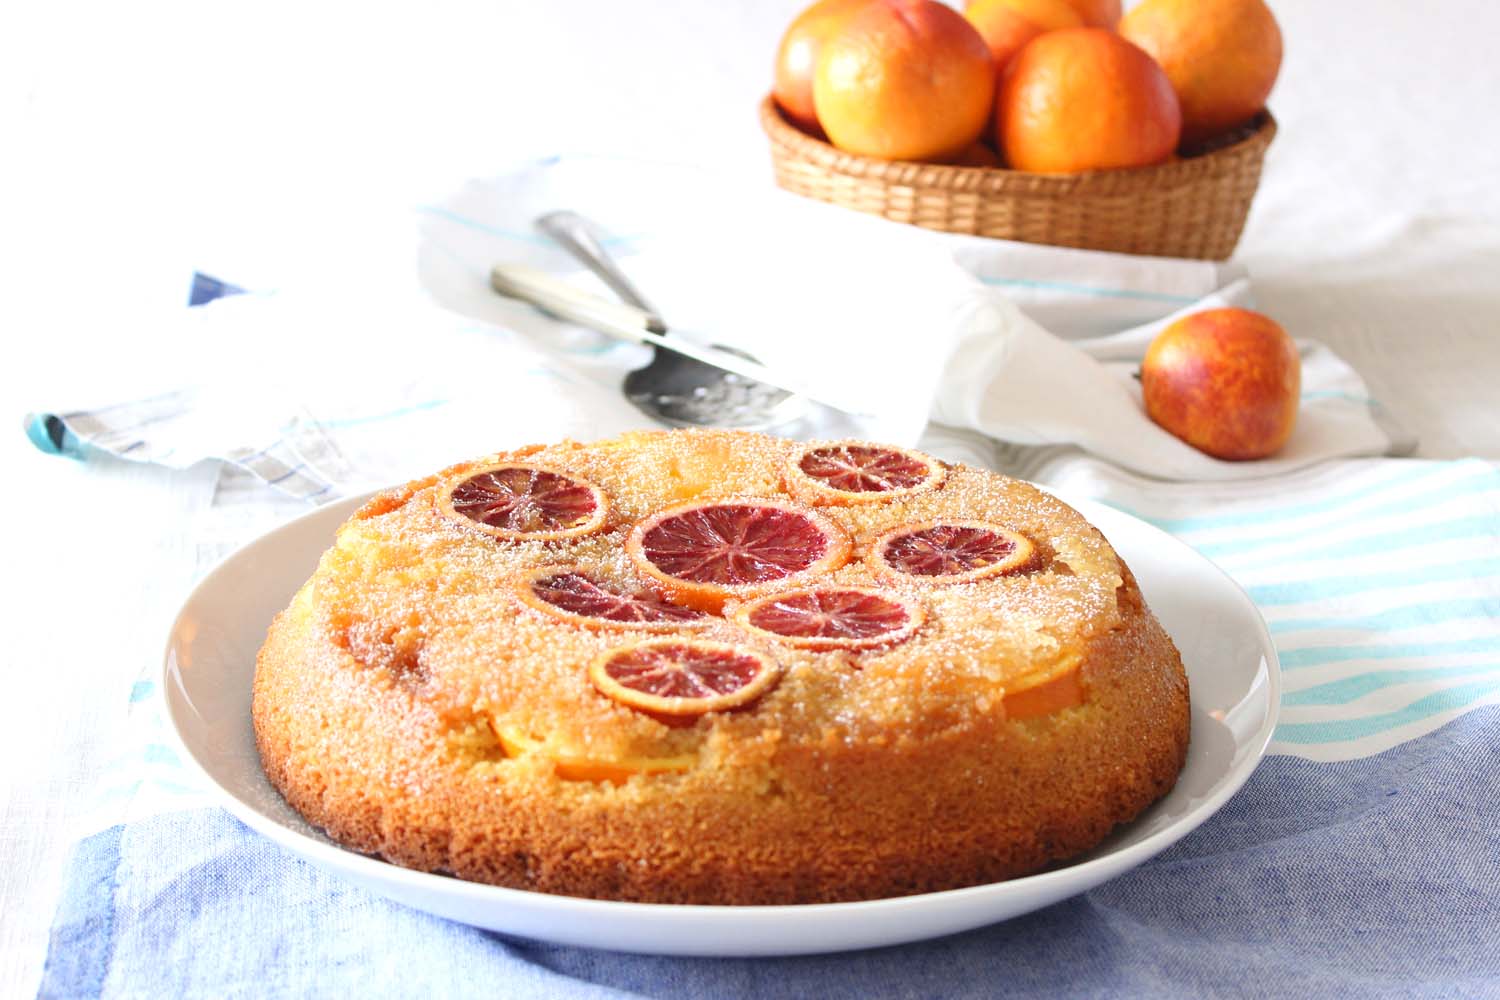
Blood Orange Polenta Cake

Blood Orange Polenta Cake | Image: Laura Messersmith

Blood Orange Polenta Cake | Image: Laura Messersmith

Are you a rule follower or a risk taker? In life I go by the book more than I should – I find myself teetering on the edge of a new adventure looking for reasons to step back; thinking of all the ways my plan could go awry when there’s no guarantee of success. A twist on the New Year’s Resolution I learned of recently is to choose a word – something like Family, Balance, or Health – and orienting your choices to support that goal. I’d like to dedicate this year to being Fearless.

I think that’s why I like cooking so much – even a misstep that ends in disaster is still a chance to learn. An under-baked loaf of bread, a pork tenderloin that is starting to burn but still hasn’t come up 140 internally, caramels that didn’t solidify and started to ooze on the plate. Frustrating? Sure. But, at worst they end up in the trash and I start again, at best they’re salvageable and end up as part of a funny story, which was the case the first time I made this cake.

No back up plan for our New Year’s Eve dessert just some homemade whipped cream to dress up a dry and relatively flavorless crumb despite plenty of butter and eggs. What happened?! I give our guests credit for pretending they liked it, but I could tell those were sympathy bites. Sorry, Joyce & Alex!

I loved the idea though and the cover photo on Citrus: Sweet and Savory Sun-Kissed Recipes by Valerie Aikman-Smith and Victoria Pearson was so beautiful, I had to go back to the drawing board. I went seeking guidance from no fewer than five other similar recipes the result: the cake I was actually dreaming of – rounds of glistening oranges, not too sweet, tender, and deeply citrusy. Totally worth the effort.

Blood Orange Polenta Cake | Image: Laura Messersmith

Blood Orange Polenta Cake | Image: Laura Messersmith

Blood Orange Polenta Cake (serves 6-8)

Ingredients:
1 1/2 cups sugar, divided
1/4 cup water
2 navel or Valencia oranges
2 blood oranges
1 1/2 cups flour
1/2 cup fine polenta
2 teaspoons baking powder
3/4 teaspoon kosher salt
1 cup (2 sticks) plus 2 tablespoons unsalted butter, room temperature
4 large eggs, room temperature
1 tablespoon orange zest

Instructions:
Pre-heat the oven to 350 degrees F.

Prepare a 9-inch solid cake pan or pie plate by brushing the bottom and sides generously with 2 tablespoons softened butter. Set aside.

In a medium sauce pan, combine 1/2 cup of the sugar and water and cook over medium high heat. Swirl the pan to help the sugar to dissolve without stirring. Boil for about 5 minutes until the syrup turns a light golden brown, 360 degrees on a candy thermometer. Remove from the heat and pour into the buttered pie plate to evenly cover the bottom.

Slice the oranges about 1/8 inch thick. Remove any seeds and arrange the slices in overlapping circles over the cooled syrup. Remember, the cake will be inverted later so the bottom layer of oranges will be the top of the cake. Set aside.

In a medium bowl, stir together the all purpose flour, polenta, and baking powder. In a separate large mixing bowl, beat together the remaining sticks of room temperature butter and 1 cup of sugar on medium speed for about 5 minutes or until light and creamy. Decrease the speed to low and add the eggs one at a time mixing well in between. Lastly, mix in the orange zest.

Add the polenta and flour mixture to the wet ingredients a little at a time mixing on low speed until almost combined. Scrape down the bowl in between additions, and finish mixing gently by hand with a rubber spatula to ensure the dry ingredients are completely integrated, but the cake isn’t over mixed.

Spread the batter over the orange slices and bake at 350 degrees F. for 45-50 minutes or until a toothpick comes out clean. Remove the cake from the oven and allow to cool for 15 minutes.

Run a knife around the edge of the cake to loosen before placing a large serving platter on top. Hold the two dishes together using oven mitts and invert the cake onto the platter. Dust with confectioner’s sugar and serve with whipped cream.

Re-written and adapted from Orange and Rosemary Polenta Cake (pg. 75) in Citrus: Sweet and Savory Sun-Kissed Recipes by Valerie Aikman-Smith and Victoria Pearson.

I received a promotional copy of this book via Blogging for Books, all opinions are my own.

Blood Orange Polenta Cake | Image: Laura Messersmith

Blood Orange Polenta Cake | Image: Laura Messersmith

Small Kitchen Friendly?
Yes! I used, small sauce pan, candy thermometer, 9 inch pie plate (or solid cake pan), medium cutting board, utility knife, two medium mixing bowls, a hand mixer, rubber spatula, microplane zester, measuring cups and spoons.

The Verdict:
If I were being entirely scientific the taste testers would have followed the metamorphosis of this cake through its various iterations culminating in the final gorgeous version. Instead, my parents were the beneficiaries when I baked the cake that finally delivered on it’s orangey, bright promise. I knew it was a hit when my mother passed up a bakery chocolate cake in favor of this one. I hope it has a similar effect when you make it too!

Blood Orange Polenta Cake | Image: Laura Messersmith

Blood Orange Polenta Cake | Image: Laura Messersmith

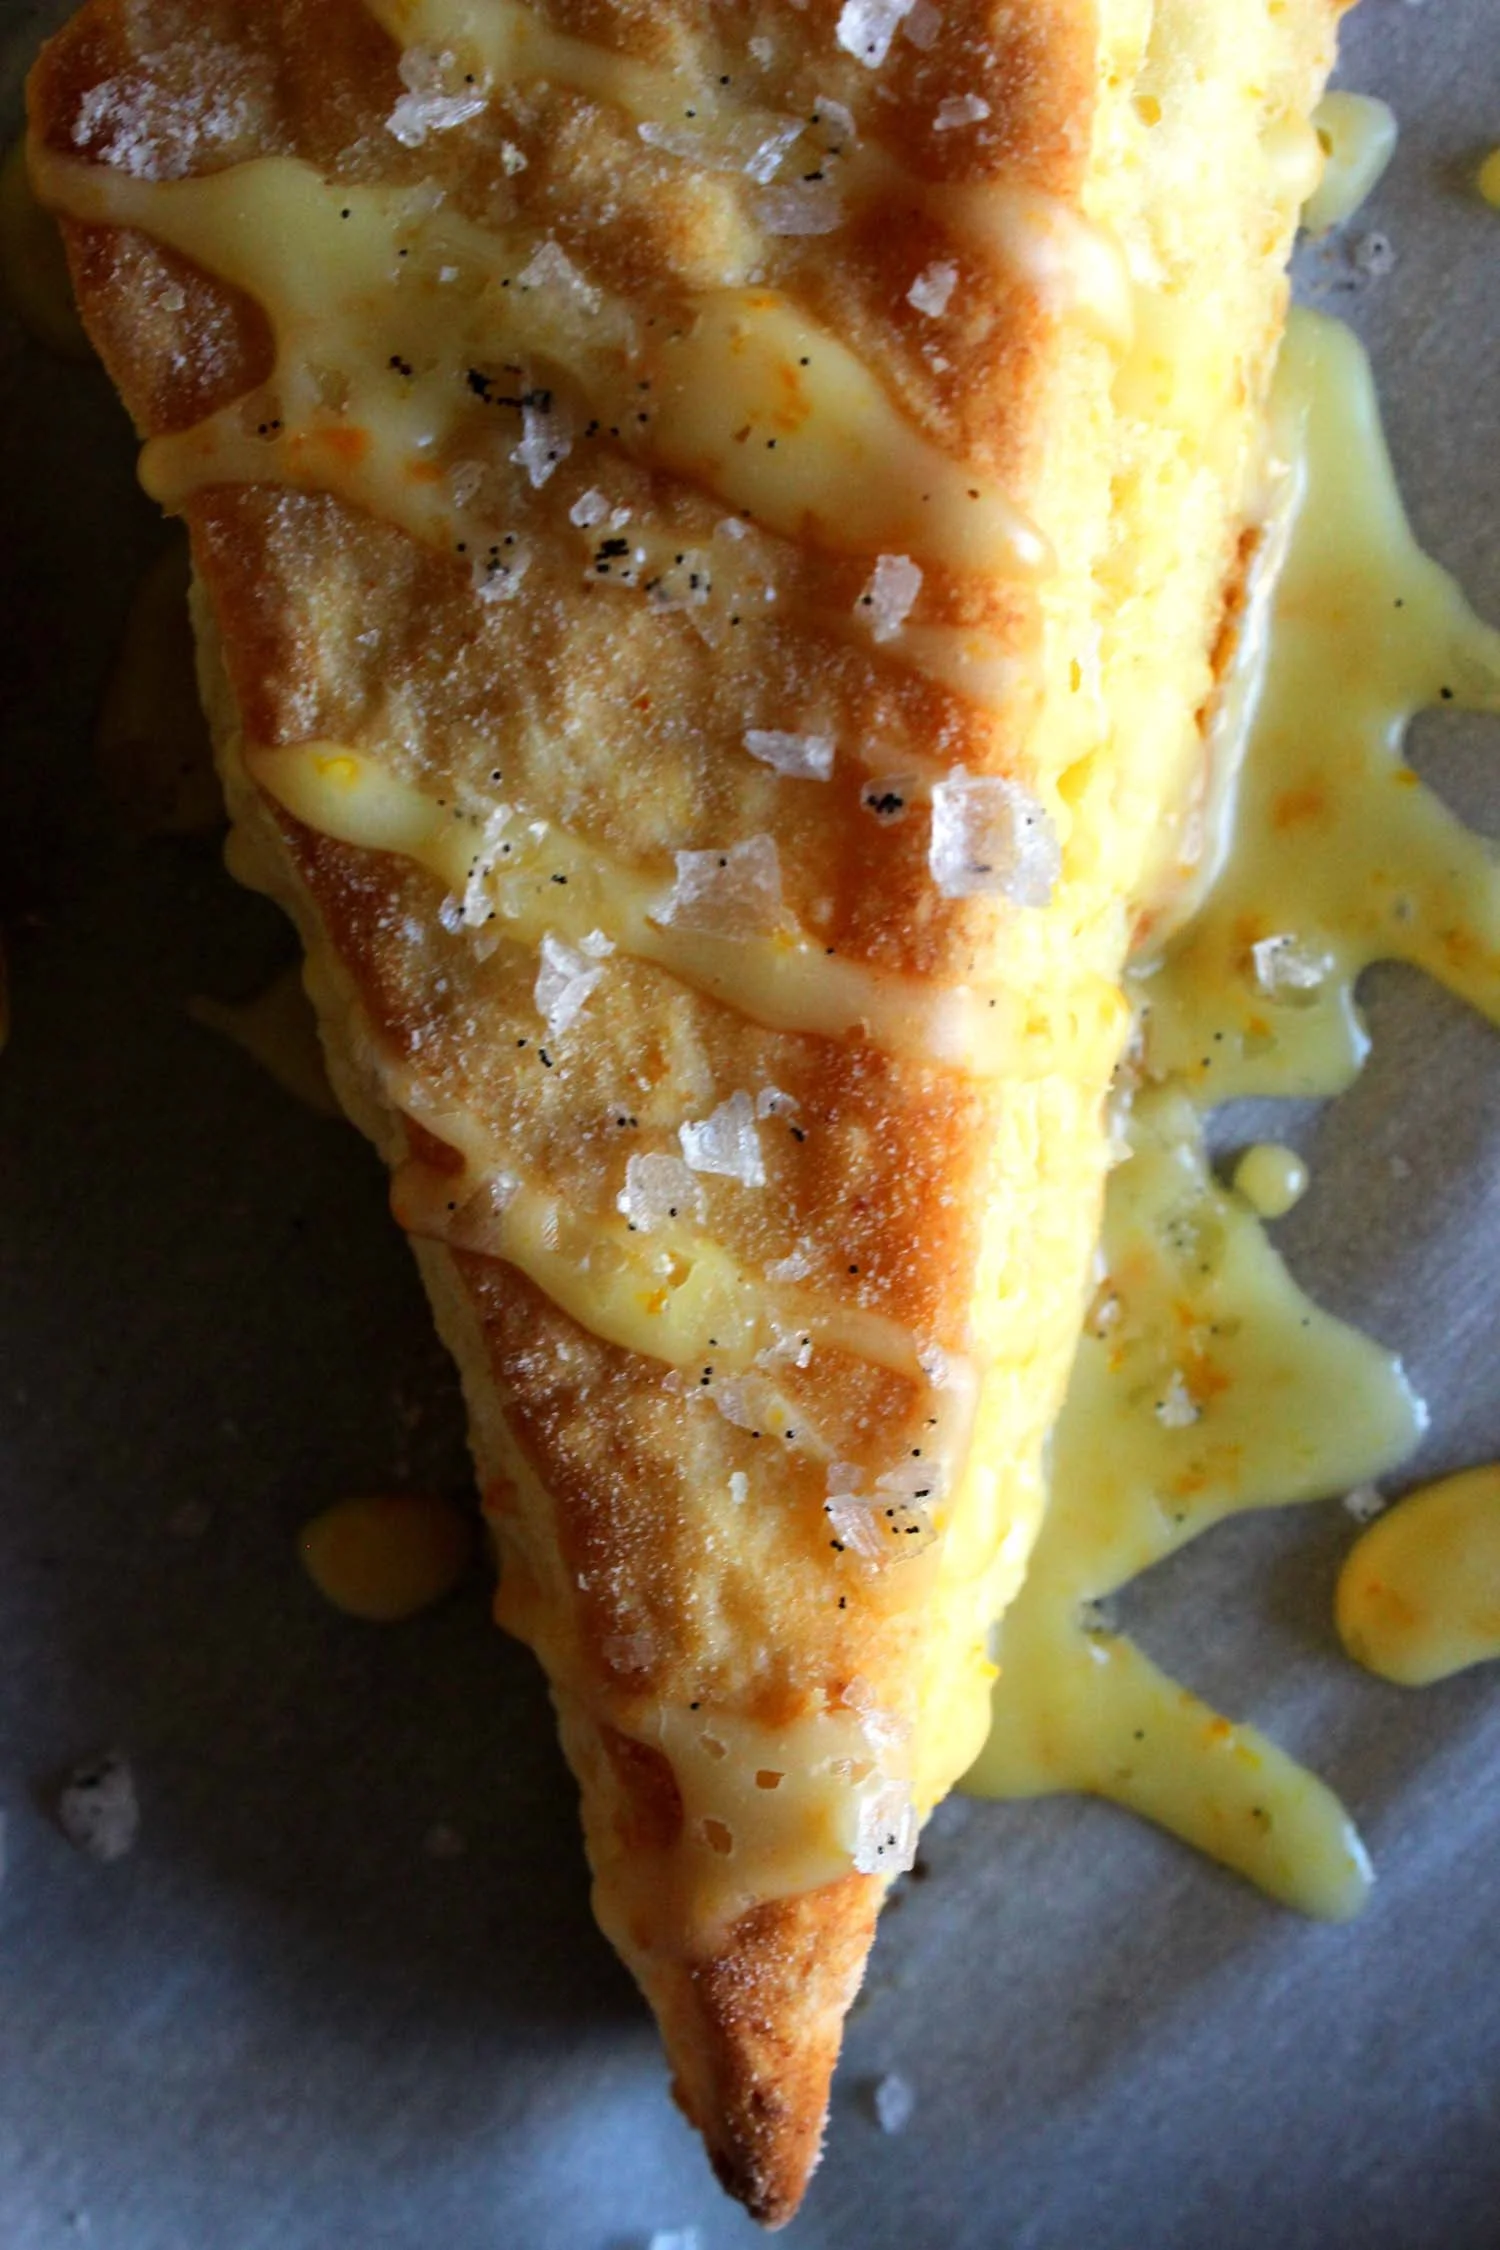
Orange Ricotta Scones with Vanilla Sea Salt

Orange Ricotta Scones with Vanilla Sea Salt | Image: Laura Messersmith

Orange Ricotta Scones with Vanilla Sea Salt | Image: Laura Messersmith

Winter has fully settled on New York and frankly it’s been a shock to my system. I’d love to go into hibernation mode and stay under the covers emerging only for BBC crime dramas on Netflix (we finished The Fall with Gillian Anderson and now I’ve moved on to Broadchurch. Slow build as we discover that many people in the small Dorset town have secrets!) and carb-based meals. Or Chipotle.

The next warmest option is to turn on the oven – a welcome blast of heat for my cold fingers – and bake something simple, comforting, and citrus based. For me that’s a batch of scones. They take enough effort so feel like I’m accomplishing something, but are so unfussy and rustic in presentation that they’re on the table in less than an hour.

I originally planned to re-create a wonderful lemon-ginger biscuit I had at the Ferry Terminal in San Francisco from Biscuit Bender (amazing with blueberry jam), but got side tracked thinking about other citrus + ginger combinations. I also realized I had a container of whole-milk ricotta in the fridge left over from another recipe and once I remembered the vanilla salt I made last month the wheels totally fell off that biscuit train.

Not to worry though, because these Orange Ricotta Scones totally deliver and because the biscuit train is never off the rails long around here.

Orange Ricotta Scones with Vanilla Sea Salt | Image: Laura Messersmith
Orange Ricotta Scones with Vanilla Sea Salt | Image: Laura Messersmith

Orange Ricotta Scones with Vanilla Salt (Yield: 12-16 Scones)

Ingredients:
2 1/2 cups all purpose flour
3 tablespoons granulated sugar
1 tablespoon baking powder
1/4 teaspoon salt
6 tablespoons cold butter, diced
1 large egg
3/4 cup whole milk ricotta, bought or homemade
1/4 cup whole milk
2 tablespoons orange zest, divided about 2 large oranges
1 1/4 cups confectioners sugar
2 teaspoons orange blossom honey
4-5 teaspoons orange juice
Vanilla Sea Salt (recipe here)

Instructions:
Preheat oven to 400 degrees F. Chill the baking sheets and ingredients in between steps.

In a large bowl combine the all purpose flour, granulated sugar, baking powder, and salt. Lightly toss the diced butter in the flour mixture to coat then using a pastry cutter, blend in the butter until the mixture resembles coarse crumbs. Set aside in the refrigerator.

In a large liquid measuring cup, combine 1 1/2 tablespoons of the orange zest with the egg, ricotta, and whole milk. Make a well in center of the flour mixture and add the ricotta mixture all at once, fork the wet and dry ingredients together until just combined. The dough will be a little shaggy at this point.

Turn the dough out onto a lightly floured surface. Gently fold the dough 8 to 10 times until dough pulls together. Pat into a rectangle about 1 inch thick and cut into squares or triangles.

Place the scones 2 inches apart on a parchment paper-lined baking sheet. Bake about 12-14 minutes or until lightly golden brown. Slide the parchment and scones onto a cooling rack.

While the scones are cooling, whisk together the confectioner’s sugar, honey, reserved orange zest and orange juice with a pinch of salt until smooth. Drizzle the icing over the cooled scones, sprinkle with a little vanilla sea salt, and serve!

Written with reference to Food + Wine’s Glazed Lemon Ginger Scones and Better Homes and Garden’s Strawberry Shortcake Scones.

Orange Ricotta Scones with Vanilla Sea Salt | Image: Laura Messersmith

Orange Ricotta Scones with Vanilla Sea Salt | Image: Laura Messersmith

Small Kitchen Friendly?
Yes, totally. I used a large mixing bowl, pastry cutter, 2 cup-size liquid measuring cup, dry measuring cups and spoons, a microplane grater, paring knife, and a dinner fork. I also needed a small bowl, small spoon, two rimmed baking sheets, a bench scraper, and parchment paper.

The Verdict:
These are definitively scones, not biscuits thanks to the ricotta and sugar, but are also just very lightly sweet when un-iced. During my experiments I tasted them plain, with a bit of honey, iced only, and iced + vanilla salt – all were delicious in their own way, so choose what you like best. The ricotta keep the dough tender and its very mild flavor allows the sweet orange come through as the elegant star of the whole affair. Pair with a cup of tea and an Agatha Christie novel.

Orange Ricotta Scones with Vanilla Sea Salt | Image: Laura Messersmith

Orange Ricotta Scones with Vanilla Sea Salt | Image: Laura Messersmith