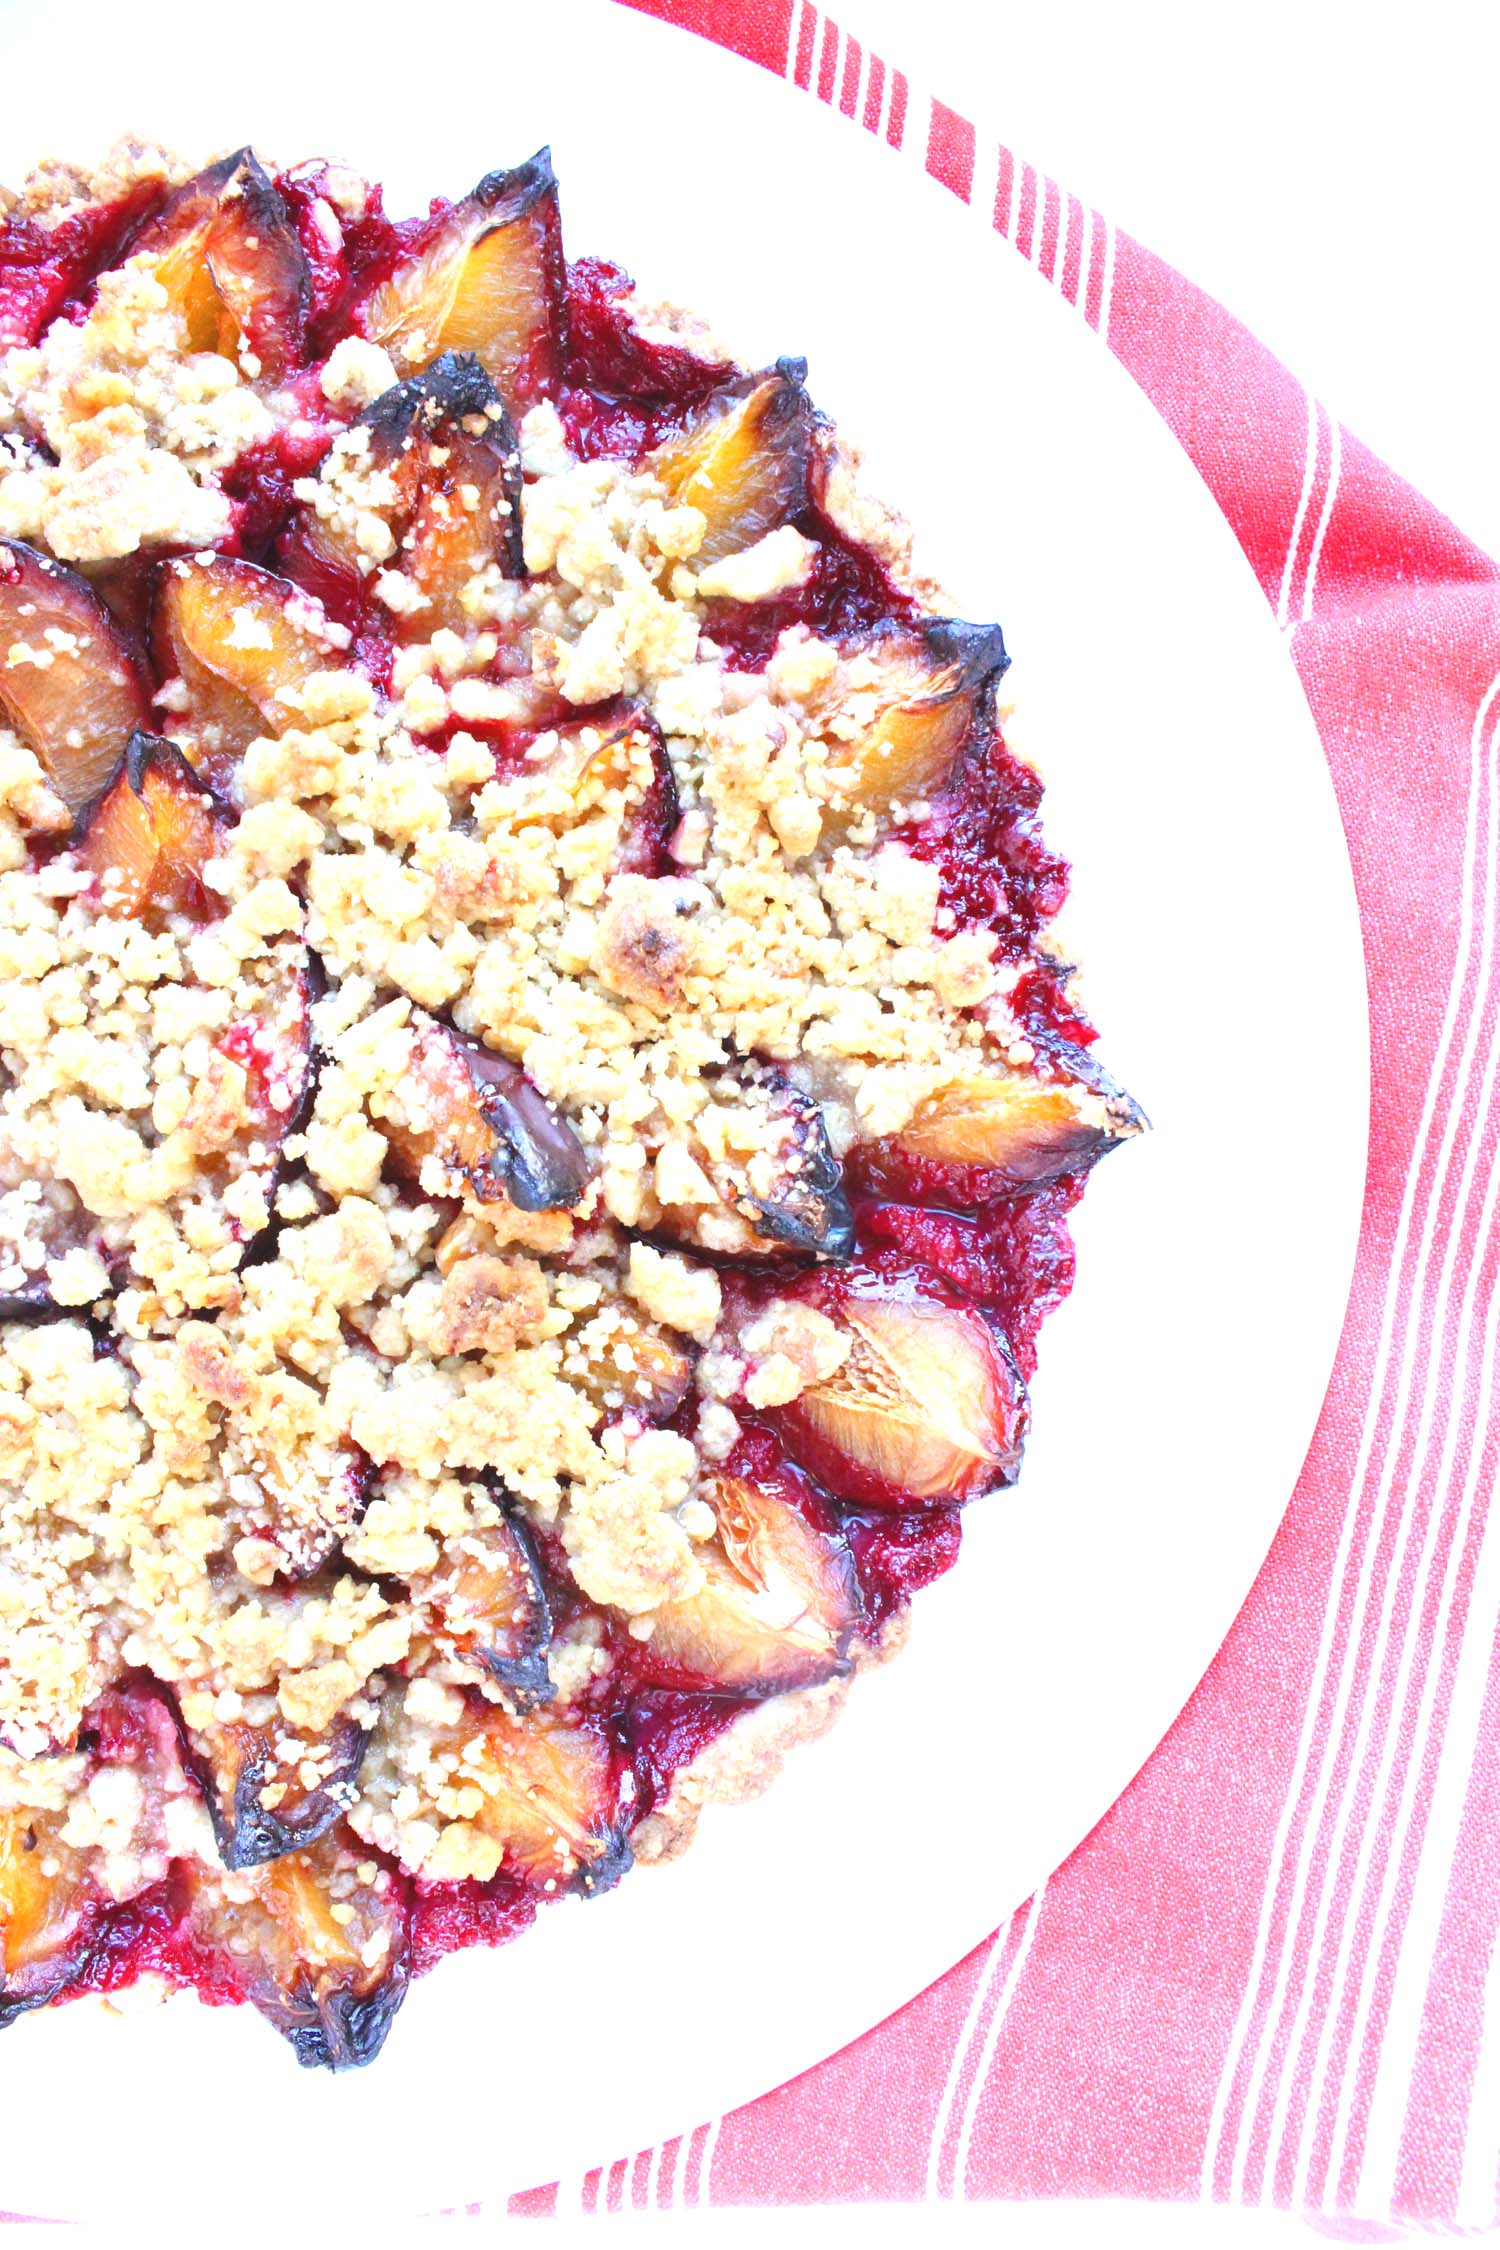
Roasted Potato Leek Soup

Roasted Potato Leek Soup | Image: Laura Messersmith

Roasted Potato Leek Soup | Image: Laura Messersmith

Each week I follow along with Ina Garten (aka the Barefoot Contessa) and attempt to recreate one of her dishes in my tiny New York City kitchen. The catch? This is my version of cooking school and I’m making these recipes for the first time. I’ll share both my successes and um, challenges, along the way and we’ll see if I can keep up with the Contessa!

Episode: “Comfort Classics Close-up”

The Set-up: A magazine article on comfort food has Ina re-examining the classic, while Miguel snaps the photos.

The Menu: Bagels with Smoked Salmon & Whitefish Salad, Potato Leek Soup, Virgin Marys, Herb Garlic Bread

0:22 – Ina’s platter of Bagels with Smoked Salmon & Whitefish Salad is inspired by the appetizing provisions her grandparents used to bring from Brooklyn. She teases them a little, but really Connecticut in the 1950s might not have been the ideal place to find a great bagel.

1:16 – First step, peel and de-bone a whole smoked whitefish and she warns us that actually procuring one might require a little translation.

2:39 – Ina is trying to hard to make this accessible, but really what you need is a good delicatessen – like Barney Greengrass or Russ & Daughters – or a specialty store. Trying to get whitefish at your average fish counter is not likely to result in success.

3:54 – This is a pretty messy job, some seriously hands on work removing the bones and flaking the meat of the smoked whitefish. I’m not sure if I’ve ever had whitefish salad, but it looks really good.

4:31 – Over to Miguel who is setting the scene for the bagel platter with reed mats and simple cutlery.

5:12 – Pro Tip #1: Ina recommends cutting the bagel in thirds – flat on a board, hand on top, watch your fingers! – to get thinner, crispier pieces. Pro Tip #2: Give a bagel platter some height and visual interest by placing the salmon in a herringbone pattern.

6:33 – Whoa, this is some next level trickery. She’s using two whole leaves of radicchio to form bowls for the cream cheese and whitefish salad.

7:25 – A few more layering pieces – slices of lemon, tomato, red onion – and the platter is complete. Wisely, Ina makes Miguel a side plate so he won’t be tempted to devour the platter before the photos are taken!

10:19 – Now we’re moving on to Virgin Marys and I hope you’ll forgive me if I tune out for a moment while she makes these. Cold, spicy tomato juice is one of my least favorite things – not as bad as soggy bread, worse than corn dog.

12:30 – Okay I’m back and whatever took place to make that pitcher of red liquid has been lost to the sands of time.

13:47 – Miguel photographs the set-up of the bagel platter & drinks – now realistically posed thanks to their sips out of the glasses – while Ina moves on to lunch prep.

14:28 – Interesting, the recipe for Potato Leek Soup is essentially a revitalized version of the French soup vichyssoise. Trust the French to transform really rustic ingredients with an uber-elegant name.

15:11 – Ina warns us to wash the leeks really, really carefully since “there’s absolutely no point in making soup if it’s full of sand.” Word.

16:02 – The final step of roasting the vegetables is a handful or two of arugula wilted in at the end. That’s a new one to me…

20:45 – Veggies are out of the oven and now another unique step – the sheet pan goes right on the stove so that Ina can deglaze the browned bits with some white wine.

21:16 – We differ on the texture – Ina prefers something chunky and a little coarse, while I really love a smooth, perfectly blended soup.

22:39 – I’m not sure if vichyssoise traditionally has cream, but Ina is adding both cream and crème fraîche for tang.

23:50 – We check in with Miguel who has assembled a different table setting for the soup – a rustic cheese board is the center piece. I love seeing the choices that another photographer/stylist makes.

24:23 – Ina has made some crispy shallots for a soup garnish and says they take 40-50 minutes to fry. Holy cow.

27:08 – Last up, Herb Garlic Bread. Basil, parsley, garlic all sautéed in olive oil and drizzled into the center of a crunchy baguette. I bet this tastes amazing before it even hits the oven.

28:21 – Finishing touches on the soup, while the bread is in the oven and then everything goes on the table for Miguel to shoot.

29:56 – No side plate of soup this time, so he’ll have to work fast! Wonder if Miguel needs an assistant…?

Final Thoughts:
It’s amazing how the right light and staging really bring out the beauty in food.

Mike would approve of the crispy shallots and flaked shards of parmesan, he loves a textural contrast.

Pretty sure that Potato Leek soup is running in these Irish veins.

Roasted Potato Leek Soup | Image: Laura Messersmith

Roasted Potato Leek Soup | Image: Laura Messersmith

Lessons Learned:
I decided to make Potato Leek Soup out of curiosity – could Ina take very simple base ingredients and transform them? Short answer: yes. Long answer: here’s what I learned along the way….

Vegetable Prep – the recipe calls for peeled Yukon gold (aka butter) potatoes, but I realized after the fact that it probably isn’t 100% necessary. This is a rustic, textured soup after all, and why waste those vitamins? My blender is more than up to the challenge of a few thin skins, so next time I’ll probably skip that step and just wash them well.

Roasting Vegetables – I managed to resist crowding the vegetables on the pan, a key element in roasting. The potatoes and leeks need space, otherwise they steam and don’t get the browning caramelization that deepens the flavor.

Deglazing a Baking Sheet – My kitchen has a gas stove and I could write a whole post about why I prefer it, but this is just one example: you actually can put a roasting pan or sheet tray on top. If, however, you’re working with an electric or induction stove fear not - just add the white wine and stock to the rimmed sheet while it’s still hot do a little scraping and put it back the oven if you need a little more heat. No stovetop cooking needed.

Flavor & Ingredients – Ina and I rarely disagree, but I wasn’t sure I liked Potato Leek Soup when I first tasted it. The creaminess was a little much and even with the white wine to provide acid it seemed out of balance, until I realized I had left out the parmesan cheese. I nearly didn’t put it in since the flavor was already trending cheesy to my palate, so I did a test with a sprinkle in a small spoonful and amazingly it was so, so much better. A lesson I occasionally have to re-learn: check the ingredients and make sure they’re all in!

Shallots – I also nearly skipped this step, 30 minutes to fry some shallots (!?) In the end though, I was convinced that I should finish all the steps and I’m really glad that I did. Just like that little bit of parmesan, the crisp shallots add a different texture and a new layer of flavor to the soup. Worth the effort, but don’t forget to turn down the heat once your oil is hot or you’ll have singed shallots. Might have burnt the first batch…sorry neighbors!

Roasted Potato Leek Soup | Image: Laura Messersmith

Roasted Potato Leek Soup | Image: Laura Messersmith

Small Kitchen Friendly?
Probably. I used one rimmed baking sheet, a blender (a food processor or stick blender would work too), a 5.5 qt French oven, small sauce pan, a medium cutting board, chef’s knife, vegetable peeler, microplane grater, a wooden spatula, ladle, measuring cups and spoons.

The Verdict:
This Potato Leek Soup with its starches, cream, and cheese should taste heavy and too rich, but magically it doesn’t. The flavor is deep and satisfying, perfect for a mid-autumn supper or as a starter. Particularly helpful when you’re entertaining since it can be made a few days in advance allowing the ingredients to meld. I made this on a weekend and stashed it in the fridge to deploy for a quick dinner – just add grilled cheese and green salad. Keep this one in your back pocket for this winter when a little simmering feels like a good idea.

Roasted Potato Leek Soup | Image: Laura Messersmith

Roasted Potato Leek Soup | Image: Laura Messersmith
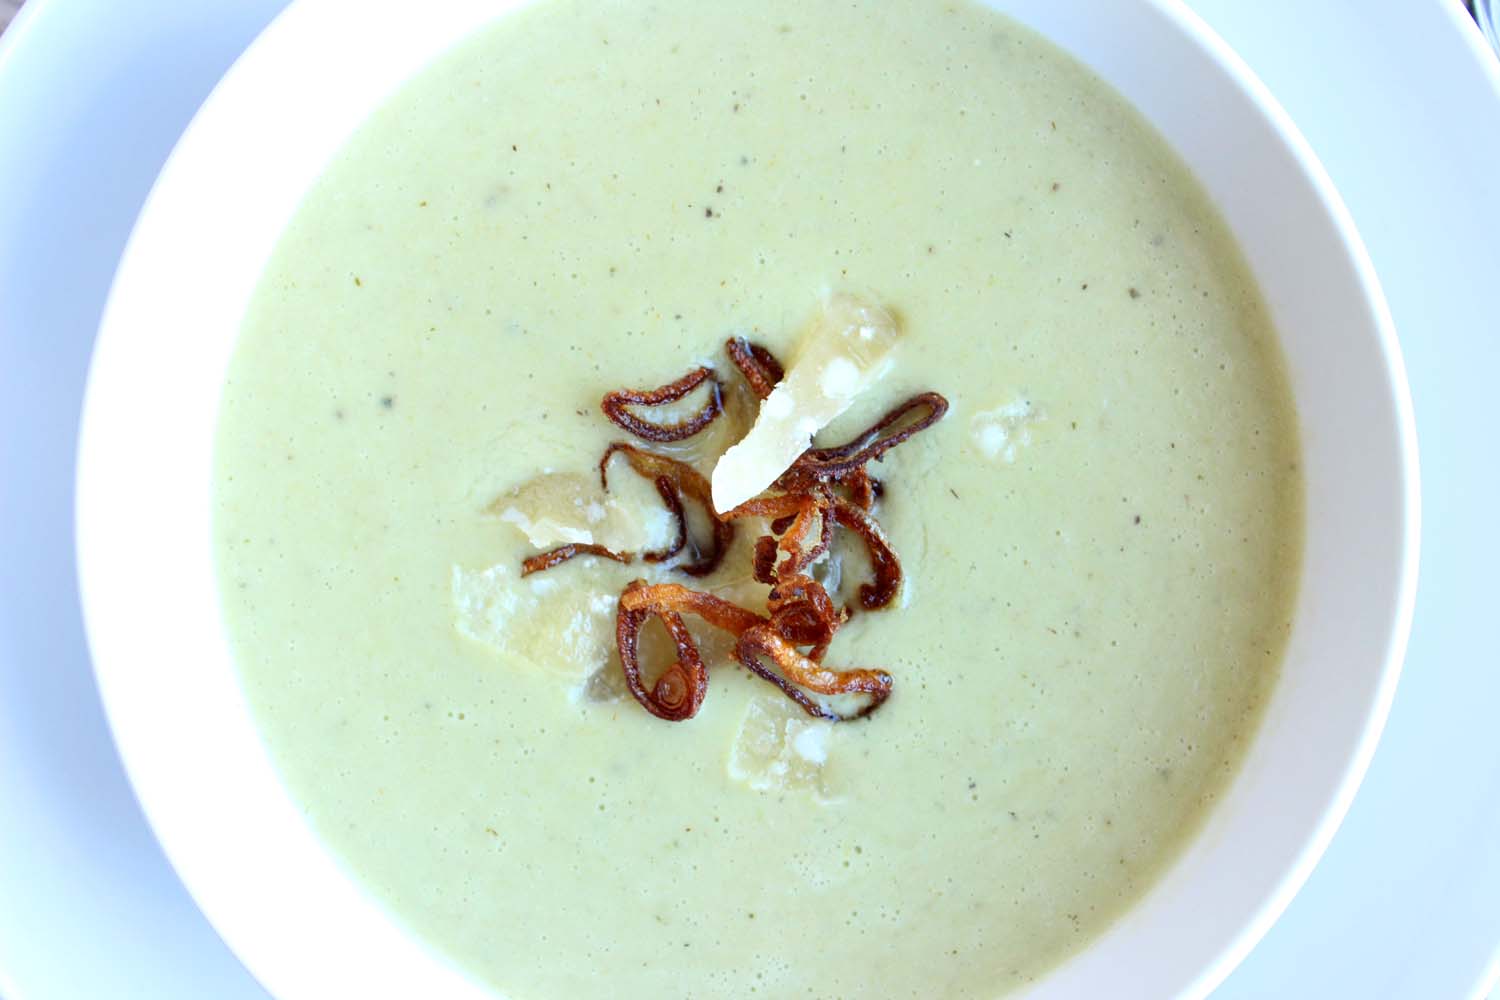
Plum Tart

Plum Tart | Image: Laura Messersmith
Plum Tart | Image: Laura Messersmith

Each week I follow along with Ina Garten (aka the Barefoot Contessa) and attempt to recreate one of her dishes in my tiny New York City kitchen. The catch? This is my version of cooking school and I’m making these recipes for the first time. I’ll share both my successes and um, challenges, along the way and we’ll see if I can keep up with the Contessa!

Episode: “Long Distance Dinner”

The Set-up: Ina’s cooking a dinner party menu that will be delivered to a friend’s daughter in the city.

The Menu: Filet of Beef Bourgignon, Zucchini Gratin, Plum Tart

0:34 – Ina says this dinner is for her friends’ daughter Genevieve as a post-med school exam treat. This is one legit motivator.

1:20 – First up is dessert, a Plum Tart with a walnut crust, which just has to be pressed into the pan. No rolling involved, you say…?

2:16 – The crust mixture is compared with a typical crumble topping – butter, sugar, finely chopped walnuts, etc. and Ina is setting some aside to put over the top of the plums.

3:42 – Pro Tip #1: Use a metal measuring cup to press the crust into place and create a sharp corner where the bottom and sides meet. Pro Tip #2: Flour the measuring cup if it sticks.

4:11 – Ina says she likes to use Italian Prune Plums when they’re in season, but today it’s just regular black plums in a lotus pattern. Basically, concentric circles of fruit wedges.

5:05 – I just realized that Ina didn’t peel the plums, 100 points in favor of fruit that doesn’t require peeling!

6:33 – Instructional Phone Call Alert! Genevieve requires guidance on flowers and wine to go with the dinner and Ina says – one color, one type of flower, and lots of them. For wine – another burgundy or similar to pair with the wine in the dish. Sounds simple enough…

9:07 – Now it’s time to work on the Zucchini Gratin which Ina particularly likes because it’s an easy way to make a vegetable dish in advance.

10:18 – So, I’ve been watching Ina on the regs for a while now and I still don’t know why nutmeg is a traditional gratin spice.

11:34 – Ina is not messing around with this gratin, cheese, breadcrumbs, and little dots of butter are in the topping. G’s party guests are going to need a post dinner walk!

12:26 – Speak of the devil: Genevieve is on the hunt for flowers, oh so casually dropping in that her “friend Ina” recommended… she walks out with $30 worth of hyacinths flown in from Holland.

13:41 – Main course time: Filet of Beef Bourgignon. I guess the fancy flowers aren’t going to be out of place since I think Ina has about $100+ worth of beef.

14:15 – Fun Fact: Ina started making this recipe when she was catering as a way to make a more rustic dish “really special.” Which is probably code for “my clients needed to impress their guests.”

18:30 – Okay, so the beef has been sliced into filets and seared, next bacon is crisped. Now for the garlic to get a quick sauté before deglazing the pan with the burgundy wine.

19:23 – Stop the presses! Ina says you don’t have to make your own beef stock, so you can free up that Saturday afternoon dedicated to the process.

20:38 – Pro Tip: Cut your vegetables on the diagonal to make a prettier shape.

21:52 – Over to Genevieve who appears to be picking up bottles of wine at random before giving up and asking the shop keeper for assistance. After hearing the menu he suggests an aligoté for white and pinot noir for red.

22:07 – Back to Ina who is thickening the sauce with a paste of flour mixed into softened butter which she recommends for thickening gravy too since it prevents lumps. Naturally, the French have a term for this it’s beurre manié.

23:59 – Stray thought… I usually try to sauté all the vegetables before adding wine, stock, etc. but Ina is doing the reverse and adding the carrots and onions to the stock. Hmmm…

25:41 – Final steps on the Filet of Beef Bourgignon adding everything back into the pan – seared filet, crisped bacon. A montage of Genevieve lighting candles and putting her flowers in water while Ina packs up all the food in a gigantic cooler.

26:28 – PS: she appears to be lending an oval Le Creuset for the party. Oh, to have extra French ovens for loaning!

27:46 – The cooler is handed over – rather easily which gives me hope that some strapping lad from the TV crew helped haul it and this one is an empty stand-in – for the trip to the city.

28:53 – Cut to Genevieve taking the reheated Zucchini Gratin out of the oven and the beef off the stove. Full accent on the French pronunciations as dinner is served. It look a-mazing.

29:49 – The New Yorker and former Bostonian in me is pleased to see that the apartment looks like a totally normal walk-up and that G’s serving “platter” for the Plum Tart is a plastic cutting board. Ahh, my twenties.

Final Thoughts:
I need to think more about ways to take classic dishes and make them special a la Ina.

A masterful lesson in “make-ahead” dinner - side, entree, and dessert.

This episode was filmed in 2006, loving the flip phone thank-you “selfie” G sends to Ina.

Plum Tart | Image: Laura Messersmith

Plum Tart | Image: Laura Messersmith

Lessons Learned:
I know I’ve just made a plum-related dessert, but we loved the Plum Cake Tatin so much that I had to try to fit in one more before Italian Prune Plums were out of season and try Plum Tart.

Fruit Selection – I personally liked the sharp tartness of the Italian prune plums, but if you want a more straightforward, sweet dessert then I’d use regular black plums, or pluots would work too especially if you’re finding other stone fruits hard to come by at this point in the fall.

Fruit Layout/Layering – This tart looks more dramatic when the points of the slices are emerging from the shell edges a bit which has the double benefit of giving you more space for a fourth ring of plums. I cut each plum into quarters (don’t forget your stone fruit lessons!) and started with the outer edge layering in toward the center. This is pretty forgiving and since the fruit cooks down a little I took the liberty of placing the slices in fairly snugly, and sneaking any extra slices I had at the end into spots that seemed like they could use a little more fruit.

Tart Shell – The shell is comprised of a similar concoction to your typical dutch apple pie crumb topping. The butter is cold to begin with, but warms and softens a little as you work the flour, sugar and walnuts into it. Mine seemed a bit dry at first and I worried that it wouldn’t hold together, but I kept mixing and pressing the ingredients with a rubber spatula until there was only a slight haze of flour visible, and it all turned out fine.

Shell/Crumble Ratio – The recipe suggests pressing 2/3 of the crumble into the tart pan and reserving the remaining 1/3 for crumbling on top. I’d revise that to 3/4 in the pan, 1/4 crumbled on top – there were a few places in the shell where I was having trouble getting good coverage and then it seemed like I couldn’t find enough places for all the topping to go.

Baking – I placed the tart pan on a rimmed baking sheet while it was in the oven, which turned out well since the fruit juices did bubble over a bit. The time was spot on, and once it had cooled the tart lifted easily out of its outer ring and off the base onto a cake plate.

Storage – The fruit has a lot of moisture in it, so if you have one of those old-fashioned pie safes, now is the time to bust it out. Barring that, if you can stand to leave it uncovered or just very lightly with parchment paper your crust will stay crisp and firm.

Plum Tart | Image: Laura Messersmith

Plum Tart | Image: Laura Messersmith

Small Kitchen Friendly?
Yes, completely. I used a 9” tart pan with removable base, a medium mixing bowl, small cutting board, chef’s knife, rubber spatula, measuring cups and spoons. A parchment lined baking sheet will be helpful in catching crumble & fruit juice.

The Verdict:
I actually wasn’t sure whether I would like the combination of walnuts and plums in the Plum Tart since I sometimes find walnuts a bit sharp, but in this case they add a lovely toasty mellowness and crunch to the crust. Despite the plums being essentially unseasoned – no tossing in sugar or spices – the tart still manages to be rich in a way that sneaks up on you. Just a small slice with a little scoop of vanilla ice cream is perfect. This is the perfect recipe for company, it looks so elegant but only you need to know how simple it is.

Plum Tart | Image: Laura Messersmith

Plum Tart | Image: Laura Messersmith

Oven-Baked Barbecue Chicken

Oven-Baked Barbecue Chicken | Image: Laura Messersmith

Oven-Baked Barbecue Chicken | Image: Laura Messersmith

Each week I follow along with Ina Garten (aka the Barefoot Contessa) and attempt to recreate one of her dishes in my tiny New York City kitchen. The catch? This is my version of cooking school and I’m making these recipes for the first time. I’ll share both my successes and um, challenges, along the way and we’ll see if I can keep up with the Contessa!

Episode: “Summer Beach BBQ”

The Set-up: Ina and friends are throwing a party on the beach!

The Menu: Barbecued Chicken, Broccoli with Garlic and Soy Sauce, Szechuan Noodles

0:51 – Ina says summer isn’t summer without grilling and I’d tend to agree!

1:13 – First up, Barbecued Chicken complete with a homemade sauce. The sauce actually started as three sauces (mustardy, Chinese-y, and tomato-y) none of them quite right until Ina mixed them all together and the rest is history.

2:20 – The list of ingredients in this sauce is incredibly long, and I assume worth it?

3:44 – Still going. I love how Ina is pretty much eye-balling the measurements, half a jar here, a quarter bottle there.

4:02 – While the sauce cooks and thickens, Ina talks about some of her ice cream-based dessert ideas. Rule #1: don’t bother making ice cream, just get some good quality vanilla and add toppings. (Haagen Dazs in case you were wondering.)

5:27 – Idea #1 is homemade raspberry sauce which consists of some cooked berries, jam, and framboise liqueur. Sigh, this looks incredible.

6:36 – Idea #2 is affogato and thankfully Ina has a fix for those of us with out an espresso maker: buy a shot or two at a shop in advance and just heat it up when you’re ready to serve.

7:40 – Apparently it’s too early in the day for ice cream, but just the right time to bring a cup of espresso to Jeffrey and rub it in that he’s missing the beach barbecue. Poor Jeffrey, sandy seconds for you old sport!

10:09 – We get a brief glimpse of Ina’s friends (Coronas in hand) arriving at the beach before switching back to the action in the kitchen.

11:15 – Pro Tip #1: “smush” the chicken around in the sauce to make sure it’s covered while it marinates. Overnight is best if you have the time.

12:33 – One of the sides is Szechuan Noodles which Ina admits is more in the Tex Mex-Asian fusion realm since she uses regular pasta.

13:20 – Interesting, this sauce has both sesame paste (aka tahini) and peanut butter mixed with the spicy fresh ginger, garlic, chili oil, cayenne and black pepper.

14:42 – Pro Tip #2: buy the darker, toasted sesame oil it has more flavor.

15:18 – I wonder if this is a hold over from her catering days, but Ina has the most enormous bowls and colander. I covet her extra mixing room….

16:54 – I rarely ever doubt Ina, but I’m not sure I’m 100% sold on this dish. Never a big fan of peanut sauce – they usually seem so gloppy and heavy – only she could convert me!

17:39 – Pro Tip #3: Cut the scallions on a diagonal to make a prettier shape for garnishing.

21:12 – A quick shot of someone’s yellow lab enjoying the beach before we finish up the final dish: Broccoli with Garlic and Soy Sauce.

22:07 – The broccoli has been blanched and shocked (hot water immediately followed by a cold water bath) before being dressed with garlic oil, red pepper flake, and soy sauce.

23:46 – Out to the beach where Ina has laid out a big straw mat surrounded by drifts of “inexpensive throw pillows I got on sale” because it’s nicer to have one big blanket for everyone. She thinks of everything, people. Seriously.

24:11 – Chicken is on the grill with the rack positioned far enough above the coals so the exterior doesn’t burn. Although, Ina’s philosophy of “it isn’t a barbecue until the fire department comes,” leaves room for a little singeing.

27:35 – It looks like a sunny, blustery day, but the guests seem game all wrapped up in sweatshirts. Who wouldn’t stick around when Ina is cooking?

28:03 – I didn’t see the broccoli salad served, but we’re off to do Smores over the coals of the grill and I’m guessing no one is going to remind Ina that there’s broccoli to be eaten.

29:50 – Lots of laughing and gooey smiles from this two-marmallows-per-stick crowd. They know what’s up!

Final Thoughts:
I like how Ina’s theme is pretty subtle – a little Hoisin here, some soy sauce and ginger there.

I had such grand plans for doing a Smores-based dessert this summer, but time got away from me…summer 2016 it is!

It would probably take gale force winds to blow me away from an Ina-hosted beach barbecue.

Oven-Baked Barbecue Chicken | Image: Laura Messersmith

Oven-Baked Barbecue Chicken | Image: Laura Messersmith

Lessons Learned:
This Barbecued Chicken was an experiment in a number of ways, not so much because the techniques of making the sauce were difficult, more that the combination of ingredients and my twist on cooking the chicken were a bit unusual.

Sauce – The recipe notes that these quantities produce 1 ½ quarts of sauce which is really quite a lot even given that a significant portion will be used to marinate the chicken before cooking. Unless you prefer to have extra for another purpose I’d recommend reducing the amounts by half and there will still be plenty of sauce to serve with the cooked chicken.

Oven Method – So, yes Barbecued Chicken should be cooked on a grill but in this case the lack of access to charcoal and a lack of confidence that a grill pan alone would suffice I decided to attempt the oven. Success! When cooked at 375 degrees F. for 40-45 minutes, or until the chicken breasts reach an internal temperature of 160 degrees.

Oven-Baked Barbecue Chicken | Image: Laura Messersmith

Oven-Baked Barbecue Chicken | Image: Laura Messersmith

Small Kitchen Friendly?
Cooked this way, totally, no grill needed. I used a large sauce pan, a medium cutting board, chef’s knife, liquid measuring cup, and measuring spoons, along with a rimmed baking sheet and tongs. Aluminum foil, zip top bag(s), and clean jars or food storage containers round out the helpful items.

The Verdict:
I made Barbecued Chicken for friends coming to watch football and frankly it probably saved the evening since the performance of the guys' favorite team was a bit disjointed and lackluster. Sigh. But, thanks to a delicious dinner during halftime (additional menu installments here and here) the evening was salvaged and has lead to a resolution on my part that all future game-watching should have something delicious to either carry us through a loss, or help us celebrate a victory.

Oven-Baked Barbecue Chicken | Image: Laura Messersmith

Oven-Baked Barbecue Chicken | Image: Laura Messersmith

Sagaponack Corn Pudding

Sagaponack Corn Pudding | Image: Laura Messersmith

Sagaponack Corn Pudding | Image: Laura Messersmith

Each week I follow along with Ina Garten (aka the Barefoot Contessa) and attempt to recreate one of her dishes in my tiny New York City kitchen. The catch? This is my version of cooking school and I’m making these recipes for the first time. I’ll share both my successes and um, challenges, along the way and we’ll see if I can keep up with the Contessa!

Episode: “Tex Mex Homecoming”

The Set-up: Jeffrey’s on his way home for the weekend and Ina has a Tex Mex themed dinner planned.

The Menu: Sagaponack Corn Pudding, Guacamole, Tequila Lime Chicken, Frozen Key Lime Pie

0:47 – It’s Friday night and Jeffrey is on his way home, but Ina says that instead of regular roast chicken she’s doing a Tex Mex twist. He’s not going to know what hit him!

1:20 – First up Guacamole and naturally Ina has the most perfect avocados. I rarely find any in our store that are ripe but still un-dented. Yes, I’m jealous.

2:08 – We’re on the same page when it comes to making guacamole chunky and not overly pureed, but I’m not in favor of hot sauce in guacamole. Why ruin that cool green with spice?

3:32 – Off to the liquor store for tequila – Jose Gold for the Tequila Lime Chicken and the shop keeper recommends Sauza for margaritas. Noted.

4:03 – I’m an Ina Super Fan so I can tell this is an old episode because we’re in her house still and they haven’t quite nailed the tone yet. A few weird asides about jalapeno “giving my chicken attitude!”

4:17 – Just checked the date – it’s from 2003 and must be one of the first episodes ever!

5:34 – Okay, let’s focus here. It’s Frozen Key Lime Pie time, which so far involves the graham cracker crust. Pro Tip #1: Use a measuring cup to press the crust into the pan evenly.

9:41 – While the crust bakes, we’ve moved on to the Sagaponack Corn Pudding. Ina says she tries to balance out the flavors in a menu, so with something spicy she decided to serve the creamy corn pudding.

10:56 - FYI – this recipe is inspired by a similar version by Ina’s friend at Loaves & Fishes located in, you guessed it: Sagaponack!

11:13 – The corn pudding has chopped fresh basil in it, and I’m with Ina – basil + corn is one of my favorite combinations.

12:22 – The pudding is in the oven and now we get a shot of Mr. Garten speeding along toward home.

13:50 – Back to make the filling for the Frozen Key Lime Pie. It contains sweetened condensed milk and I don’t think I’ve ever cooked with it before, but apparently helps the custard to set up with no cooking.

14:09 – Aww, Jeffrey has arrived and now it’s margarita o’clock, plus some Guacamole. Woot!

19:31 – Now on to the main event: Tequila Lime Chicken. I’ve actually made this before and it is spicy for sure – chili powder, jalapeno and garlic!

20:18 – This is more of a logistical, tv show question, but how is Ina marinating this in about 15 minutes when she says that a few hours or overnight is the best?

21:42 – No time to fret because we’re on to the now-frozen key lime pie for the decorating and attractiveness step. Pro Tip #2: Decorate with an ingredient, in this case: lime wedges.

23:04 – Fun Fact for the Super Fans: there’s a shot of the back yard pre-barn and it’s kinda weird seeing it totally empty.

24:37 – It seems that the jokes about Jeffrey being inept with grills go waay back; here we are teasing him about calling the fire department. Perhaps it’s deserved because he manages to light the bag of charcoal on fire while replenishing the coals…

26:48 – Grilling has begun with Jeffrey acting as sous chef while Ina sets the table for dinner with a bowl of limes as décor.

27:55 – The corn pudding is out of the oven, and Jeffrey manages to stick the landing with the chicken, so dinner appears to be coming together quite nicely!

28:10 – Time to sit down to dinner – cheers are offered to their combined efforts and then key lime pie.

29:29 – Jeffrey’s compliments go way back too – he tells Ina that it’s the best key lime pie she’s made yet! Aww.

Final Thoughts:
I’m 100% with Ina on balancing the flavors and spice in a meal – all one note is so wearing after awhile.

Ina has been making key lime pie for 30+ years and I have yet to attempt it. Maybe summer 2016 will be my year?

Watching reeeeally old episodes is simultaneously weird and fun. The beginnings are there and it’s cool to see how things have evolved.

Sagaponack Corn Pudding | Image: Laura Messersmith

Sagaponack Corn Pudding | Image: Laura Messersmith

Lessons Learned:
Since fresh sweet corn is still available (just barely) I had to make Sagaponack Corn Pudding before autumn takes hold completely. I’ve only tried using a water bath to cook a pudding once before and I’d say it was only moderately successful – recipe mistake or user error, who’s to say? Thankfully this time had a much better outcome.

Corn – This would not be the time to use frozen or canned. For me, the fresh crunch of sweet corn cut from the cob is not something I’m interested in substituting. Make this now, while you still can!

Prep – Cutting the corn kernels directly into a high-sided bowl is so much neater and easier to contain them that way. Just stand the ear end-up in the bowl and cut vertically down each side. The bowl catches 90% and your kitchen doesn’t have little bits all over.

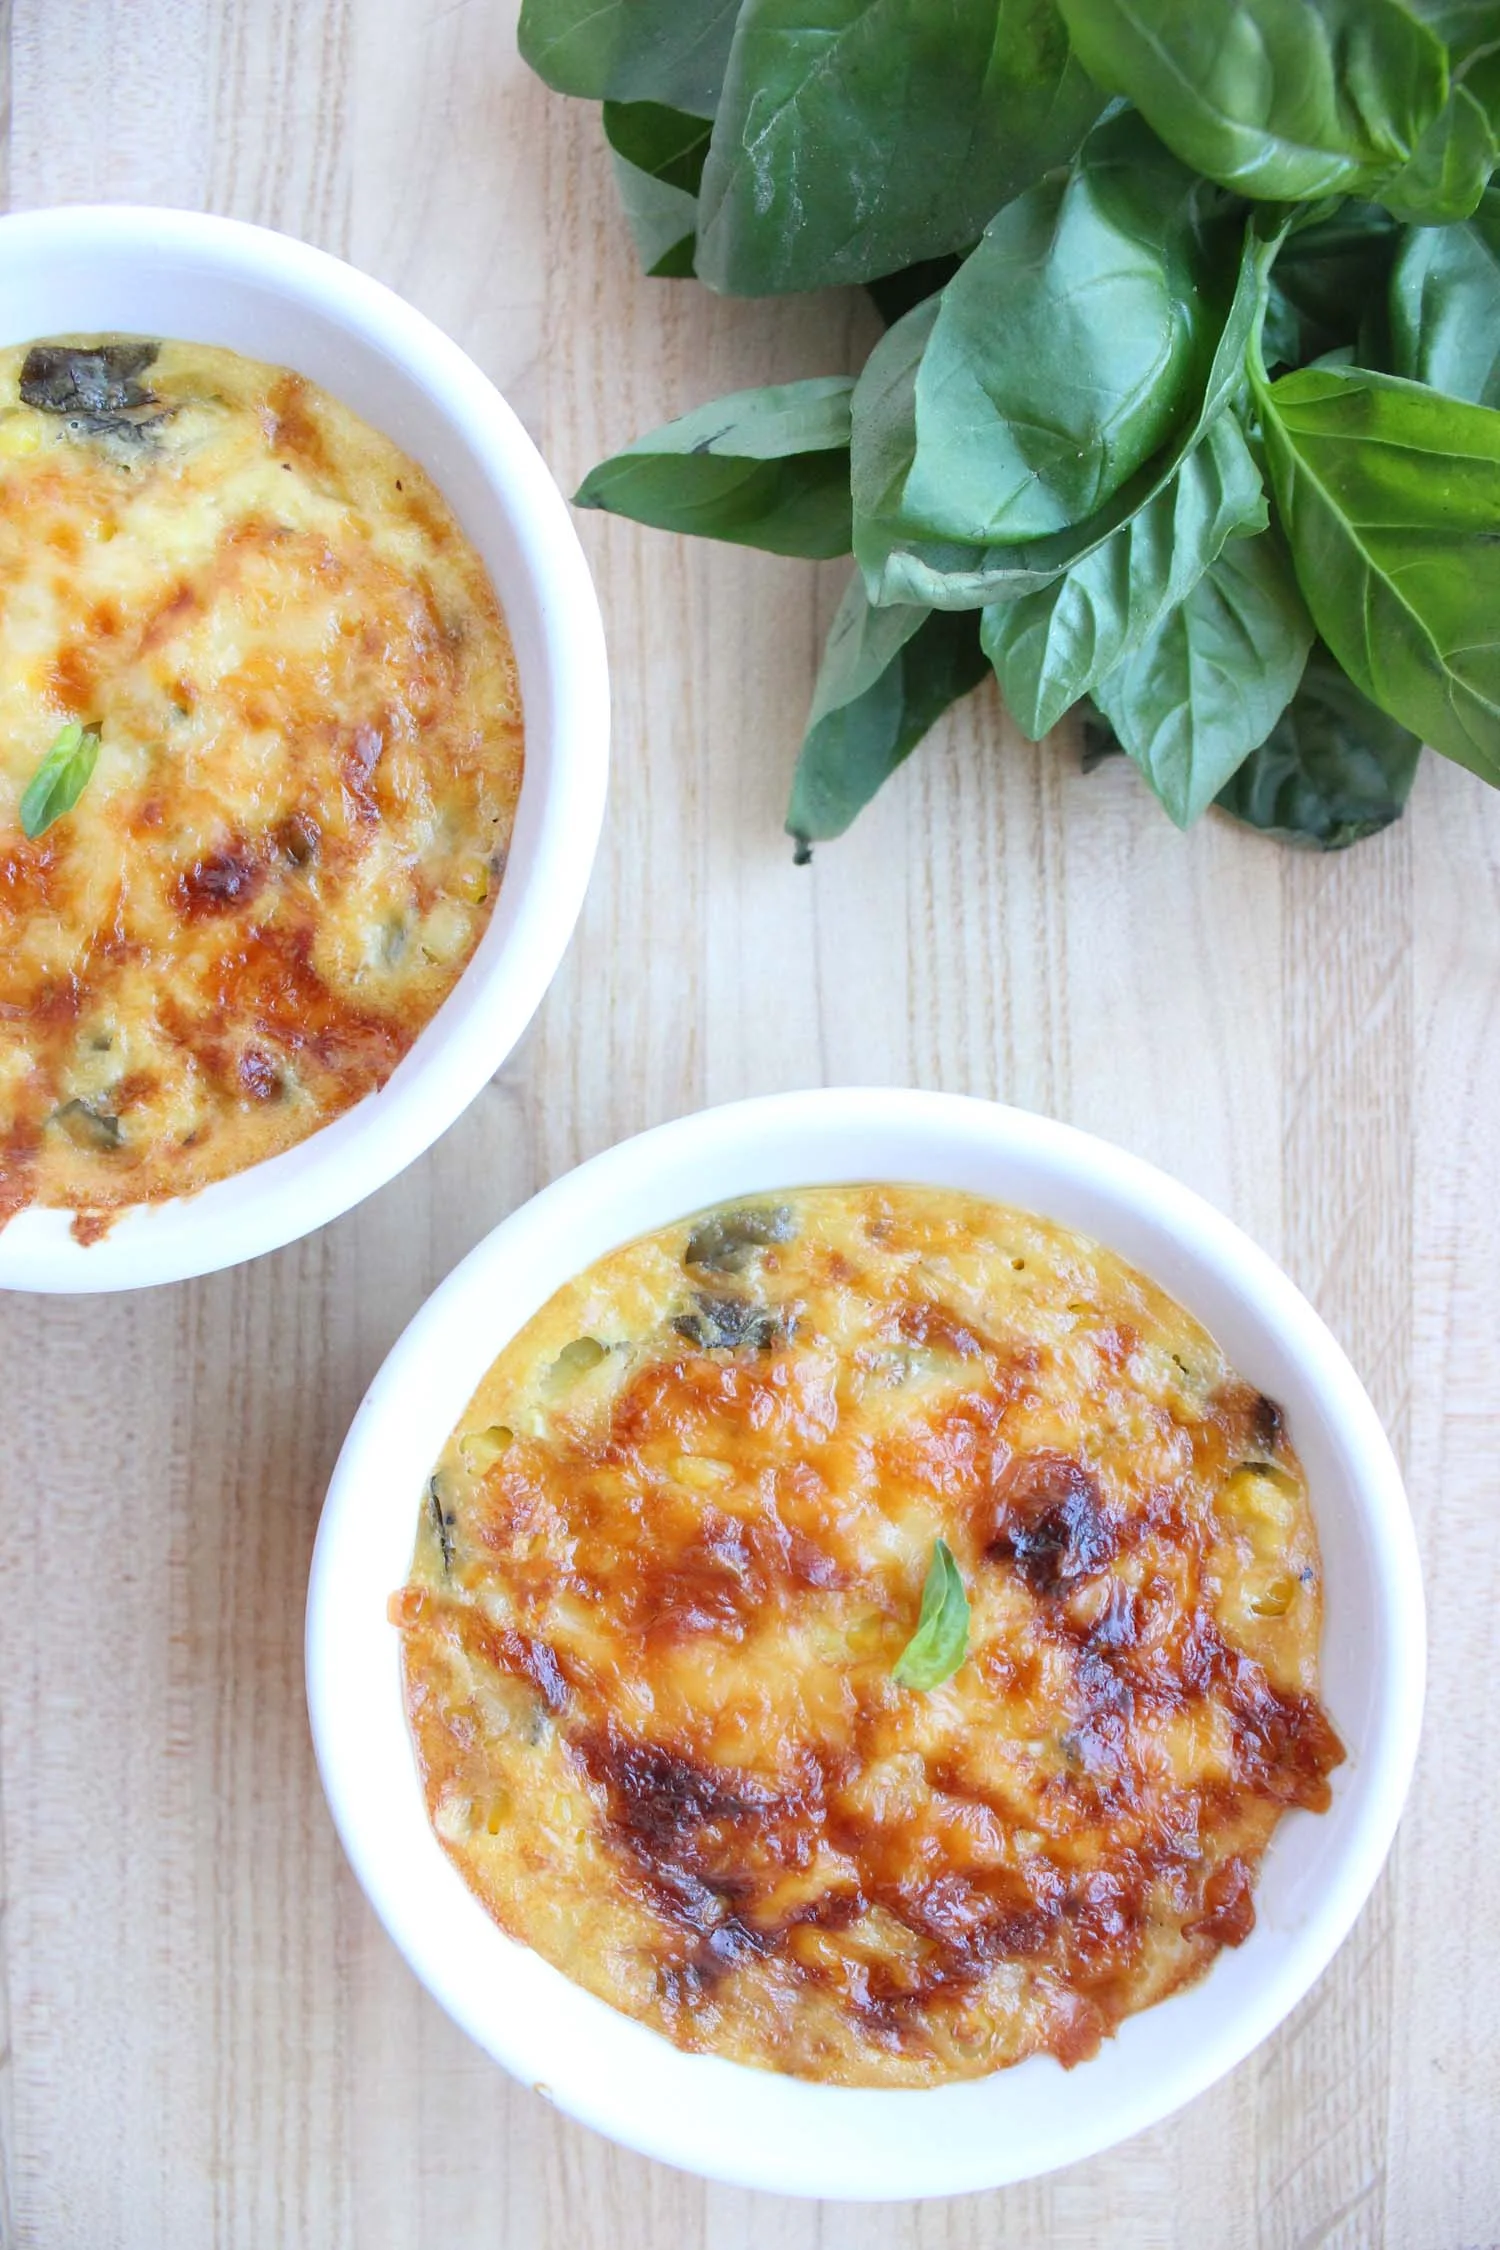
Individual Portions – Rather than make one large pudding, I wanted to make single servings. I followed the directions exactly up to the point of putting the mixture into the baking dish and used 7 oz oven safe ramekins instead. A half-size version of the recipe just filled 6 ramekins and the baking time was exactly the same – 40-45 minutes in a water bath.

Water Bath – I’d recommend testing your baking dish/water bath pan to make sure the dish will fit. Particularly if you’re filling ramekins, I’d recommend portioning them and getting them arranged the way you want in the pan before filling the remaining space with hot water. I boiled it in a tea kettle since my tap water isn’t the hottest.

Make Ahead – If oven space is limited you can make the corn pudding ahead of time and keep it warm for about an hour just by leaving the ramekins in the water bath and setting the entire contraption aside with foil over it. The individual portions also warm up beautifully in the microwave with a damp paper towel over the top, so by all means make a few extra…

Sagaponack Corn Pudding | Image: Laura Messersmith

Sagaponack Corn Pudding | Image: Laura Messersmith

Small Kitchen Friendly?
Mostly… To prep I used a large sauté pan, medium mixing bowl, medium cutting board, chef’s knife, box grater, a liquid measuring cup, measuring spoons, a whisk and a rubber spatula. To cook, you’ll need either a large oven-safe casserole dish or approximately 10 ramekins and a pan large enough (I used a 9x13 pan) to contain the baking dish(es).

The Verdict:
Oh, good lord Sagaponack Corn Pudding is. so. good. The flavors are so beautifully complimentary and the results are deliciously creamy hovering somewhere in the neighborhood of mac and cheese, but with the lightness of a vegetable gratin. I made this recipe as a side with Ina’s Barbecue Chicken and while the chicken was delicious, I’m pretty sure the corn pudding stole the show. I personally prefer the individual portions; if for no other reason than that it’s easier to defend your territory from marauding eaters, made in a larger dish I’m pretty sure there will be a spirited discussion over who get the last spoonful!

Sagaponack Corn Pudding | Image: Laura Messersmith

Sagaponack Corn Pudding | Image: Laura Messersmith