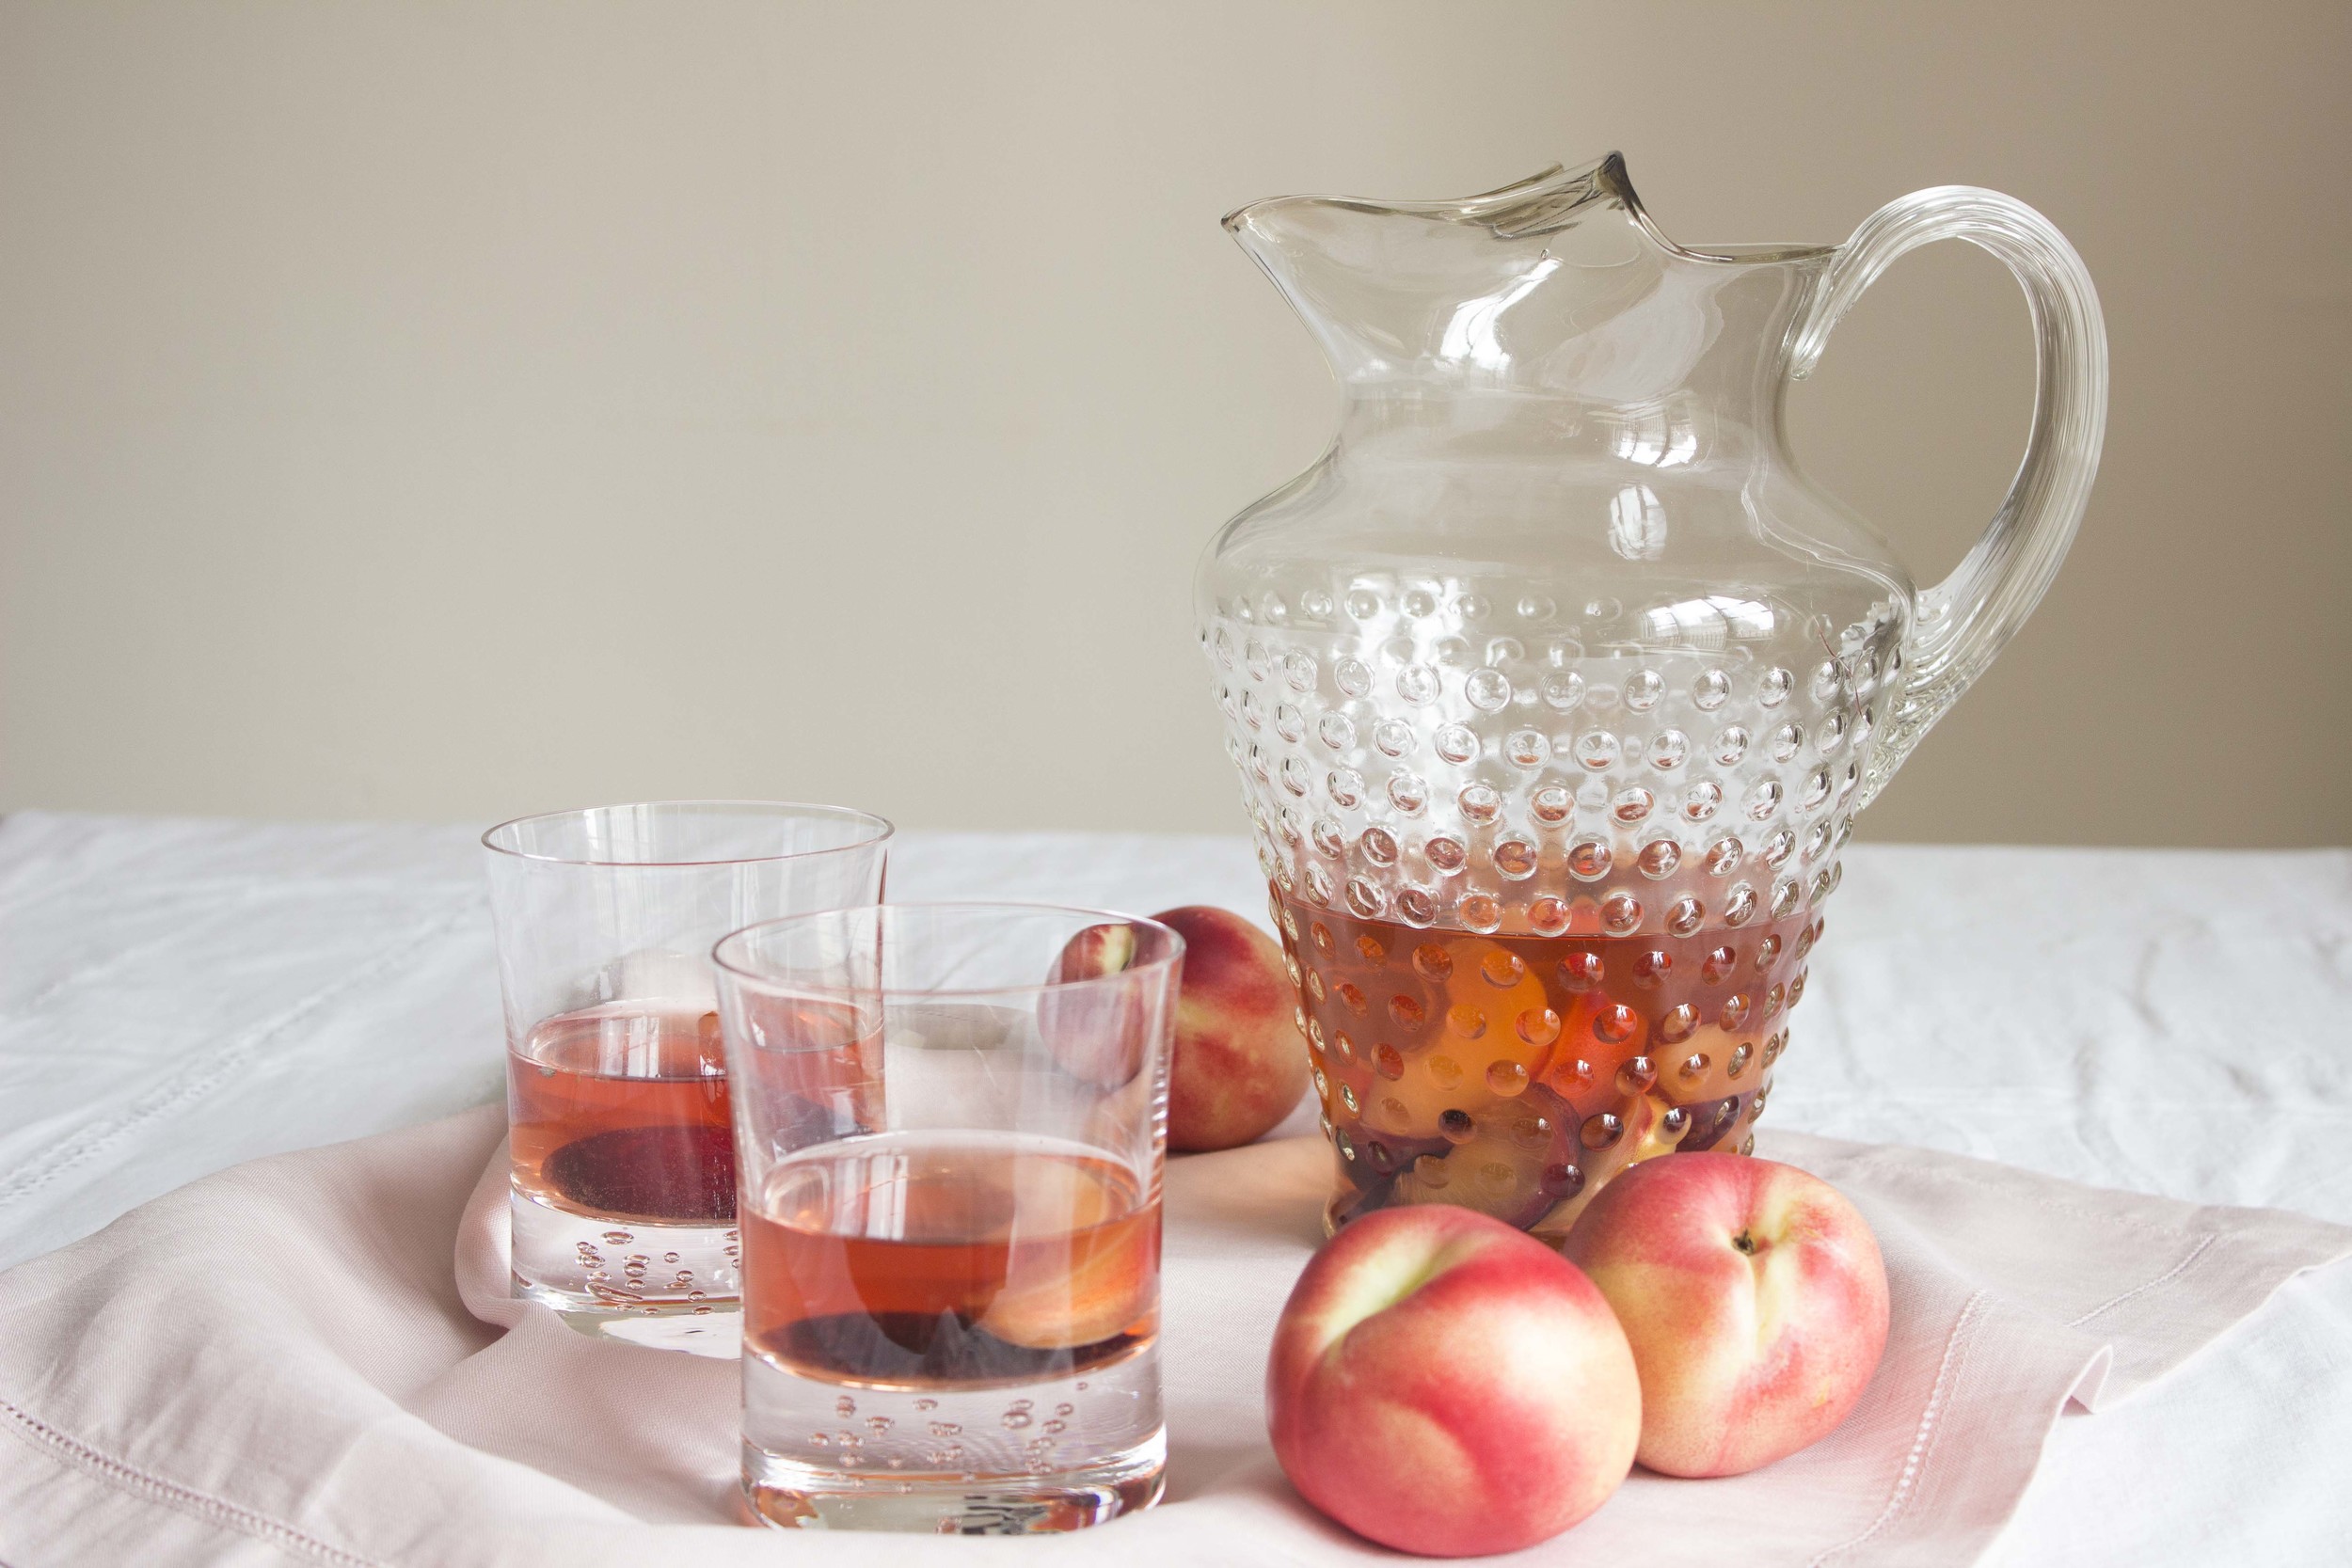
Lavender and Stone Fruit Rosé Sangria

Summer entertaining should be simple, easy, and low stress. It’s just too hot to be mixing individual cocktails, so summer calls for a big batch of something delicious and refreshing that guests can help themselves and sip on as the sun drops lower in the sky. Rosé has become synonymous with summer afternoons and earlier in the season I had the pleasure of creating a recipe for a rosé tasting event at Maman, my favorite café in New York. Talk about a dream come true!
I was only recently introduced to Lillet Rosé by my lovely friends Josie & David, and afterward couldn’t believe I had gone so long without having it in my life. It makes a super simple aperitif – just add a sizable cube of ice and a slice of something citrusy.

Or, take it one step further and transform it into a twist on sangria. Traditionally sangria combines wine with a liqueur or brandy, but since Lillet is already a fortified wine in my variation you get to skip that step. Score. Maman’s Provencal influence provided the inspiration to enhance the flavor by adding lavender and stone fruit. It fits the low-stress bill, and has the added benefit of being even better when it’s made in advance.
Lavender and Stone Fruit Rosé Sangria (serves 4)
Ingredients:
1 bottle (750 ml) Lillet Rosé
3/4 teaspoon (3-4 sprigs) dried culinary lavender buds
1 ripe black plum
1 ripe white nectarine
2 ripe apricots
1 medium lemon
1/4 cup (2 oz.) club soda
Ice
Garnish (optional): fresh raspberries, blackberries, strawberries
Instructions:
Pour the Lillet Rosé into a large pitcher or glass container. Lightly crush the dried lavender flowers between your hands to release the essential oils and place in a tea bell or a piece of cheese cloth tied with kitchen twine and suspend in the wine. Allow the lavender to infuse the wine while you prepare the fruit.
Wash and remove the stone from the plum, nectarine, and apricots. Slice into 1/3 inch wedges and drop into the pitcher. Thinly slice half the lemon (reserve the other half) into rounds or half moons and add to the sangria. Stir gently with a wooden spoon. Chill the sangria overnight, or at least 3-4 hours, to allow the fruit, lavender, and Lillet Rosé to steep.
Just before serving, use a sharp knife to remove large strips of peel from the reserved lemon and wipe the yellow skin of peel around the inside of each glass. Place the ice in the glasses, remove the lavender sachet from the sangria, and add the club soda to the pitcher.
Divide the sangria among the glasses making sure that the fruit goes in too – it’s delicious! Garnish with a sprig of lavender (if using) or additional berries as your heart desires. Relax and enjoy.
Original recipe created for Maman and sponsored by Lillet. All opinions are my own.
Small Kitchen Friendly?
Yes! I used a large pitcher, liquid measuring cup small cutting board, utility knife, wooden spoon, cheese cloth, and kitchen twine.