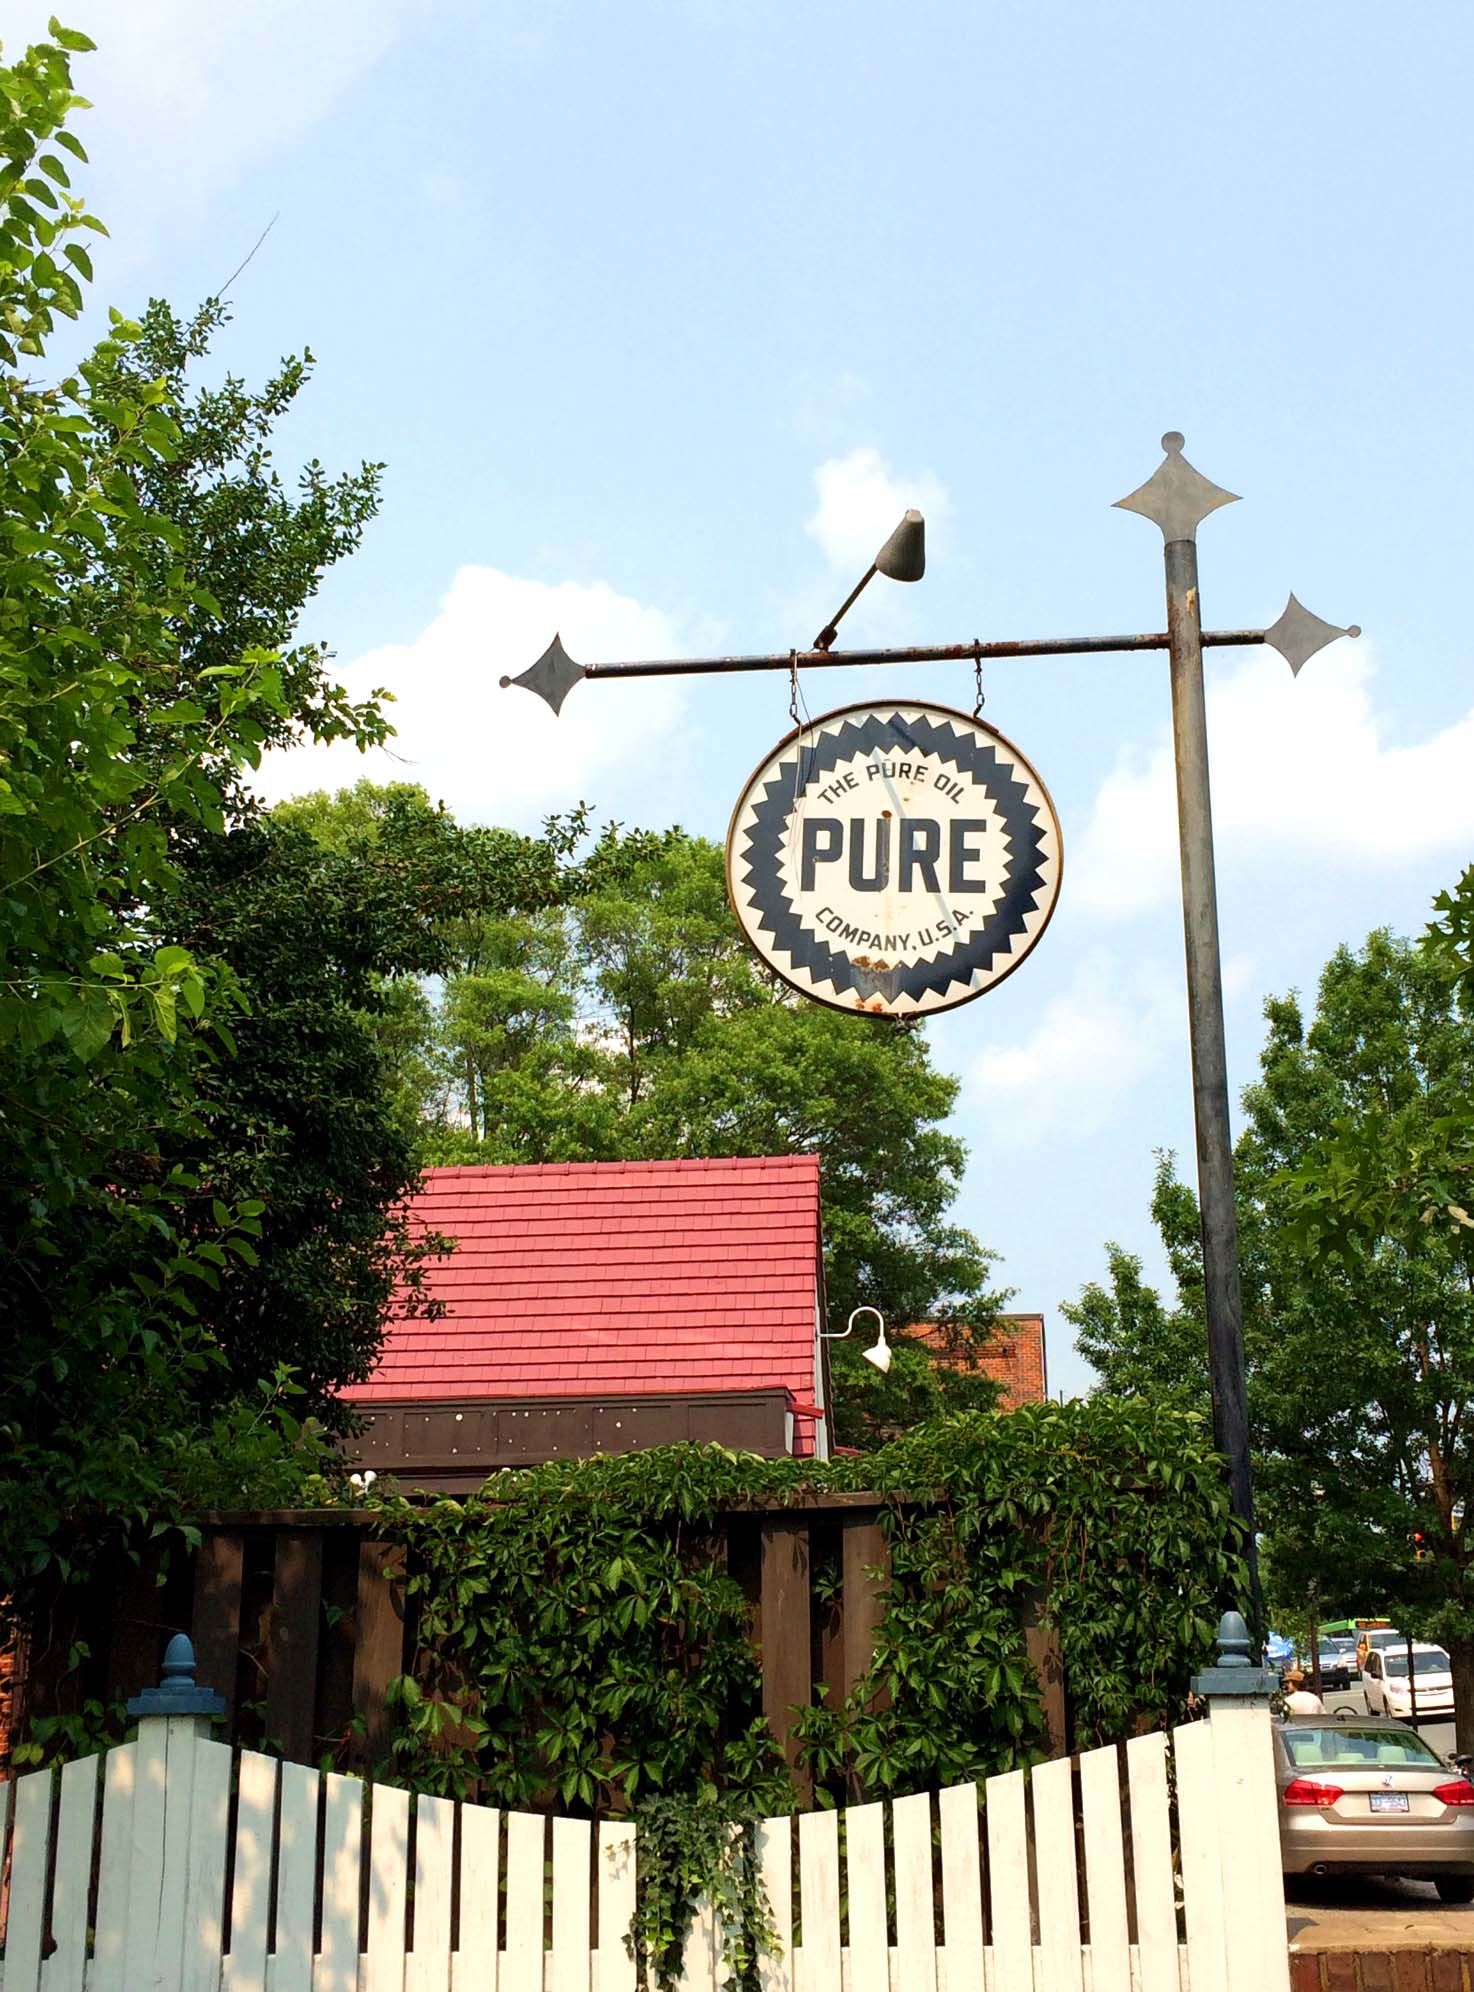
Chocolate Chip Cookies

Chocolate Chip Cookies | Image: Laura Messersmith

Chocolate Chip Cookies | Image: Laura Messersmith

Calling the chocolate chip cookie the all-time best cookie ever is still probably an understatement of its greatness. Nothing conjures more images of wholesome, homemade comfort than a warm tray of chocolate chip cookies and a glass of cold milk frosted with condensation. And just consider how sad it is when you realize you’ve picked up an oatmeal raisin masquerading as chocolate chip from the platter. Dagger, right? Instant disappointment.

We have Ruth Graves Wakefield, inventor of the Toll House Cookie, to thank for the afternoon snack that launched 1,000 half-hour family sitcom clichés. It’s the recipe I’ve been faithfully making for decades with little variation, other than a dash more vanilla here or a handful of dried cranberries there. It’s been my constant companion, a guaranteed crowd pleaser, never a crumb left on the plate. Why mess with a good thing?

And now I have a confession to make… thanks to the experimentation and inventiveness of Tara O’Brady, author of the blog and now cookbook Seven Spoons, I might have a new favorite chocolate chip cookie recipe. Don’t hate me, Ruth!

The Seven Spoons recipe clearly descends from the original with a few small changes like chocolate chunks and sea salt. While normally, the thought of having to chop a block of chocolate would seem like too much work, I was won over by the delicious realization that the cookies would have both big piece of chocolate in them and the small shavings too. Also it makes your kitchen smell like chocolate. Worth the effort in my book.

Sea salt window dressing aside, Tara’s true genius is in adjusting the proportions to solve the number one problem I consistently have when making classic chocolate chip cookies: softened butter. The original Toll House recipe relies on butter warm enough to mix easily, but not fully melted. Unfortunately, I always forget to take the butter out of the refrigerator and even the most careful microwaving fails to produce the same texture.

Cue choirs of angels when I realized that you and I no longer have to plan our cookie making a day in advance thanks to Ms. O’Brady and her wonderful recipe. Because one never knows when a cookie emergency will strike!

Chocolate Chip Cookies | Image: Laura Messersmith

Chocolate Chip Cookies | Image: Laura Messersmith

Basic, Great Chocolate Chip Cookies (yield: 28 cookies)

Ingredients:
1 cup (2 sticks) unsalted butter, diced
3 1/4 cups all purpose flour
1 1/4 teaspoons baking powder
1 teaspoon baking soda
1 1/2 teaspoons kosher salt
1 1/2 cups light brown sugar, firmly packed
1/2 cup granulated sugar
2 eggs
2 teaspoons vanilla extract
3/4 pound (12 ounces) semi or bittersweet chocolate, chopped
Flaky sea salt, to finish

Instructions:
Preheat the oven to 360 degrees F (not a typo). Line two baking sheets with parchment paper.

Melt the diced butter in a heavy bottomed saucepan over very low heat, stirring occasionally. Take care that the butter does not sizzle or bubble so that it retains its moisture.

While the butter is melting, chop the block of chocolate with a large chef’s knife into pieces - think somewhere in the ballpark of a sugar cube.

In a medium mixing bowl, whisk together the flour, baking powder, baking soda, and kosher salt.

Pour the melted butter into a second medium mixing and whisk in the light brown sugar and granulated sugar until smooth. Add the eggs, one at a time, whisking until just combined. Stir in the vanilla.

Use a wooden spoon or silicone spatula to stir in the dry ingredients until barely blended. When things are still looking a bit floury, stir in the chocolate (pieces, shavings and all) until all of the ingredients are just combined.

Chill the mixed dough in the refrigerator for 5 minutes before rolling into balls, about 2 tablespoons each. Arrange on the prepared baking sheets leaving a generous amount of space (2-3 inches) between them to allow the cookies to spread. Sprinkle each cookie with a pinch of sea salt.

Ideally, bake each pan individually at 360 degrees until the tops are cracked and lightly golden, about 10-12 minutes, rotating the pan halfway through. If time is of the essence, trade the pans halfway through the cooking time and rotate for evenness. Cool on the pan for 2 minutes, then remove to a wire rack to cool completely.

Very slightly re-written and adapted from Basic, Great Chocolate Chip Cookies from Seven Spoons by Tara O’Brady.

Chocolate Chip Cookies | Image: Laura Messersmith

Chocolate Chip Cookies | Image: Laura Messersmith

Small Kitchen Friendly?
Totally. I used two medium mixing bowls, a small sauce pan, two baking sheets, a wire rack, a medium cutting board, and a chef’s knife. I also needed measuring cups, measuring spoons, a rubber spatula, wire whisk, a 1 tablespoon sized cookie scoop, and parchment paper.

The Verdict:
The higher percentage of light brown sugar adds a caramel scented depth to the cookie dough that I absolutely looove. Finding a giant chunk of semi-sweet chocolate buried in the center doesn’t hurt either. These cookies manage to seamlessly evoke the classic back-of-the-package version, while the sprinkle of sea salt brings them into the modern age and makes them elegant enough for even the most jaded grown-up. The ability to make these cookies at a moment’s notice just seals the deal.

Chocolate Chip Cookies | Image: Laura Messersmith

Chocolate Chip Cookies | Image: Laura Messersmith
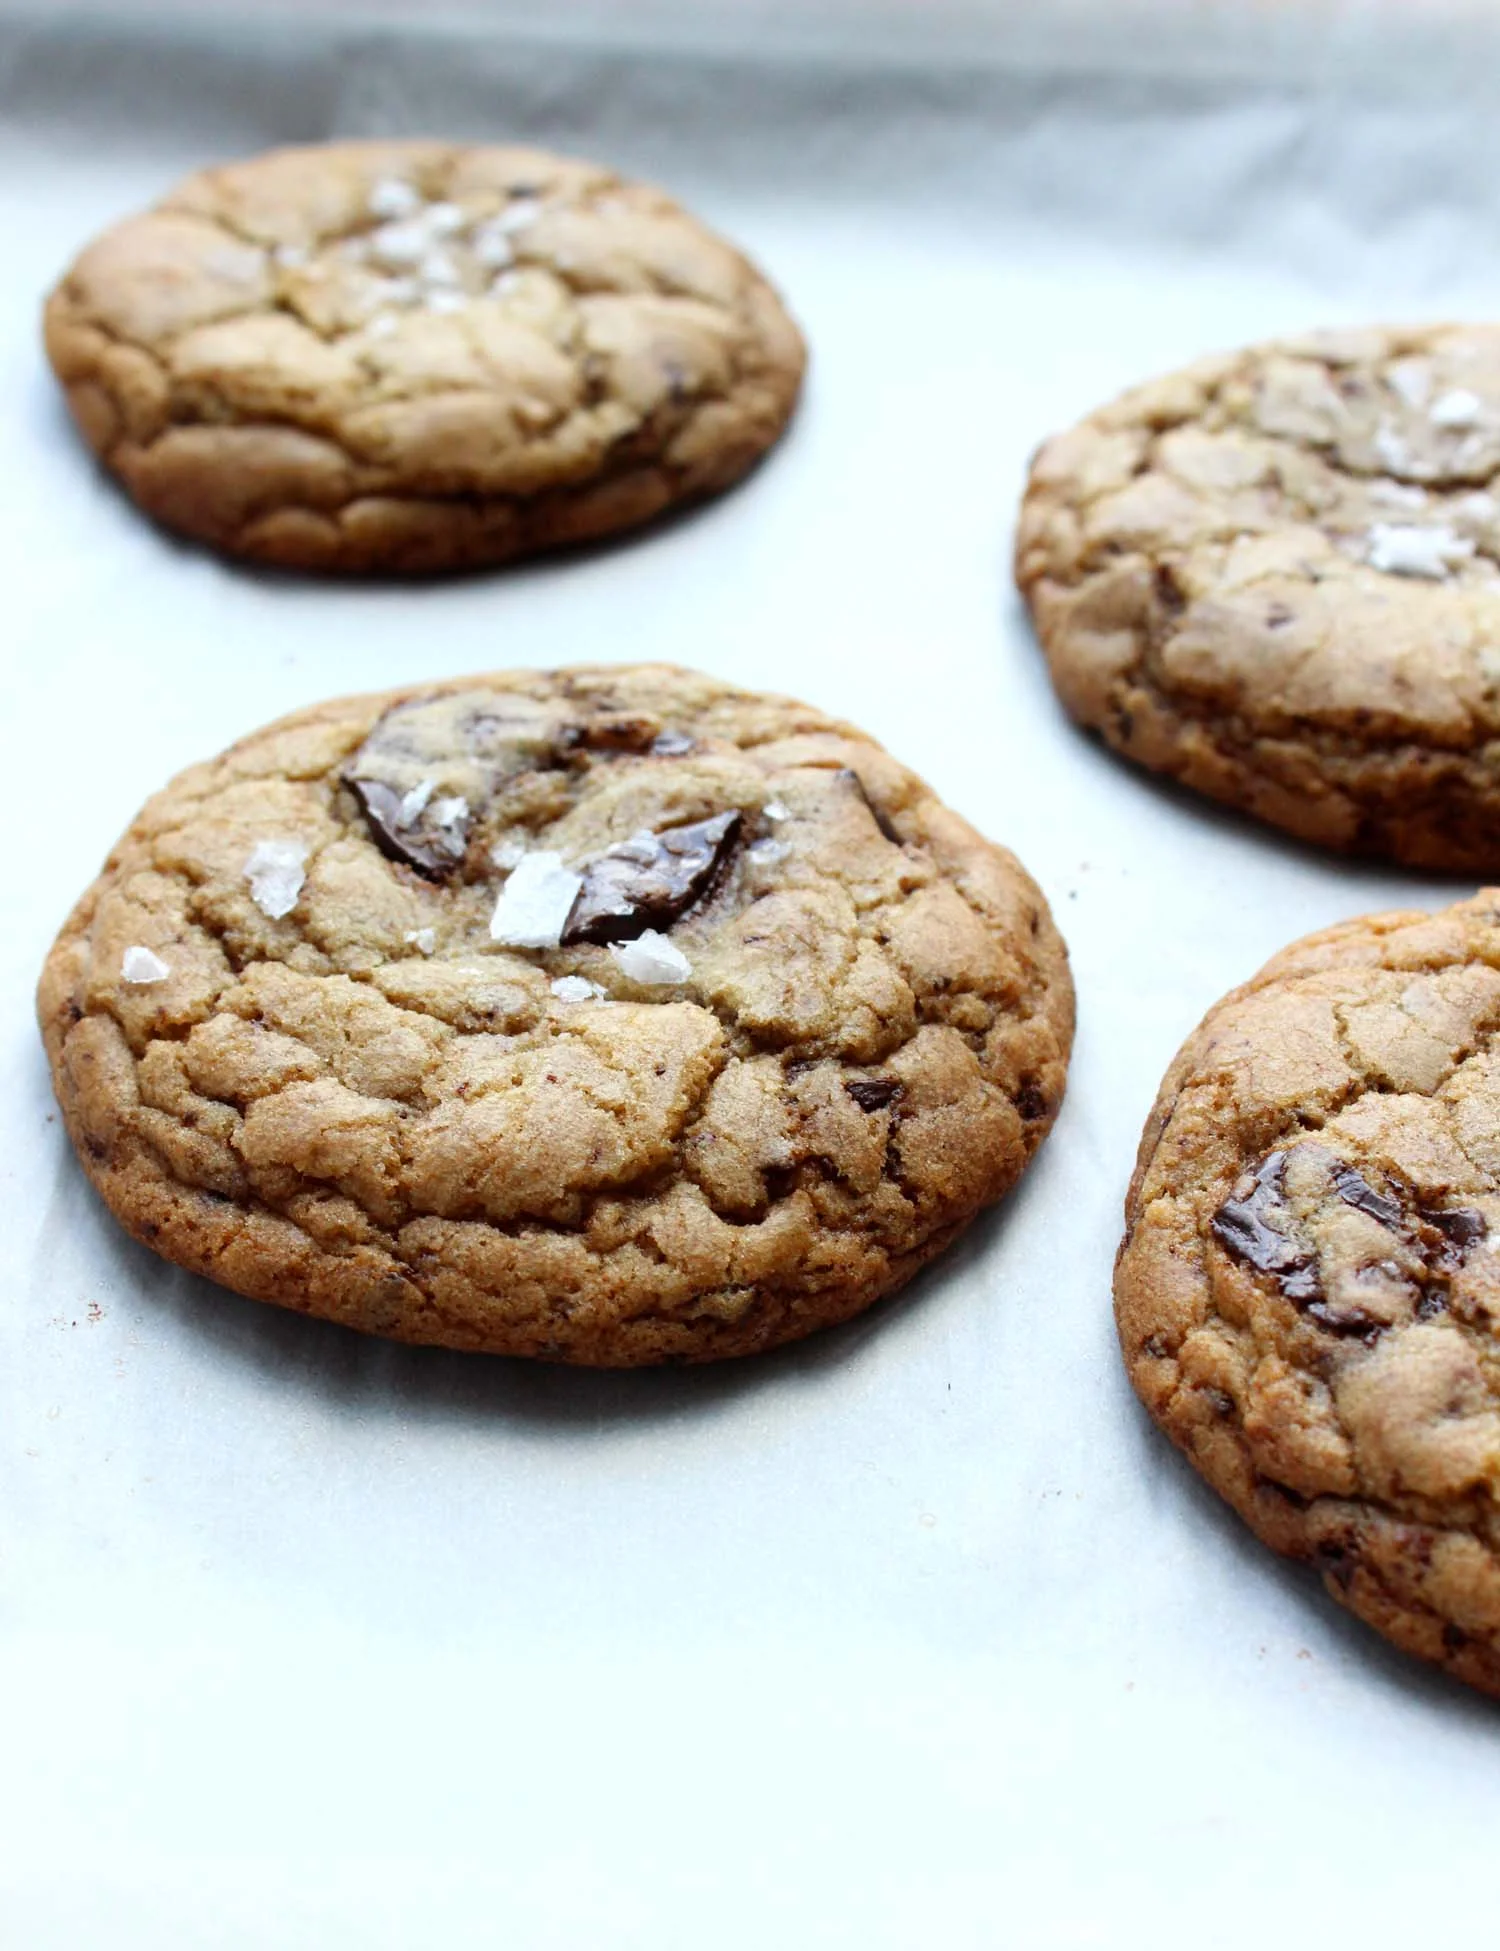
Scouting: Raleigh-Durham, North Carolina

Chapel Hill 1.jpg

Last week Mike and I spent a few days exploring central North Carolina and snooping through the greater Raleigh-Durham area. We scouted old favorite places from Mike’s college days and taking a trip literally down memory lane as we skulked around behind the house he lived in senior year. The verdict, for interested parties: deck appears to be gone, but the ancient hot tub lives on. (eww.)

Much as I loved seeing the locations of epic hibachi dinners of yesteryear, mostly we were finding new places and discovering how much has changed in the region over the past 10+ years. I’m by no means an expert on urban revitalization, but even I could see the signs that both Raleigh and Durham are part of the same trend that has Austin, Nashville, Portland (OR & ME), and of course, Brooklyn, drawing like-minded people together to found businesses, open restaurants, and write a new chapter for these great cities.

Chiefly, of course, I’m most interested in the food culture and North Carolina is well established as an intersection of low-country, Southern cooking and pork-focused barbeque. Before we left I did a ton of research to try to focus our efforts, but with only three days I know we missed some gems!

Dine + Drink:
Beasley’s Chicken + Honey (Downtown Raleigh) Restaurants need focus and if the name alone didn’t clue you in, the menu will. Beasley’s is doing simple, beautifully executed Southern food, with just a slight twist. Like my crispy fried chicken on a fluffy biscuit for instance, which came drizzled with golden honey and topped with a pickled green tomato. The interior reflects that “modern-heritage” vibe too – a little industrial, with just a hint of schoolhouse. Perfect.

Boulted Bread (Raleigh) Taking pride in the craft and highlighting local ingredients in the most delicious way possible were my takeaways from Boulted Bread. Oh, and the amazing chocolate-raspberry pull apart, which was a revelation. The space is 25% café with straightforward coffee and gorgeous pastries, 75% working bakery providing bread to local restaurants. If there are samples on the counter – try them! Then buy a loaf once you realize how good that Seeded Levain is and tell your friends.

Foster’s Market (Durham) This market is of the old guard specialty food shops - think Oakville Grocery, Barefoot Contessa, TASTE. Mike remembered it from his college days and it came to our rescue when we had concert tickets and traffic estimates were dire. The new plan: arrive early and tailgate. After much contemplation of the menu we made our selection of “fancy” sandwiches, picked out a cold six-pack of microbrew, a cookie or two (the gingersnaps are extraordinary), and sat in the stadium parking lot for an impromptu picnic.

Fullsteam Brewery (Durham) You’ve heard of “farm-to-table,” well this brewery is “plow-to-pint” and is highlighting North Carolina produced ingredients in their beers. It serves a dual purpose: crafting distinctive Southern-style brews and contributing to the economic well-being of the region. They’ve created a fun atmosphere in what appears to be a converted mechanic shop and we were easily talked into staying for their Thursday night trivia competition. I’m not much of a beer drinker, but their El Toro Shandy hit the spot and Mike took a shine to the El Toro and the Cack-A-Lacky.

Pizzeria Toro (Downtown Durham) Fresh, ingredient-centered dishes, thoughtfully combined and judiciously prepared – no over-wrought plates here – just as a pizzeria should be. Start with the suppli al telefono (miniature arancini) and kale salad for sure - we had to negotiate last bites. Then see if you can choose just one of the perfectly crispy wood-fired pizzas. We finally settled on the soft-egg with arugula, and I loved the peppery leaves with the rich, salty parmesan.

Durham

Stay + Visit:
21C Museum Hotel (Downtown Durham) Durham has some lovely architecture and I was impressed by the city’s efforts to repurpose and preserve historic office buildings and manufacturing facilities. Case in point: this hotel house in the Hill Building, where many of the original fixtures have been preserved including the original bank vault, lobby letterbox, and floors. The hotel has several galleries of contemporary art and was the perfect home-base for our explorations.

Hillsborough, N.C. – This town is so charming and appears to be carpeted with historic homes. I swear every lawn had a white-painted shingle detailing a past resident of significance. We would have spent more time here, but a torrential storm dampened our enthusiasm for exploration (pun 1,000% intended) and instead we camped out at Cup-A-Joe and had one of the best chocolate chip cookies ever. So, it wasn’t a total loss! I’d love to go back for a visit to Ayr Mount and hopefully dinner at Panciuto.

Sarah P. Duke Gardens – After wandering the Duke University grounds, getting our requisite gear from the campus store, and marveling at the massive amount of construction underway a visit somewhere more peaceful was in order. A lovely combination of manicured, formal gardens and more naturalistic green spaces it was fascinating for a novice gardener to see how the two types were seamlessly intertwined. A great place to stroll the paths or stretch out on the lawn with a good book.

Chapel Hill 2.jpg

Roasted Shrimp, Feta & Orzo Salad

Roasted Shrimp, Feta & Orzo Salad | Image: Laura Messersmith

Roasted Shrimp, Feta & Orzo Salad | Image: Laura Messersmith

Each week I follow along with Ina Garten (aka the Barefoot Contessa) and attempt to recreate one of her dishes in my tiny New York City kitchen. The catch? This is my version of cooking school and I’m making these recipes for the first time. I’ll share both my successes and um, challenges, along the way and we’ll see if I can keep up with the Contessa!

Episode: “All-Aboard”

The Set-up: Ina and Jeffrey are going out on their friend’s new tug boat and bringing a picnic lunch.

The Menu: Roasted Shrimp and Orzo Salad, Roasted Eggplant Spread, Coconut Cake, Fresh Lime Daiquiri

0:46 – Jeffrey thinks they should get a boat, Ina imagines having to “swab the deck” so they’re tagging along with friends instead. Smart girl.

1:18 – First up: Roasted Shrimp and Orzo Salad. Ina is cooking the shellfish (peeled, deveined, etc.) in the oven. Brilliant. The fewer pots of boiling water needed, the better.

2:27 – Pro Tip #1: Dress the cooked orzo while it’s still warm so it absorbs the flavor.

3:31 – Pro Tip #2: Use fresh herbs in this salad and if there are extras, chop them and freeze in small containers. (This totally works, especially when the herbs are going to be cooked anyway!)

4:02 – The veggies – scallions, red onion, fresh parsley, cucumber – are in the salad and now the roasted shrimp along with their olive oil and juices are stirred in.

5:13 – I assume that the shrimp and pasta are roughly room temperature at this point since Ina doesn’t seem concerned that the herbs or feta will wilt.

6:45 – Off to the local boat and fishing supply shop to source nautical table décor. Ina wisely sidesteps using an American flag as a table cloth, but finds a cool yacht ensign instead.

9:24 – Back at the house to make the Coconut Cake, an adaptation of her wildly popular Coconut Cupcakes recipe.

10:36 – As with many of Ina’s desserts, this one is taking no prisoners – 3 sticks of butter and 5 large eggs.

11:09 – Pro Tip #3: Sifting the dry ingredients serves a dual purpose: mixing and removing any lumps or small pieces.

12:11 – This is an interesting mixing process – eggs, butter and sugar; then alternating the dry ingredients with milk. I wonder why?

13:28 – As Ina bakes the cakes and frosts them with cream cheese frosting we see the boat being prepared for their voyage.

14:33 – Pro Tip #4: When making a layer cake there are two options. For a modern, flat surface turn the top layer over so it’s bottom side up; for a rounded, old-fashioned look put the layer on top side up.

15:20 – I don’t especially care for Coconut Cake, but even I can get behind a cake that is forgiving to the inexperienced froster – thanks shredded coconut!

19:14 – Next up, the Roasted Eggplant Spread, which I think is basically baba ganoush. Now, try to tell me you didn’t just imagine Owen Wilson shouting “baba ganoush!”

20:47 – We continue our table setting adventures with some white nylon cord sourced from the sailing supply shop.

21:02 – And do I detect a hint of shade being thrown in Sandra Lee’s direction? Ina says that talk of “tablescapes” makes her “craazy.” Preach!

22:50 – Napkin folding is over, time to finish up the Eggplant Spread, which Ina says she’ll serve with pita bread. I like that you can clearly identify all the ingredients – pieces of red pepper, parsley, red onion.

27:08 – Ina’s really on a tear today – she’s baffled by drink recipes that mix a single cocktail, because “who drinks one cocktail? I’m having a party.” Well said, well said.

28:40 – Today she’s making Fresh Lime Daiquiri, because if they’re on a boat then it has to be a rum-based drink. Works for me!

29:32 – They’re out on the dock sampling the cocktails and digging in to the eggplant spread.  Seriously, I think somebody let Ina pre-game this party; she’s having a grand old time.

29:57 – Sailing off into the proverbial sunset with plates of coconut cake. Sounds pretty good – invite me next time, please!

Final Thoughts:
Ina never ceases to amaze me with her ability to pull off an elegant, simple and portable (!) menu.

I really need to remember Ina’s Pro Tip #5: make cocktails in batches the next time we have a party.

One of these days we’re going to see Ina just buzzed enough to confirm my suspicions that she’s hilariously snarky. Closer and closer my friends… 

Roasted Shrimp, Feta & Orzo Salad | Image: Laura Messersmith

Roasted Shrimp, Feta & Orzo Salad | Image: Laura Messersmith

Lessons Learned:
You’re probably asking yourself, “what could you possibly learn from making Roasted Shrimp and Orzo Salad? It’s just pasta and some shrimp right?” Well friends, I contend that every time you cook a recipe, whether it’s the first time or the 1,000 variation that there’s a lot to be learned, even from the humble pasta salad.

Timers: When the ingredients and cooking method are simple it’s essential to be precise. The same way a drop of red wine on a crisp white shirt is glaringly obvious, gummy pasta or rubbery shrimp have no where to hide. When the difference between “just right” and “oh, dear…” is about 30 seconds it pays to set a timer!

Shrimp: That said, roasting shrimp is really, really easy. I defrosted and peeled them before drizzling with olive oil, kosher salt & pepper. They turned lightly pink after about 4 minutes and were fully cooked a few seconds later.

Pasta: Ina recommends dressing the orzo with lemon juice and olive oil while it’s still warm so that the pasta absorbs the dressing. Great idea, but to keep the texture “al dente” even with the added liquid I just slightly under cooked the pasta draining it about 30-45 seconds before the recommended cook time (for Barilla orzo it’s 9-10 minutes, I drained mine at about 08:45)

Herbs: Think of the fresh parsley and dill like you would arugula or baby spinach in a traditional salad. The herbs in this salad are a leafy green addition of vibrancy and texture, more than a garnish or seasoning, although they obviously serve that purpose too. Dried herbs have their place. This salad is not it. (Sorry spice rack.)

Onions: If you look closely you’ll notice that I skipped the red onion in this dish – for me the scallions added enough flavor and “heat” and I liked the way everything except the shrimp fell in the cool jade green color category. Your mileage may vary, but something to consider.

Roasted Shrimp, Feta & Orzo Salad | Image: Laura Messersmith

Roasted Shrimp, Feta & Orzo Salad | Image: Laura Messersmith

Small Kitchen Friendly?
Sorta, kinda. I used a baking sheet, a medium mixing bowl, a large pot, medium sieve, medium cutting board and a chef’s knife. I also needed a liquid measuring cup, measuring spoons, small spoon (for scooping out the cucumber seeds), mixing spoon or spatula, and parchment paper.

The Verdict:
I’m a sucker for pasta salads in vinaigrette and Roasted Shrimp and Orzo Salad one has a great balance of tangy feta, cool cucumber, and mildly sweet shrimp. Normally the thought of combining seafood and cheese sets off alarm bells, but in this case the shrimp and feta work well together, especially when paired with the crunch from the cucumber and leafy green herbs. This salad would be perfect for a light, but satisfying summer dinner, or as a “dish to pass” for a backyard party. It’s definitely easy to increase the quantity and I have a feeling that the leftovers will only grow in power, so making a little extra will be well worth the effort…

Roasted Shrimp, Feta & Orzo Salad | Image: Laura Messersmith

Roasted Shrimp, Feta & Orzo Salad | Image: Laura Messersmith

Butter Braised Pork Chops with Blueberry Balsamic Sauce

Butter Braised Pork Chops with Blueberry Balsamic Sauce | Image: Laura Messersmith

Butter Braised Pork Chops with Blueberry Balsamic Sauce | Image: Laura Messersmith

After more than five years of marriage and many wonderful dinners out together I can predict with a high level of accuracy what Mike will order from a menu. Any cocktail involving bourbon, oysters on the half-shell, and a gloriously grilled pork chop will catch his attention without fail. So, when I spotted this recipe for Butter Braised Pork Chops with Pickled Blueberry Balsamic Sauce on Not Without Salt last week I knew it would be perfect for a special Friday night dinner.

To be honest, I don’t always have the best luck trying to cook pork. I like it just slightly pink in the middle, but I have a tough time gauging the time and it ends up too raw, or over-cooked and dry. Neither option is ideal, so I was excited to try Ashley’s method of pan-searing and basting with a little bit of butter. It seemed like a simple, sure-fire way to cook a juicy, flavorful, restaurant-style pork chop.

I have another confession: I adore dishes that pair fruit with a savory ingredient, so while the pork chop was geared toward Mike, the blueberry sauce was the element that really convinced me to try this recipe. Just the thought of the bright blueberries, tart with balsamic spooned over salty, meaty pork made my taste buds sing and the results more than lived up to my imagination.

Butter Braised Pork Chops with Blueberry Balsamic Sauce | Image: Laura Messersmith

Butter Braised Pork Chops with Blueberry Balsamic Sauce | Image: Laura Messersmith

Butter Braised Pork Chops with Blueberry Balsamic Sauce (serves 4)

A brief note on juniper berries. I was able to find them in the jarred spice section of my grocery store (they look like dark green peppercorns), but if they aren’t available I’d substitute a sprig or two of fresh rosemary to get the herbal, piney scent they add to the sauce.

Ingredients:
1 teaspoon juniper berries
1 whole garlic clove, peeled
3 thyme sprigs, divided
1/2 cup balsamic vinegar
1 tablespoon sugar
1 cup (6 ounces) fresh blueberries
4 bone-in pork chops
2 tablespoon olive oil, divided
6 tablespoons butter, divided
Kosher salt
Ground black pepper

Sauce Instructions:
In a small saucepan combine the juniper berries, garlic, two thyme sprigs, balsamic vinegar, sugar and 1/4 teaspoon kosher salt. Bring to a boil over medium high heat then reduce to low and simmer for 5 minutes. (Cook a few minutes longer if you want a thicker, reduced sauce.)

Place the fresh blueberries in a bowl then strain the balsamic mixture through a sieve over the fruit. Allow the berries to sit at room temperature for at least 15 minutes.

The sauce can be made up to a day in advance and refrigerated. Rewarm before serving.

Pork Chop Instructions:
Sprinkle the pork chops generously with kosher salt and ground black pepper.

Set a large stainless steel or cast iron skillet over high heat, then add 1 tablespoon olive oil and 3 tablespoons butter to the pan. When the oil shimmers and the butter sizzles carefully add the pork chops to the pan. Cook in batches if necessary to prevent crowding the pan.

Cook on one side undisturbed for 3 minutes, then flip the chops and again let the chops sear for 3 minutes.

Add the remaining 3 tablespoons butter and thyme sprig and with a large spoon start basting the chops with the butter. Flip the chops repeatedly and continue to baste. The chops are done when a thermometer inserted into the thickest part of the chop reads 135°F. This should take about 7-8 minutes.

Remove the chops from the pan, cover with foil and rest for 15 minutes. Serve with the pickled blueberry-balsamic sauce.

Slightly adapted and re-written from Butter Braised Pork Chops with Pickled Blueberry Balsamic Sauce by Ashley Rodriguez of Not Without Salt.

Butter Braised Pork Chops with Blueberry Balsamic Sauce | Image: Laura Messersmith

Butter Braised Pork Chops with Blueberry Balsamic Sauce | Image: Laura Messersmith

Small Kitchen Friendly?
Yes! I used a 8” cast iron skillet, tongs, and a long-handled spoon (key since the pan is hot!); along with a paring knife, small sauce pan, medium bowl, liquid measuring cup, measuring spoons, and a small sieve. A plate for resting and aluminum foil round out the necessary equipment.

The Verdict:
Mike was nervous about the post-sear flipping, but the tender, juicy results more than convinced him. The pork was perfectly cooked with a golden crust and deep flavor that worked beautifully with the herbal, fruity blueberries. I served the chops over wilted garlicky kale, with a handful of fresh blue berries, a few dabs of goat cheese, and a sprinkle of slivered almonds. Heaven. These pork chops are deceptively simple combining a relatively small number of ingredients with results that are far greater than the sum of the parts.  I can’t wait to try this cooking method with other fruit sauces. Peaches or cherries maybe?

Butter Braised Pork Chops with Blueberry Balsamic Sauce | Image: Laura Messersmith

Butter Braised Pork Chops with Blueberry Balsamic Sauce | Image: Laura Messersmith