White Chocolate Peppermint Cookies with Vanilla Salt

White Chocolate Peppermint Cookies with Vanilla Salt | Image: Laura Messersmith

White Chocolate Peppermint Cookies with Vanilla Salt | Image: Laura Messersmith

In the world of herbs and flavorings mint gets the short end of the stick; relegated to chewing gum, left in the cut-glass dish long after the strawberry candies with the soft centers have been sifted out, candy canes gone chewily humidified with neglect while the chocolate orange gets all the glory.

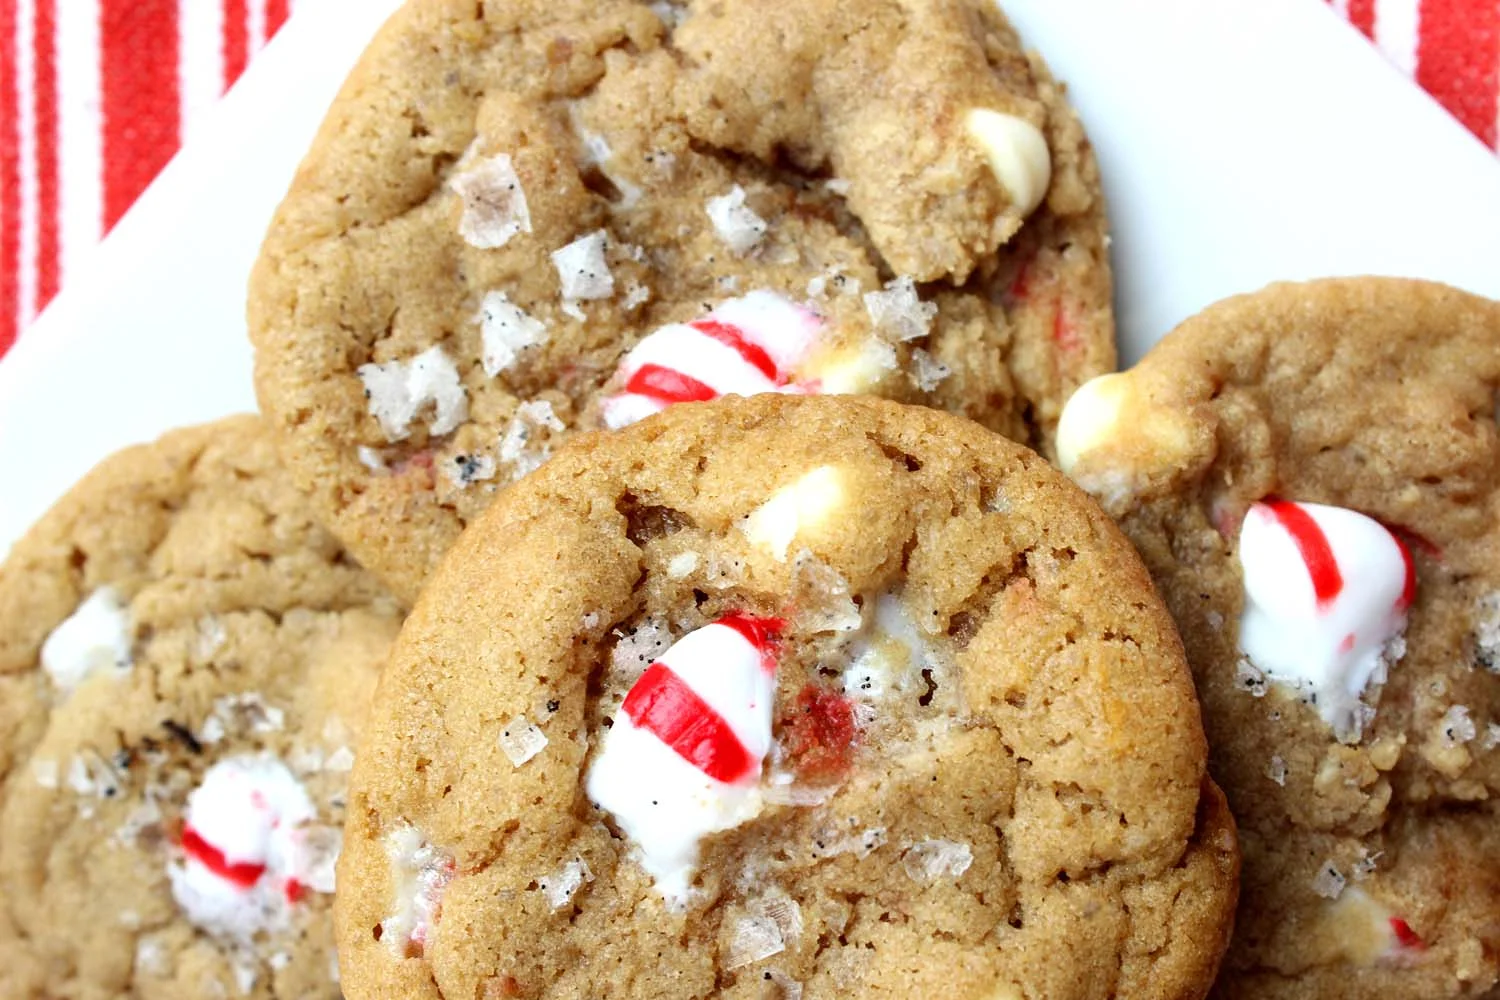
It’s a crime because mint is so lovely – think about it: a Thin Mint would just be a dry cookie coated in waxy chocolate without that mentholated breeze. Perhaps I'm biased because it’s one of my favorite flavors, but I was pleased to see one of my favorite bloggers, Ashley Rodriguez of Not Without Salt, give it some love in the form of the White Chocolate Peppermint Cookie. Rather than make the humble starlight mint an ironic punchline she’s treated them with respect surrounding their red and white striped freshness with a cast of players that lets their virtues shine. Cool and energizing with a foundation of smooth sweetness and a top note of vanilla scented salt. Perfect for a festive holiday occasion and a lovely send-off for any stray candy cane.

White Chocolate Peppermint Cookies with Vanilla Salt | Image: Laura Messersmith

White Chocolate Peppermint Cookies with Vanilla Salt | Image: Laura Messersmith

White Chocolate Peppermint Cookies with Vanilla Salt (yield 18 to 24 cookies)

Ingredients:
1/2 cup (1 stick) unsalted butter at room temperature
3/4 cup plus, 2 tablespoons dark brown sugar
2 tablespoons granulated sugar
2 tablespoons turbinado sugar (aka Sugar in the Raw)
1 egg at room temperature
1 teaspoon vanilla extract
1 3/4 cups all purpose flour
3/4 teaspoon baking soda
1/2 teaspoon kosher salt
1 cup white chocolate chips
1/4 cup roughly crushed peppermint candies (or candy canes)
2 tablespoons vanilla sea salt (store bought or homemade, recipe below)

Instructions:
In a medium mixing bowl or in the bowl of a stand mixer, cream the butter and all three sugars together on medium speed, until smooth and light in texture, about 5 minutes. Stop the mixer and use a rubber spatula to scrape down the sides of the bowl as needed. Add the egg and vanilla to the bowl and mix well to combine. Again, stop the mixer and scrape down the bowl with a spatula as needed.

In a separate medium bowl, whisk the flour, baking soda, and salt together.

With the mixer on low, slowly add the dry ingredients. Mix until streaks of flour still run throughout and the dough just comes together. Stir the crushed peppermint candies and white chocolate chips in by hand, taking care to make sure everything is evenly distributed.

For best results, cover with plastic wrap and refrigerate the dough for 24 hours. Resting the dough intensifies the caramel flavors, and the texture of the baked cookie improves.

When ready to bake, preheat the oven to 360 degrees F. Line two rimmed baking sheets with parchment paper. Scoop the dough into 1 inch portions and roll lightly between your hands into balls. Tap the top of the cookies into a shallow dish of vanilla salt and place onto the baking sheets spaced about 1 1/2 – 2 inches apart. Once the cookies are formed, chill again on the baking sheet for 5-10 minutes to allow them to firm up again.

Bake for 10 to 12 minutes. Rotate the sheets halfway through if the cookies appear to be baking unevenly. The cookies should be lightly golden on the outside but still look quite gooey on the inside. Allow the cookies to cool for 5-10 minutes before moving to a wire rack to finish cooling.

These are best eaten the day of baking but will keep, if well sealed, for up to 2 days.

Rewritten and very slightly adapted from Ashley Rodriguez’s White Chocolate Peppermint Cookies with Vanilla Salt via Food52.

White Chocolate Peppermint Cookies with Vanilla Salt | Image: Laura Messersmith

White Chocolate Peppermint Cookies with Vanilla Salt | Image: Laura Messersmith

Homemade Vanilla Sea Salt (yield 3/4 cup)

Ingredients:
3/4 cup flaked sea salt
1 vanilla bean

Instructions:
Place the sea salt in a small bowl. Next, split the vanilla bean lengthwise with a small paring knife. Run the tip of the knife along the interior of each half to scrape out the small black seeds. Add the vanilla seeds to the sea salt and rub together with your fingers to combine. Transfer the vanilla salt to an air tight jar or container. Tuck the empty vanilla bean pods into a mason jar of granulated sugar to get started on your next project… Vanilla Infused Sugar! The sea salt can be used right away or saved indefinitely.

Rewritten from Joy the Baker’s DIY Vanilla Salt.

White Chocolate Peppermint Cookies with Vanilla Salt | Image: Laura Messersmith

White Chocolate Peppermint Cookies with Vanilla Salt | Image: Laura Messersmith

Small Kitchen Friendly?
Yes! I used two medium mixing bowls, a stand mixer (a hand mixer would work too), two rimmed baking sheets, a rubber spatula, measuring cups and spoons, and a 1 tablespoon cookie scoop. A small dish to roll the cookies in vanilla salt is helpful, as is a heavy rolling pin, a zip top bag (for breaking up the candy pieces), and parchment paper. If you're also making the vanilla salt, then you'll also need a small bowl, small cutting board, and a paring knife along with an airtight storage container.

The Verdict:
I made these cookies for our annual holiday party and based on the small amount left on the platter at the end of the night I’d say they were a success. I love the bracing chill of peppermint in any form - as evidenced by my hunt for the best Mint Chocolate Chip Ice Cream - and here it’s perfectly complimented by the caramel sweetness of the dough and the white chocolate pieces. All that sugar could get cloying if not for the finishing edge of the vanilla salt. Vanilla on it’s own isn’t necessarily sweet and with the briny sea salt it does its work as an amplifier and keeps these cookies just this side of too much.

White Chocolate Peppermint Cookies with Vanilla Salt | Image: Laura Messersmith
White Chocolate Peppermint Cookies with Vanilla Salt | Image: Laura Messersmith

Homemade Marshmallows

Homemade Marshmallows | Image: Laura Messersmith

Homemade Marshmallows | Image: Laura Messersmith

Each week I follow along with Ina Garten (aka the Barefoot Contessa) and attempt to recreate one of her dishes in my tiny New York City kitchen. The catch? This is my version of cooking school and I’m making these recipes for the first time. I’ll share both my successes and um, challenges, along the way and we’ll see if I can keep up with the Contessa!

Episode: “Just Candy”

The Set-up: Ina is working on ways to display and gift candy, so she invited Dylan Lauren of Dylan’s Candy Bar to help!

The Menu: Homemade Marshmallows, Winter Squash Soup, White Chocolate Bark

0:22 – Ina’s not really a fan of store-bought marshmallows, but says that making them at home was a revelation. High praise, indeed.

1:15 – Anything involving packets seems to make me nervous, whether its gelatin or yeast. I need to conquer that anxiety!

2:29 – I didn’t really think about this, but since these are going to be white marshmallows it’s important to use light corn syrup.

3:31 – Good call on recommending that children be really carefully supervised if they’re going to help. Molten sugar is not a toy.

4:04 – Pro Tip #1 – Use a heat proof measuring cup with a spout to help pour the hot sugar syrup into the mixer.

5:18 – We visit Dylan Lauren at her store, Dylan’s Candy Bar, to learn some tricks for displaying candy. Idea #1: a topiary shaped like a witch’s hat. Oh, I forgot to mention – this is a Halloween episode….just a bit late.

6:34 – Back to Ina, who manages the marshmallow mixture without too much trouble. Pro Tip #2: a generous dusting of confectioner’s sugar helps to keep the marshmallows from sticking too much.

9:45 – Ina is making Winter Squash Soup as a gift to Dylan. She says it’s inspired by a French dish – soup au potiron, essentially a pumpkin soup.

10:11 – Rather than using fresh pumpkin, Ina is using some butternut squash and canned pumpkin (not pie filling.)

11:26 – We’re back to Dylan who’s making a cookie tin Halloween-ish with decoupaged tissue paper and funky stickers. #crafty

12:48 – The finishing touches on the soup will be some honey-white bread made into croutons. Pro Tip #3: Any bread can be toasted and made into croutons.

13:53 – It’s interesting to me to see when Ina uses an electronic tool and when she’ll do something by hand. I tend to avoid anything with a cord unless that’s really the only way, but I have no idea why.

18:30 – The day of Dylan’s visit has arrived and Ina is making one more type of candy for their wrapping party: White Chocolate Bark.

19:25 – Pro Tip #4: an easy way to temper chocolate is to melt a portion of it in 30 second increments using the microwave. Then add the remaining portion to cool it down and stabilize the mixture.

20:17 – I didn’t realize that tempering chocolate prevents that cloudy bloom, but Ina says that this process will keep it shiny.

21:32 –The chocolate is melted but still soft and now Ina is adding toasted pistachios, chopped apricots, and dried cranberries. Yum.

22:18 – Pro Tip #5: Choose ingredients that both look pretty and have flavors that compliment each other.

23:01 – Dylan is packing up her loot to bring it out to East Hampton and Ina is packing up the Winter Squash Soup and croutons to send back with her.

24:59 – Ina has cut the Homemade Marshmallows into squares and put a lollypop stick into each one and wrapped them in individual glassine bags ready to go for Dylan!

27:16 – Dylan has arrived an the assembly of the marshmallow-witch’s hat topiary is under way. I was all prepared to hate on this, but it actually looks pretty cool.

28:20 – Next up is the White Chocolate Bark, which Ina has cut into large squares. Dylan suggests placing two pieces back to back so that the pretty fruit and nut topping shows. Then they go into the tin with a few other treats and it’s good to go!

29:43 – Ina gives Dylan her soup take-out and after a sample of the white chocolate bar they agree, “that’s a wrap!”

Final Thoughts:
Ina’s right, a homemade gift really can be jazzed up with the right wrapping.

I have really never made candy of any kind, probably something to work on…

These packaging suggestions are cute, but Halloween colors tend to be tacky - maybe in autumnal golds and creams?

Homemade Marshmallows | Image: Laura Messersmith

Homemade Marshmallows | Image: Laura Messersmith

Lessons Learned:
I’m not normally one to make something easily purchased, but I also find candy and caramel making just a bit terrifying so Homemade Marshmallows seemed like a good entry point. Here’s what I learned along the way….

Sugar Syrup – Is really nothing to be trifled with, the temperature of molten sugar is very, very high so it’s important to be extremely careful when handling it and have your oven mitts at the ready. Add it very slowly and keeping the mixer on low speed until it cools a bit before ramping up to high – splattering hot sugar is not anyone’s idea of a good time.

Battling the Sticky – A rubber spatula coated with non-stick spray will be a godsend when it comes time to scrape the marshmallows out of the mixing bowl and into the pan. Trust. You’ll also find that confectioner’s sugar (aka powdered sugar or 10x) is your friend here and basically serves the same purpose flour does with pie crust. Don’t be shy and embrace the mess! Give both the pan and the top of the marshmallows a generous layer and coat the knife when cutting the squares. I’d recommend tapping the edges of the cut marshmallows in it as well to keep them from sticking to one another.

Prep & Timing – This is a recipe that rewards the organized cook who has her ducks in a row. Do have the gelatin and water mixed ahead, do prepare the baking pan in advance, do have your rubber spatula coated with non-stick spray before you try to scoop out the marshmallows.

Flavored Marshmallows – I came across this recipe in Southern Living a few weeks ago and now that I’ve got my feet wet with a vanilla version I really want to make some different flavors. If you have some extracts on hand this would be the time to get creative. Wouldn’t a cinnamon swirled marshmallow be so good in hot chocolate?

Homemade Marshmallows | Image: Laura Messersmith

Homemade Marshmallows | Image: Laura Messersmith

Small Kitchen Friendly?
Yes and no. A stand mixer really is pretty essential here, although if you had patience and a steady hand a strong electric hand mixer could work in a pinch. Beyond that I needed a medium sauce pan, 8x12 glass baking dish, rubber spatula, fine mesh sieve, liquid measuring cup, and measuring spoons. A chef's knife or bench scraper and a ruler will be helpful to cut the marshmallows into pieces. You’ll definitely need a candy thermometer or an electronic thermometer that can register 250 degrees or higher. Non-stick spray will be helpful too, even though the recipe doesn’t call for it.

The Verdict:
I felt a little like the Ghostbusters after the Stay-Puft Marshmallow Man explodes by the end of my Homemade Marshmallow adventure and I absolutely had that “A Marshmallow World”* song in my head the whole time, but the results were totally worth it. I’ve had what I’d term homestyle or artisan marshmallows before but these blew them out of the water. Incredible texture - sublimely light, tender, fluffy - with a lovely sweet vanilla flavor. I’m pretty sure one of these would be awesome in everything from hot chocolate, to coffee, to apple cider, and I can’t wait to make them in more flavors too!

*I gave you the Dean Martin/Frank Sinatra duet from 1967 where they’re both preeetty ‘toasted’.

Homemade Marshmallows | Image: Laura Messersmith

Homemade Marshmallows | Image: Laura Messersmith

Chewy Molasses Cookies

Chewy Molasses Cookies | Image: Laura Messersmith

Chewy Molasses Cookies | Image: Laura Messersmith

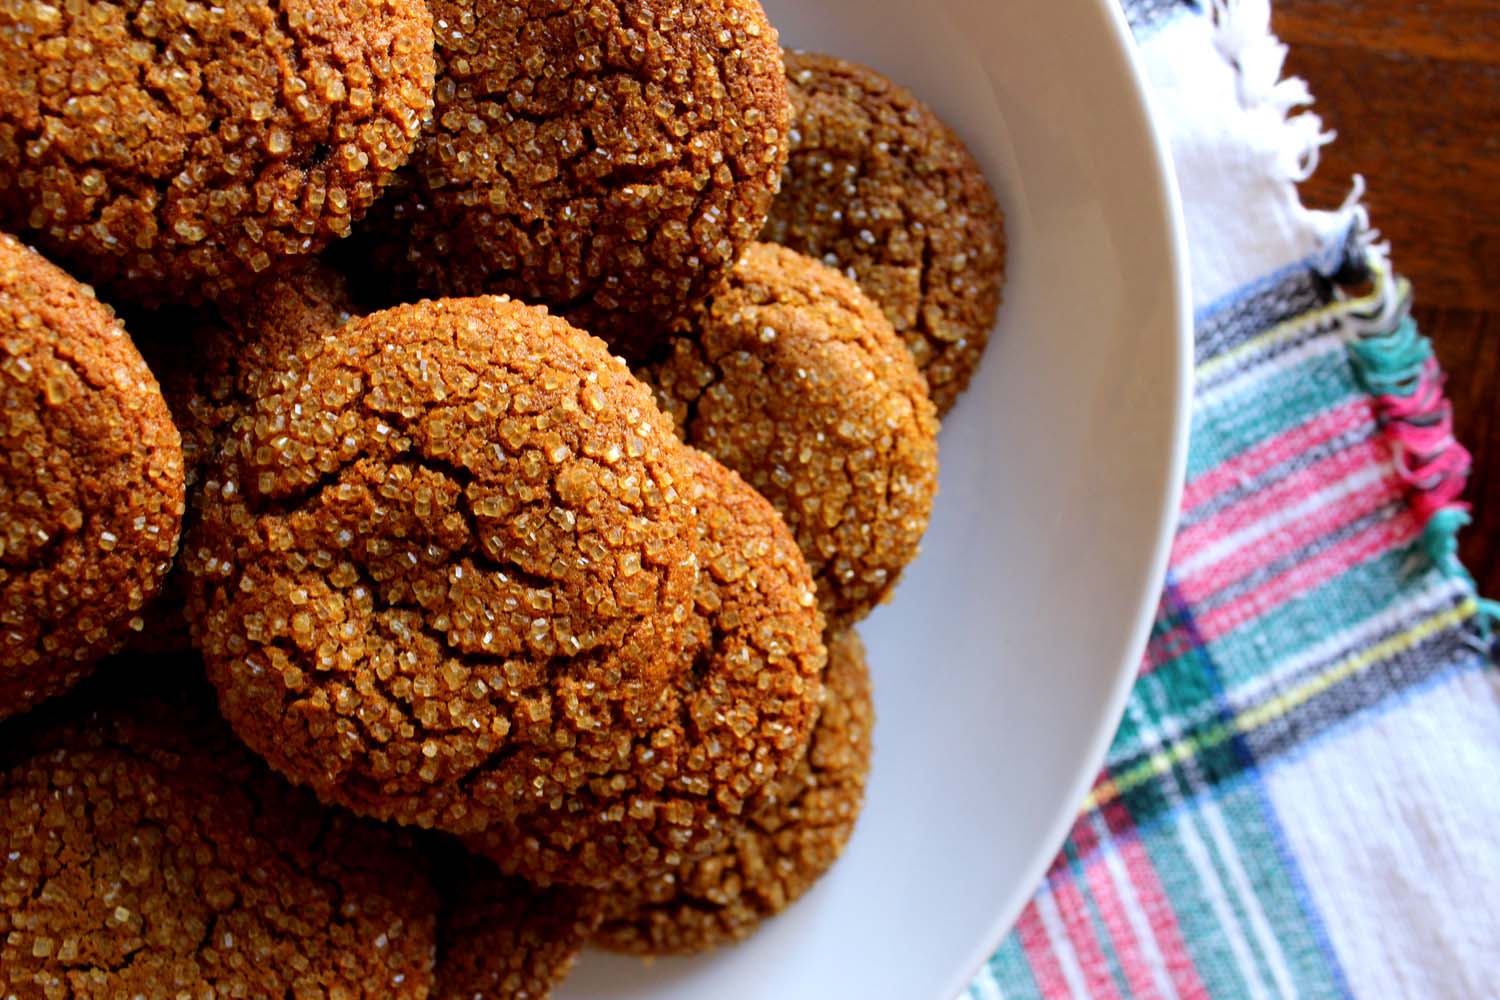
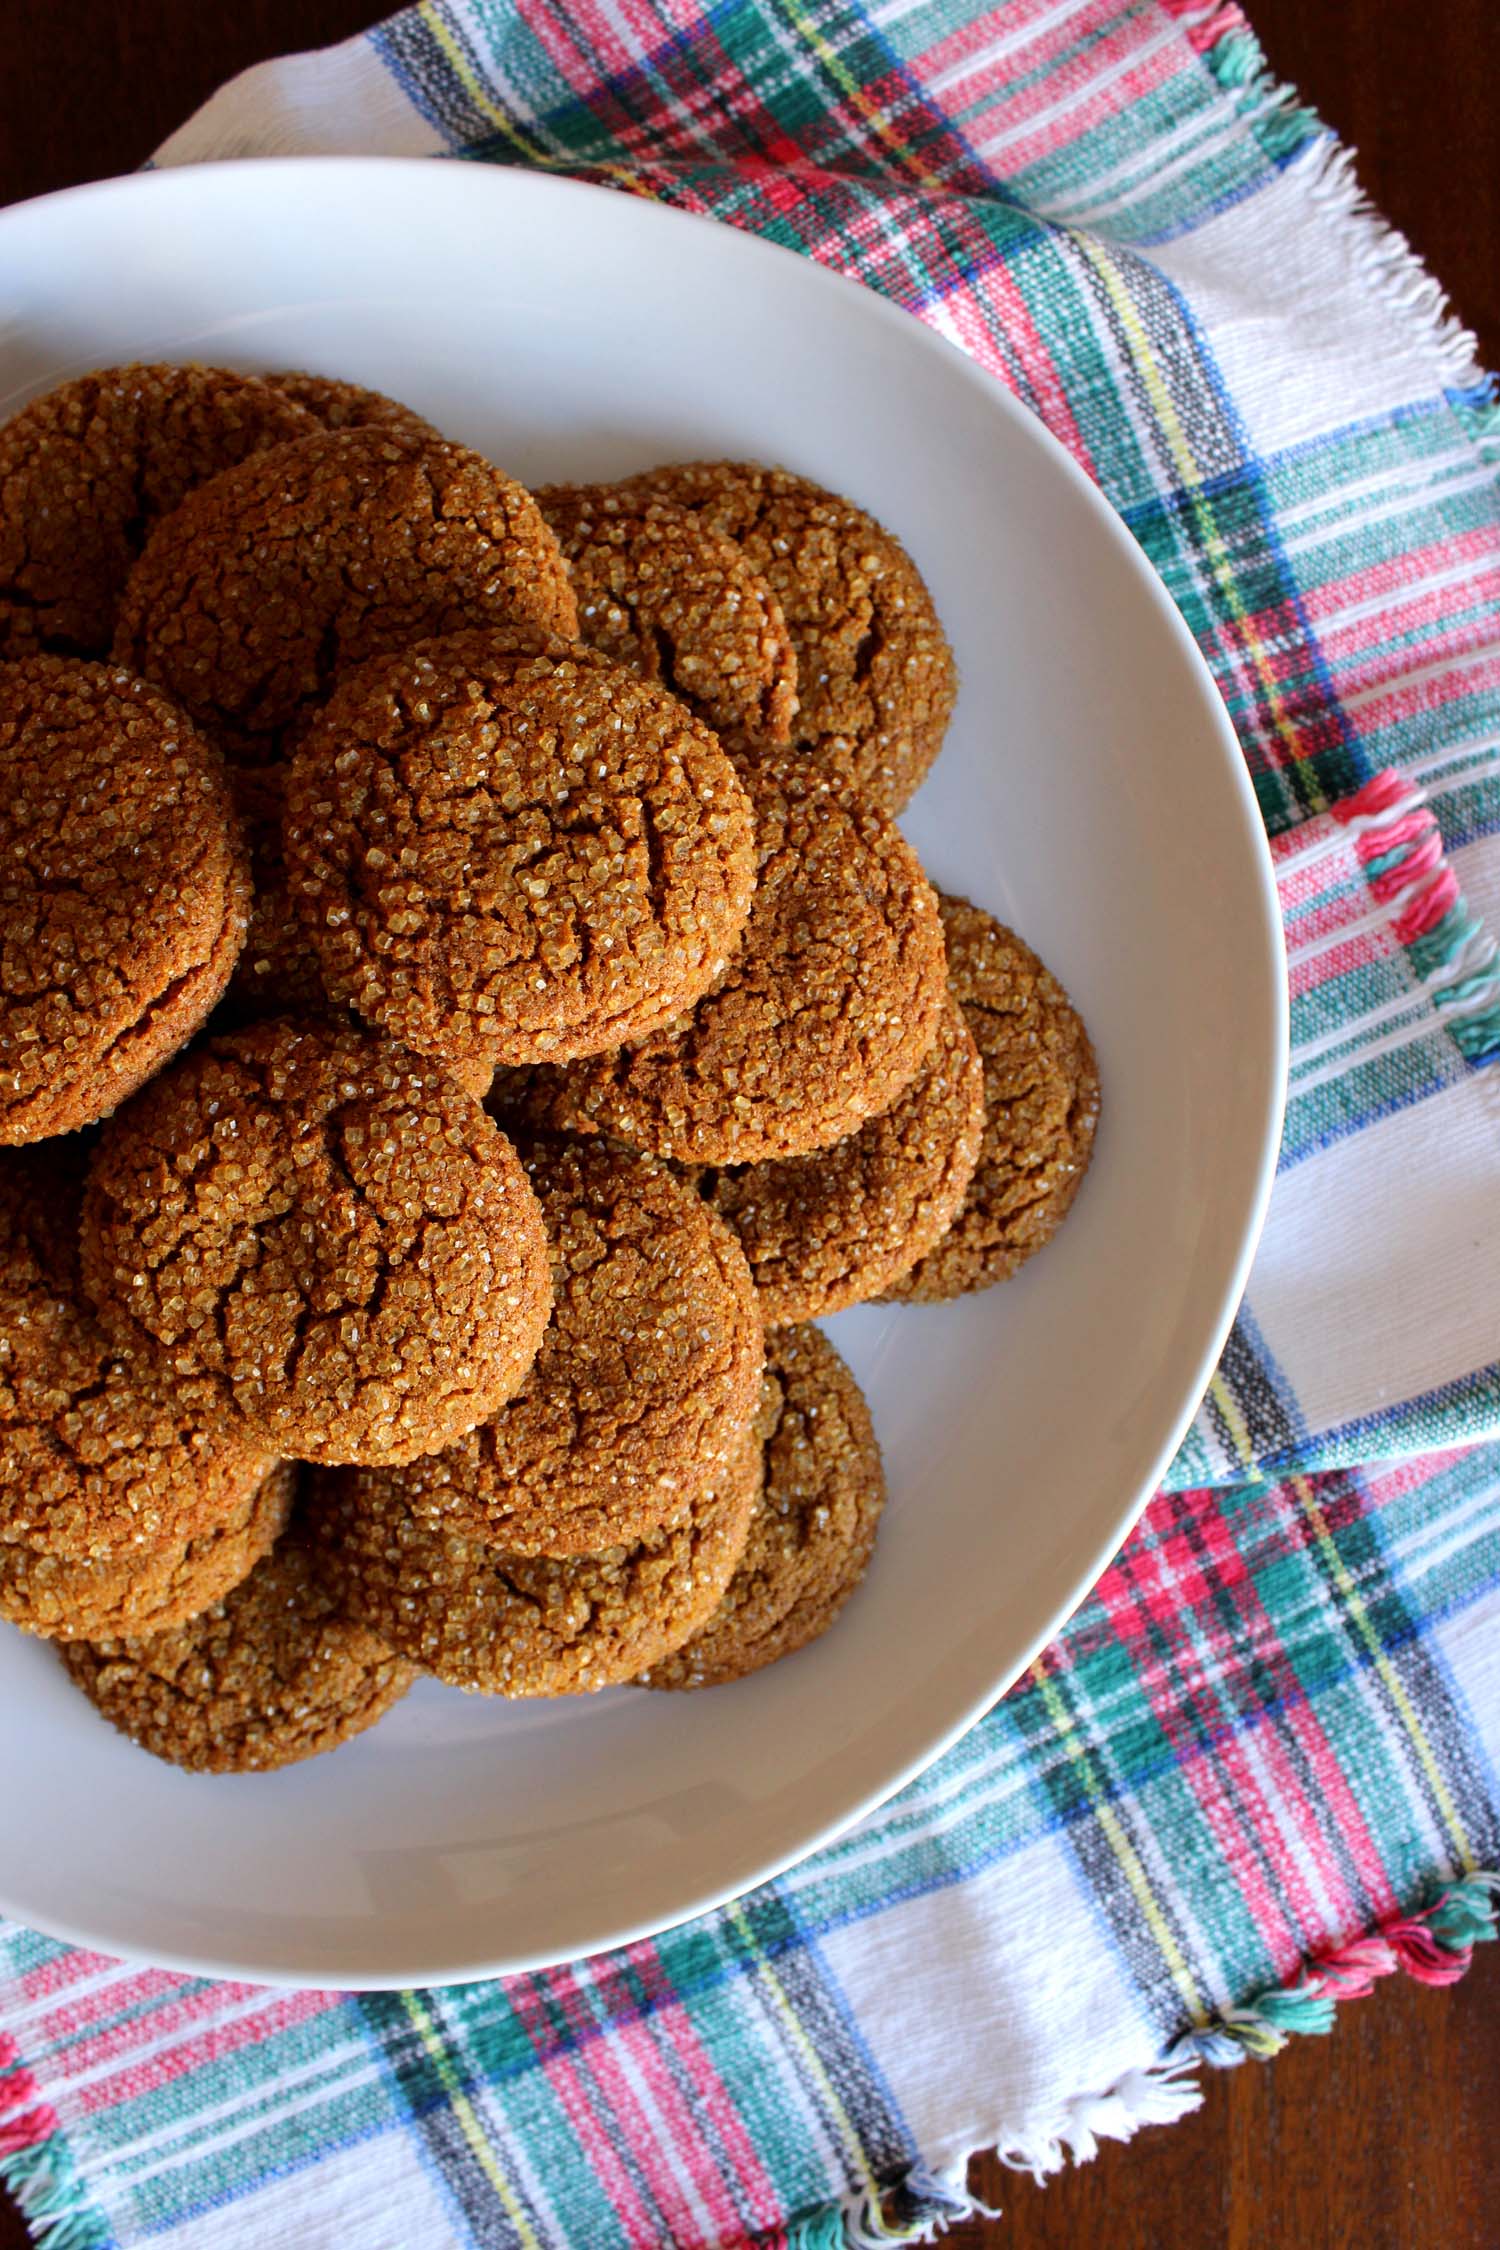
It’s fully dark by five-thirty these days, but thankfully New York City has put on its holiday glitter to compensate and my evening walks with Maddie have been transformed into a stroll through twinkle lights and piney tree lots. I’m fairly sure that the powers that be scheduled Christmas for December knowing we’d need a little boost when the thermometer drops and the sun sleeps a little longer. Even holiday food seems determined to balance out the chilly temperatures with extra pizzazz and flavors like cloves, ginger, cardamom, and cinnamon to warm the spirit.

The moment I spotted these cookies in a Bon Appétit round-up, I knew they were destined for this year’s baking extravaganza. What better form to deliver the sweet heat of cinnamon and cardamom than a soft molasses cookie sparkling with coarse sugar? The double bonus is that they couldn’t be simpler and I’d be willing to bet that 95% of the ingredients are already in the pantry, which means you’re just a quick stir away from filling the house aromatic good-cheer. What are you waiting for?

Chewy Molasses Cookies | Image: Laura Messersmith

Chewy Molasses Cookies | Image: Laura Messersmith

Chewy Molasses Cookies (yield: 2 dozen cookies)

Ingredients:
2 cups all purpose flour
2 teaspoons baking soda
1 1/2 teaspoon ground cinnamon
1 teaspoon ground ginger
3/4 teaspoon ground cardamom
1/2 teaspoon kosher salt
1 large egg
1/2 cup (1 stick) unsalted butter, melted
1/3 cup granulated sugar
1/3 cup unsulfured molasses
1/4 cup (packed) dark brown sugar
1/3 cup coarse sanding or raw sugar (for rolling)

Instructions:
Place oven racks in lower and upper thirds of oven and preheat to 375 degrees F.

In a medium bowl, sift together the flour, baking soda, cinnamon, ginger, cardamom, and salt. In a separate medium bowl, whisk the egg, butter, granulated sugar, molasses, and brown sugar until well combined.

Add in the dry ingredients to the wet ingredients and mix until just incorporated. If the dough is sticky, cover in plastic wrap and refrigerate for 20-30 minutes until firm and easy to handle.

Place the raw sugar in a shallow bowl and line two rimmed baking sheets with parchment paper. To form the cookies, use a cookie scoop or tablespoons to portion the dough and roll into 1 inch balls. Roll each ball in the coarse sugar and place on the baking sheets, spacing 2 inches apart.

Bake the cookies for 8-10 minutes, rotating baking sheets halfway through, until cookies are puffed, cracked, and just set around edges. Overbaked cookies won’t be chewy. Cool cookies on wire racks.

Do Ahead: Cookie dough can be made and rolled into balls 2 weeks ahead. Freeze on a baking sheet; transfer to zip top plastic bags. Let sit at room temperature 30 minutes before rolling in sugar.

Re-written and adapted from Alison Roman’s Chewy Molasses Cookies for Bon Appétit.

Chewy Molasses Cookies | Image: Laura Messersmith

Chewy Molasses Cookies | Image: Laura Messersmith

Small Kitchen Friendly?
Definitely. I used a medium mixing bowl, small mixing bowl, and a small shallow bowl. I also needed two rimmed baking sheets lined with parchment paper (or reuse one), a rubber spatula, cookie scoop, a liquid measuring cup, and dry measuring cups and spoons.

The Verdict:
These cookies are beautifully crunchy and crisp on the outside while the interior remains soft and deeply spiced, like the soft-bellied kissing cousin of the ginger snap. The simplicity of the ingredients and process belies the complexity of texture and flavors, which is a win in my book. I also have a feeling that these would be a crowd pleaser - especially my father, who loooooves anything gingery, would be a very happy camper with a few of these babies and a glass of milk.

Chewy Molasses Cookies | Image: Laura Messersmith

Chewy Molasses Cookies | Image: Laura Messersmith

Country French Omelet

Country French Omelet | Image: Laura Messersmith

Country French Omelet | Image: Laura Messersmith

Each week I follow along with Ina Garten (aka the Barefoot Contessa) and attempt to recreate one of her dishes in my tiny New York City kitchen. The catch? This is my version of cooking school and I’m making these recipes for the first time. I’ll share both my successes and um, challenges, along the way and we’ll see if I can keep up with the Contessa!

Episode: “Post Cards from Paris”

The Set-up: Ina and Jeffrey are channeling their trips to Paris via a French-themedstaycation.

The Menu: Country French Omelet, Double Hot Chocolate, Veal Chops with Roquefort Butter, Potato Basil Puree

0:47 – Ina and Jeffrey’s routine when they go to Paris is to drop their bags and go immediately to Café Varenne for the Country French Omelet. Sounds good to me!

1:02 – The recipe starts with sautéing thick-cut bacon (or lardon if you have access).

2:30 – Then the potatoes are cooked in the rendered bacon fat and I’m in heaven already.

3:18 – Ina says she hates making individual omelets, but this one is big enough for two so it works perfectly.

4:21 – Now that the bacon and potatoes are both cooked the egg goes into the pan and the filling is added back in. This seems like a hybrid of an omelet and a frittata, which is perfect in my book – no flipping required!

5:39 – Jeffrey arrives on the scene just as the omelet comes out of the oven and he correctly identifies the inspiration. Good memory! Now to divide the responsibilities on grilling & shopping, neither of which are his strong suit…

6:23 – At least he has a delicious breakfast to fortify himself for the day, and this might be the simplest recipe that involves actual cooking I’ve seen on this show.

9:42 – Moving onto the Potato Basil Puree. Pro Tip #1: involves blanching and shocking the fresh basil will help set the bright green color. Tricky.

10:17 – Now a little trip down memory lane to visit the Bistrot de Paris where potato puree is standard issue with many dishes.

11:29 – Pro Tip #2: Use an electric hand mixer to get really light, fluffy mashed potatoes.

12:03 – Only Ina could mix pale green cream into mashed potatoes and not have the entire bowl look like pea soup.

13:44 – Jeffrey is off to the wine shop to get advice from Jack on what to pair with their dinner. Jack suggests several from the Rhone valley and Jeffrey chooses the one that shares its name with the Marché de Raspail- Ina’s favorite Parisian market. Great job.

14:55 – The main course comes from Ina’s go-to butcher, Guilhien Jean-Bernard on the Rue de Bac, where she often buys veal chops.

18:26 – Ina says this is meant to be a day-off, but how can that be when there’s a camera crew around? Best not to look to hard at the logic.

19:40 – Anyway, she’s out in the backyard grilling the Veal Chops with Roquefort Butter, while Jeffrey tries to redeem his reputation as a bad shopper by picking up a lovely surprise: apple tatin just like the one they have at Café de Flore. He’s so sweet!

20:15 – Pro Tip #3: if making a sauce is too much trouble, use a compound or flavored butter instead and put a piece or two on top of the grilled chops.

21:38 – Ina says she does several different kinds of compound butter, white truffle for a special occasion or mustard butter too.

22:59 – While Ina puts the finishing touches on the veal chops Jeffrey secrets the apple tatin in the pantry until it’s time for the big reveal.

23:12 – Dinner on the terrace as they channel Café de Flore, even more so when Jeffrey brings out dessert. They’re adorable!

26:35 – Switching gears to Ask Ina. Deborah is baking brie in puff pastry, but isn’t sure whether to remove the rind. Ina says the rind is edible, but recommends whole wheel of Camembert rather than a wedge of brie since it’s neater when baked.

27:41 – Andy is having a rough time with his coq au vin, it turns purple! Ina manages to tell him nicely that that’s what it’s supposed to look like thanks to the red wine.

28:24 – Chris is hoping for some recommendations on Parisian food markets. Ina says she loves the Marché de Raspail and La Grande Epicierie in Le Bon Marché department store.

29:50 – Alice is desperate for a recipe that will make hot chocolate like Angelina’s in the Rue de Rivoli. Ina has a suggestion Double Hot Chocolate for how to make it at home. Jeffrey reaps the spoils of the recipe demonstration. Winning!

Final Thoughts:
I love the idea of basing a menu around cafes they’ve visited in Paris, what a great way to relive a trip!

All of these recipes are quite simple, but perfectly highlight the ingredients.

I wonder if the Gartens need a helper on their next trip….?

Country French Omelet | Image: Laura Messersmith
Country French Omelet | Image: Laura Messersmith

Lessons Learned:
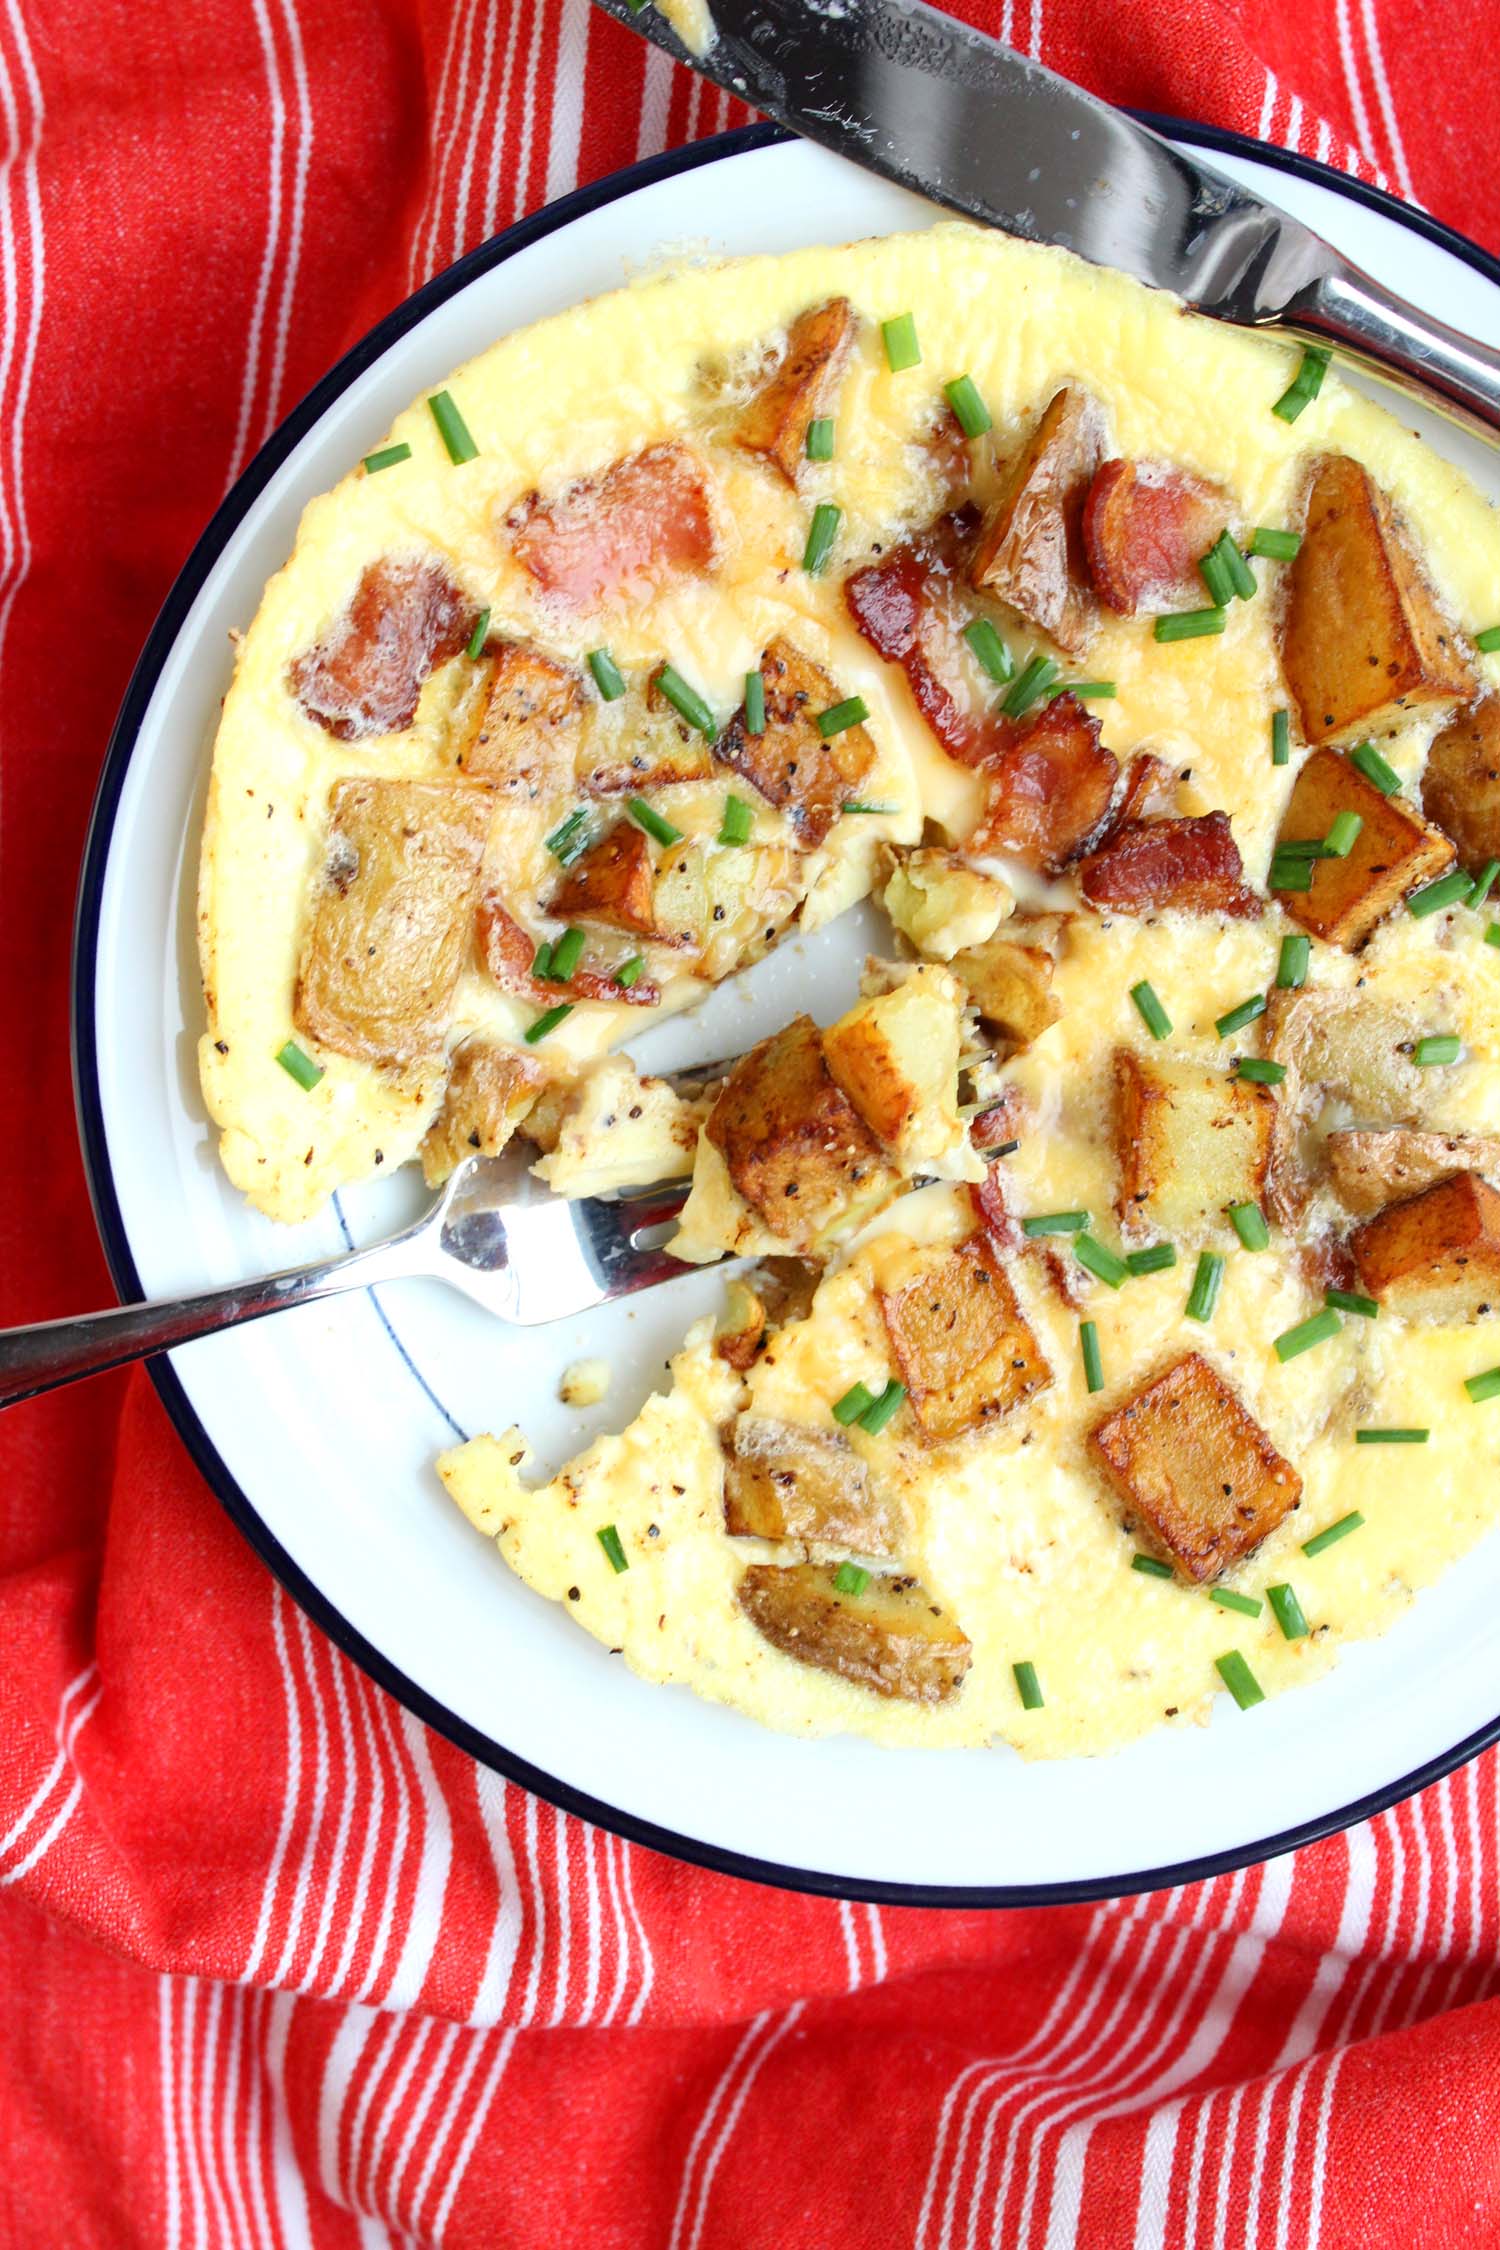
Is it nuts that I’ve never made an omelet? I’m not sure that this Country French Omelet fully counts, but at least I’m on the right track. Here’s what I learned…

Bacon – I’d recommend dicing the bacon a little larger than you’d think, somewhere between 1/3” – 1/2" inch wide across each strip is about right, since it will shrink a bit as it cooks.

Potatoes – Bless Ina for the skins-on note, no peeling required! Just make sure to dice them all about the same size. I’d recommend a small cubes about 1/3” square so that they’ll cook all the way through without burning on the outside. Remember all your sautéing lessons and resist the urge to crowd the pan. For this recipe a medium potato (baseball-ish sized) will fit nicely in a 10” sauté pan.

Cook Time – I made an individual portion with about half the called for potatoes and bacon; using 3 eggs in an 8” stainless steel sauté pan. Because the portion was a bit smaller I started the assembled omelet in the oven for 6 minutes, at about 7 minutes it was 90% set so I took it out assuming that the eggs would continue to cook a little as I snipped the chives. If you like your eggs fully set you’ll likely need to add 1-2 minutes to the overall suggested cooking time.

Omelet Plating – I was convinced that I’d be scraping this omelet out of the pan cursing eggs for being so darn sticky, but amazingly it came right out with very little help from the spatula needed. The combined power of bacon fat, olive oil, and butter I suppose– which PS: makes the bottom of the omelet incredibly delicious.

Country French Omelet | Image: Laura Messersmith

Country French Omelet | Image: Laura Messersmith

Small Kitchen Friendly?
1,000% This recipe is perfect for anyone with limited cooking equipment/space. I used an 8” stainless steel sauté pan (use a 10 inch if you’re making the full recipe), a medium cutting board, chef’s knife, small bowl, a table fork, and fish spatula.

The Verdict:
Ina’s Country French Omelet is one of those recipes that’s greater than the sum of it’s parts and elevates all of the ingredients. This is the type of recipe that’s perfect anytime of day – a little toast & jam at breakfast, maybe a small side salad at lunch, add a toasted tartine with Gruyere at dinner and it’s a meal. The fact that the ingredients are so simple that you’re likely to have them on hand at any point means that you’re no more than 25 minutes away from a delicious meal. Just the kind of effort most of us have at this busy time of year. Let all the choirs of angels sing!

Country French Omelet | Image: Laura Messersmith

Country French Omelet | Image: Laura Messersmith