Bruléed Grapefruit Tart

Bruléed Grapefruit Tart | Image: Laura Messersmith

Bruléed Grapefruit Tart | Image: Laura Messersmith

It’s citrus season again and the produce section is once more bursting with oranges, pink lemons, and my favorite: grapefruits. When I was younger the only way I could eat bracingly tart grapefruit was with heaping spoons of sugar. I admit, this pretty much defeats the purpose of consuming fruit in the first place, but that’s neither here nor there. As my taste buds matured I needed less and less sugar and today I sip freshly squeezed grapefruit juice without wincing.

My mood needs the bracing boost of sharp citrus. But for folks still on the fence, this bruléed grapefruit tart strikes a happy medium between lovely sweetness and teeth aching acidity by combining the milder ruby red or pink grapefruit variety with just the lightest sprinkle of toasted sugar and a simple, crisp crust.

Now, if it just tasted delicious I’d be sold, but this dessert has the extra benefit of also looking impressive. Elegant, concentric overlapping circles of grapefruit segments glistening under the melted sugar fooled my friends into thinking it came from a bakery. High praise. Imagine my enjoyment when I revealed that the entire process took place entirely in my own kitchen.

Bruléed Grapefruit Tart | Image: Laura Messersmith

Bruléed Grapefruit Tart | Image: Laura Messersmith

Bruléed Grapefruit Tart (serves 8)

 Tart Shell Ingredients:
10 tablespoons (1 1/4 sticks) unsalted butter at room temperature
1/2 cup granulated sugar
1/2 teaspoon pure vanilla extract
1 3/4 cups all-purpose flour
Pinch salt
3-4 tablespoons cold water

Filling Ingredients:
4 large ruby red or pink grapefruits
1/4 cup orange or citrus marmalade
1/3 cup finely crushed butter cookies or honey graham crackers
6 tablespoons coarse sugar

Instructions:
In a large bowl, combine the butter and sugar together with an electric hand mixer. Add the vanilla. Add the flour and salt and mix on low speed until the dough starts to come together.

Press the dough into a 9 inch round false-bottom tart pan making sure that the finished edge is flat and the corner between the sides and bottom is sharp. Refrigerate until firm, about 1-2 hours.

Meanwhile, preheat the oven to 350 degrees F.

Prick the bottom of the chilled tart shell all over with a fork, then line with parchment paper and fill with dried beans or pie weights. These steps will prevent the shell from puffing up. Bake for 20 minutes. Allow to cool slightly before removing the paper and beans.

Increase the oven temperature to 425 degrees F.

To prep the filling, cut a thin slice from both ends of each grapefruit. Place the cut end on a cutting board and cut away the peel and the white part of the rind. Slip the knife along the sides of the membrane dividing the segment to remove the slice of grapefruit.

Spread the marmalade over the partially baked crust. Sprinkle with the crushed cookies or graham crackers. Arrange the grapefruit slices over the crust in concentric circles starting from the outer edge. (You probably won’t use every single piece.) Sprinkle 3 tablespoons of the coarse sugar over the grapefruit.

Bake at 425 degrees F for 15-20 minutes or until crust is lightly browned. Remove tart from oven; turn on broiler (or pull out your kitchen torch). Sprinkle tart with the remaining 3 tablespoons sugar. Broil for 2 to 3 minutes or until sugar is lightly browned and the edges of the grapefruit just begin to singe.

Let cool to room temperature before slicing and serving.

Re-written and adapted from Better Homes and Garden’s Broiled Grapefruit Tart and Ina Garten’s Lemon Curd Tart.

Bruléed Grapefruit Tart | Image: Laura Messersmith

Bruléed Grapefruit Tart | Image: Laura Messersmith

Small Kitchen Friendly?
Yes, indeed. I used a medium mixing bowl, an electric hand mixer, measuring cups and spoons, a rubber spatula, a 9 inch false bottom tart pan, a medium cutting board, a serrated utility knife, and a kitchen torch. Parchment paper and dried beans, uncooked rice, or pie weights round out the equipment.

Bruléed Grapefruit Tart | Image: Laura Messersmith

Bruléed Grapefruit Tart | Image: Laura Messersmith

Honey Rosé Plum Cobbler

Honey Rosé Plum Cobbler | Image: Laura Messersmith

Honey Rosé Plum Cobbler | Image: Laura Messersmith

I adore fall and the smoky scent of leaves, the crisp brightness, the enjoyment of cool cheeks and a cozy sweater. I anticipate the energy change from the hot laziness of summer, but I also sort of dread it – the beginning of the all too rapid transition into full-on winter. Slushy side walks, cold fingers, wearing my duck boots nearly 24/7 – no thanks.

But let’s focus on the here and now – the blazing blue skies the last lingering summer produce. Who doesn’t need a great late-summer early-fall recipe to take advantage of the glorious wealth of plums that hit the markets in September and generously hang on until October? Definitely not a delicate berry, but a bit more tender-hearted than the sturdy apples and pears to come in oh like t-minus 1 week (not that I’m really complaining.)

Honey Rosé Plum Cobbler | Image: Laura Messersmith

Honey Rosé Plum Cobbler | Image: Laura Messersmith

Plums have the depth to stand proudly alongside other robust flavors and add their tart sweetness to the dry rosé. This cobbler topped with buttery dough – is waiting to grace your dinner table.

Honey-Rosé Plum Cobbler (serves 6)

Ingredients:
1 3/4 cups, plus 2 tablespoons all-purpose flour, divided
1/4 cup sugar
2 teaspoons baking powder
1/4 teaspoon salt
1/2 cup, plus 2 tablespoons whole milk, divided
1/3 cup olive oil
2/3 cup dry rosé wine
1/3 cup clover honey
2 1/2 pounds assorted plums, pitted and cut into 8 wedges each
2 tablespoons coarse sugar, aka sugar in the raw

Optional for serving: ice cream or whipped cream

Instructions:
Preheat oven to 400 degrees F. Brush 6 oven-safe ramekins with softened butter.

For the biscuits, combine the 1 3/4 cups flour, 1/4 cup sugar, baking powder, and salt in a medium bowl. Add 1/2 cup milk and olive oil to the flour mixture. Stir to combine. Cover with plastic wrap, and set aside.

For filling, combine the wine, honey in an extra-large skillet whisk in remaining 2 tablespoons flour. Stir in the plums. Cook and stir over medium-high heat about 8 minutes or until thickened and bubbly. Remove from heat; keep warm.

Unwrap dough and roll out to 1/2-inch thickness on a floured surface. Cut into rounds using a 1-inch round cutter. Divide plums among the ramekins filling nearly to the tops. Arrange the biscuits over the filling, slightly overlapping as needed. Brush with the remaining 2 tablespoons of milk and sprinkle the biscuits with the coarse sugar.

Bake for 15-20 minutes or until biscuits are golden. Place a baking sheet below the dish to catch an drips during baking.

Remove from oven and let stand 30 minutes before serving with a scoop of ice cream or whipped cream.

Adapted and lightly re-written from Better Homes and Gardens’ Honey Rosé Plum Cobbler by David Bonom.

Honey Rosé Plum Cobbler | Image: Laura Messersmith

Honey Rosé Plum Cobbler | Image: Laura Messersmith

Small Kitchen Friendly?
I used 6 (7 ounce) oven-safe ramekins, pastry brush, medium mixing bowl, measuring cups & spoons, liquid measuring cup, spatula, large skillet, whisk, chef’s knife, medium cutting board, small fluted biscuit cutter, and rimmed baking sheet.

Honey Rosé Plum Cobbler | Image: Laura Messersmith

Honey Rosé Plum Cobbler | Image: Laura Messersmith

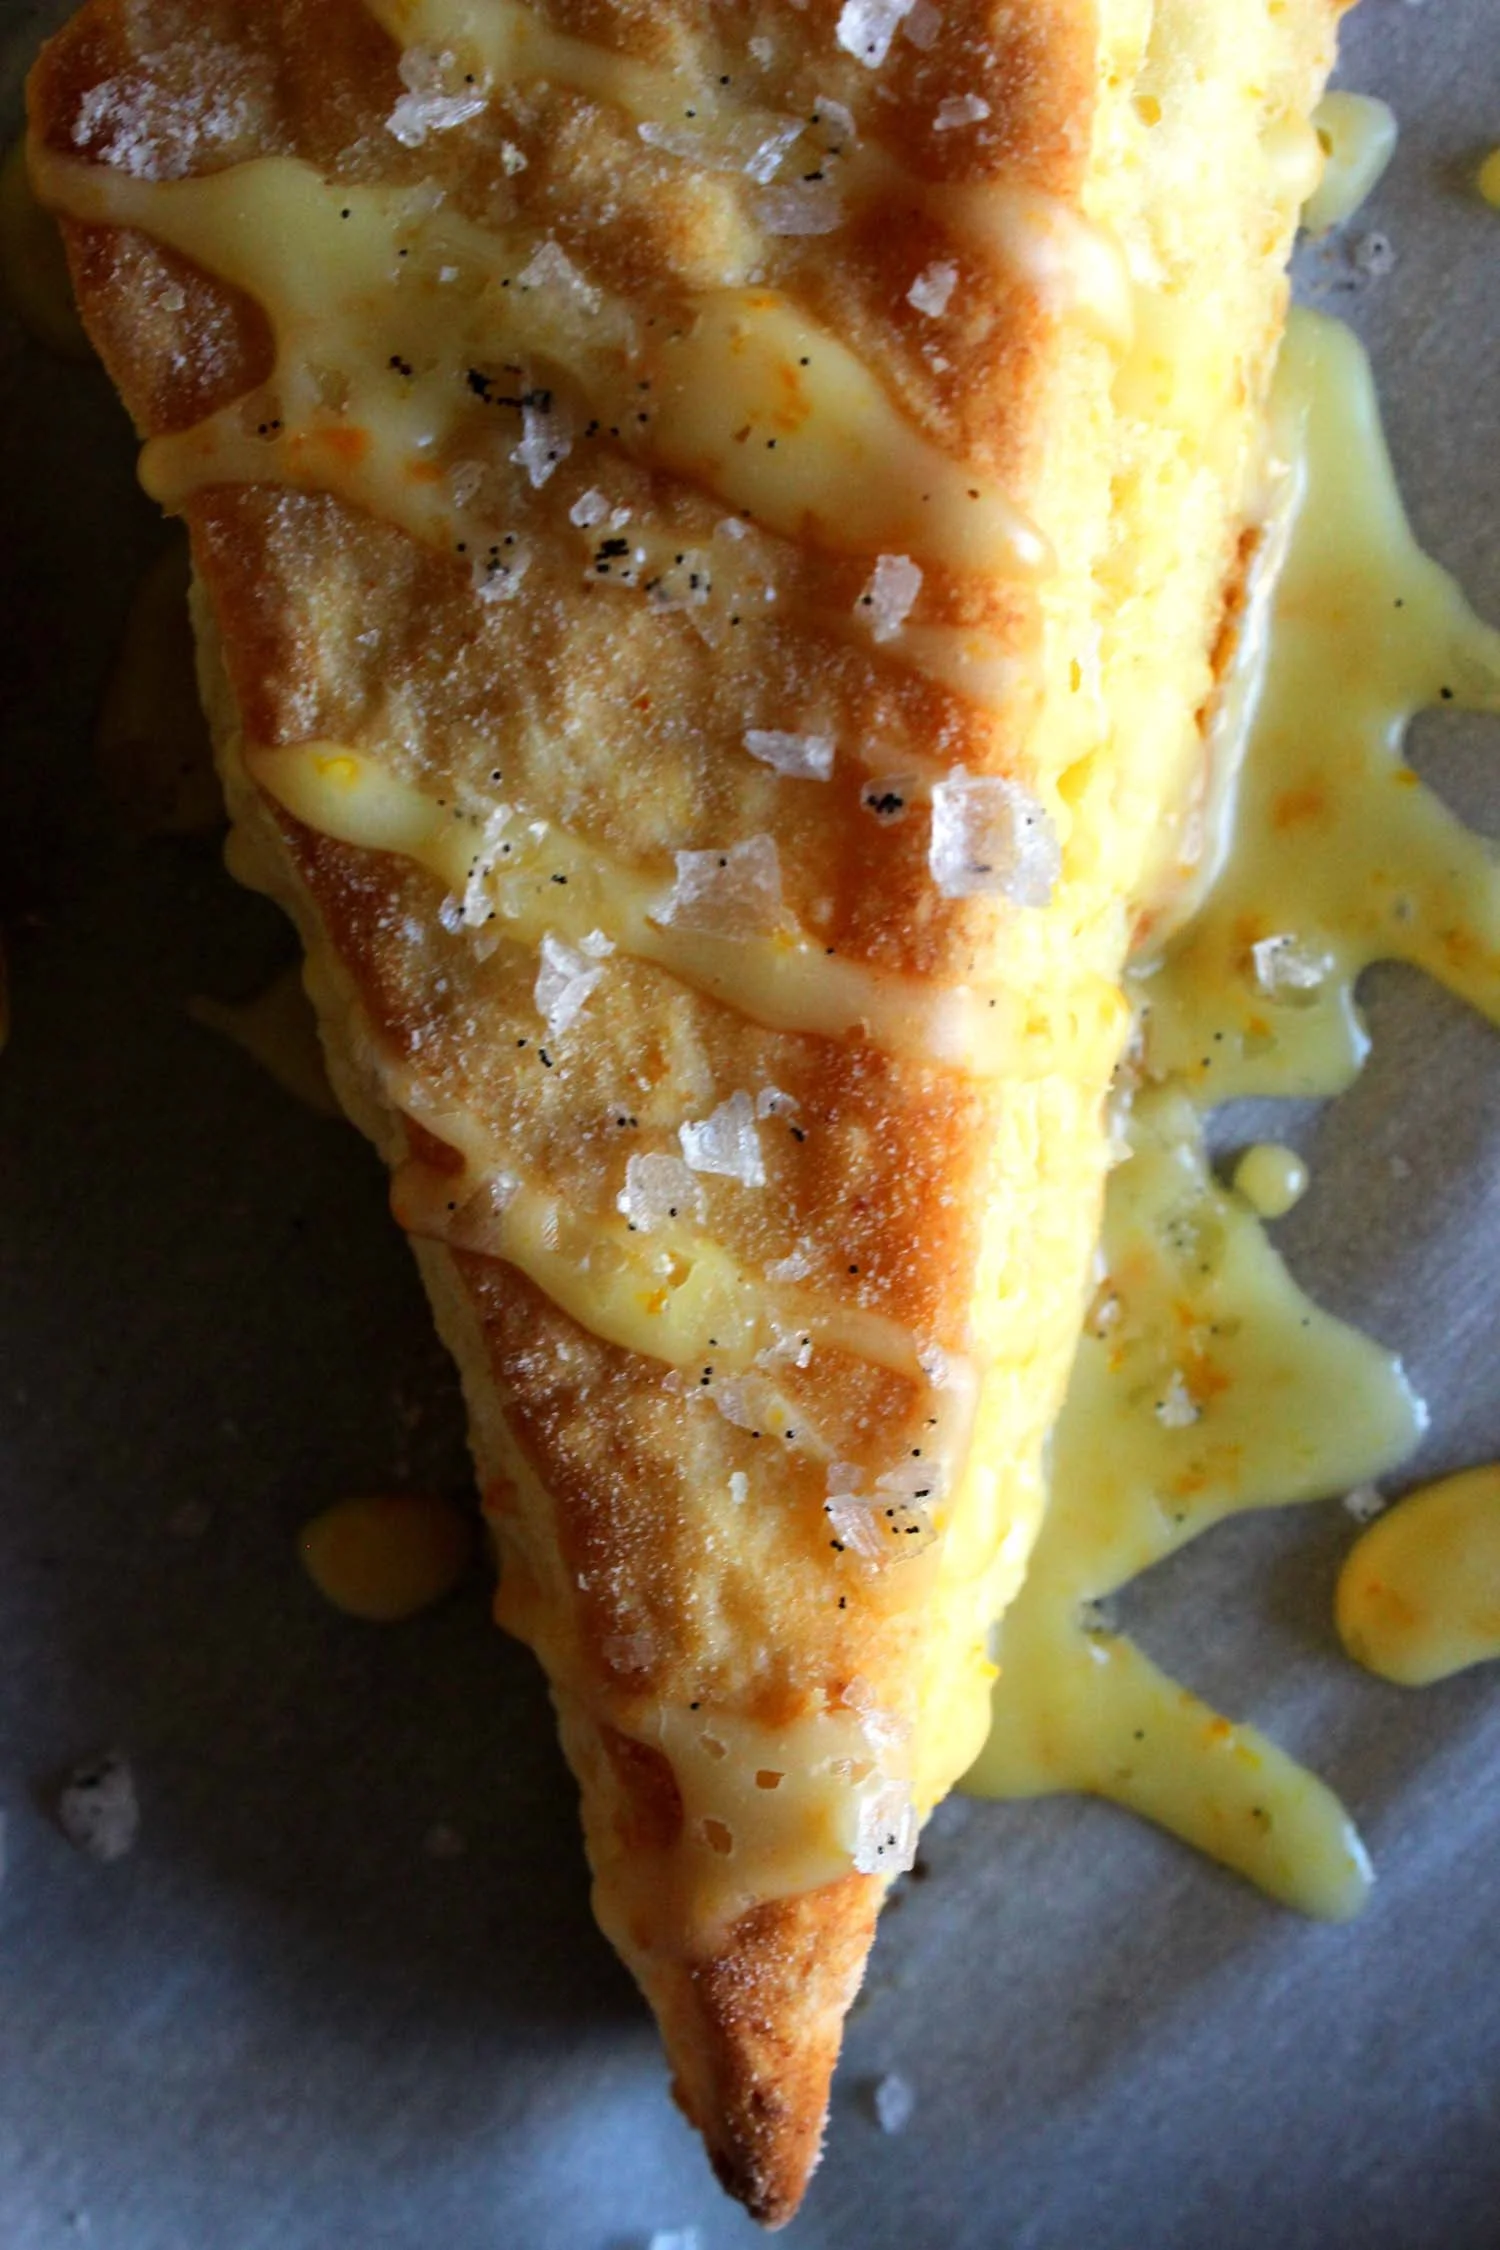
Orange Ricotta Scones with Vanilla Sea Salt

Orange Ricotta Scones with Vanilla Sea Salt | Image: Laura Messersmith

Orange Ricotta Scones with Vanilla Sea Salt | Image: Laura Messersmith

Winter has fully settled on New York and frankly it’s been a shock to my system. I’d love to go into hibernation mode and stay under the covers emerging only for BBC crime dramas on Netflix (we finished The Fall with Gillian Anderson and now I’ve moved on to Broadchurch. Slow build as we discover that many people in the small Dorset town have secrets!) and carb-based meals. Or Chipotle.

The next warmest option is to turn on the oven – a welcome blast of heat for my cold fingers – and bake something simple, comforting, and citrus based. For me that’s a batch of scones. They take enough effort so feel like I’m accomplishing something, but are so unfussy and rustic in presentation that they’re on the table in less than an hour.

I originally planned to re-create a wonderful lemon-ginger biscuit I had at the Ferry Terminal in San Francisco from Biscuit Bender (amazing with blueberry jam), but got side tracked thinking about other citrus + ginger combinations. I also realized I had a container of whole-milk ricotta in the fridge left over from another recipe and once I remembered the vanilla salt I made last month the wheels totally fell off that biscuit train.

Not to worry though, because these Orange Ricotta Scones totally deliver and because the biscuit train is never off the rails long around here.

Orange Ricotta Scones with Vanilla Sea Salt | Image: Laura Messersmith

Orange Ricotta Scones with Vanilla Sea Salt | Image: Laura Messersmith

Orange Ricotta Scones with Vanilla Salt (Yield: 12-16 Scones)

Ingredients:
2 1/2 cups all purpose flour
3 tablespoons granulated sugar
1 tablespoon baking powder
1/4 teaspoon salt
6 tablespoons cold butter, diced
1 large egg
3/4 cup whole milk ricotta, bought or homemade
1/4 cup whole milk
2 tablespoons orange zest, divided about 2 large oranges
1 1/4 cups confectioners sugar
2 teaspoons orange blossom honey
4-5 teaspoons orange juice
Vanilla Sea Salt (recipe here)

Instructions:
Preheat oven to 400 degrees F. Chill the baking sheets and ingredients in between steps.

In a large bowl combine the all purpose flour, granulated sugar, baking powder, and salt. Lightly toss the diced butter in the flour mixture to coat then using a pastry cutter, blend in the butter until the mixture resembles coarse crumbs. Set aside in the refrigerator.

In a large liquid measuring cup, combine 1 1/2 tablespoons of the orange zest with the egg, ricotta, and whole milk. Make a well in center of the flour mixture and add the ricotta mixture all at once, fork the wet and dry ingredients together until just combined. The dough will be a little shaggy at this point.

Turn the dough out onto a lightly floured surface. Gently fold the dough 8 to 10 times until dough pulls together. Pat into a rectangle about 1 inch thick and cut into squares or triangles.

Place the scones 2 inches apart on a parchment paper-lined baking sheet. Bake about 12-14 minutes or until lightly golden brown. Slide the parchment and scones onto a cooling rack.

While the scones are cooling, whisk together the confectioner’s sugar, honey, reserved orange zest and orange juice with a pinch of salt until smooth. Drizzle the icing over the cooled scones, sprinkle with a little vanilla sea salt, and serve!

Written with reference to Food + Wine’s Glazed Lemon Ginger Scones and Better Homes and Garden’s Strawberry Shortcake Scones.

Orange Ricotta Scones with Vanilla Sea Salt | Image: Laura Messersmith

Orange Ricotta Scones with Vanilla Sea Salt | Image: Laura Messersmith

Small Kitchen Friendly?
Yes, totally. I used a large mixing bowl, pastry cutter, 2 cup-size liquid measuring cup, dry measuring cups and spoons, a microplane grater, paring knife, and a dinner fork. I also needed a small bowl, small spoon, two rimmed baking sheets, a bench scraper, and parchment paper.

The Verdict:
These are definitively scones, not biscuits thanks to the ricotta and sugar, but are also just very lightly sweet when un-iced. During my experiments I tasted them plain, with a bit of honey, iced only, and iced + vanilla salt – all were delicious in their own way, so choose what you like best. The ricotta keep the dough tender and its very mild flavor allows the sweet orange come through as the elegant star of the whole affair. Pair with a cup of tea and an Agatha Christie novel.

Orange Ricotta Scones with Vanilla Sea Salt | Image: Laura Messersmith

Orange Ricotta Scones with Vanilla Sea Salt | Image: Laura Messersmith

Strawberry Shortcake Scones

Strawberry Shortcake Scone

If you’re a tennis fan, then you’re probably well aware that Wimbledon begins today. I enjoy watching from time to time, but with only the loosest grasp of the rules and a sketchy knowledge of the players involved I can’t really consider myself especially invested in the sport. What I am invested in is a sporting tournament that has a long-standing traditional dish. That part is definitely in my wheelhouse, and according to the Wimbledon librarian, strawberries and cream have been associated with the event since 1877.

Trust the British to make a genteel sport even more refined, and frankly what better way to celebrate summer than with time spent outside in the fresh air accompanied by a summery treat? And, can you think of a purer distillation of English cooking than a scone studded with bright red strawberries?

So, in honor of lawn tennis played on grass courts, and as part of my continued efforts to bring you an enormous amount of butter and fruit based baked goods this summer, may I present: Strawberry Shortcake Scones.

The more I bake, the more I realize what a difference a little buttermilk, yogurt, or cream can make toward a tender, moist crumb. In this case, slightly sweet ricotta cheese fills that role and helps these scones tip their cap at the American strawberry shortcake, while maintaining their cream-tea bonafides.

Strawberry Shortcake Scone

Strawberry Shortcake Scones (yield: 12 scones)

Ingredients:
1 cup chopped fresh strawberries
2 1/2 cups, plus 1 tablespoon all purpose flour
3 tablespoons granulated sugar
1 tablespoon baking powder
1/4 teaspoon salt
6 tablespoons cold butter, diced
1 large egg
3/4 cup whole milk ricotta, bought or homemade
1/4 cup, plus 3 tablespoons heavy cream
2 tablespoons turbinado sugar

Instructions:
Preheat oven to 400 degrees F. If it's a very hot day, chill the baking sheet and keep any ingredients in the refrigerator when they're not in use.

In a large bowl combine 2 1/2 cups all purpose flour, 3 tablespoons granulated sugar, baking powder, and salt. Lightly toss the diced butter in the flour mixture to coat, then using a pastry cutter, blend in the butter until the mixture resembles coarse crumbs. Set aside in the refrigerator.

In a large liquid measuring cup, combine the egg, ricotta, and 1/4 cup heavy cream. Make a well in center of the flour mixture and add egg mixture all at once, fork together until just combined. Some of the flour may not be fully incorporated. Chill the dough while you hull and dice the strawberries into 1/4" sized pieces.

In a small bowl, toss together strawberries and 1 tablespoon flour, then add to the chilled dough, again using a fork until the strawberries are evenly distributed.

Turn the dough out onto a lightly floured surface. Gently fold the dough 10 to 12 times, pressing it together until dough is nearly smooth. Pat into a rectangle about 1 inch thick and cut into 12 rectangles.

Place the scones 2 inches apart on a parchment paper-lined baking sheet. Brush with the additional 3 tablespoons of heavy cream and sprinkle with the turbinado sugar. Bake about 15-16 minutes or until golden brown. Slide the parchment and scones onto a cooling rack. Best when served warm.

Slightly re-written from Better Homes and Garden’s Strawberry Shortcake Scones.

Strawberry Shortcake Scone

Small Kitchen Friendly?
Actually, yes. I used a large mixing bowl, pastry cutter, 2 cup-size liquid measuring cup, dry measuring cups and spoons, a butter knife, and a dinner fork. I also needed a small bowl, small cutting board, paring knife, baking sheet, pastry brush and parchment paper.

The Verdict:
The scone itself is tender and gently fluffy with a slight crunch from the coarse sugar, while the ripe strawberries add a bright sweetness that sings against the richness. To me, these scones are the epitome of summery ease – the intentionally casual shape and simplicity of the ingredients conjure a lazy morning on the porch. Definitely worthy of any Sunday brunch table or an international tennis event.

Strawberry Shortcake Scone