Lemon Risotto Carbonara with Green Peas

Lemon Risotto Carbonara with Green Peas | Image: Laura Messersmith

Lemon Risotto Carbonara with Green Peas | Image: Laura Messersmith

I absolutely loooove risotto and pasta carbonara is one of my all-time favorite things to order when I’m in Italian restaurants. When you think about it there are some parallels – a silky, rich sauce; deceptively simple preparations; classic Italian fare.

I’m not sure exactly when I started thinking about combining the two dishes, but I know that the source of the lemon was a glorious lunch at Isabella’s a few months ago. Lemon gnocchi prepared carbonara style with a crispy poached egg and thickly cut pieces of bacon - heaven! A plan was hatched and I started practicing my risotto and carbonara skills with this dish in mind. Side note: I’m also dying to know how they made that egg so crispy but still soft in the middle….

Purists will surely shake their heads over the addition of lemon and peas to something called carbonara, but I’m banking on the risotto - which has many, many variations - as my cover for taking liberties. This recipe is easily a meal in itself perfect with a little salad and a glass of white wine.

Lemon Risotto Carbonara with Green Peas | Image: Laura Messersmith

Lemon Risotto Carbonara with Green Peas | Image: Laura Messersmith

Lemon Risotto Carbonara with Green Peas (serves: 4 entrée portions)

Ingredients:
2 cups Arborio rice
7-8 cups chicken stock
1/4 cup white wine
1/4 cup lemon juice
2 teaspoons lemon zest
1/3 pound slab bacon
2 tablespoons unsalted butter
2 teaspoons olive oil
3 eggs, beaten
1 cup parmesan cheese, grated
10 ounce package frozen green peas
1/2 teaspoon freshly ground black pepper

Instructions:
Heat the chicken stock in a medium sauce pan until just below a simmer, reduce heat to keep the stock warm, but not boiling.

Meanwhile, dice the slab bacon into 1/4 inch strips and sauté in a large dutch oven over medium-low heat until crispy and browned, 7-10 minutes. Remove the bacon to a paper towel lined plate to drain.

Reduce the heat to low and melt the olive oil and unsalted butter into the remaining bacon fat. Sprinkle the Arborio rice into the dutch oven and stir to coat in the melted butter and olive oil. Cook the rice for 2-3 minutes, stirring occassionally before adding the white wine and lemon juice (zest the lemon before juicing!).

Once the white wine and lemon juice have been absorbed and the pot has been deglazed, add 1 ladle of the hot chicken stock to the rice. Stir until the stock is almost completely absorbed before adding another ladleful. While the rice is cooking, beat the eggs in a small bowl and grate the parmesan cheese.

Continue the process of adding the stock and stirring. The risotto is done when the rice is al dente, about 20-25 minutes, and creamy sauce has formed. The consistency should be thick, but not stiff, almost pourable, but not runny. It’s a fine line!

When the last ladle of chicken stock has been absorbed turn off the heat and stir in the beaten eggs and grated parmesan cheese until well combined. The sauce will thicken slightly and turn a pale yellow.

Finally, while the risotto is still quite warm stir in the frozen peas (no need to defrost) and give it a final seasoning of the lemon zest and black pepper. Serve immediately with a sprinkle of the crispy slab bacon pieces. Enjoy!

Inspired by Isabella’s and written with reference to Risotto Carbonara by Kitchen Sink Diaries and Spaghetti Alla Carbonara by Tyler Florence.

Lemon Risotto Carbonara with Green Peas | Image: Laura Messersmith

Lemon Risotto Carbonara with Green Peas | Image: Laura Messersmith

Small Kitchen Friendly?
Yes, even though you will need two pots. I used a 2 quart sauce pan and surprise surprise, my trusty blue 5.5qt Le Creuset French oven. I also needed a small cutting board, chef’s knife, measuring cups, wooden spatula, and microplane grater (excellent for both the cheese and the lemon zest.)

The Verdict:
Carbonara can sometimes be a little much - egg, AND parmesan, AND bacon - so for me the lemon and green peas help balance the richness and reduce my guilt over devouring a healthy portion. The other part I like about cooking this recipe is that while Lemon Risotto Carbonara is fairly easy, there’s just enough fussing (not too much, after all this is practically a one-pot meal) to inspire my inner chef. Cooking risotto takes some practice and if you need additional advice on how to master the technique I’d recommend this great guide on The Kitchn.

Lemon Risotto Carbonara with Green Peas | Image: Laura Messersmith

Lemon Risotto Carbonara with Green Peas | Image: Laura Messersmith

Crispy Brussels Sprouts with Roasted Garlic & Lemon Aioli

Crispy Brussels Sprouts with Roasted Garlic & Lemon Aioli | Image: Laura Messersmith

Crispy Brussels Sprouts with Roasted Garlic & Lemon Aioli | Image: Laura Messersmith

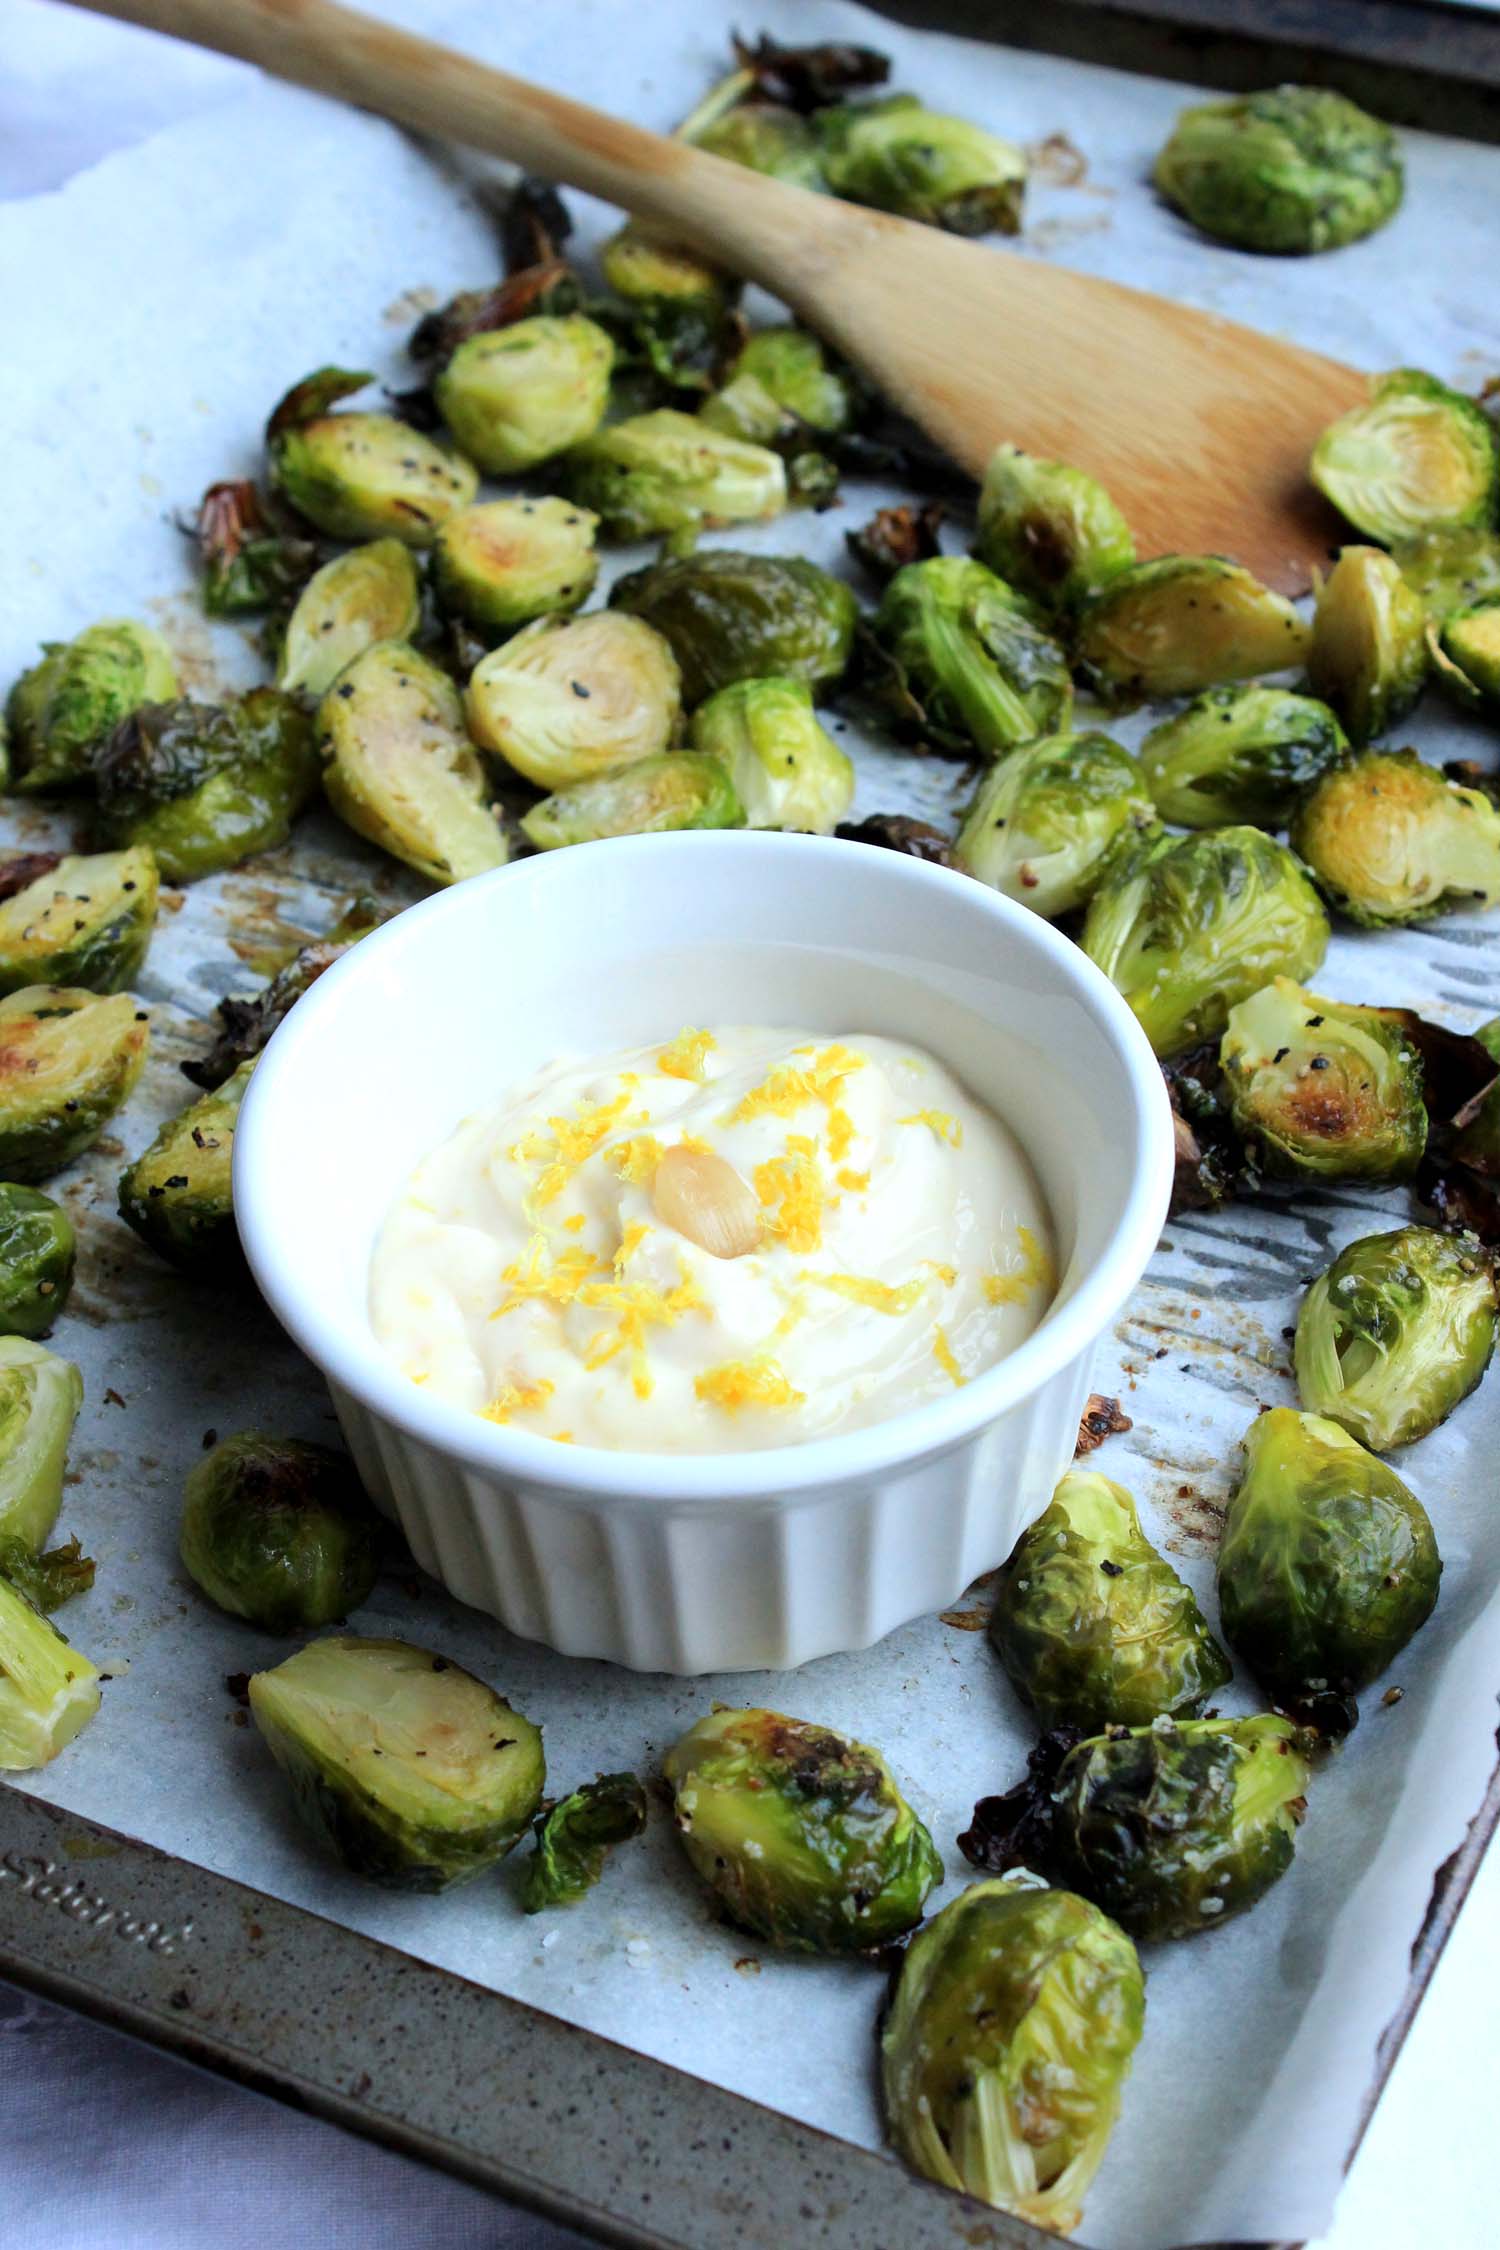
Roasted Brussels sprouts are our all-time favorite way to eat them and given the number of times they make an appearance on this blog as a side-dish that’s probably not a surprise. This recipe transforms them from a supporting player into a unique appetizer with the addition a lemon and garlic aioli.

Raw garlic is harsh and acidic, not something I’m that excited about eating, but roasting it in the oven transforms it into something mellow and rich. Great just spread on toasted bread, but even better when combined with lemon zest in this aioli and used as a special dip for the roasted Brussels sprouts.

As you trim and halve the sprouts make sure to gather any loose leaves that come away and include them on the baking sheet. They get super crispy and delicious – Mike looooves them and I bet you will too.

Crispy Brussels Sprouts with Roasted Garlic & Lemon Aioli | Image: Laura Messersmith

Crispy Brussels Sprouts with Roasted Garlic & Lemon Aioli | Image: Laura Messersmith

Crispy Brussels Sprouts with Roasted Garlic and Lemon Aioli (yield: 4 servings)

Ingredients:
1 1/2 pounds fresh Brussels sprouts
1 whole head garlic
2 tablespoons olive oil
2 teaspoons lemon zest
3 teaspoons lemon juice
1/3 cup light mayonnaise
kosher salt
freshly ground black pepper

Instructions:
Pre-heat the oven to 400 degrees F.

Trim the top off the whole head of garlic, about 1/4 inch, to expose the cloves. Drizzle 1 teaspoon olive oil over the tops of the exposed garlic cloves and loosely wrap the head of garlic in aluminum foil. Place the foil packet in the oven and roast at 400 degrees F. for 40-60 minutes until the garlic cloves are soft and deeply golden.

Meanwhile, trim the ends from the Brussels sprouts and cut in half lengthwise. Spread the Brussels sprout halves and any stray leaves on a parchment paper lined baking sheet and drizzle with the remaining olive oil. Sprinkle generously with kosher salt and pepper. Reduce the oven temperature to 350 degrees F. and roast the Brussels sprouts for 30 minutes, turning halfway through the cooking time. The sprouts will be slightly crispy and browned on the exterior leaves and al dente in the center.

Allow the garlic cool until easily handled before using a butter knife to remove 5-6 medium-sized cloves of roasted garlic from the paper. Place the garlic in the bowl of a small food processor with the lemon zest, lemon juice, mayonnaise, 1/4 teaspoon kosher salt, and 1/8 teaspoon black pepper.

Mix on low speed until the garlic is smooth and the ingredients are well combined. Serve chilled or at room temperature with roasted Brussels sprouts.

Partially adapted from Roasted Garlic recipe by The Kitchn.

Crispy Brussels Sprouts with Roasted Garlic & Lemon Aioli | Image: Laura Messersmith

Crispy Brussels Sprouts with Roasted Garlic & Lemon Aioli | Image: Laura Messersmith

Small Kitchen Friendly?
Yes, indeed. I used a chef’s knife, medium cutting board, one baking sheet, and a small food processor. I also used a microplane grater, measuring cups and spoons, parchment paper and aluminum foil.

The Verdict:
I first made this combination for a party this winter and I was shocked how fast it went. Three batches of sprouts later the small amount of remaining aioli was finding its way onto stray pieces of baguette as a spread. There were other cheesy, meaty options on the table too, so if that isn’t a strong endorsement I don’t know what is. It’s really simple to make and I like being able to offer a healthier option that still tastes amazing. 

Crispy Brussels Sprouts with Roasted Garlic & Lemon Aioli | Image: Laura Messersmith

Crispy Brussels Sprouts with Roasted Garlic & Lemon Aioli | Image: Laura Messersmith

Chicken with Forty Cloves of Garlic

Chicken with Forty Cloves of Garlic | Image: Laura Messersmith

Chicken with Forty Cloves of Garlic | Image: Laura Messersmith

Each week I follow along with Ina Garten (aka the Barefoot Contessa) and attempt to recreate one of her dishes in my tiny New York City kitchen. The catch? This is my version of cooking school and I’m making these recipes for the first time. I’ll share both my successes and um, challenges, along the way and we’ll see if I can keep up with the Contessa!

Episode: “Dinner and a Movie”

The Set-up: Ina and her card-shark friends are switching up their plans and watching a movie instead.

The Menu: Chicken with Forty Cloves of Garlic, Couscous with Pine Nuts and Currants, Ice Cream Bombe, Blood Orange Margaritas

0:39 – Ina starts us off by saying that for weeknight entertaining she likes making recipes that look impressive, but that are really easy to make. Great, sign me up!

1:24 – Except that this recipe for an Ice Cream Bombe already involves making your own mango sorbet – frankly this is not something I’m not likely to attempt no matter what day of the week it is.

2:06 – Mango sorbet sounds great though, so I’m willing to go along for the ride!

3:18 – While the mango sorbet chills Ina starts on the Blood Orange Margaritas. Freshly squeezed blood orange juice, natch.

4:25 – “Blood orange” is pretty grisly sounding for a fruit that produces juice the color of a Lilly Pulitzer catalog.

5:43 – Gigantic pitcher of boozy cocktails? Check!

6:10 – The mango puree goes into the ice cream maker to start setting up and it looks really good. Maybe I should add “ice cream maker” to my Christmas list?

9:36 – Back to the bombe making which involves having a graduated set of bowls so that Ina can press the sorbet between two in order to shape it.

10:14 – Jack is in charge of getting the popcorn for their movie party and now I see why Ina sounded doubtful of his abilities – he can barely find it! He finally ends up with some microwave Newman’s Own, so we can all breathe a sigh of relief.

11:35 – Over to Ina again to start the Chicken with Forty Cloves of Garlic. Forty!

12:51 – Pro Tip #1: Blanch the garlic in hot water for 60 seconds to help remove the paper from the cloves. Neat trick!

13:46 – Ina sings the praises of her enormous bright orange Le Creuset pot and she is preaching to the choir. This blog is sponsored (in spirit) by my blue one.

14:13 – Ice Cream Bombe layer #2 is softened raspberry sorbet compliments of Haagen Dazs which makes me wonder why she went to the trouble of making the mango layer?

15:22 – The bombe follows the same process as before – press the sorbet between two bowls (we’re now up to three in graduated sizes) and freeze.

18:56 – Now we’re making the Couscous with Pine Nuts and Currants, which Ina says will soak up the sauce from the Chicken with Forty Cloves of Garlic. I concur. This is a solid move.

19:20 – Ina is removing the chicken from the pot so she can make the sauce and I think Ina she made a piece of chicken for every clove of garlic. So. Much. Chicken.

20:04 – Pro Tip #2: Prevent lumps by whisking a small amount of the juices with flour in a small bowl, then return to the pot to help thicken the sauce.

21:48 – I rarely see Ina impatient, but with 34 pieces of chicken left to go back into the pot with the sauce she tired of using tongs and finally just dumps them all in at once. A woman after my own heart.

22:29 – Maybe she’s impatient with the chicken because this godforsaken Ice Cream Bombe has eleventy steps even when two of the three layers are from the freezer section.

23:32 – The strawberry ice cream, in case you were wondering, is also Haagen Dazs so again I ask: why did she make the mango?

26:45 – Time to finish up the Couscous with Pine Nuts and Currants by toasting the pine nuts (aka pignolis) and adding the currants.

27:13 – Pro Tip #3: Fluff couscous with a fork (don’t stir with a spoon) to lighten it and help the grains separate.

28:29 – Here comes Jack, popcorn and poker chips in hand. Apparently he doesn’t think the French film Ina rented will be very interesting so he brought back up. Quite the cultured one, that Jack.

29:57 – Blood Orange Margaritas have been served, dinner is done. Now, the moment of truth: can Ina unmold the infamous Ice Cream Bombe? It works and she looks as surprised as anyone.

Final Thoughts:
I was kind of hard on Ina for the mango sorbet, but secretly I’m intrigued by homemade ice cream. Think of the flavors!!

Confession: I still make couscous from a box. Maybe it’s time to try on my own?

I guess Jack was right about French films, because they skipped the movie and played poker instead!

Chicken with Forty Cloves of Garlic | Image: Laura Messersmith

Chicken with Forty Cloves of Garlic | Image: Laura Messersmith

Lessons Learned:
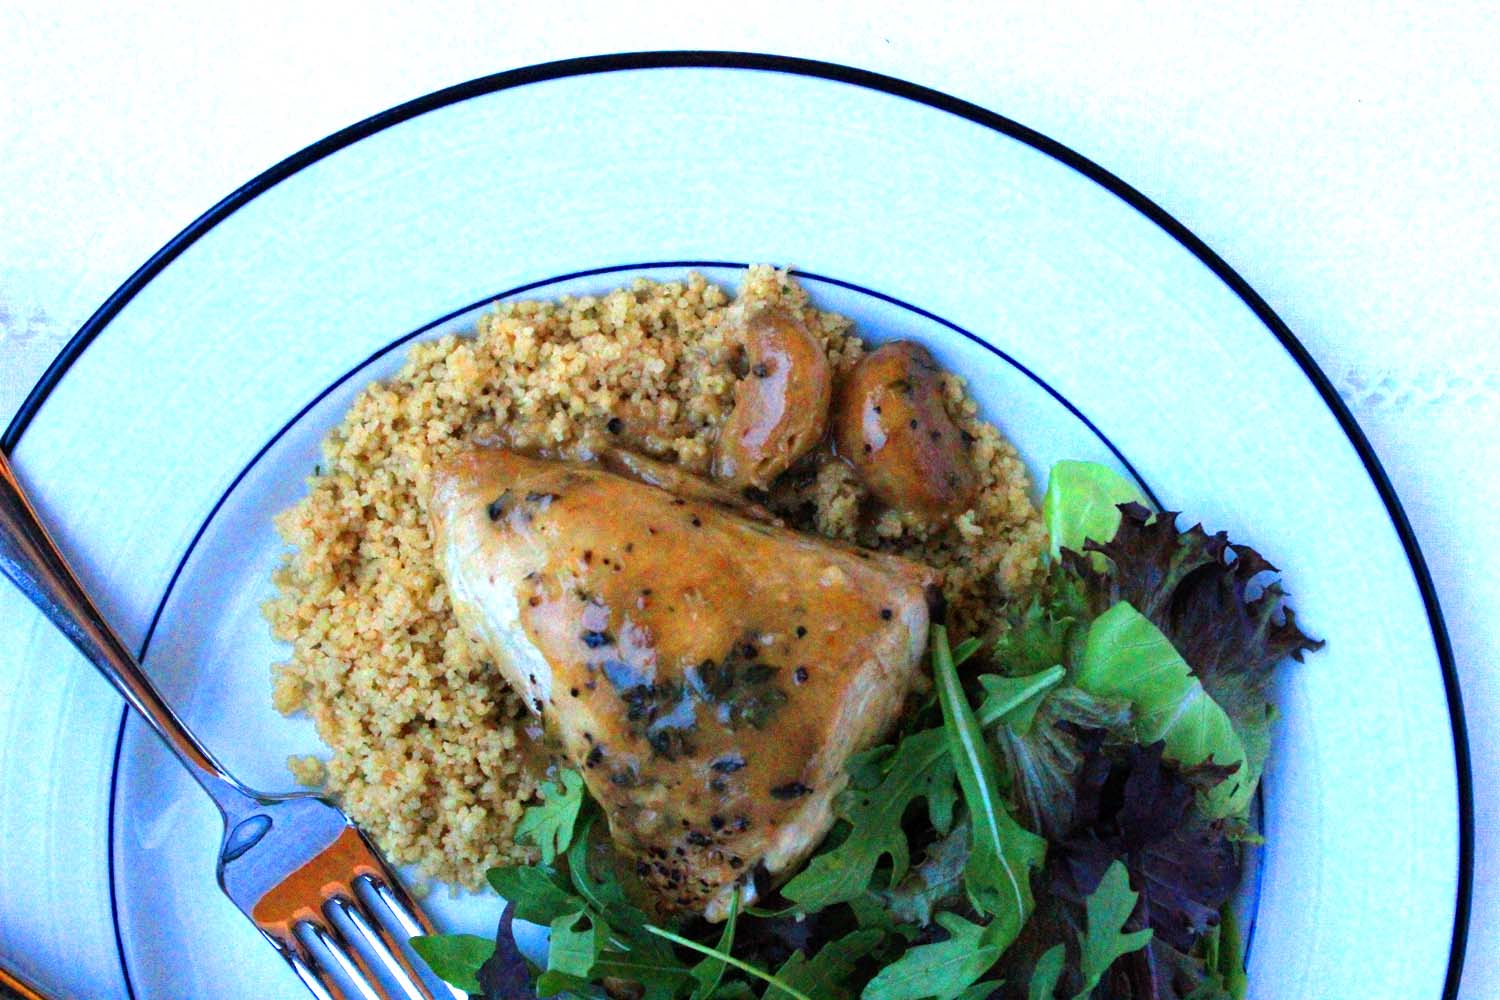
Chicken with Forty Cloves of Garlic is a really simple, straightforward recipe but that doesn’t mean there aren’t things to learn or practice while cooking it.

Browning Chicken – Perhaps it’s odd to call paper towels a kitchen tool, but when it comes to searing meat or browning chicken they’re your secret weapon. Removing the moisture from the chicken skin helps it turn a lovely golden color that’s really tough to achieve otherwise. Definitely don’t skip the “drying” step.

Sauteing Garlic – I’ve roasted whole heads of garlic before with excellent results, but this was a new method, more like sautéing minced garlic except with a slightly lower chance of burning it immediately. The oil is already hot, so your halfway there before the garlic even hits the pan. Keep a close watch and turn the heads frequently to prevent them from burning.

Thickening Sauce – In other Ina recipes she recommends mashing flour into butter before adding to sauces. It serves a dual purpose, thickening and enriching without lumps. (ew.) This recipe calls for spooning a cup or so of the thin sauce into a measuring cup and whisking with flour before returning to the pot. It’s a pretty neat trick because, again thickened sauce and no lumps, but this time without the added butter. I’m filing this away for those rare times when more butter isn’t what I’m going for. I’ll let you know if that ever happens…

Chicken with Forty Cloves of Garlic | Image: Laura Messersmith

Chicken with Forty Cloves of Garlic | Image: Laura Messersmith

Small Kitchen Friendly?
Yes, definitely. I used my Le Creuset French oven (no surprise there) for both the garlic blanching and chicken cooking. I also used tongs, a slotted spoon, a mixing spoon, measuring cups and spoons, and a whisk. Paper towels and a large plate or platter will be really helpful too.

The Verdict:
I made Chicken with Forty Cloves of Garlic for dinner last week because the idea of chicken with all that deliciously golden garlic sounded amaaaazing. Alas, even though this recipe “turned out” the flavor was a little underwhelming. How that’s possible with all the glorious ingredients that went into the sauce I don’t know, but unfortunately the chicken was fairly bland. I’m frankly shocked that this didn’t taste better and Mike felt the same way. Sheer stubbornness might induce me to make this recipe again, maybe mashing a few cloves of garlic into the sauce? Or, cooking the garlic in the oil first and see if it permeates the chicken? If you try this and have success let me know!

Chicken with Forty Cloves of Garlic | Image: Laura Messersmith

Chicken with Forty Cloves of Garlic | Image: Laura Messersmith

Black Forest Crumble Bars

Black Forest Crumble Bars | Image: Laura Messersmith
Black Forest Crumble Bars | Image: Laura Messersmith

A pure chocolate dessert is my first love, followed shortly after by treats involving chocolate and pretty much any other ingredient. Pairing semi-sweet or dark with an acidic fruit like orange, raspberry, or cranberry is one of my favorite combinations and for this bar I was inspired by classic Black Forest cake (or Schwartzwald Kirch Kuchen if you prefer the German.) This bar is essentially a sweet shortbread base layered with deep, dark cherry jam and semi-sweet chocolate – so simple to make but with impressive results.

I prefer jam or preserves - it’s easier to spread and has a little more texture than jelly – and both Polaner and Bonne Maman make wonderful versions with black cherries. I like to mix in a little fresh lemon juice to amp up the tang of the fruit and draw a sharper contrast with the sweet shortbread base. One of the best parts of this recipe is that it comes together so quickly with amazing results and 99% of the ingredients are probably already in your pantry or fridge right now.

Black Forest Crumble Bars | Image: Laura Messersmith

Black Forest Crumble Bars | Image: Laura Messersmith

Black Forest Crumble Bars (yield: 24 squares)

Ingredients:
2 1/2 cups all purpose flour
1 cup granulated sugar
3/4 cup slivered almonds (optional)
1/2 teaspoon kosher salt
2 sticks unsalted butter, room temperature
1 egg, beaten at room temperature
12 ounces (1 package) semi-sweet chocolate chips
12 ounces cherry jam, room temperature
1 teaspoon fresh lemon juice (optional)
Non-stick spray

Instructions:
Preheat the oven to 350 degrees F.

In a large mixing bowl, stir together the room temperature butter and sugar before adding the egg. Mix in the flour, slivered almonds (if using), and kosher salt until the mixture forms large crumbles.

Reserve 1 cup of the crumbles and evenly press the remaining mixture into the bottom of a greased 9x13 inch pan with a rubber spatula or damp fingers.

If the cherry jam is too sweet (your call!), mix with 1 teaspoon freshly lemon juice before spreading over the bottom crust. Sprinkle the semi-sweet chocolate chips over the cherry jam and then top with the reserved shortbread crumbles.

Bake at 350 degrees F for 40-45 minutes until the jam and chocolate are bubbling and the crumbles are golden brown.

Cool completely in the pan before slicing into bars and serving.

Inspired by and adapted from Hershey’s Holiday Red Raspberry Chocolate Bars.

Black Forest Crumble Bars | Image: Laura Messersmith

Black Forest Crumble Bars | Image: Laura Messersmith

Small Kitchen Friendly?
Yes, 100%! You’ll need one large mixing bowl, measuring cups and spoons, a rubber spatula, a large spoon, and a 9x13 inch glass baking pan. I cut the recipe in half and used an 8x8 inch glass pan instead, but everything else is the same.

The Verdict:
Cherry, chocolate, and almond are a match made in heaven. I love the combination of the tart fruit flavor with the richness of the buttery crumble and sweet, but not too sweet chocolate. Besides being ridiculously good they also come together quickly with very little fuss and minimal ingredients – good news when you want a dessert sure to please, but don’t have a lot of time. Please make these, you won’t be sorry!

Black Forest Crumble Bars | Image: Laura Messersmith

Black Forest Crumble Bars | Image: Laura Messersmith