Honey Thyme Chicken & Apricot Kebabs

Honey Thyme Chicken and Apricot Kebabs | Image: Laura Messersmith

Honey Thyme Chicken and Apricot Kebabs | Image: Laura Messersmith

Summer, especially days when it’s too hot to move are made for recipes like this one. The chicken is tender and flavorful, the apricots are fresh and the whole shebang is lightly lacquered with honey and bright herbs. Assembly takes just a few minutes, minimal effort and very little planning, but the results are phenomenal.

I realize that this is the second recipe I’ve posted from Food + Wine that features apricots – I might be just a little obsessed – but I think it has more to do with Justin Chapple’s inventive way of combining classic ingredient pairings. Apricots and honey given a modern twist with fresh thyme. Perfect.

Honey Thyme Chicken and Apricot Kebabs | Image: Laura Messersmith

Honey Thyme Chicken and Apricot Kebabs | Image: Laura Messersmith

Honey Thyme Chicken & Apricot Kebabs (serves 4)

Ingredients:
1 1/4 pounds skinless, boneless chicken thighs
8 small apricots
1/4 cup honey
1 1/2 tablespoons fresh thyme leaves
1 tablespoon water
Extra-virgin olive oil, for brushing
Kosher salt
Ground black pepper

Special Equipment:
Cast iron grill pan
8 long bamboo skewers

Instructions:
Put the bamboo skewers in water to soak for 30 minutes.

Mince the thyme leaves and whisk together with the honey and water. Season with kosher salt and black pepper.

Halve and pit the apricots length-wise, divide the chicken thighs into 1 inch pieces. Thread the 3-4 pieces of chicken and apricot onto each skewer (I recommend keeping them separate for ease of cooking.) Brush the kebabs with olive oil and season with kosher salt and black pepper.

Light a grill or preheat a grill pan over medium-high heat. Grill over moderate heat, turning occasionally, until the chicken is just cooked through, about 10-12 minutes total, the apricots will need about 5 minutes total.

Brush the hot kebabs with the honey and thyme mixture and serve.

Lightly adapted from Food + Wine’s Honey Thyme Chicken and Apricot Kebabs by Justin Chapple.

Honey Thyme Chicken and Apricot Kebabs | Image: Laura Messersmith

Honey Thyme Chicken and Apricot Kebabs | Image: Laura Messersmith

Small Kitchen Friendly?
Yes! I needed a medium cutting board, chef’s knife, liquid measuring cup, measuring spoons, a cast iron grill pan, tongs, and a pastry brush. You'll also need bamboo skewers, and a plastic wrap-lined sheet pan will also be helpful during assembly.

The Verdict:
Chicken thighs and kebabs are a match made in grill heaven only improved by the addition of the sweet herbal glaze of the honey and thyme. And, as we’ve established already, stone fruit is amazing when it has a hint of char and smoke from the grill. I served the kebabs for a dinner party over a bed of fluffy couscous with a little green salad on the side. Light, easy, perfect for a summer evening.

Honey Thyme Chicken and Apricot Kebabs | Image: Laura Messersmith

Honey Thyme Chicken and Apricot Kebabs | Image: Laura Messersmith

Orange Curd Creamsicle Floats

Orange Curd Creamsicle Float | Image: Laura Messersmith

Orange Curd Creamsicle Float | Image: Laura Messersmith
Each week I follow along with Ina Garten (aka the Barefoot Contessa) and attempt to recreate one of her dishes in my tiny New York City kitchen. The catch? This is my version of cooking school and I’m making these recipes for the first time. I’ll share both my successes and um, challenges, along the way and we’ll see if I can keep up with the Contessa!

Episode: “Afternoon Tea to Go”

The Set-up: Ina is making recipes for a celebratory tea party at her friend Beth’s new flower shop in Amagansett.

The Menu: Daisy Shortbread Cookies, Red Velvet Cupcakes, Orange Curd

0:52 – Ina has decided that a proper English tea strikes just the right note for the opening of the new flower shop location, but I’m pretty sure the British never ate Red Velvet Cupcakes.

1:24 – Wearing my "I Hate Red Velvet" merit badge today. I’ve just never understood the appeal of something to violently and unnaturally flavored.

2:06 – I can’t be the only one who’s thinking of the Steel Magnolias “bleedin’ armadillo groom’s cake” can I?

3:10 – I’m going to try to focus on the cooking now and Ina’s Pro Tip #1: use an ice cream scoop to portion cupcakes and muffins equally.

4:33 – We’re jetting over to Beth’s new flower shop where she’s taking her cues from the tea party theme and making the table arrangements in a silver tea service and vintage tea tins. Super cute.

5:01 – Back to Ina where she’s preparing to frost the Red Velvet Cupcakes with their traditional cream cheese frosting.

6:19 – I’m always curious to see when Ina will break out the piping bag and when she goes for the more rustic, homemade look.

10:25 – Onward to the Daisy Shortbread Cookies which start with Ina’s classic shortbread dough recipe.

11:37 – Pro Tip #2: Shortbread dough should be chilled, but still pliable and well floured when rolling it out into cookies.

12:08 – Pro Tip #3: Keep turning and moving the dough around as you roll it out to keep it from sticking to the board. Any cracks in the edges can just be pressed back together.

13:20 – Ina says she loves shortbread and uses it for all sorts of cookies and tart shells – a multipurpose dough!

14:44 – Over to Beth at the shop who’s putting the final touches on the loveliest buffet table.

15:36 – The cookies are out of the oven and they look perfectly golden and quite substantial as Ina frosts them with white glaze and tops them with yellow buttons of white chocolate.

19:49 – Now for the Orange Curd, Ina’s twist on the classic lemon or lime curd.

20:23 – We see all of the steps – orange zest, mixing, cooking – but at quite a clip without much description along the way. I wish she would spend a little more time on the process…

21:05 – Ina is serving the Orange Curd with fresh, long-stemmed strawberries on a very simple white platter. Pro Tip #4: White dishes show off the colors and textures of the food really well.

22:17 – The tea party is at a sedate simmer as Beth’s customers sip from Wedgewood tea cups and rave over Ina’s treats.

23:40 – Fast-forward to the end of the day when Beth delivers a thank you bouquet of blue muscari to Ina at the barn.

26:26 – It’s Ask Ina time and all the questions will be tea party related. Byron asks if Ina has a favorite finger sandwich? She says yes, and recommends Herbed Goat Cheese Sandwiches with thinly sliced English cucumbers. Yum.

27:02 – Belinda asks for suggestions on how to make tea sandwiches ahead of time? Ina says to assemble the sandwiches, then store them on a parchment paper lined sheet pan with a layer of damp paper towel over the top and wrap the entire thing tightly in plastic before refrigerating.

28:58 – Eric fell in love with clotted cream in England and would like to know how to find something similar in the States? Ina says mascarpone is the closest thing she’s found and gorgeously layers a scone with it and strawberry jam. Amazing.

29:45 - In case you were wondering we don't see Ina hoover up that scone, but I bet as soon as the camera switched off it was G-O-N-E.

Final Thoughts:
It’s so hard to resist rolling dough out too thinly, how does Ina maintain her self control to keep it 1/4 inch thick?

I don’t really drink tea, but now I really want to have a tea party…

If anyone could change my mind about RVCs it’s Ina, but I’m still cringing over the food coloring.

Orange Curd Creamsicle Float | Image: Laura Messersmith

Orange Curd Creamsicle Float | Image: Laura Messersmith

Lessons Learned:
It’s been about a year since I last made a citrus curd and it was about time to refresh my memory with by trying Orange Curd. I probably should have reviewed my post from last summer, but imbued with a sense of covering known territory I dove right in; confident that since the Lemon Curd Tart of my memory was so straightforward that this version would give no trouble. Alas, it was trickier than I remembered.

Mixing – I did vaguely remember the pre-cooked curd looking very odd and it does. Like a curdled, vile mess liberally seasoned with orange zest. Not a very appealing start to something that ultimately tastes wonderful, but forewarned is forearmed. Don’t be frightened off just keep going!

Temperature – The recipe calls for room temperature butter and eggs and I’d recommend leaving the butter out overnight and the eggs for several hours to reach the right temperatures. My butter was fully softened, but the eggs a little on the cool side – not ideal.

Cooking – I unhelpfully didn’t leave any notes to myself on the length of cooking time, so let me do better now: 10 minutes is what’s recommended in the recipe, but I found it took somewhat longer, probably due to the eggs being colder than recommended. More helpful is to watch the texture for cues about “doneness” – when the curd has been cooked enough it will be thick, smooth, and nearly opaque; somewhere in the neighborhood of pudding in consistency.

Small Kitchen Friendly?
Yes, 100%, especially since there’s no tart shell involved this time. I subbed a microplane grater and a handheld mixer for the food processor/stand mixer pieces. After that all I needed was a large mixing bowl, 2 quart sauce pan, measuring cups, a wooden spoon, and a large food storage container. If you’re making floats or sundaes, then an ice cream scoop, glasses and a jigger will be helpful additions.

The Verdict:
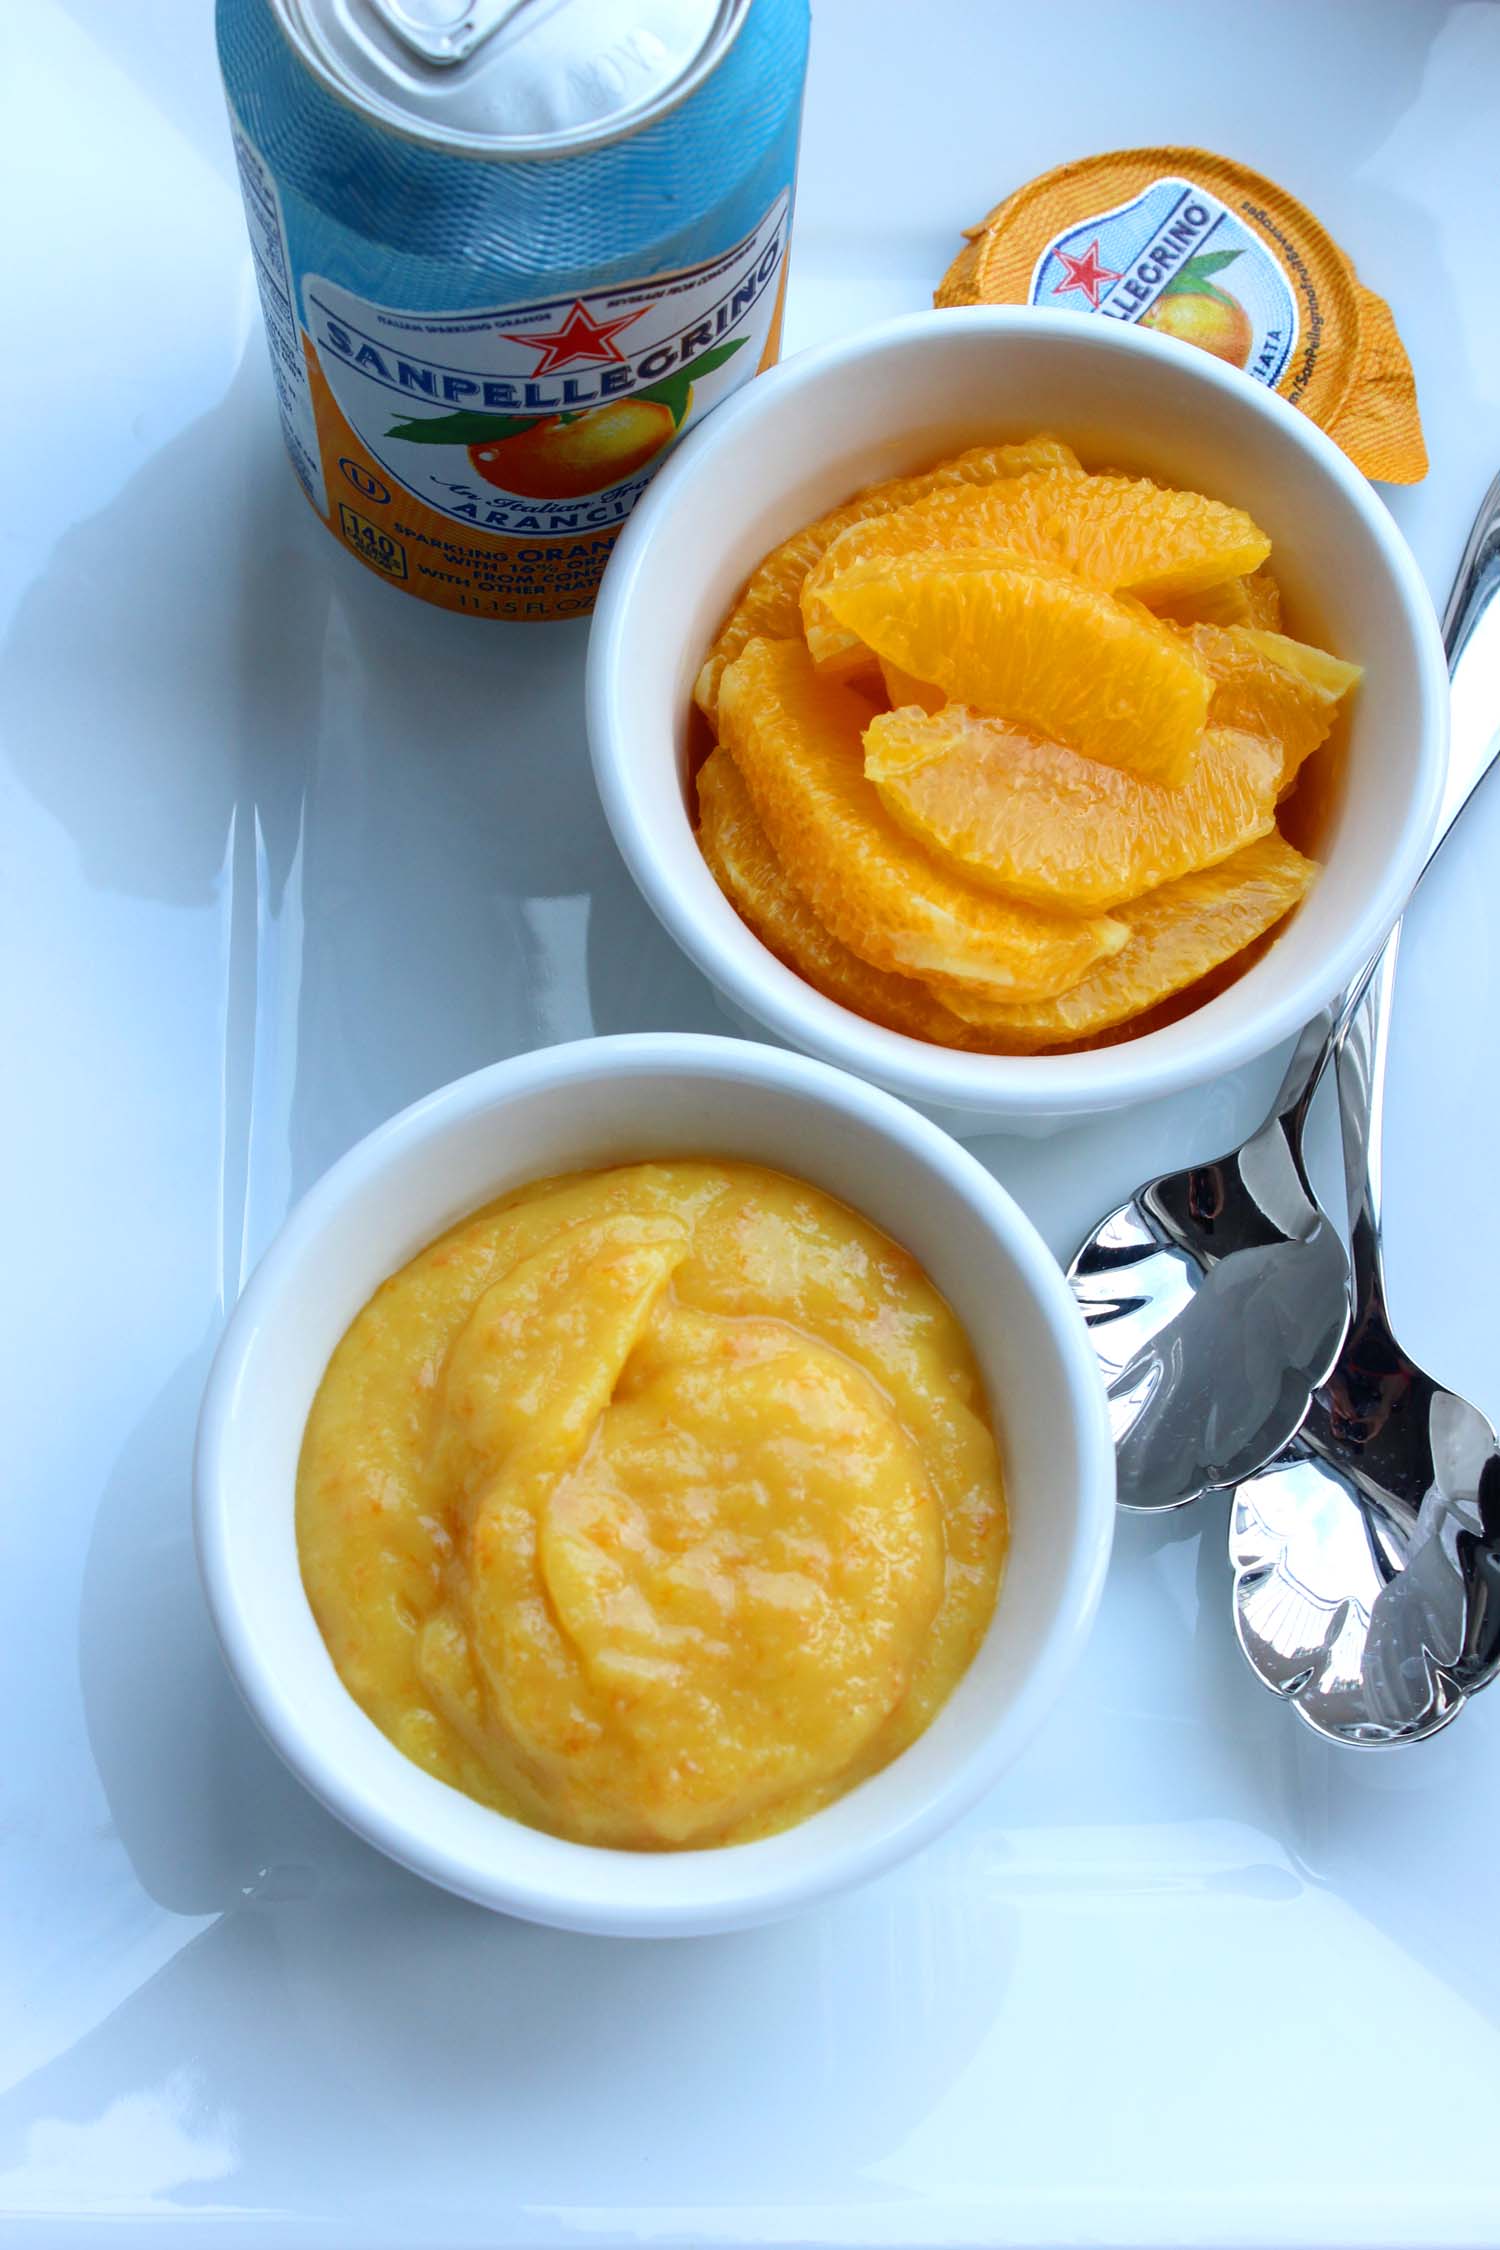
I made Orange Curd as a dessert for company, originally intending to serve it in a tart, but then a flash of inspiration and an excellent suggestion from Mike turned it into a topping for boozy Creamsicle Floats (recipe below). Unlike lemons, which are unflinchingly tart, oranges have a mellower flavor and need firm boundaries to prevent them from becoming cloying. The addition of sparkling soda and a splash of Grey Goose was just what the doctor ordered to balance out the sweetness in our floats. A perfect end to the meal.

Orange Curd Creamsicle Float | Image: Laura Messersmith

Orange Curd Creamsicle Float | Image: Laura Messersmith

Orange Curd Creamsicle Float (serves 4)

Ingredients:
4 (12 ounce) cans San Pellegrino Aranciata or Aranciata Rossa soda
4 ounces Grey Goose vodka, divided (optional)
4 tablespoons Orange Curd
1 pint vanilla ice cream
1 orange, segmented

Instructions:
Chill both the vodka and orange soda in advance. Assuming a hot day, take the ice cream out of the freezer 4-5 minutes before serving and allow to soften slightly, longer if it’s cold outside. If it’s a very hot day, chill the glasses too.

Scoop a generous portion of ice cream (1/4 – 1/3 cup) into a roundish ball and place into the glass. Softened ice cream and an ice cream scoop will make this easier, but the results will be the same regardless of how perfect the scoop is. Your preference here on whether your glass and appetite warrant a second scoop.

Add 1 tablespoon of Orange Curd on top of each scoop of ice cream. Pour in 1 ounce of vodka to each glass before filling the remainder of the glass with orange soda, about 6-8 ounces per glass.

Garnish with a segment or two of fresh orange. Drink immediately!

Orange Curd Creamsicle Float | Image: Laura Messersmith

Orange Curd Creamsicle Float | Image: Laura Messersmith

Roasted Chicken with Honey & Aleppo Pepper

Roasted Chicken with Honey & Aleppo Pepper | Image: Laura Messersmith

Roasted Chicken with Honey & Aleppo Pepper | Image: Laura Messersmith

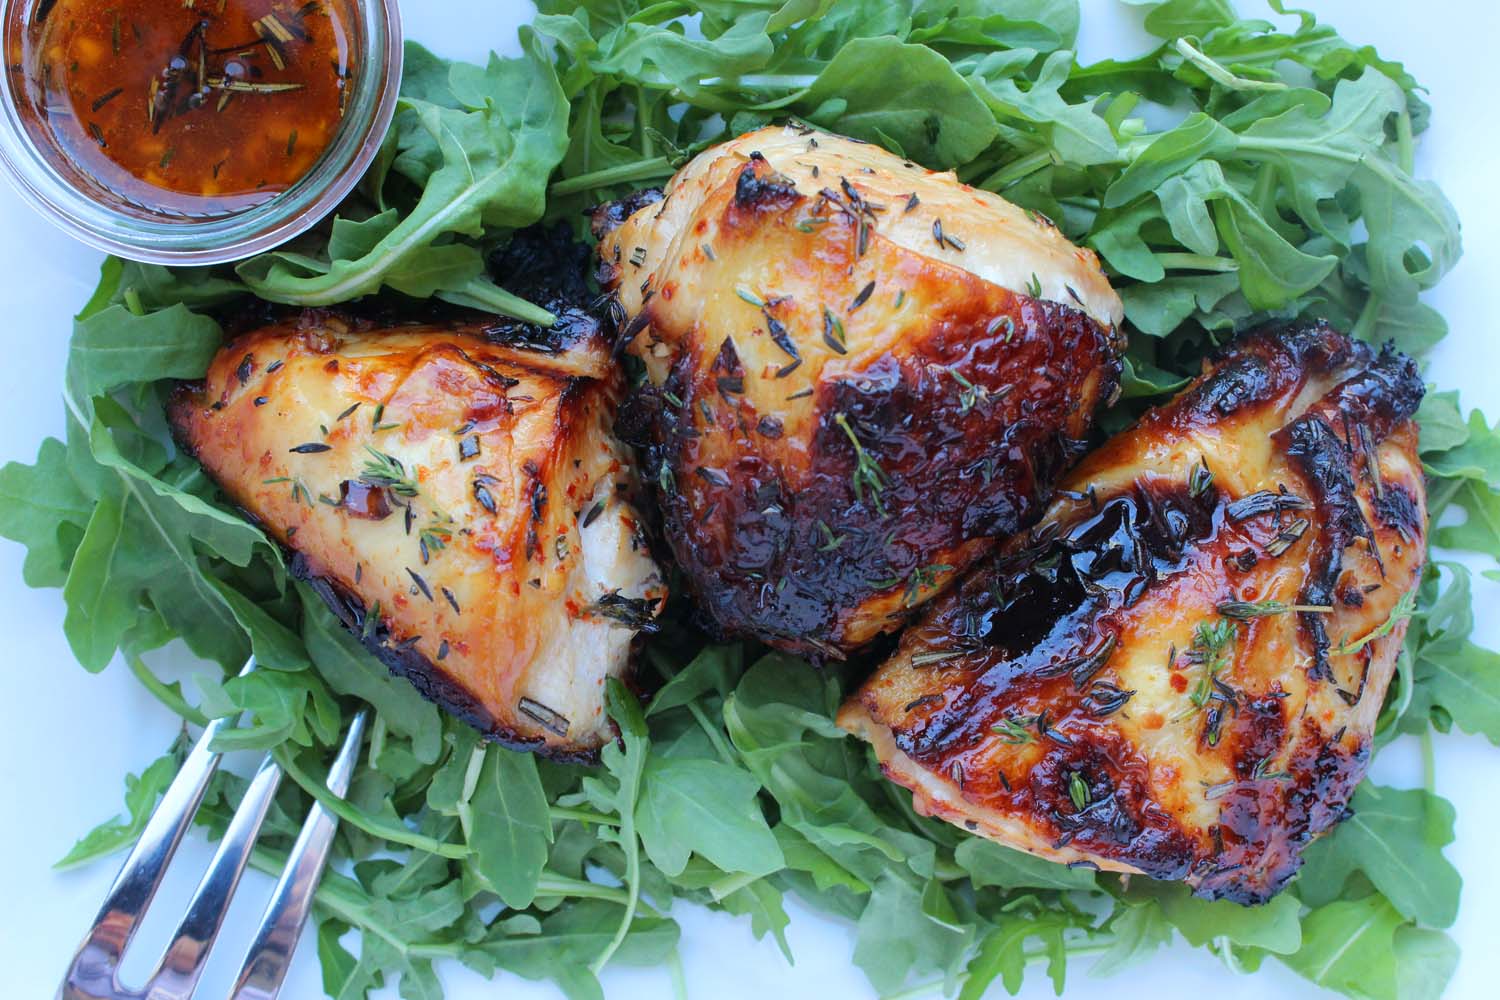
Barbecue chicken with its spicy-sticky coating caramelized just this side of charcoal black is a summer classic. But after all the promise of the bronzed color, the flavor can be a little underwhelming since the sauce never really makes contact with the meat.

As I was paging through Food + Wine’s most recent issue featuring their list of Best New Chefs I spotted this recipe for chicken that reminded me of the tang and sweet heat all the best barbecue sauce has to offer. The key difference: time and also thyme (rosemary too.) Chef Zoi Antonitsas of Westward in Seattle mixes together a gorgeous marinade of honey and spicy pepper for a hit of fresh herbs.

Personally, I love when a recipe combines a familiar technique – marinating, roasting – with a flavor combination that’s new to my palate. I’d never tasted Aleppo pepper before and I was intrigued by the fresh herb and honey combination. One taste and I can see why Chef Antonitsas is garnering so much great press.

Roasted Chicken with Honey & Aleppo Pepper | Image: Laura Messersmith

Roasted Chicken with Honey & Aleppo Pepper | Image: Laura Messersmith

Roasted Chicken with Honey and Aleppo (serves 4)

Ingredients:
1/2 cup extra-virgin olive oil
1/3 cup honey
1/3 cup red wine vinegar
3 tablespoons Aleppo pepper
2 tablespoons kosher salt, plus more for sprinkling
6 garlic cloves, minced
1 tablespoon finely chopped rosemary
1 tablespoon finely chopped thyme
4 bone-in, skin-on chicken breasts

Instructions:
In a large liquid measuring cup whisk together the olive oil, honey and red wine vinegar with the Aleppo pepper, kosher salt, minced garlic, thyme and rosemary. Reserve 2 tablespoons of the marinade in a small bowl and refrigerate.

Place the chicken breasts in a large zip-top bag and pour the remaining marinade in and turn to coat. Refrigerate overnight turning periodically to ensure even contact with the chicken.

Preheat the oven to 425 degrees F. Line a large rimmed baking sheet with foil. Remove the chicken from the marinade, letting the excess drip back into the bowl. Arrange the chicken skin side up on the baking sheet. Roast for 40 to 45 minutes, until an instant-read thermometer inserted in the largest piece registers 160°.

Transfer to a platter. Drizzle the chicken with the reserved marinade, sprinkle with salt and serve.

Slightly adapted from Chicken Legs with Honey and Aleppo by Zoi Antonitsas in Food + Wine magazine July 2015.

Roasted Chicken with Honey & Aleppo Pepper | Image: Laura Messersmith

Roasted Chicken with Honey & Aleppo Pepper | Image: Laura Messersmith

Small Kitchen Friendly?
Yes, this is really simple. I used a 2 cup liquid measuring cup, measuring spoons, a whisk, medium cutting board, and chef’s knife. I also needed a gallon-sized zip top bag, small storage container, foil, and a rimmed baking sheet.

The Verdict:
We both loved this recipe, which has the extra bonus of being really, really easy to prepare. Just a little mincing, some patience, a hands-off cooking approach and dinner is on the table! But, the simplicity of the ingredients and preparation belies the superb balance and clear flavors in the sauce. Mike and I are already dreaming up new ways to incorporate the marinade - maybe with beef or salmon? Please try this, you won’t be sorry!

Roasted Chicken with Honey & Aleppo Pepper | Image: Laura Messersmith

Roasted Chicken with Honey & Aleppo Pepper | Image: Laura Messersmith

Baked Eggs & Baby Spinach

Baked Eggs & Baby Spinach | Image: Laura Messersmith

Baked Eggs & Baby Spinach | Image: Laura Messersmith

Need some inspiration to eat more vegetables? Step 1: buy lots of greens. Step 2: realize you’re going out of town for four days virtually guaranteeing a box of baby spinach sludge when you return. Step 3: begin searching frantically for recipes that call for an epic amount of baby spinach, but won’t leave leftovers. Step 4: discover that Smitten Kitchen has you covered, breathe deep sigh of relief.

I genuinely like leafy greens, Brussels sprouts, broccoli, etc., but they don’t often make an appearance on my breakfast table. So, when I read Deb Perelman’s recipe in the Smitten Kitchen Cookbook for Eggs, Greens, and Hollandaise I was struck by its brilliance and simplicity. What a great way to incorporate some wonderfully healthy greens (and use them up before they go gunky) in a way that makes them seem indulgent with just the addition of a perfectly soft egg cooked on top.

Deb’s recipe was super straightforward and I’m sure this dish would be delightful with hollandaise if that’s your jam, but I’ve pretty much never met a recipe I couldn’t further simplify with laziness and lack of time. This version captures the spirit, if not the letter, of the law.

Baked Eggs & Baby Spinach | Image: Laura Messersmith

Baked Eggs & Baby Spinach | Image: Laura Messersmith

Baked Eggs & Greens (serves 4)

Ingredients:
1 1/2 pounds fresh baby spinach leaves
1/4 cup (1 large) finely diced shallot
1 1/2 teaspoons (2 cloves) minced garlic
4 large eggs
4 tablespoons softened butter
1 tablespoon olive oil
Kosher salt
Ground black pepper
Red pepper flakes (optional)

Instructions:
Pre heat the oven to 375 degrees F. Next, prepare four individual sized ramekins by brushing the inside of each one with approximately 1/2 tablespoon softened butter. Set aside.

In a large sauté pan melt together 2 tablespoons of butter and 1 tablespoon of olive oil. Add the shallot and sauté for 4-5 minutes before adding the minced garlic. Sauté for another minute before adding the fresh spinach a few handfuls at a time. Allow the spinach to wilt a bit before adding more turning the leaves with tongs to coat them with the shallots and garlic. Season with 1 teaspoon kosher salt and 1/3 teaspoon ground black pepper.

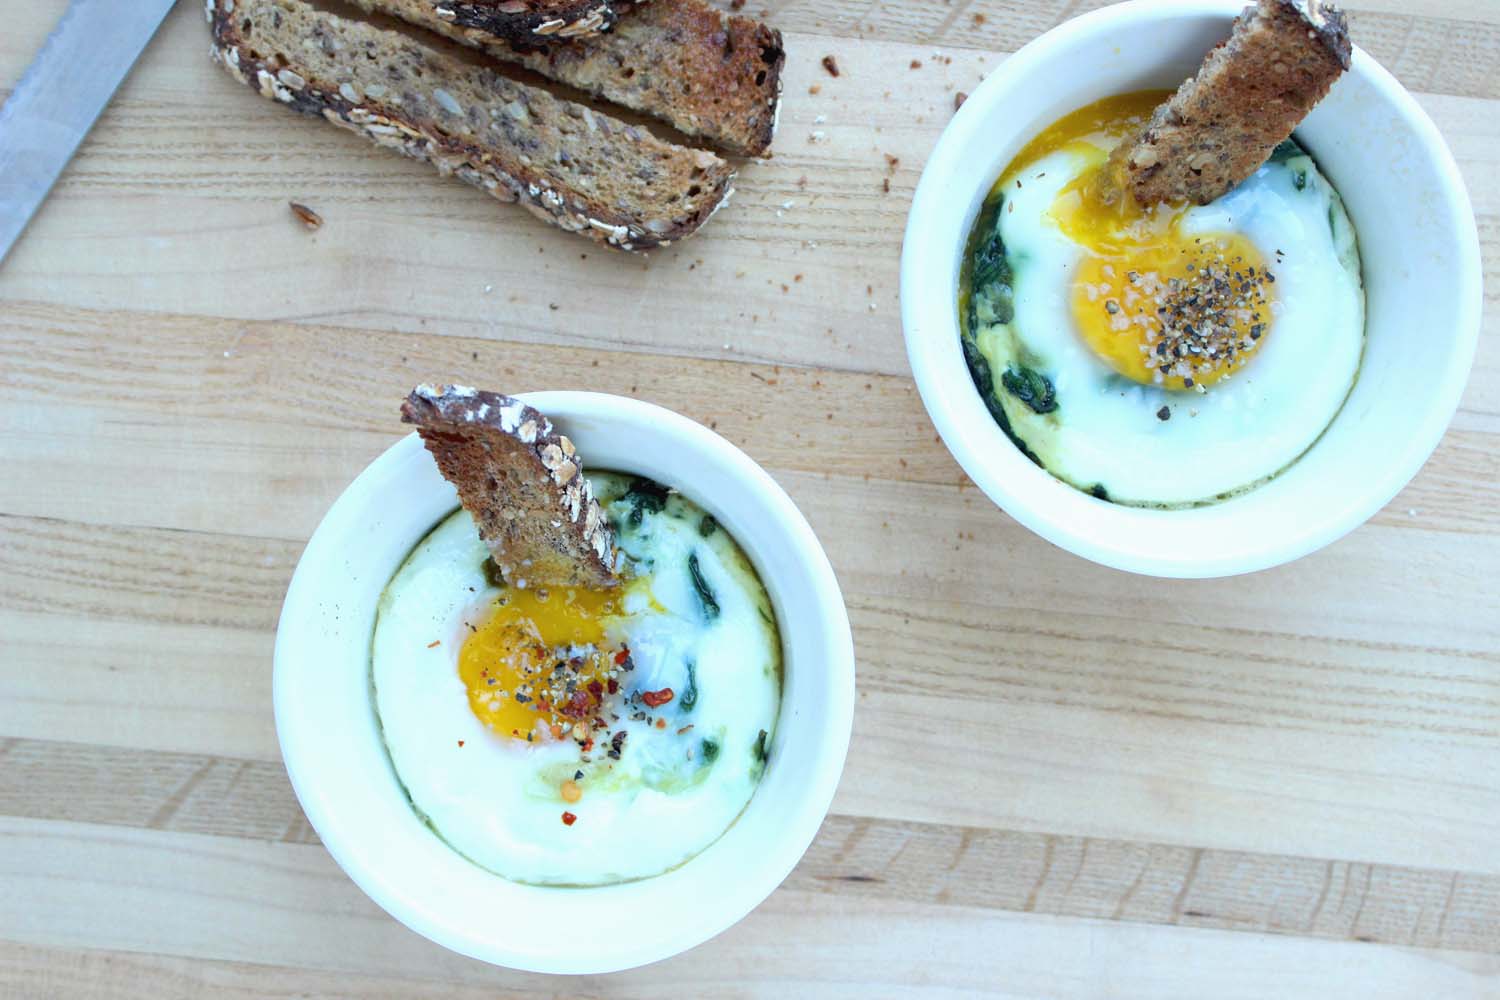
When all of the greens are cooked and the liquid released has evaporated, divide them evenly among the ramekins making a shallow divot in the center. Carefully crack one egg into each ramekin taking care not to break the yolk.

Bake at 375 degrees F. for 10-12 minutes until the whites have set and the yolk is just beginning to thicken.

Sprinkle with kosher salt, ground black pepper and/or red pepper flakes as your palate directs. Serve immediately with toast cut into long strips.

Inspired by and adapted from Greens, Eggs and Hollandaise by Deb Perelman in the Smitten Kitchen Cookbook (page 33). Similar recipe here.

Baked Eggs & Baby Spinach | Image: Laura Messersmith

Baked Eggs & Baby Spinach | Image: Laura Messersmith

Small Kitchen Friendly?
Yes indeed! I needed 4 ramekins (mine are 7 ounces), a pastry brush to spread the butter, a small cutting board, chef’s knife, and large non-stick sauté pan. Measuring spoons, tongs, and a rubber spatula round out the kit.

The Verdict:
Baked Eggs & Greens is a deceptive dish - the ingredients are so simple, the preparation is straight forward, and yet the results are so delicious you might be surprised how many leafy greens you’ll gladly consume. Picture it: tender spinach rich with shallots and garlic tucked under a blanket of soft egg, served with crisp toast soldiers perfect for dipping. Even better? The eggs and greens come together so quickly that it doesn’t have to be a special occasion to make this.

Baked Eggs & Baby Spinach | Image: Laura Messersmith

Baked Eggs & Baby Spinach | Image: Laura Messersmith