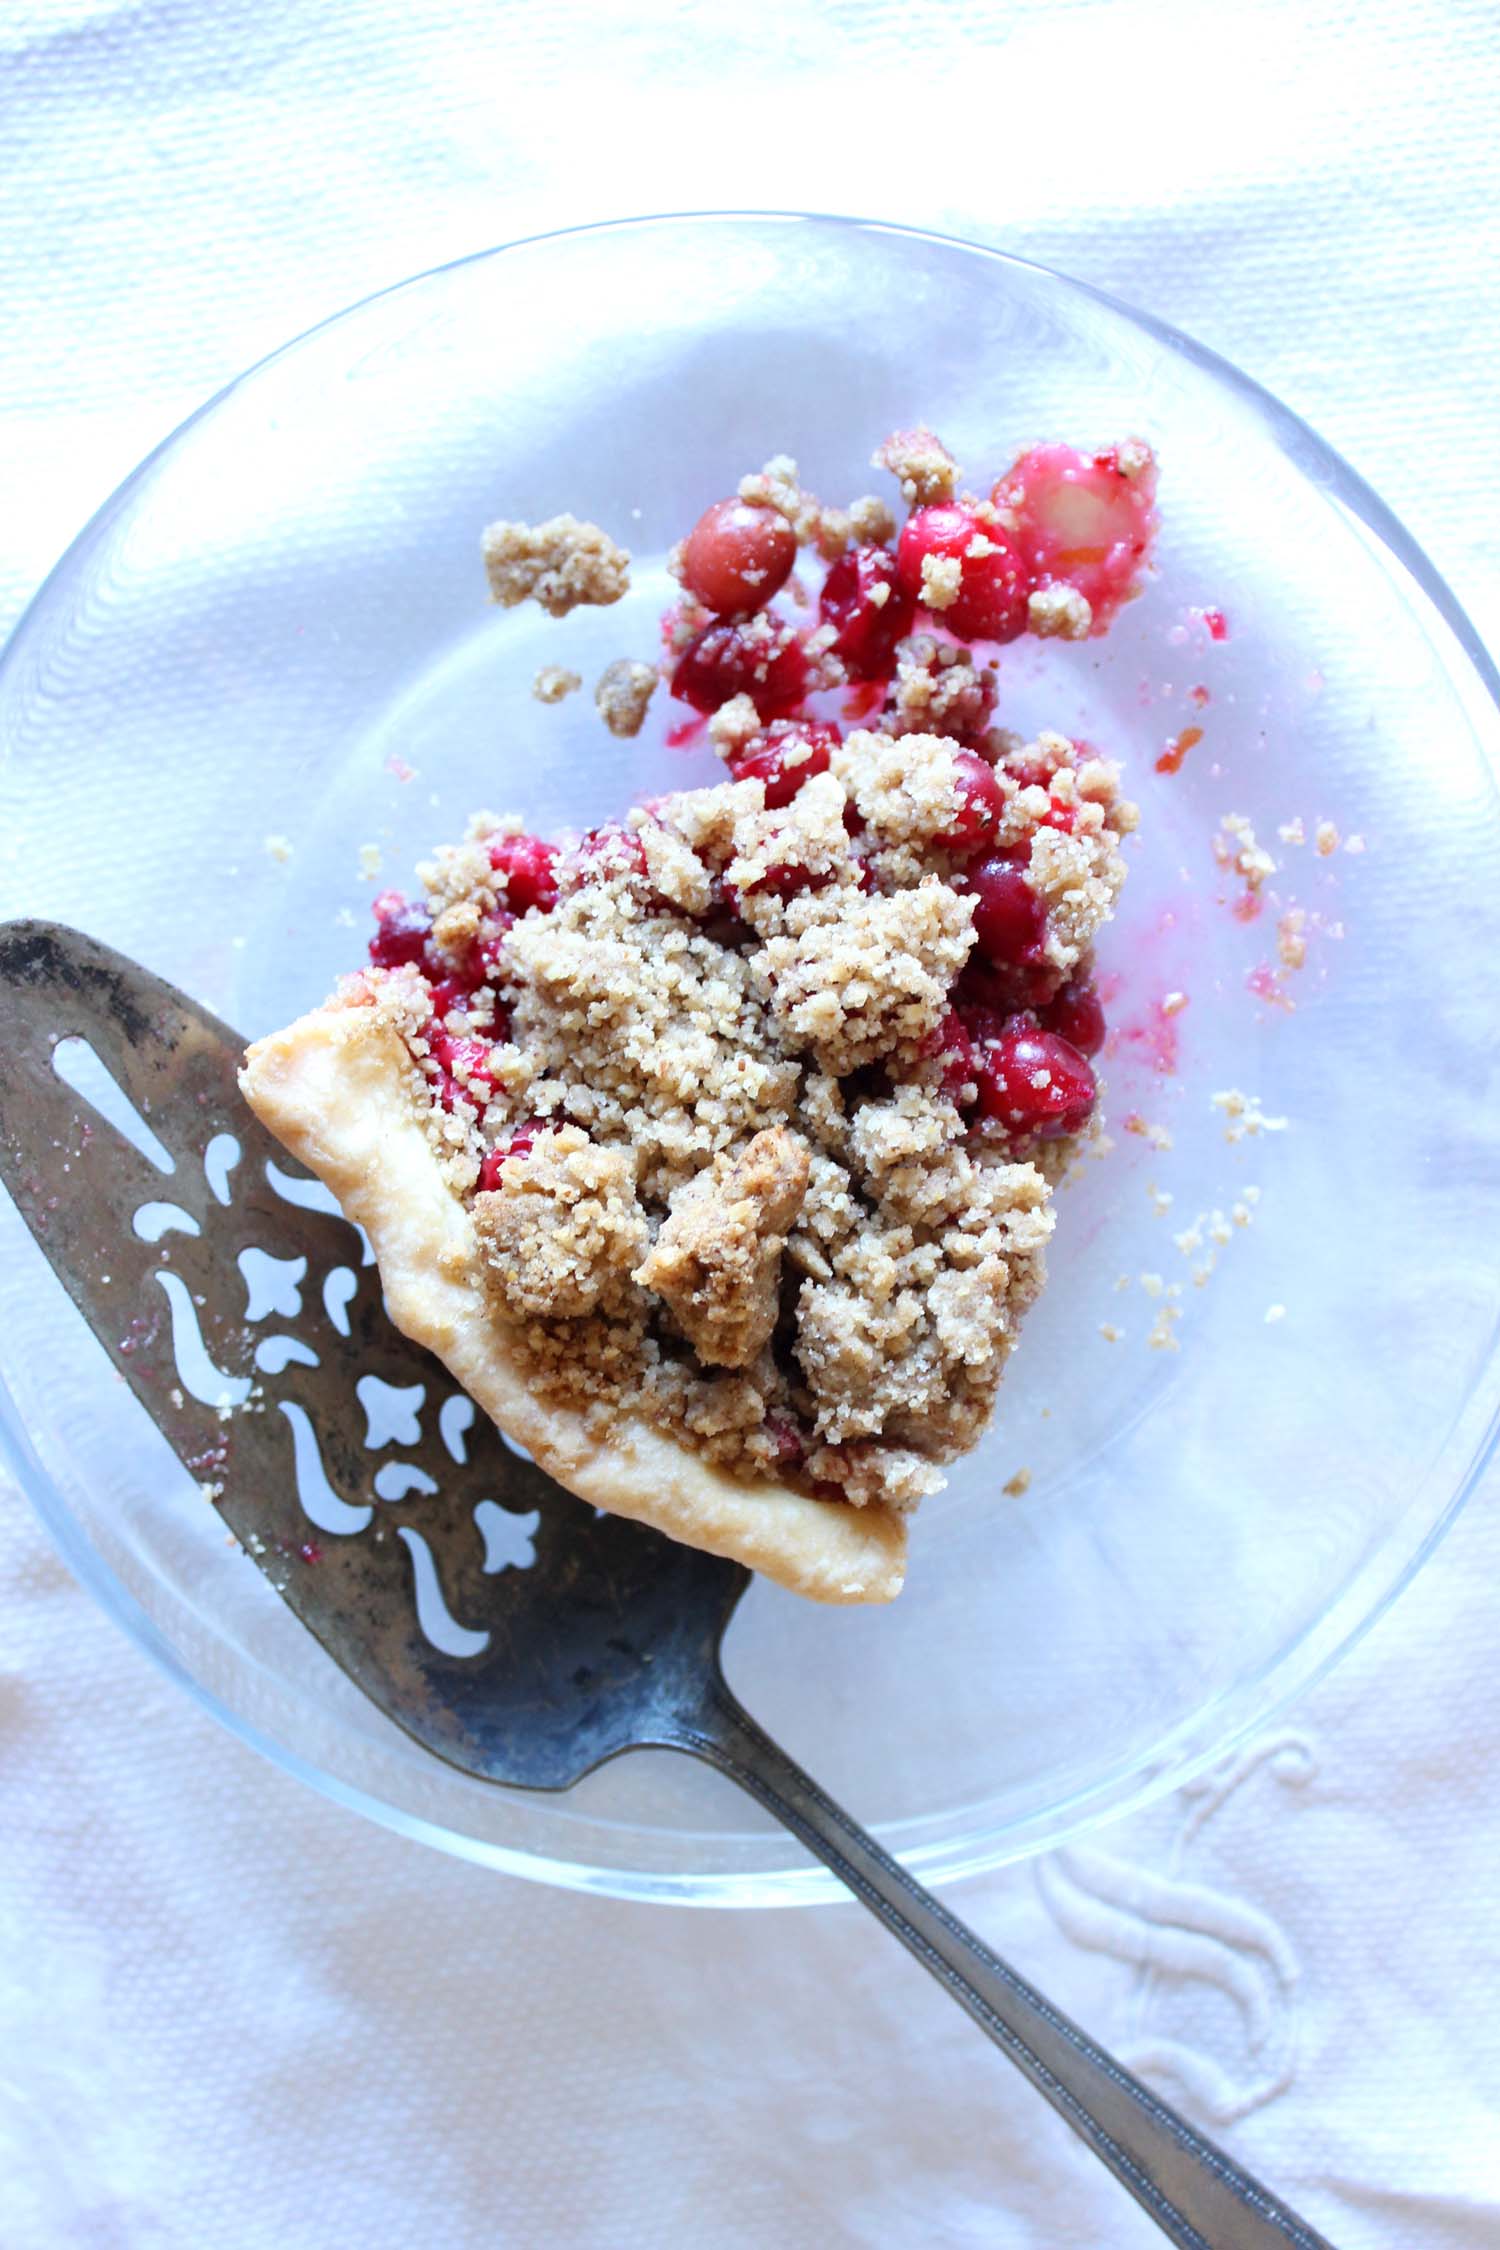
Chewy Molasses Cookies

Chewy Molasses Cookies | Image: Laura Messersmith

Chewy Molasses Cookies | Image: Laura Messersmith

It’s fully dark by five-thirty these days, but thankfully New York City has put on its holiday glitter to compensate and my evening walks with Maddie have been transformed into a stroll through twinkle lights and piney tree lots. I’m fairly sure that the powers that be scheduled Christmas for December knowing we’d need a little boost when the thermometer drops and the sun sleeps a little longer. Even holiday food seems determined to balance out the chilly temperatures with extra pizzazz and flavors like cloves, ginger, cardamom, and cinnamon to warm the spirit.

The moment I spotted these cookies in a Bon Appétit round-up, I knew they were destined for this year’s baking extravaganza. What better form to deliver the sweet heat of cinnamon and cardamom than a soft molasses cookie sparkling with coarse sugar? The double bonus is that they couldn’t be simpler and I’d be willing to bet that 95% of the ingredients are already in the pantry, which means you’re just a quick stir away from filling the house aromatic good-cheer. What are you waiting for?

Chewy Molasses Cookies | Image: Laura Messersmith

Chewy Molasses Cookies | Image: Laura Messersmith

Chewy Molasses Cookies (yield: 2 dozen cookies)

Ingredients:
2 cups all purpose flour
2 teaspoons baking soda
1 1/2 teaspoon ground cinnamon
1 teaspoon ground ginger
3/4 teaspoon ground cardamom
1/2 teaspoon kosher salt
1 large egg
1/2 cup (1 stick) unsalted butter, melted
1/3 cup granulated sugar
1/3 cup unsulfured molasses
1/4 cup (packed) dark brown sugar
1/3 cup coarse sanding or raw sugar (for rolling)

Instructions:
Place oven racks in lower and upper thirds of oven and preheat to 375 degrees F.

In a medium bowl, sift together the flour, baking soda, cinnamon, ginger, cardamom, and salt. In a separate medium bowl, whisk the egg, butter, granulated sugar, molasses, and brown sugar until well combined.

Add in the dry ingredients to the wet ingredients and mix until just incorporated. If the dough is sticky, cover in plastic wrap and refrigerate for 20-30 minutes until firm and easy to handle.

Place the raw sugar in a shallow bowl and line two rimmed baking sheets with parchment paper. To form the cookies, use a cookie scoop or tablespoons to portion the dough and roll into 1 inch balls. Roll each ball in the coarse sugar and place on the baking sheets, spacing 2 inches apart.

Bake the cookies for 8-10 minutes, rotating baking sheets halfway through, until cookies are puffed, cracked, and just set around edges. Overbaked cookies won’t be chewy. Cool cookies on wire racks.

Do Ahead: Cookie dough can be made and rolled into balls 2 weeks ahead. Freeze on a baking sheet; transfer to zip top plastic bags. Let sit at room temperature 30 minutes before rolling in sugar.

Re-written and adapted from Alison Roman’s Chewy Molasses Cookies for Bon Appétit.

Chewy Molasses Cookies | Image: Laura Messersmith

Chewy Molasses Cookies | Image: Laura Messersmith

Small Kitchen Friendly?
Definitely. I used a medium mixing bowl, small mixing bowl, and a small shallow bowl. I also needed two rimmed baking sheets lined with parchment paper (or reuse one), a rubber spatula, cookie scoop, a liquid measuring cup, and dry measuring cups and spoons.

The Verdict:
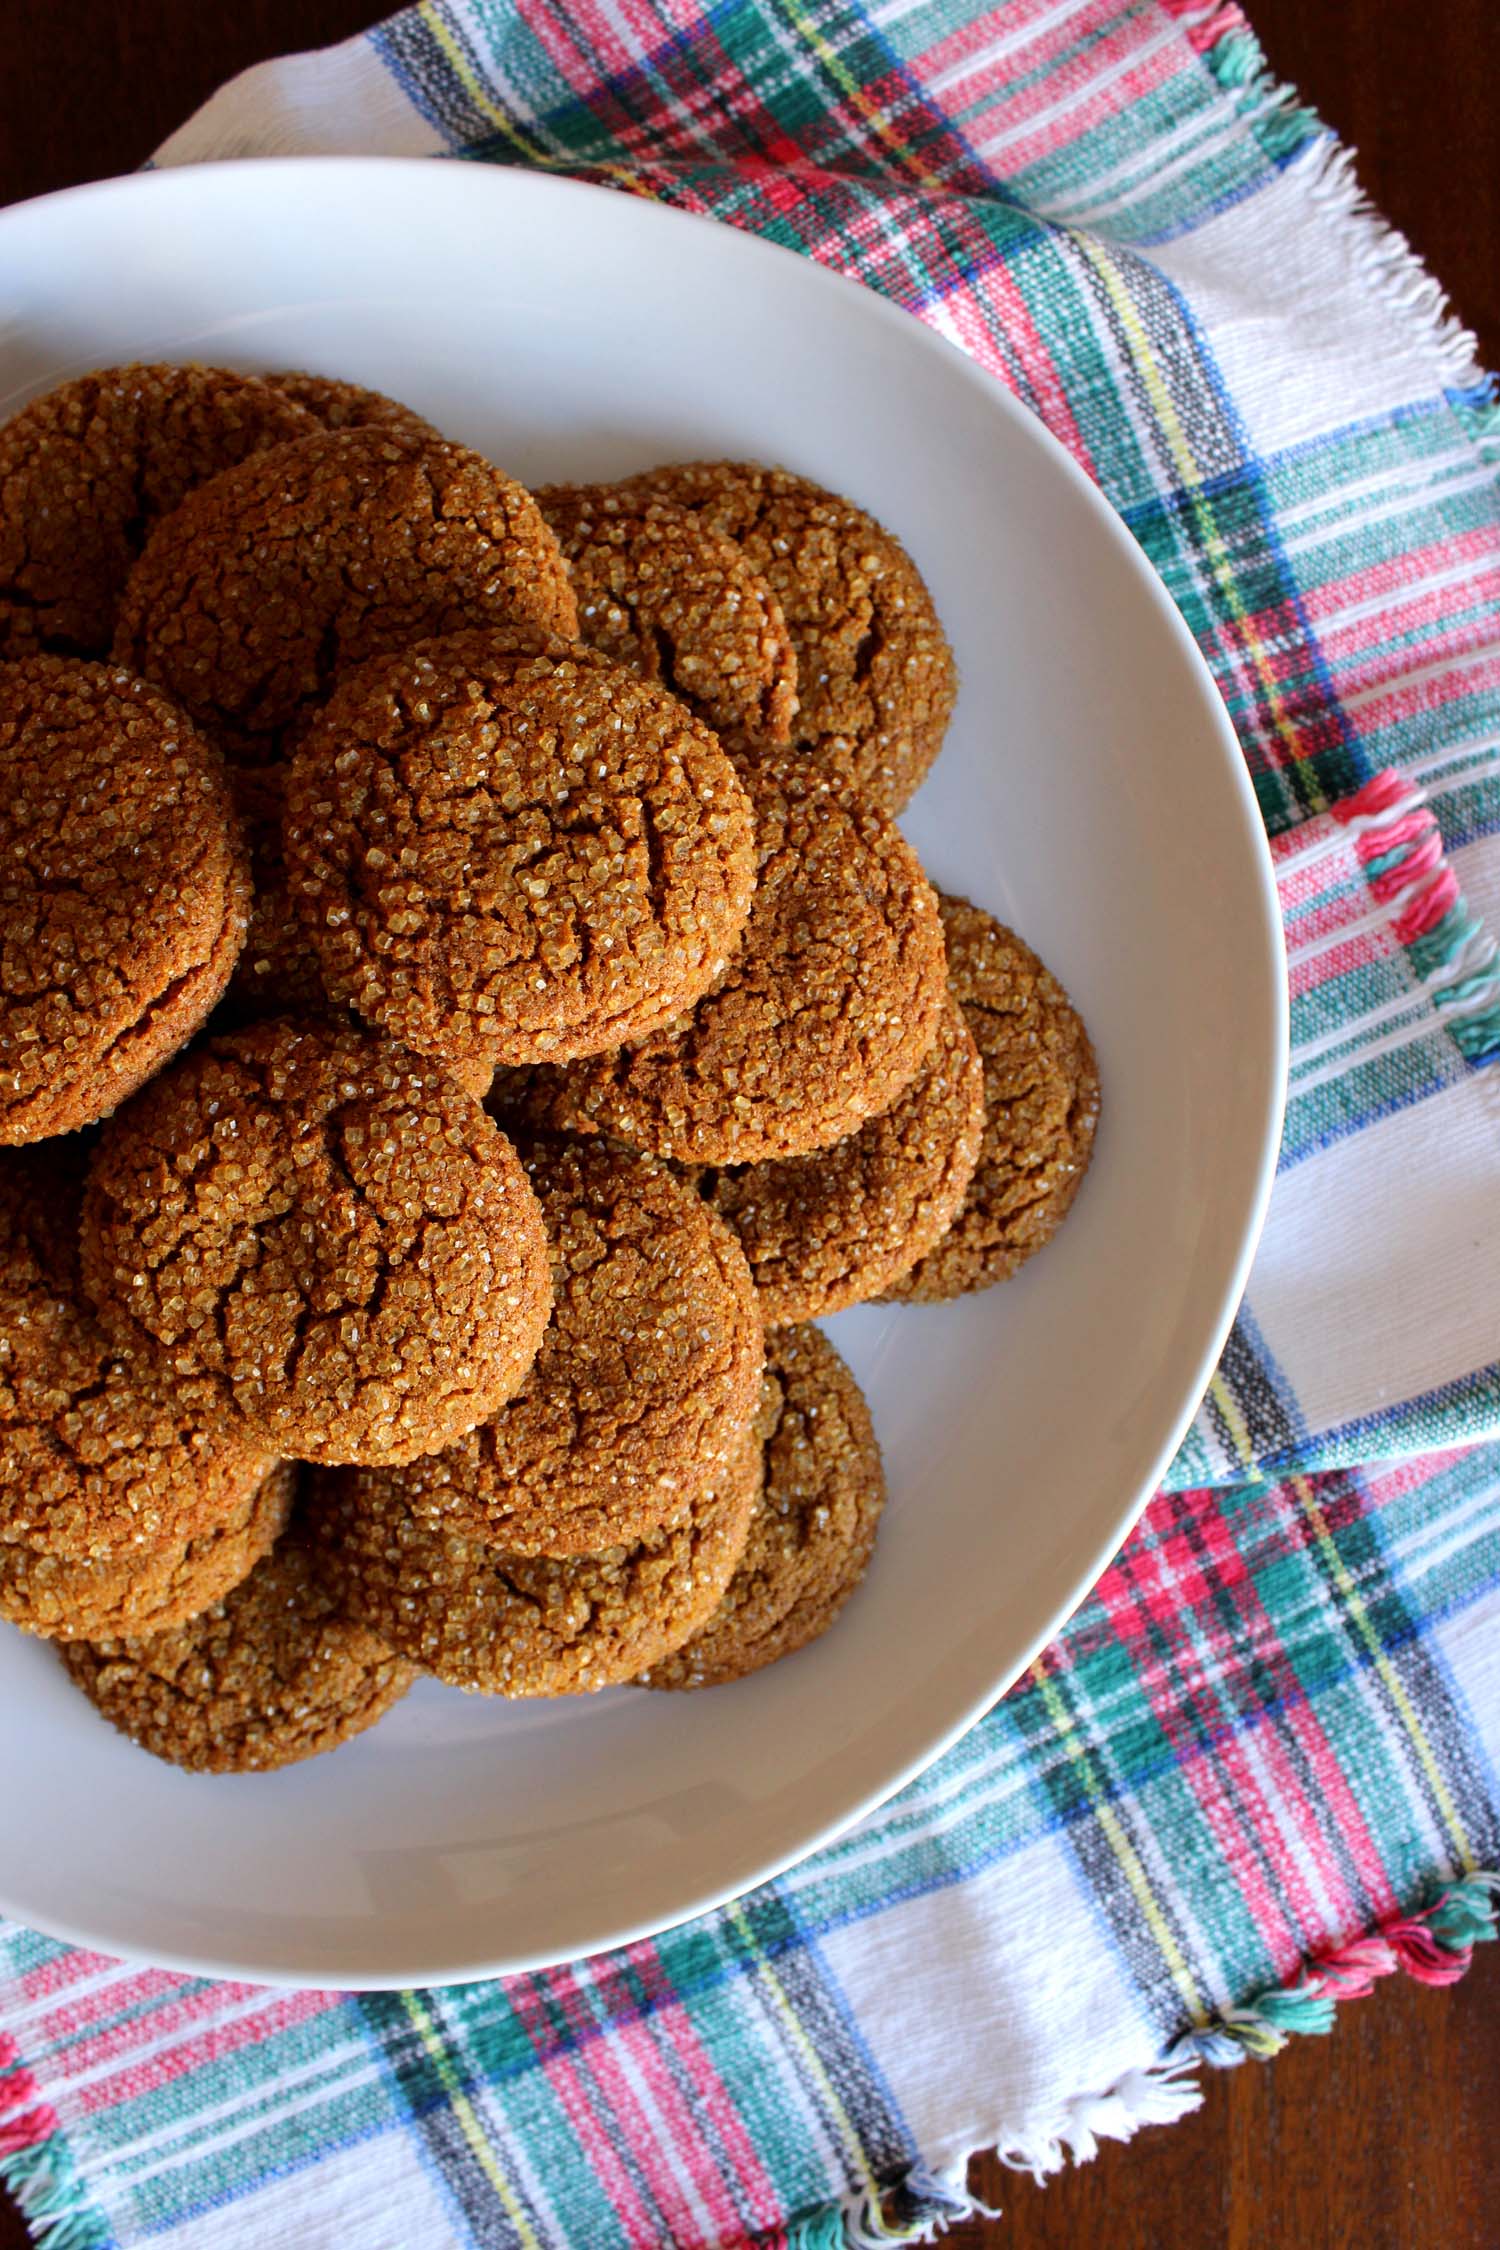
These cookies are beautifully crunchy and crisp on the outside while the interior remains soft and deeply spiced, like the soft-bellied kissing cousin of the ginger snap. The simplicity of the ingredients and process belies the complexity of texture and flavors, which is a win in my book. I also have a feeling that these would be a crowd pleaser - especially my father, who loooooves anything gingery, would be a very happy camper with a few of these babies and a glass of milk.

Chewy Molasses Cookies | Image: Laura Messersmith
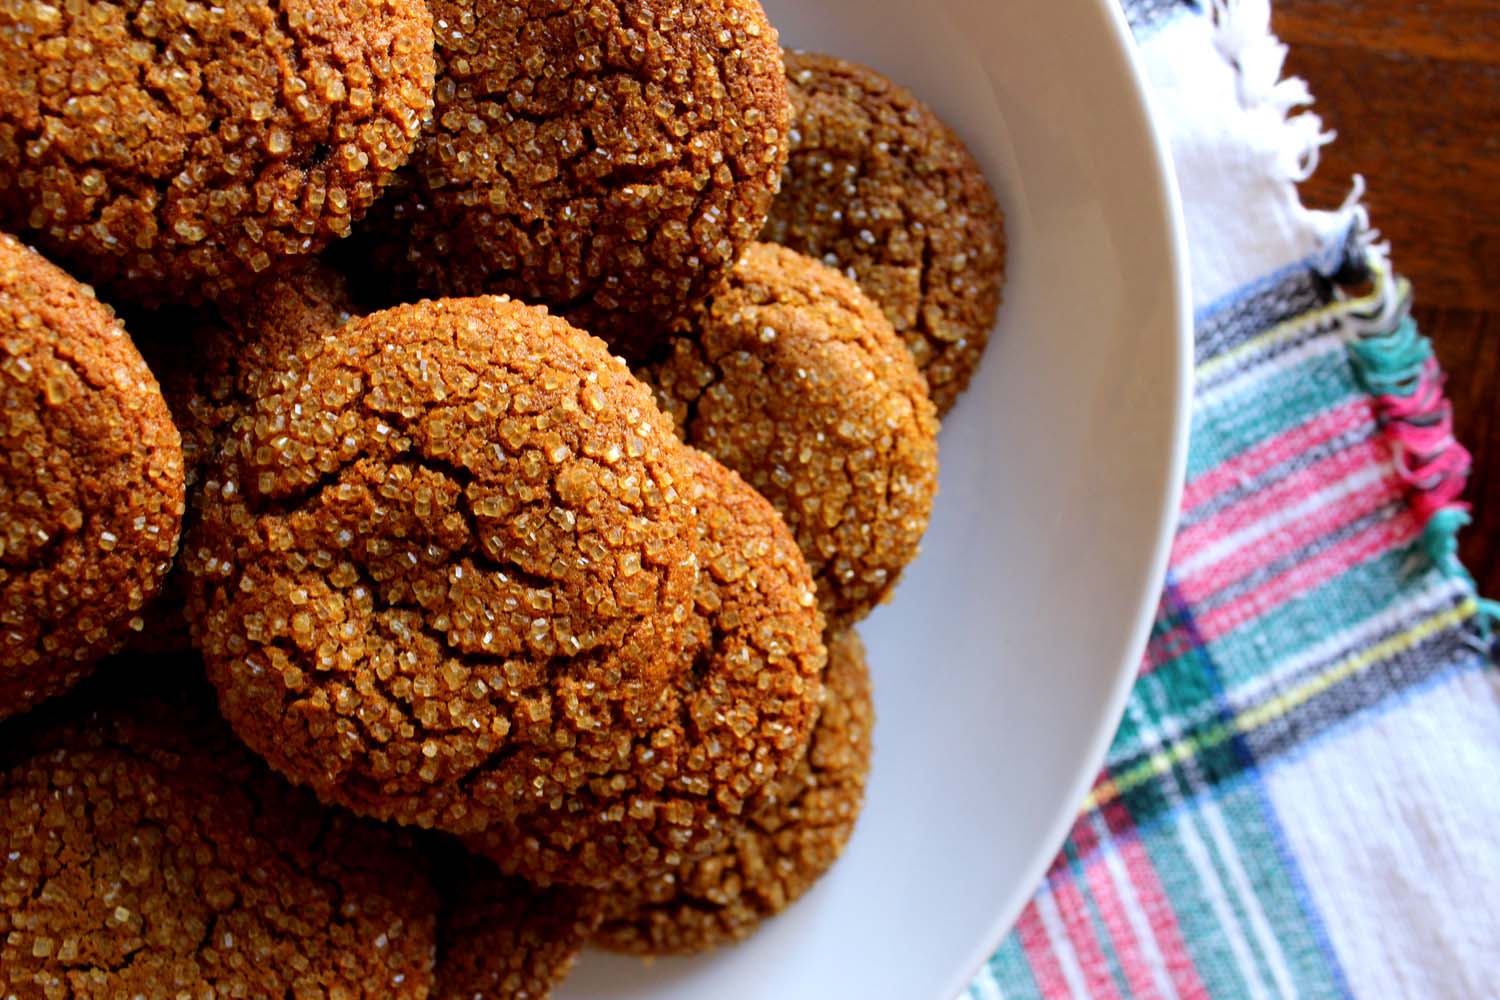
Chewy Molasses Cookies | Image: Laura Messersmith
Harvest Farro Salad

Harvest Farro Salad | Image: Laura Messersmith

Harvest Farro Salad | Image: Laura Messersmith

Gotta love the post Thanksgiving week for looking back on slices of pie consumed, walks planned but half-heartedly taken, and naps interrupted by cocktail hour (with snacks, of course.) Even the most dedicated health nut can have his head turned by cornbread stuffing laced with turkey gravy – and to be clear, I’m certainly not advocating a lettuce only diet when there are so many delicious things to eat. What I am suggesting is that in those in between moments that a return to balance is needed with something that ups the veggie intake without sacrificing flavor or satisfaction.

Perhaps it’s a coincidence, or maybe divine Providence, that the Upper West Side is home to the newest sweetgreen outpost; which for the uninitiated is salad-centric restaurant with a huge array of locally sourced greens, grains, and toppings mixed together in made-to-order combinations. I’ve become pretty obsessed with sweetgreen’s “Harvest Grain Bowl” and decided that as much as I loooove having someone else make dinner once in a while, it’s probably not financially sound to get takeout every night.

And, so I give you my version of a healthful meal that’s really simple to make and can be endlessly adaptable to what’s in the fridge. Don’t like sweet potatoes? Try acorn squash. Arugula too bitter? Baby spinach works great too. Want more protein or don’t have pecans? Toss in some shredded turkey from last weekend or a handful of almonds instead. The sky’s the limit and you won’t feel bad at all later when you have a cookie or two at the next holiday party.

Harvest Farro Salad | Image: Laura Messersmith

Harvest Farro Salad | Image: Laura Messersmith

Harvest Farro Salad (Yield: 2-4 Servings)

Ingredients:
2 medium sweet potatoes
1 cup (1 medium) yellow onion, diced
1 cup pearled farro
2 cups chicken stock
Kosher salt
Ground black pepper
3/4 teaspoon minced fresh thyme
4 tablespoons olive oil, divided
1 tablespoon unsalted butter
6 cups baby arugula greens
1/2 cup dried cranberries
1/2 cup unsalted pecan halves
Vinaigrette dressing, for serving (My favorite: Brianna’s Real French Vinaigrette) 

Instructions:
Pre-heat the oven to 400 degrees.

Heat 2 tablespoons of olive oil and the butter in a large, deep sauté pan over medium heat. Add the diced onion and sauté until the onions turn golden and translucent, approximately 10-12 minutes.

Sprinkle the whole grain farro into the sauté pan and gently stir to coat with the onion and olive oil, about 2-3 minutes. Add 1 1/4 teaspoon kosher salt, 1/4 teaspoon black pepper, and the thyme to the pan and pour in the chicken stock.

Stir to combine the ingredients and bring the mixture up to a simmer, then cover the pan and reduce the heat to low. Continue to simmer with the pan covered for 40 minutes until the chicken stock is absorbed and the farro is tender, but al dente.

While the farro is cooking, peel the sweet potatoes and dice in 1/2 inch cubes. Scatter onto a rimmed baking sheet, drizzle with the remaining 2 tablespoons of olive oil, sprinkle with kosher salt and black pepper. Roast at 400 degrees for 20-25 minutes, turning part way through the cooking time, or until the pieces are tender and easily pierced with a fork.

Allow the sweet potatoes and farro to cool before tossing with the arugula, dried cranberries, and pecans. Drizzle with your favorite vinaigrette and serve chilled or at room temperature.

Harvest Farro Salad | Image: Laura Messersmith

Harvest Farro Salad | Image: Laura Messersmith

Small Kitchen Friendly?
Yes! I used a medium cutting board, chef’s knife, large deep sauté pan, and one rimmed baking sheet. I also used a vegetable peeler, liquid measuring cup, measuring spoons, and a wooden spatula. A large bowl for tossing the ingredients together is helpful, or just use the cooled sauté pan!

The Verdict:
It’s great to have something that can be made ahead of time and kept on hand to pack in a lunch, but a salad isn’t going to cut it if I’m starving an hour later. So not the case here thanks to the farro and sweet potatoes. The farro in particular has a nutty richness and chewy texture that makes me forget there’s no meat, while the sweet potato has just enough starchiness to stick with you well into the afternoon. No 4pm crash and burn that sends me to rifle through the pantry for a treat. Crisis averted on all fronts.

Harvest Farro Salad | Image: Laura Messersmith

Harvest Farro Salad | Image: Laura Messersmith

Fresh Cranberry Pie with Pecan Crumble

Fresh Cranberry Pie with Pecan Crumble | Image: Laura Messersmith

Fresh Cranberry Pie with Pecan Crumble | Image: Laura Messersmith

Cranberry pie. Is there a more perfect distillation of the Thanksgiving spirit than an entire pie packed with bright, tangy fruits who wait all year for this one Thursday in late November? It’s their time to shine - like the cranberry’s 21st birthday, New Year’s Eve, and Christmas all wrapped up in one extravaganza of eating. That’s what we have here, my friends. A pie that is aaaaalll about the cranberry, no shame in that game.

But first, let’s talk about perfection in an imperfect world. Wait a minute!? You thought this was a post about pie! Well it is in a way, because I almost didn’t post this pie. I had #piecrustissues, even after nearly 11 months of practicing, and I was dissapointed and more than a little frustrated not to be presenting a glorious specimen of pie craft worthy of a Martha Stewart dessert table. Unfortunately, somewhere during the blind-baking stage the edges puffed out and inflated all the carefully crimped and pressed edges beyond recognition. I blame an under-weighted pie and perhaps a slightly too cool oven. Either way, it’s pretty annoying to discover that several hours of preparation have yielded an underwhelming result.

Fresh Cranberry Pie with Pecan Crumble | Image: Laura Messersmith

Fresh Cranberry Pie with Pecan Crumble | Image: Laura Messersmith

I filled it with the ruby red cranberries anyway, dutifully pulsed the brown sugar-butter mixture into streusel and figured I’d just try again another time and skip a post for the week. Then as I thought about it, I realized that homemade pie, regardless of how wonky, is still something to be thankful for and appreciated! Even if it didn’t turn out as planned; my cranberry pie is still fruit and sugar and buttery crust – it’s what’s on the inside that counts and the effort it took to try in the first place.

So, here we are friends – thankful that there is pie in the world, but most importantly that there are family and friends to share it with. I hope that’s the case whereever you are too. Happy Thanksgiving!

For the similarly pie-challenged, may I offer this piece: "I Made Pie with Saveur's Food Editor and Here's What I Learned" by Marian Bull? If nothing else it’s very Zen and may help you and your dough relax.

Fresh Cranberry Pie with Pecan Crumble | Image: Laura Messersmith

Fresh Cranberry Pie with Pecan Crumble | Image: Laura Messersmith

Fresh Cranberry Pie with Pecan Crumble (yield: one 9-inch, standard pie)

Crust Ingredients:
1 1/4 cups (155 grams) all purpose flour
1 1/2 teaspoons (6 grams) granulated sugar
1/2 teaspoon (3 grams) fine sea or table salt
1 stick (4 ounces or 115 grams) cold unsalted butter, cut into chunks
1/4 cup (60 ml) very cold water, plus an additional tablespoon if needed
1 egg (for egg wash)

Filling Ingredients:
5 cups (24 ounces) fresh or frozen cranberries
1 cup granulated sugar, plus 1 to 2 more tablespoons, if desired, to taste
3 teaspoons orange zest
2-3 tablespoons fresh orange juice
Pinch of salt
1 tablespoon cornstarch

Crumble Ingredients:
2/3 cup rolled oats or 1/2 cup oat flour
1/2 cup all purpose flour
1/3 cup granulated sugar
1/3 cup light or dark brown sugar
1/2 teaspoon ground cinnamon
1/4 teaspoon coarse or sea salt
3/4 cup pecans, preferably toasted
6 tablespoons unsalted butter, melted and cooled

Serving Ingredients:
Powdered sugar, whipped cream, or vanilla ice cream

Crust Instructions:
In a large bowl, whisk together the flour and salt to combine.

Add the diced butter, tossing the cubes in the flour to coat. Cut the butter into the flour until it is the size of walnut halves (for a flaky crust) or peas (for a mealy crust).

Make a well in the center, and add the water a few tablespoons at a time and mix with a rubber spatula just until the dough comes together.

Form the dough into a flat disk, wrap in plastic and chill well before rolling, forming, and baking.

When the dough is chilled and rested, roll out to about 10” round. Carefully ease the pie crust into a 9-inch standard (not deep dish) pie plate, making sure not to stretch the dough at all, or it will shrink as the pie bakes. Trim edge to fit and prick the bottom of the crust with a fork, then place a piece of parchment paper over the pie crust. Cover the parchment with pie weight, dried beans, or uncooked rice making sure the weights extend up the sides.

Bake at 425 degrees F for 10-12 minutes until just lightly golden brown. Check the bottom through the glass.

Remove the pie weights and parchment and allow to cool while you prepare the filling.

Reduce the oven to 400 degrees F.

Filling Instructions:
Place all of the ingredients in a medium sauce pan over medium heat. Cook for 5-7 minutes until some of the cranberries have begun to break down and release some of their juices. Continue to cook for 5 more minutes, stirring occassionally until the filling is loose and just pourable. Set aside off the heat and allow the filling to cool for 5 to 10 minutes while you make the crumble topping.

Crumble Instructions:
Place the whole oats in the bowl of a large food processor and grind them to a powder.

Next, add the toasted pecans and pulse until the mixture is a coarse meal. Add the remaining ingredients except the butter, pulsing a few times to loosely combine.

Pour the melted butter through the feed tube, pulsing until crumbles form.

Assemble, Bake, Serve:
Brush the par-baked pie crust with egg wash, then fill with the cranberry mixture. Sprinkle the streusel topping over cranberry filling in large crumbles.

Bake the pie for 45 to 50 minutes at 400 degrees F, until the berry juices are bubbling enough that they seep into the crumb topping.

If pie begins to brown too quickly, cover top with a piece of foil for remaining baking time. Transfer to a wire rack to cool.

Serve warm or at room temperature with a sprinkling of powdered sugar, whipped cream, or vanilla ice cream.

Rewritten and slightly adapted from Deb Perelman’s Cranberry Pie with Thick Pecan Crumble via Smitten Kitchen.

Fresh Cranberry Pie with Pecan Crumble | Image: Laura Messersmith

Fresh Cranberry Pie with Pecan Crumble | Image: Laura Messersmith

Small Kitchen Friendly?
Yes, assuming you have a food processor or the patience to mince pecans. For the crust I used a large mixing bowl, pastry cutter, rubber spatula, a kitchen scale, liquid measuring cup, rolling pin, and chef’s knife. For the filling I used a medium sauce pan, microplane zester, rubber spatula, and measuring cups. To make the streusel I needed a large food processor and measuring cups.

The Verdict:
TBD pending Thanksgiving dinner. I’ll report back!

Fresh Cranberry Pie with Pecan Crumble | Image: Laura Messersmith

Fresh Cranberry Pie with Pecan Crumble | Image: Laura Messersmith

Winter Greens Gratin

Winter Greens Gratin | Image: Laura Messersmith

Winter Greens Gratin | Image: Laura Messersmith

It’s easy in the frenzy of holiday preparations to get caught up in more, more, more – more butter, more options on the sideboard, more going crazy trying to make everything perfect. I’ve been trying to resist being caught in that trap this year and focus instead on less. Not less care, just redirecting my effort into singular dishes that make a meal feel special. If it can be made ahead leaving more time on Thanksgiving Day for watching parades, playing board games and hanging with my family; even better.

This Winter Greens Gratin fills the bill on all accounts, but I won’t lie – it does take a voluminous amount of fresh kale and mustard greens, like possibly all the kale in Brooklyn. It’s a little intimidating at first, but slowly the mountain is tamed down to a manageable amount and then stirred together with cream steeped with garlic and thyme. Thankfully (intentional pun alert!) ninety percent of the prep can be done a day or two ahead and then layered in a baking dish to find it’s way into the oven at the appropriate moment. Mischief managed.

Winter Greens Gratin | Image: Laura Messersmith

Winter Greens Gratin | Image: Laura Messersmith

Winter Greens Gratin (serves 8-10)

Ingredients:
3 pounds (2 large bunches) lacinato kale
2 1/2 pounds (2 medium bunches) mustard greens
Kosher salt
1/4 cup extra-virgin olive oil
3 cups coarse fresh breadcrumbs
1/2 cup finely grated Parmesan
1 cup coarsely grated Gruyère
2 teaspoons fresh thyme leaves, divided, plus 7 sprigs thyme
1 cup (2 large) thickly sliced shallots
1 tablespoon unsalted butter plus more for dish
2 cups half and half
7 garlic cloves, smashed
1/8 teaspoon freshly ground nutmeg
Freshly ground black pepper

Instructions:
Bring a large pot of lightly salted water to a boil. Fill a large bowl with cold water and ice cubes.

Wash the kale and mustard greens carefully to remove any sand. Strip the leaves from the stalks and roughly chop in large pieces keeping the two types of greens separate.

Working in batches, drop 3-4 generous handfuls of the chopped kale into the boiling water. Use tongs to stir the leaves and cook for about 3 minutes. Transfer the kale with the tongs into the bowl of ice water and let cool for 1 minute. Remove the leaves from the ice water with your hands and squeeze as much water as possible from the leaves. Set aside on a cutting board, and repeat the process until all the kale is cooked.

Repeat the same process with all the mustard greens, cooking in the boiling water for 2 minutes per batch. Coarsely chop all the greens; you should have 6 cups tightly packed leaves. Discard the ice water and combine the kale and mustard greens in the bowl by loosening with your fingers. Set aside, or refrigerate in a food storage container.

Next prep the bread crumbs and cheeses in a mini food processor. Heat oil in a deep, 12 inch skillet over medium heat. Add the breadcrumbs and cook, stirring frequently, until golden and crispy, 8-10 minutes. Transfer to a large bowl allow to cool for a few minutes, then stir in Parmesan and 1 teaspoon thyme leaves. Set aside, or store in an airtight food storage container at room temperature.

***Greens and breadcrumbs can be made up to 2 days ahead.

To prepare the sauce, wipe out the skillet and melt 1 tablespoon butter over medium-high heat. Add shallots and cook, stirring often, until slightly softened and lightly golden, about 5 minutes. Transfer shallots to the bowl with greens.

Add half and half, garlic cloves, and thyme sprigs to same skillet; bring to a simmer. Cook until mixture is thickened and reduced to 1 1/2 cups, about 10-12 minutes. Discard thyme sprigs and garlic cloves; stir in nutmeg. Season the mixture with kosher salt and ground black pepper to taste.

Pour the sauce over greens in bowl and toss with a fork to evenly coat the greens and shallots in the cream.

Lightly butter a 3 quart baking dish and spread the greens mixture into the dish. Sprinkle with the grated Gruyère, then top with the toasted breadcrumbs. Cover the dish with foil.

***Gratin can be assembled 1 day ahead and stored in the refrigerator.

Preheat oven to 400 degrees F. Bake until filling is hot, about 25 minutes. Remove the foil and bake an additional 10-20 minutes until cheese is melted, edges are bubbling, and breadcrumbs are golden brown. Garnish with the remaining 1 teaspoon fresh thyme leaves.

Lightly adapted and re-written from Bon Appétit’s Winter Greens Gratin.

Winter Greens Gratin | Image: Laura Messersmith

Winter Greens Gratin | Image: Laura Messersmith

Small Kitchen Friendly?
A challenge to your small kitchen cooking skills, but doable if you clear the decks before starting. I used a large sauce pan, a deep sauté pan, a mini-food processor, two large bowls, a medium baking dish, and a large cutting board. A pair of tongs, measuring spoons, a chef’s knife, microplane grater, a rubber spatula, and foil will round out the kit. Food storage containers will make life easier and save the need for both bowls.

The Verdict:
Winter Greens Gratin blends the best of creamed spinach with the crisp topping and sharp tang of homemade mac and cheese. The proportion of greens to dairy is perfect and as a result the herbaceous flavor of the kale and mustard greens is highlighted, not masked by the garlic-y cream sauce and cheeses. The toasted breadcrumbs add a little crunch and texture. I made this as a contribution to a Friendsgiving dinner last weekend and the emptiness of the baking dish told the tale. No one will have to be reminded to eat their greens with this gratin on the table.

Winter Greens Gratin | Image: Laura Messersmith

Winter Greens Gratin | Image: Laura Messersmith